... Search Here ...

Top Build Ideas This Month For Minecraft

CONTACT US

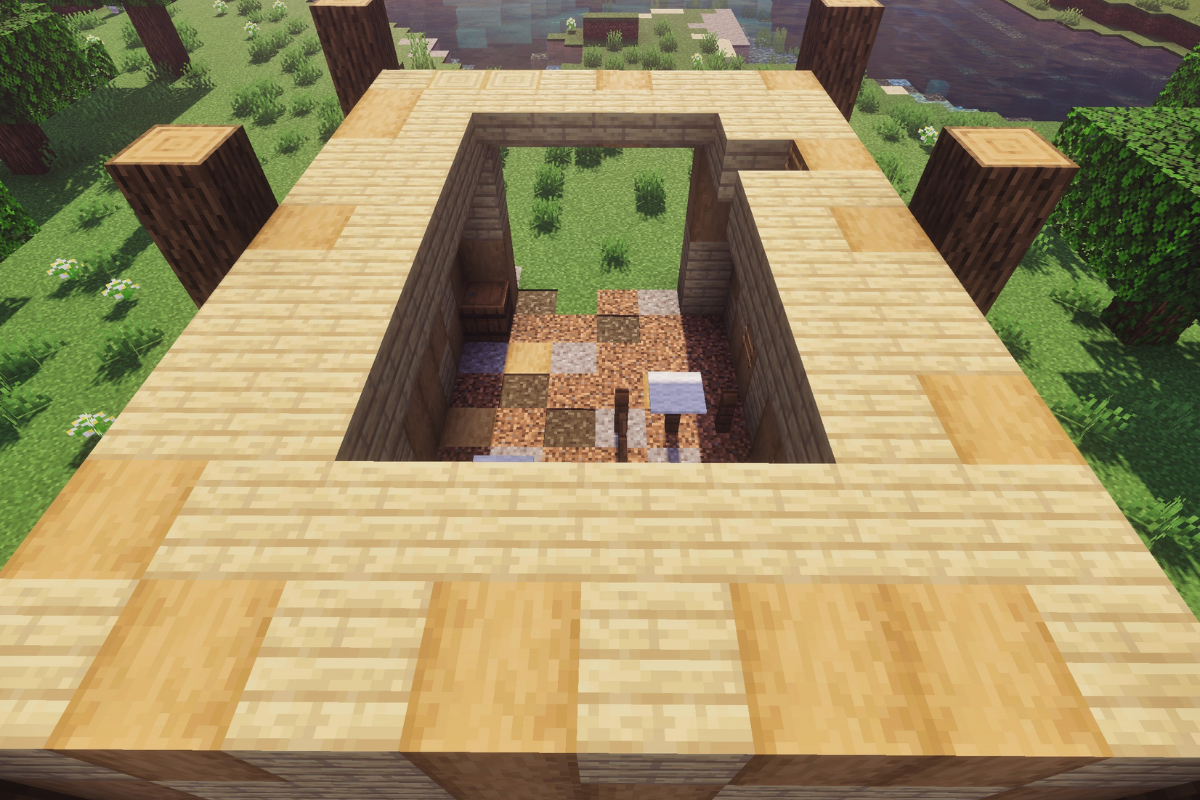
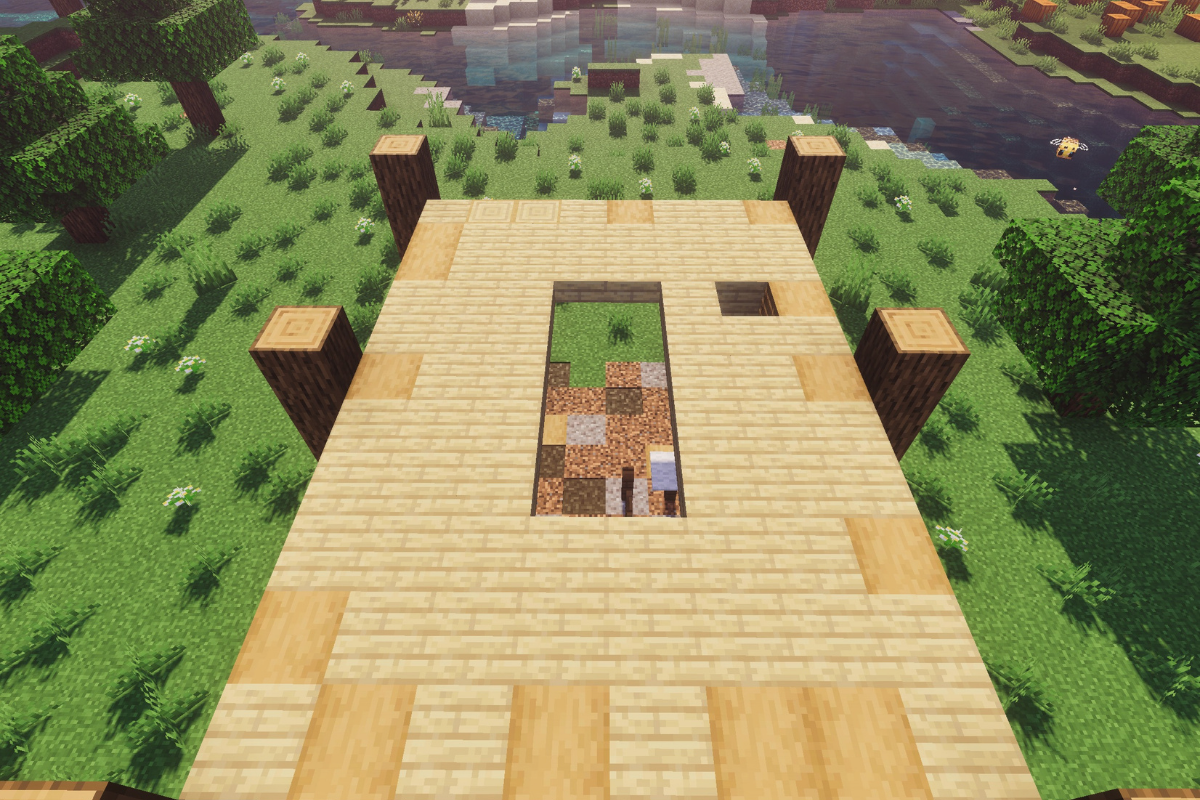
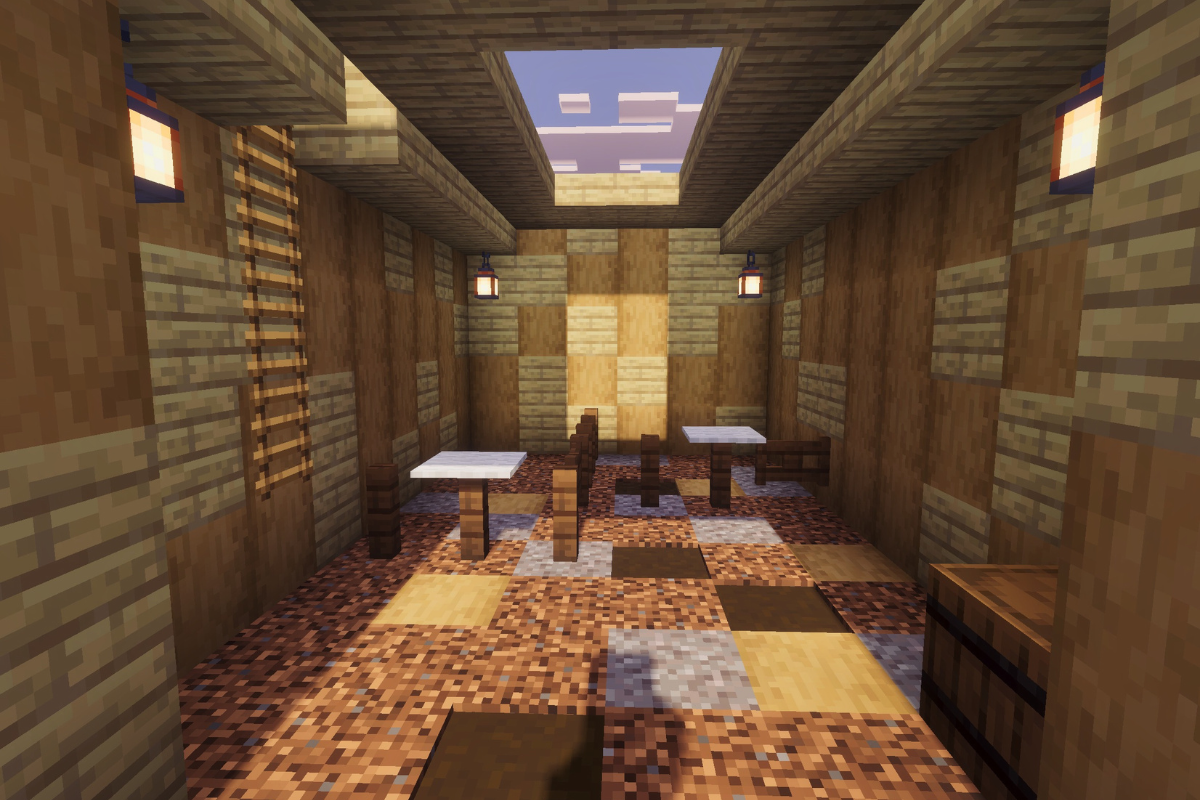
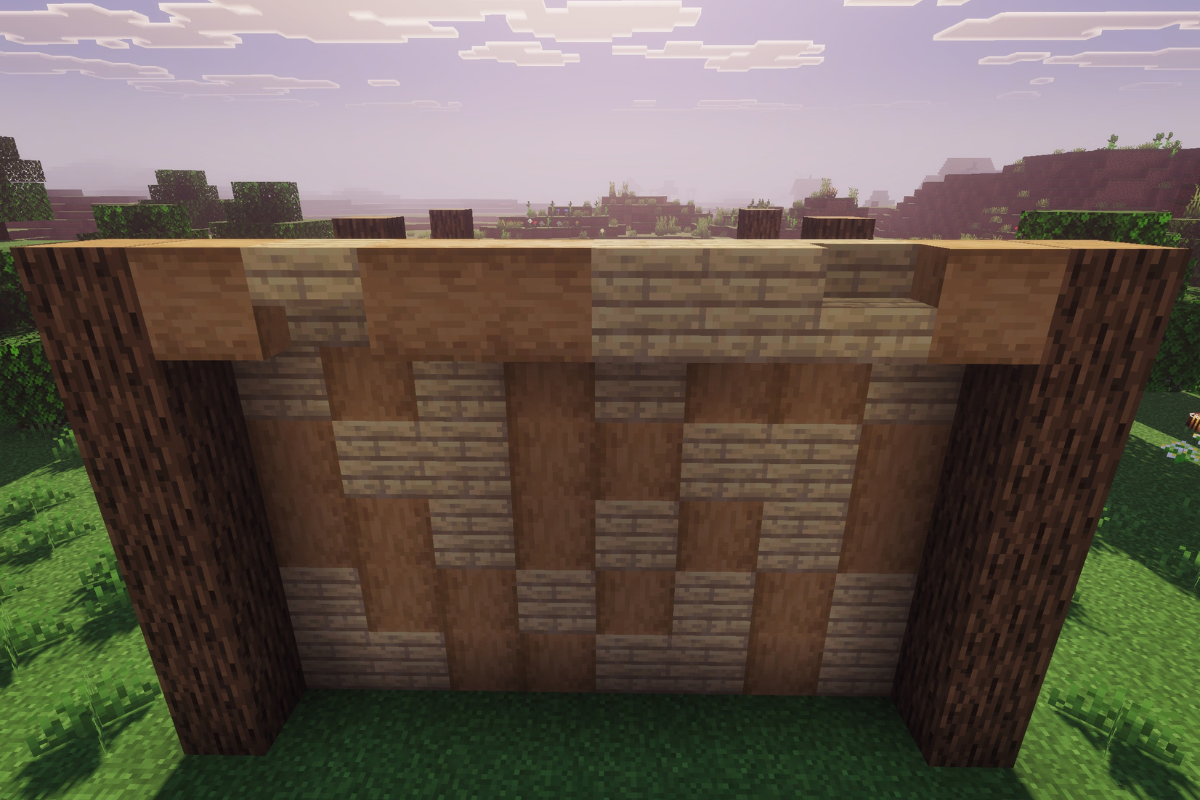
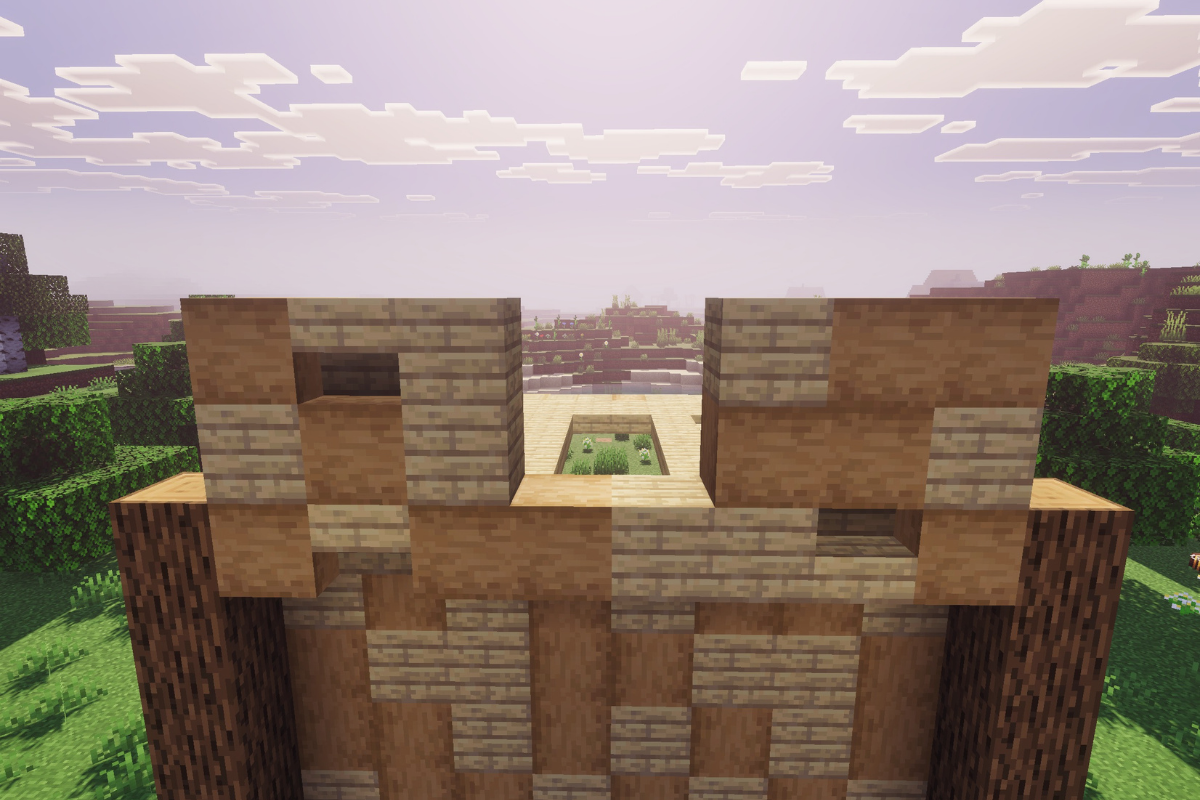
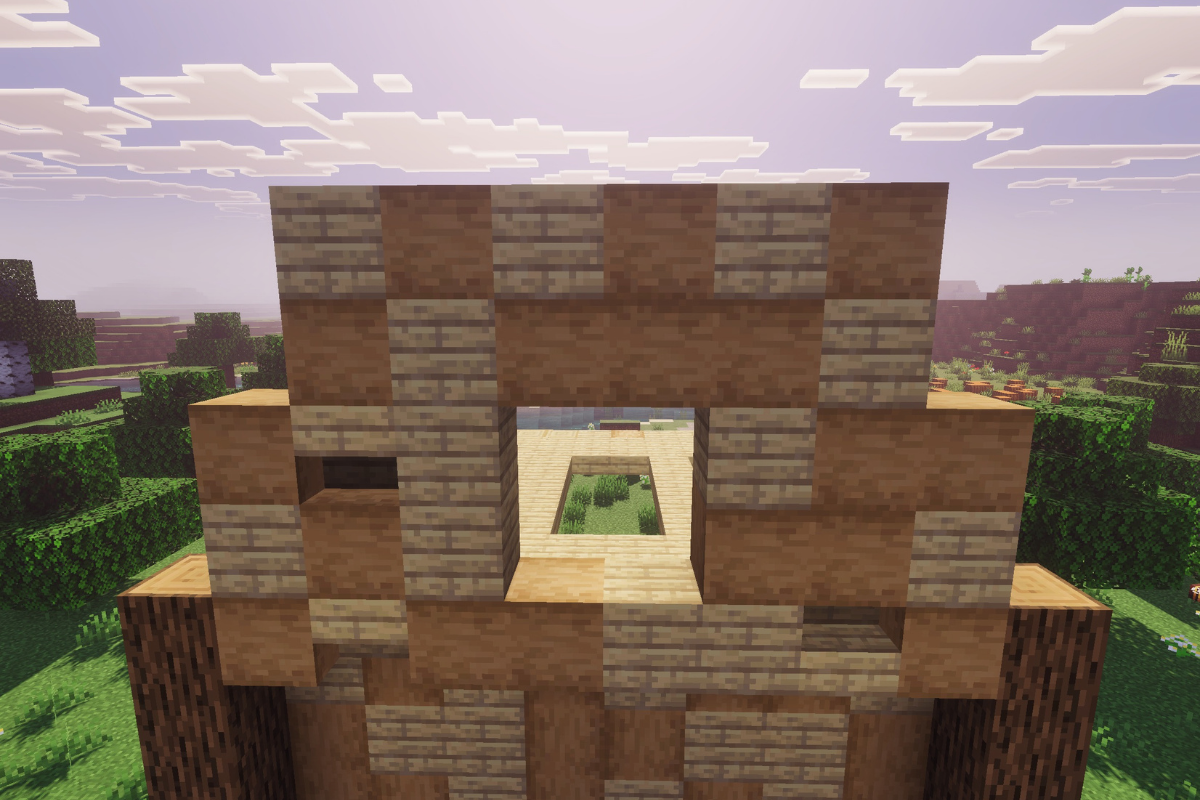
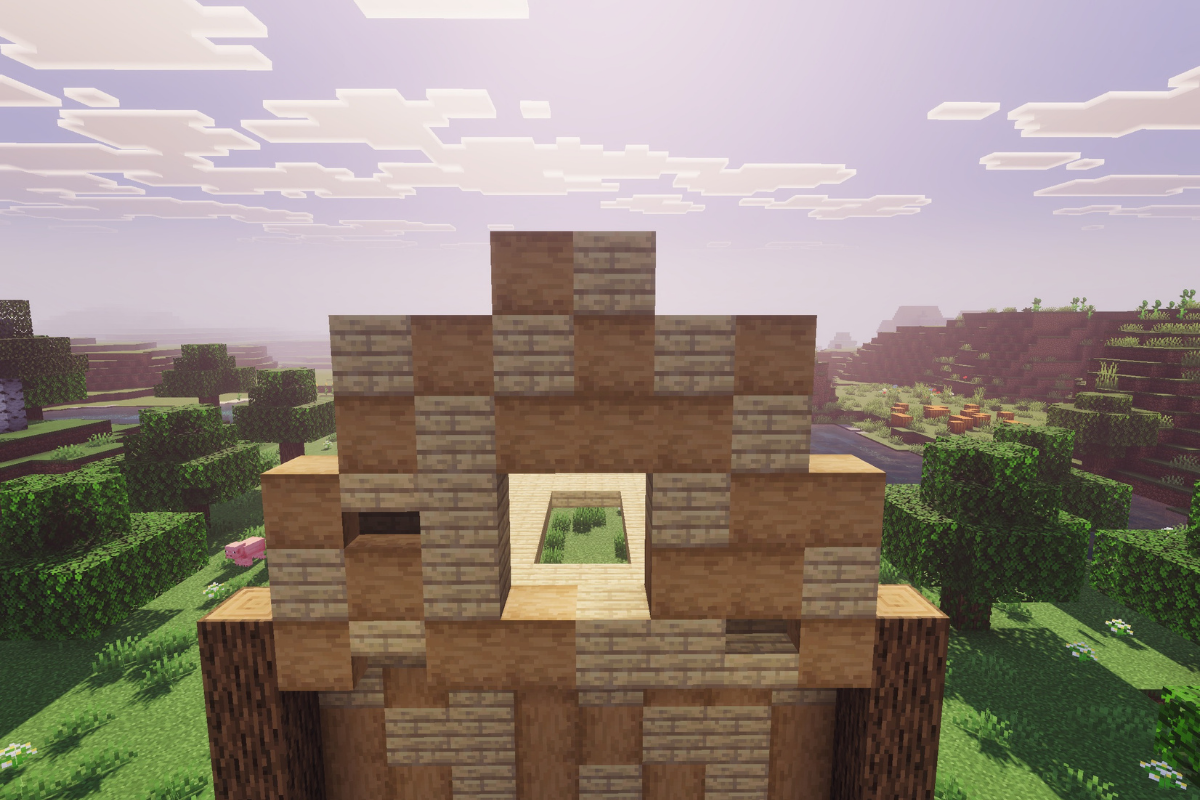
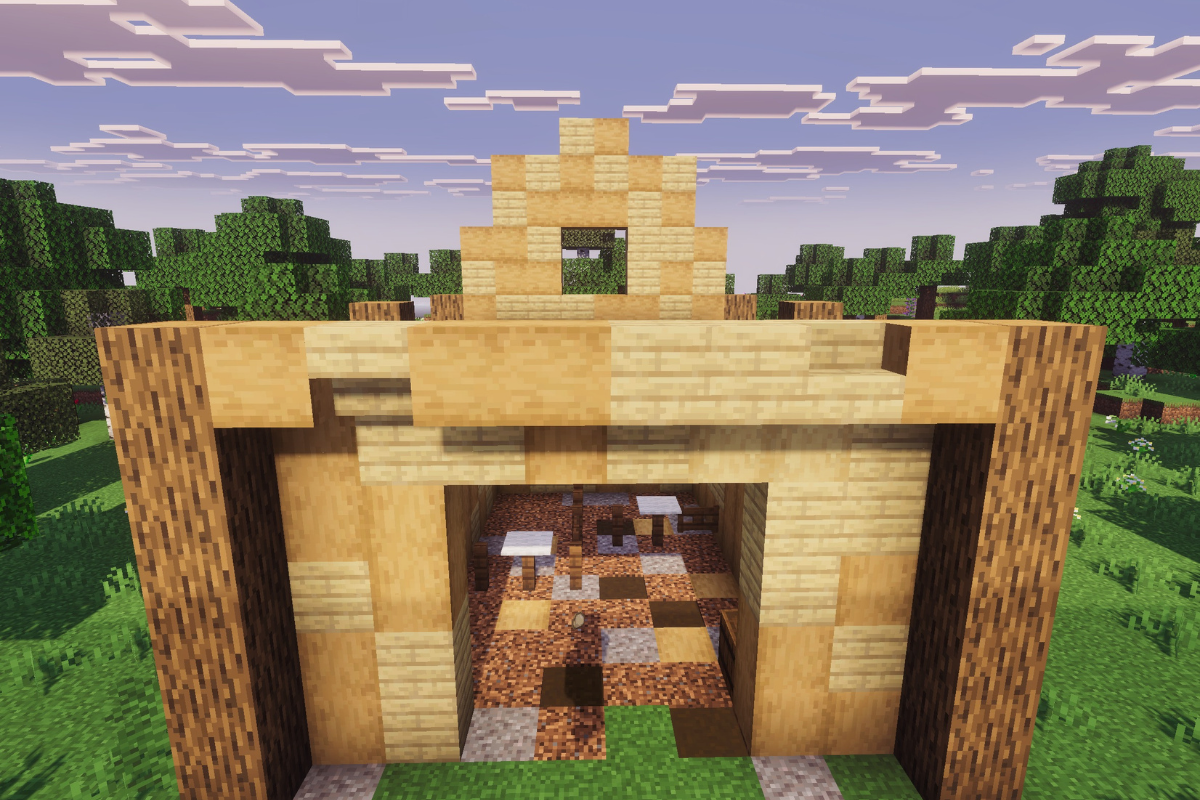
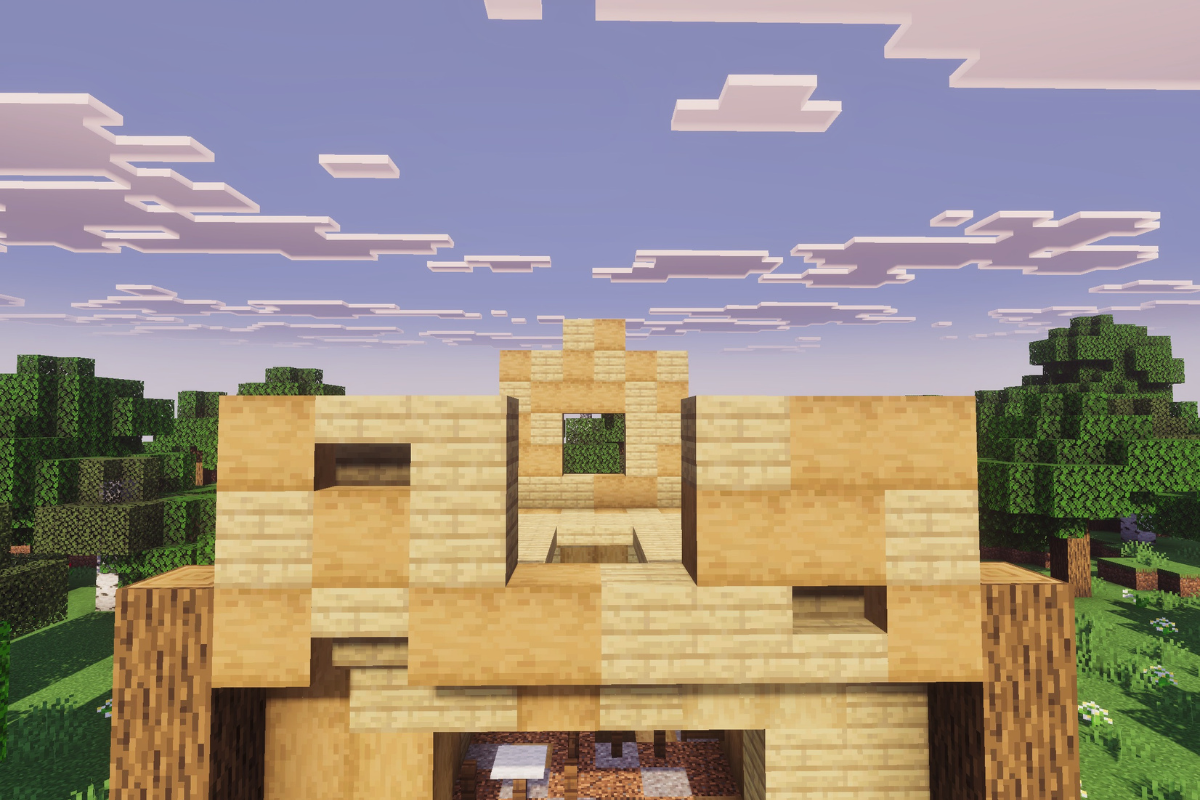
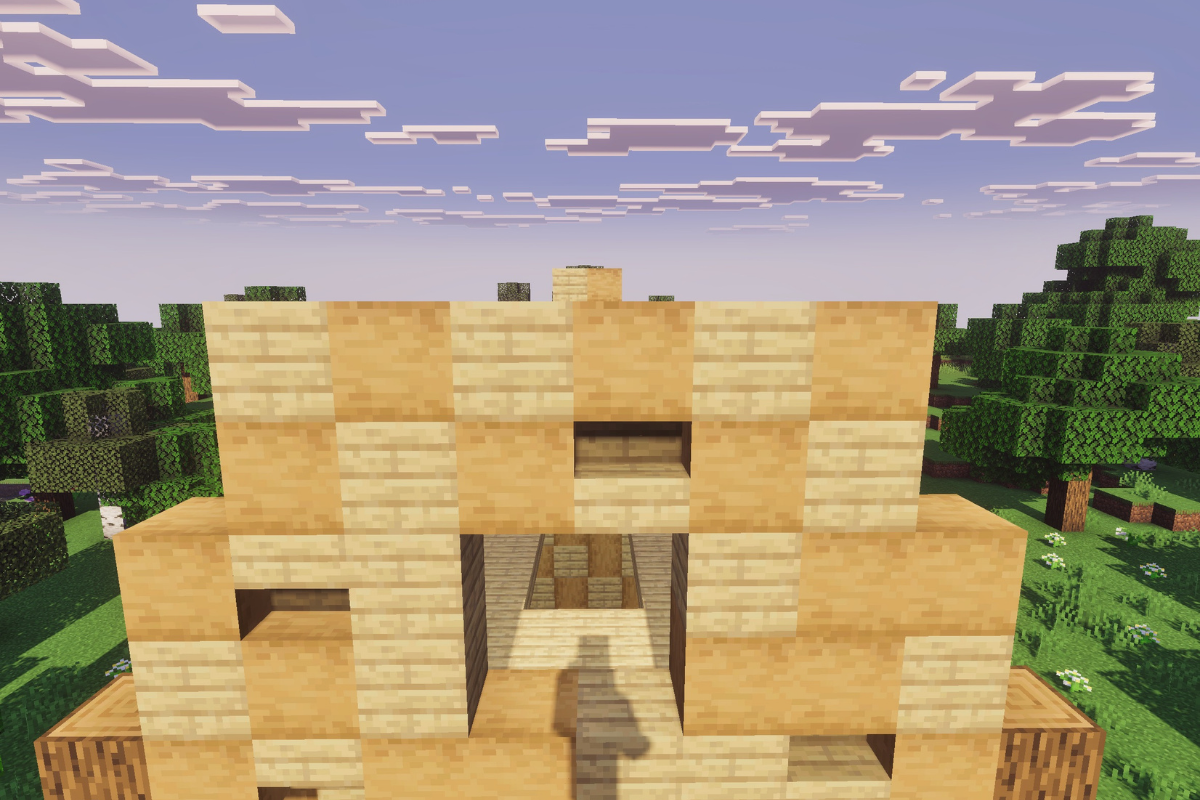
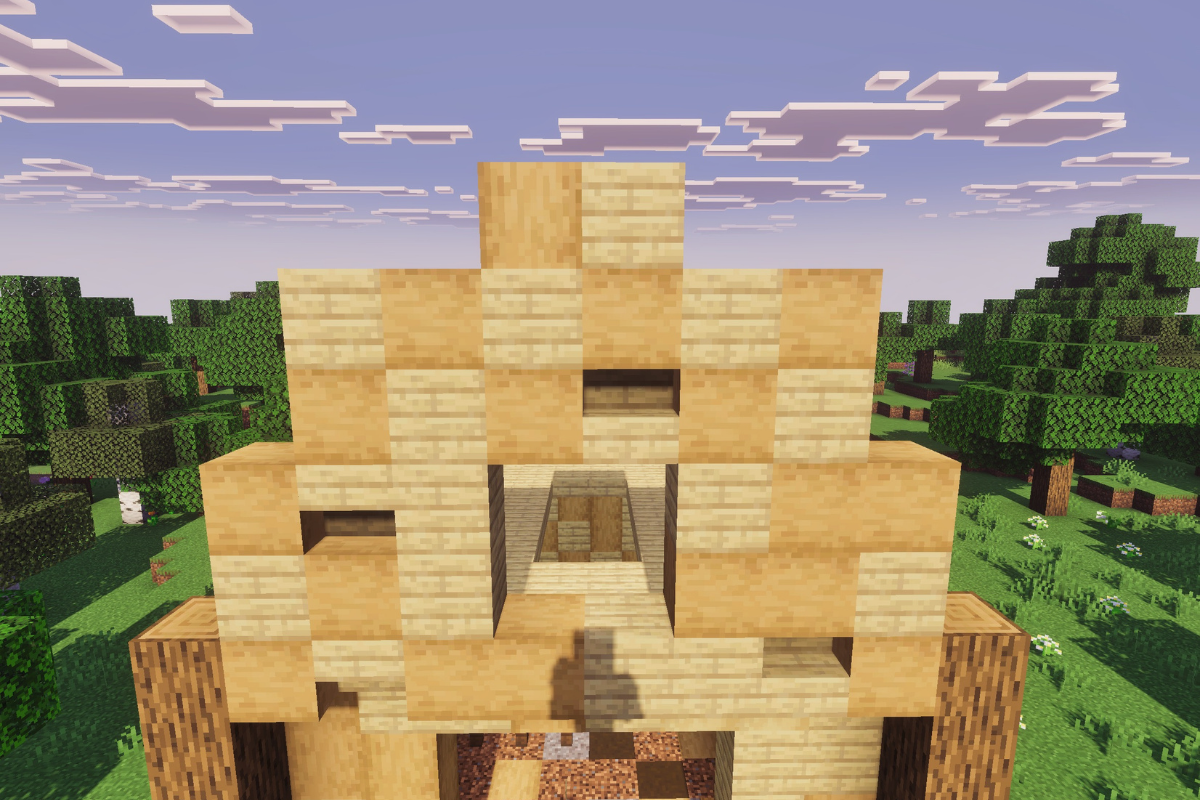
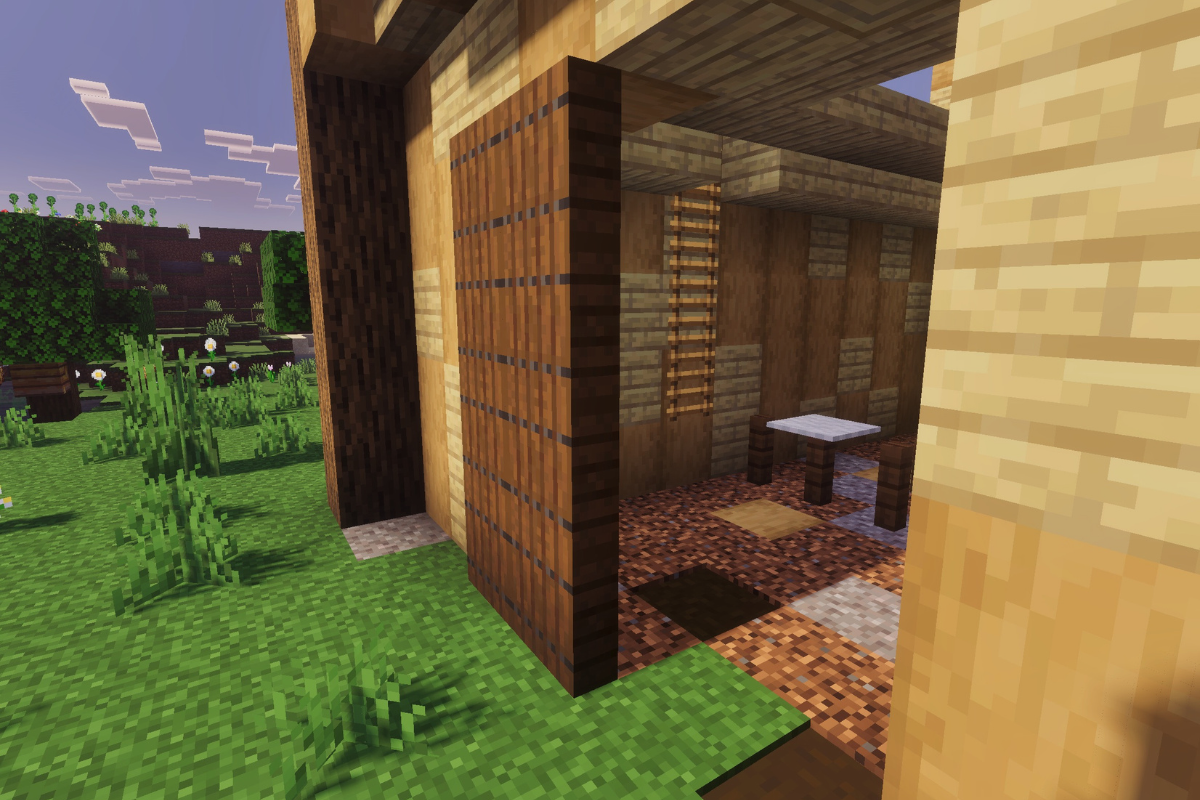
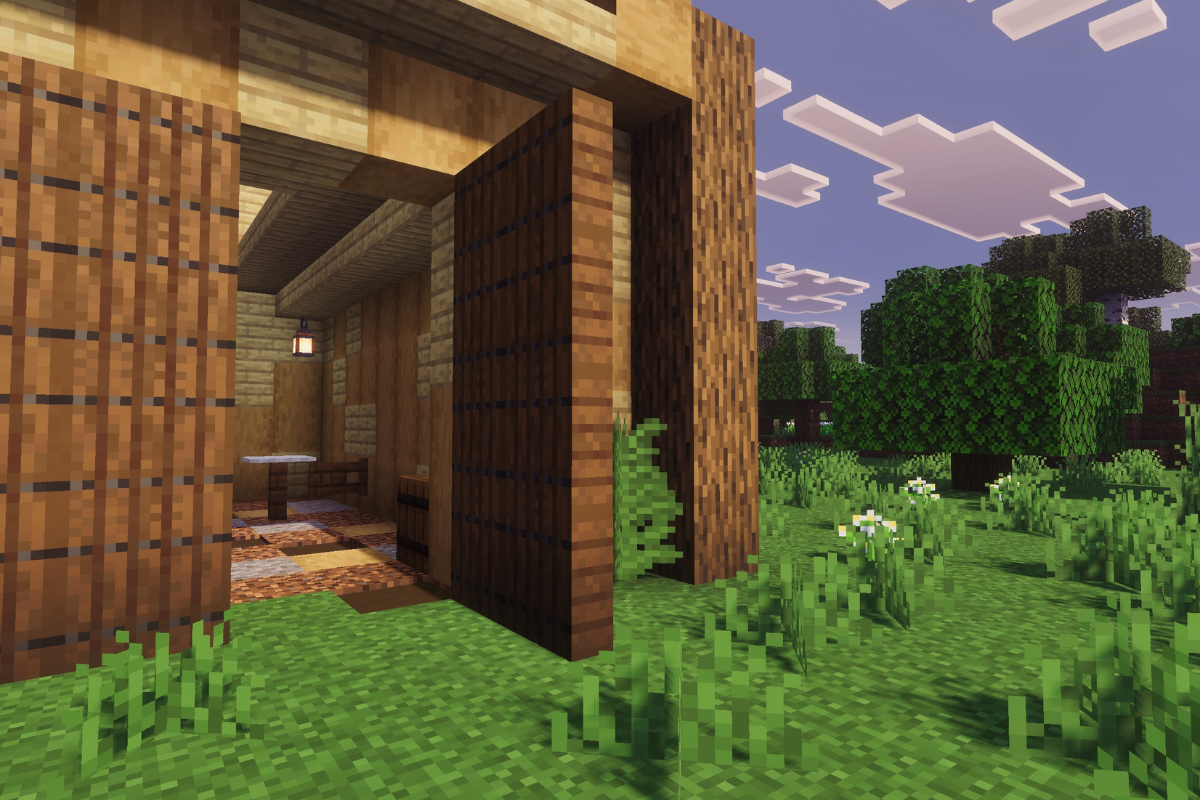
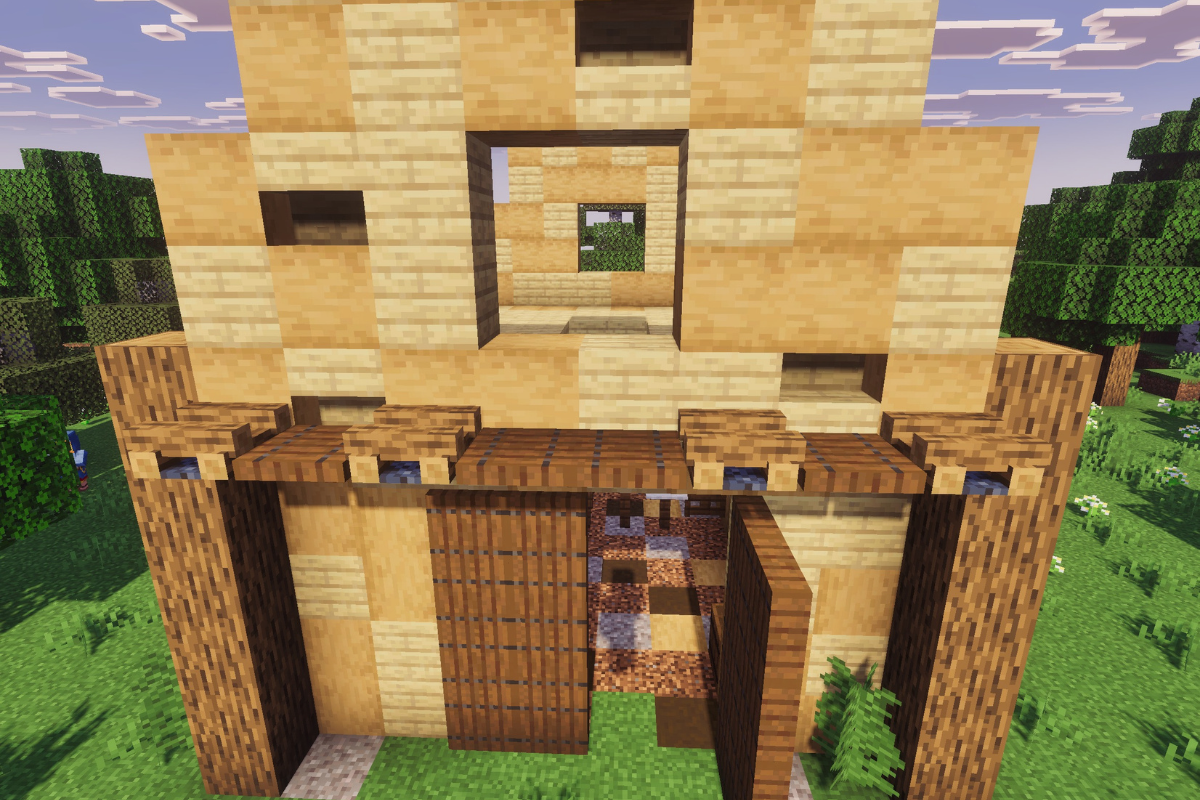
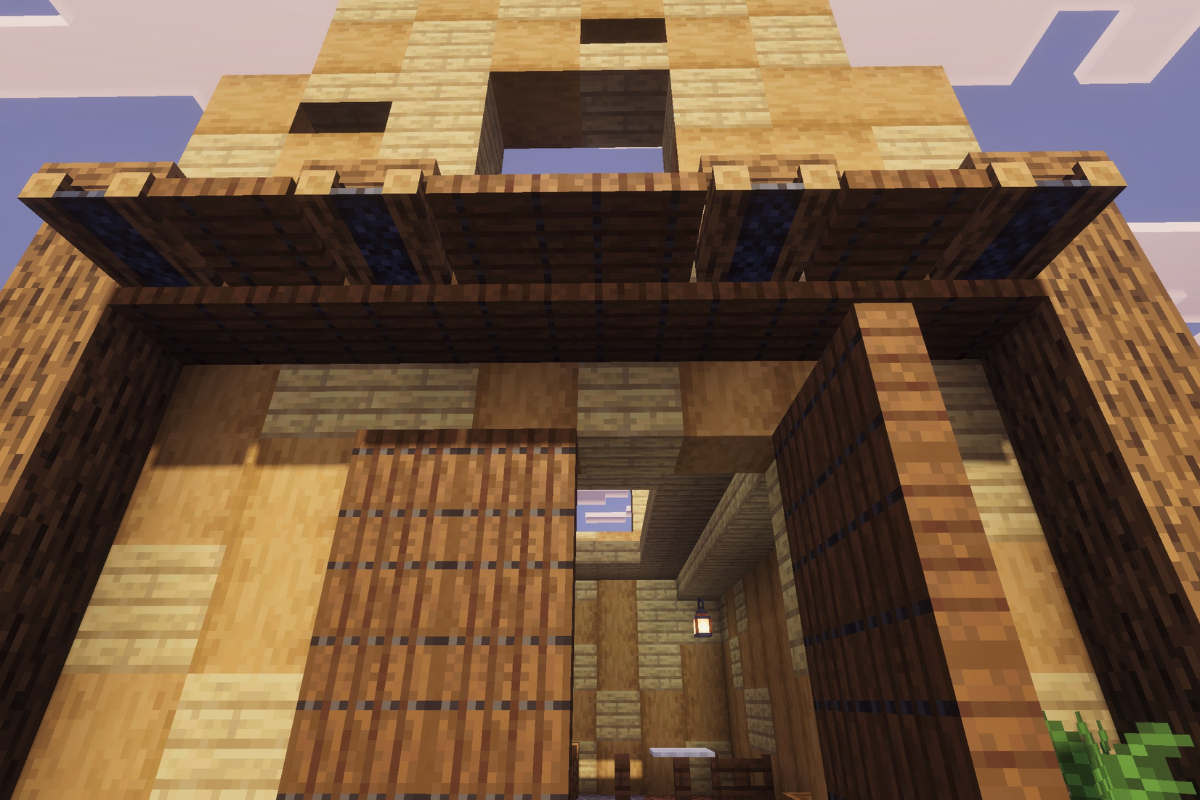
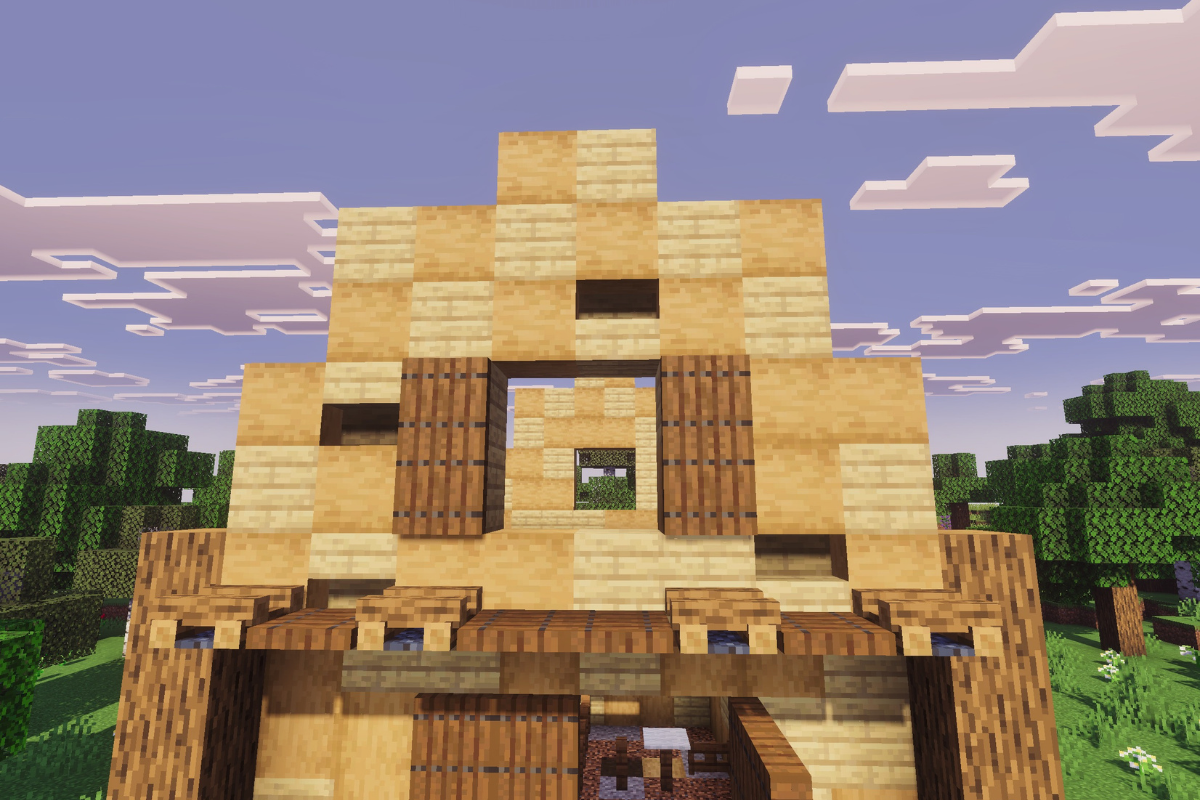
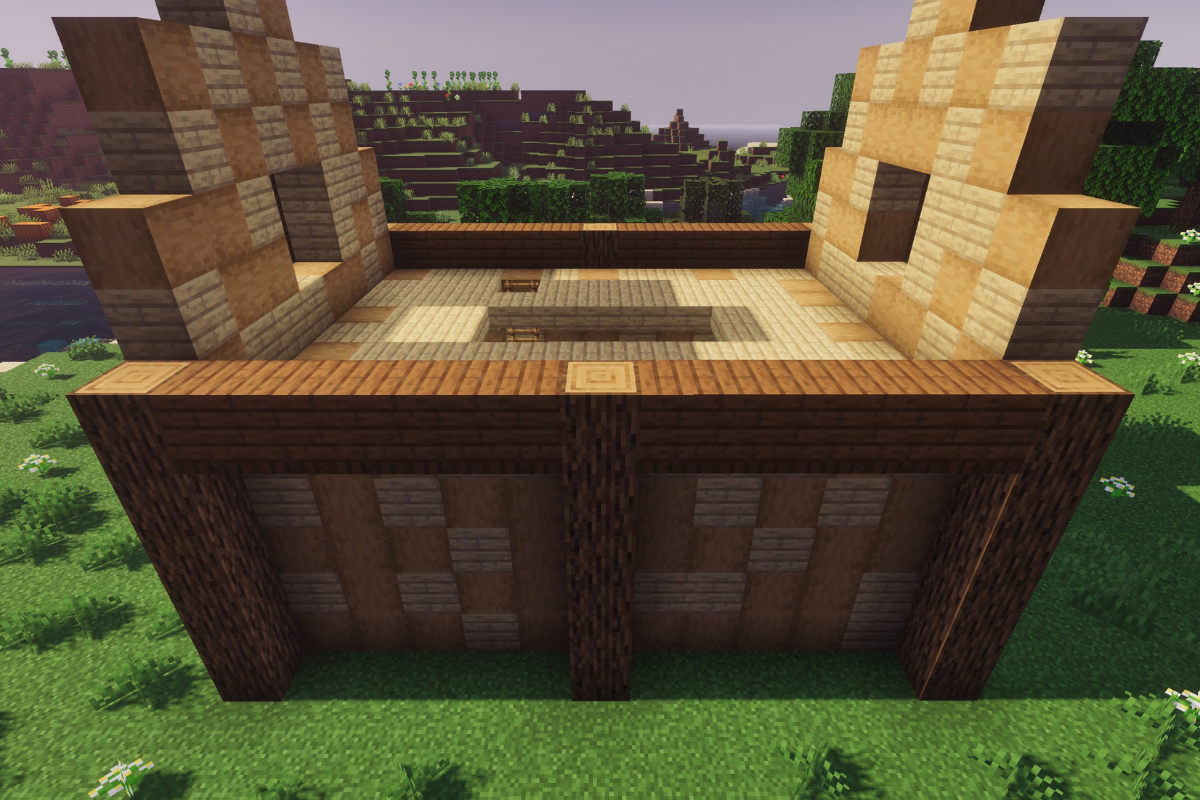
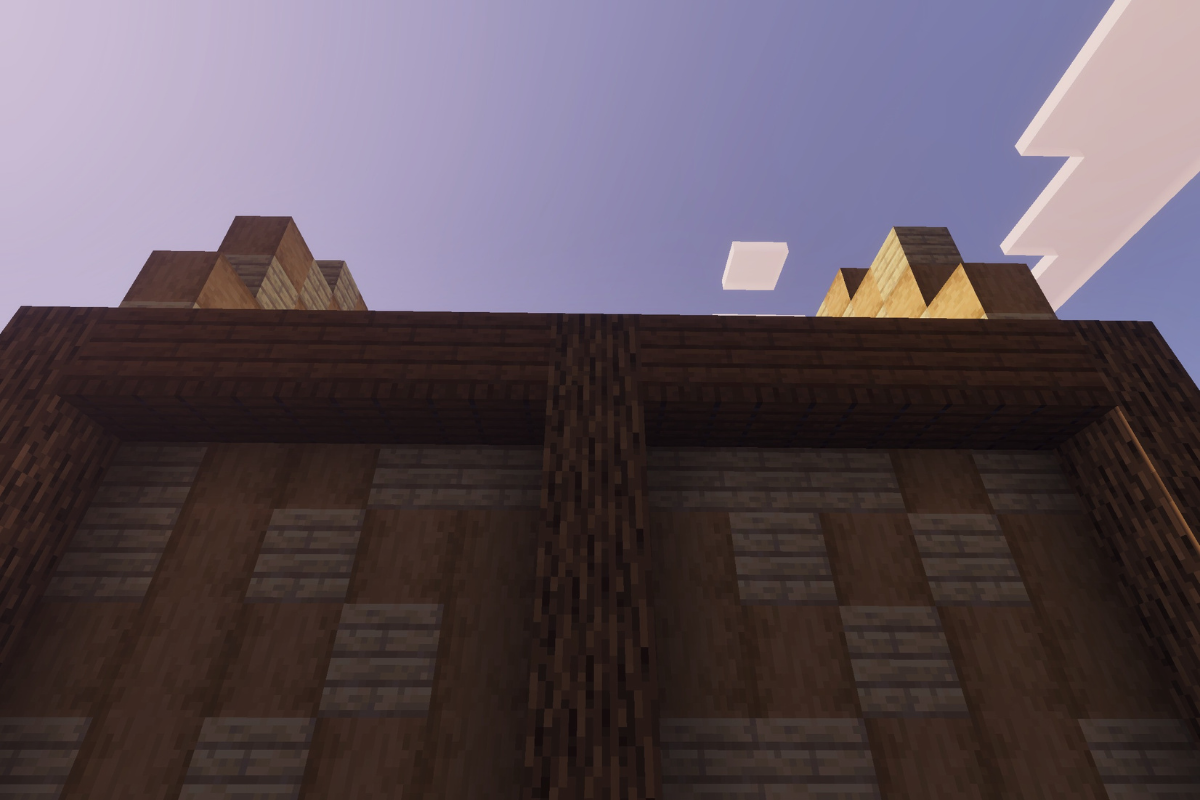
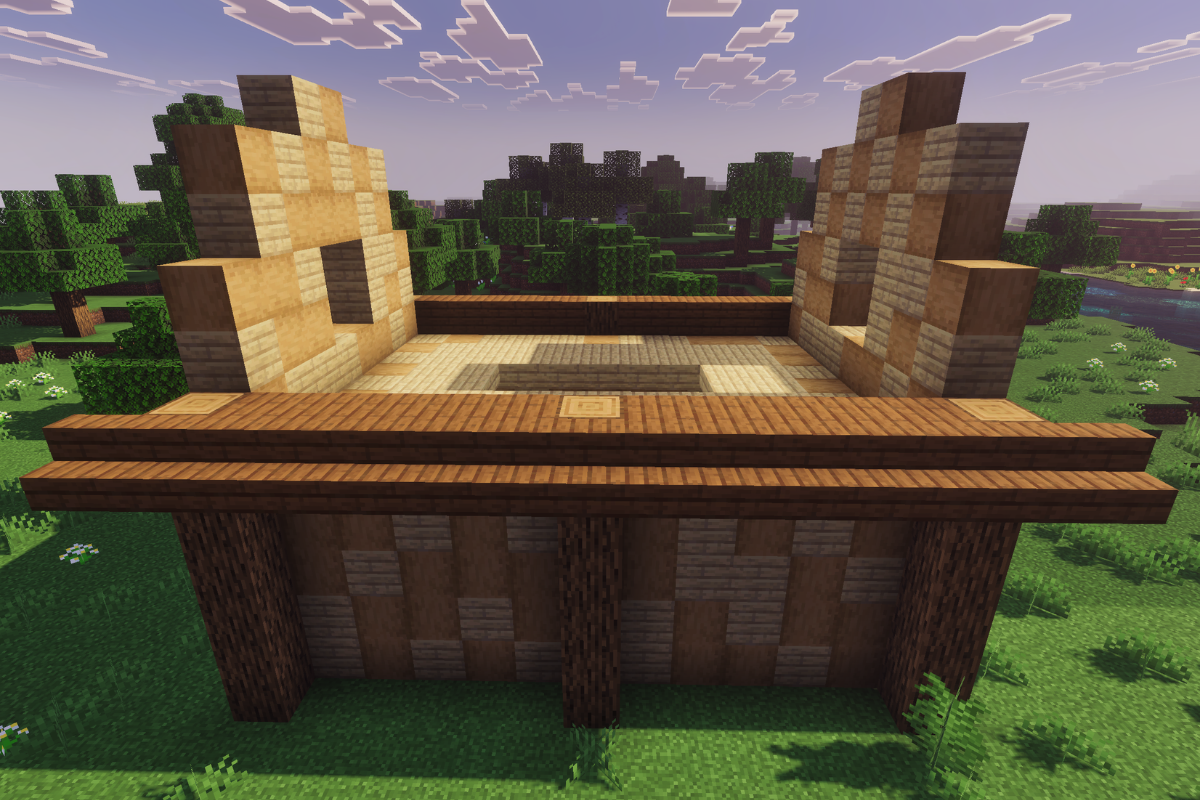
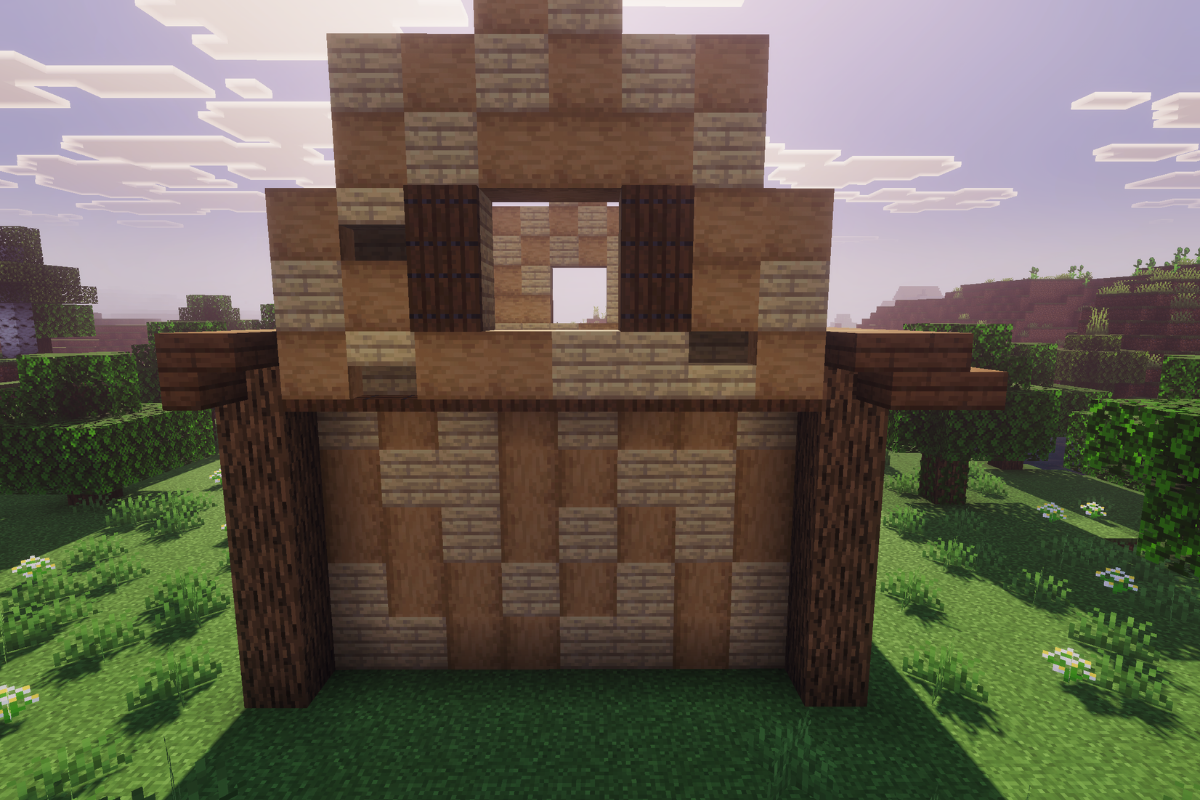
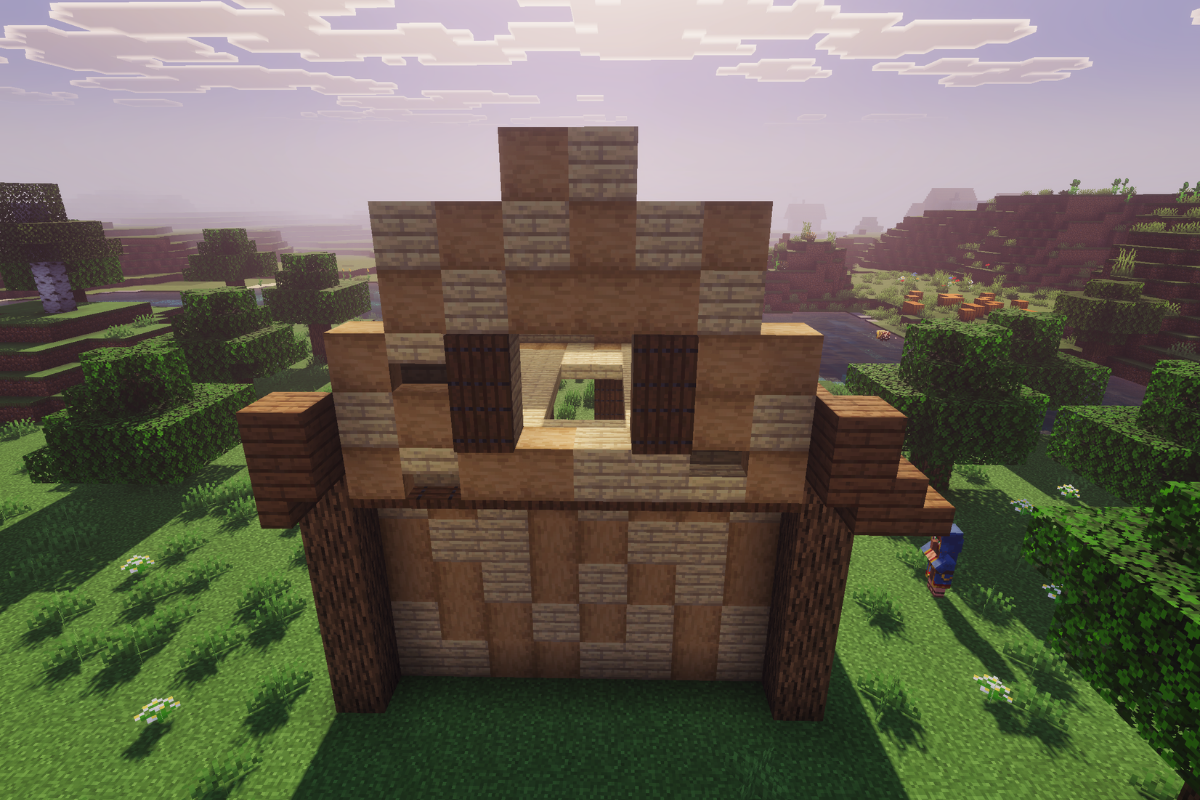
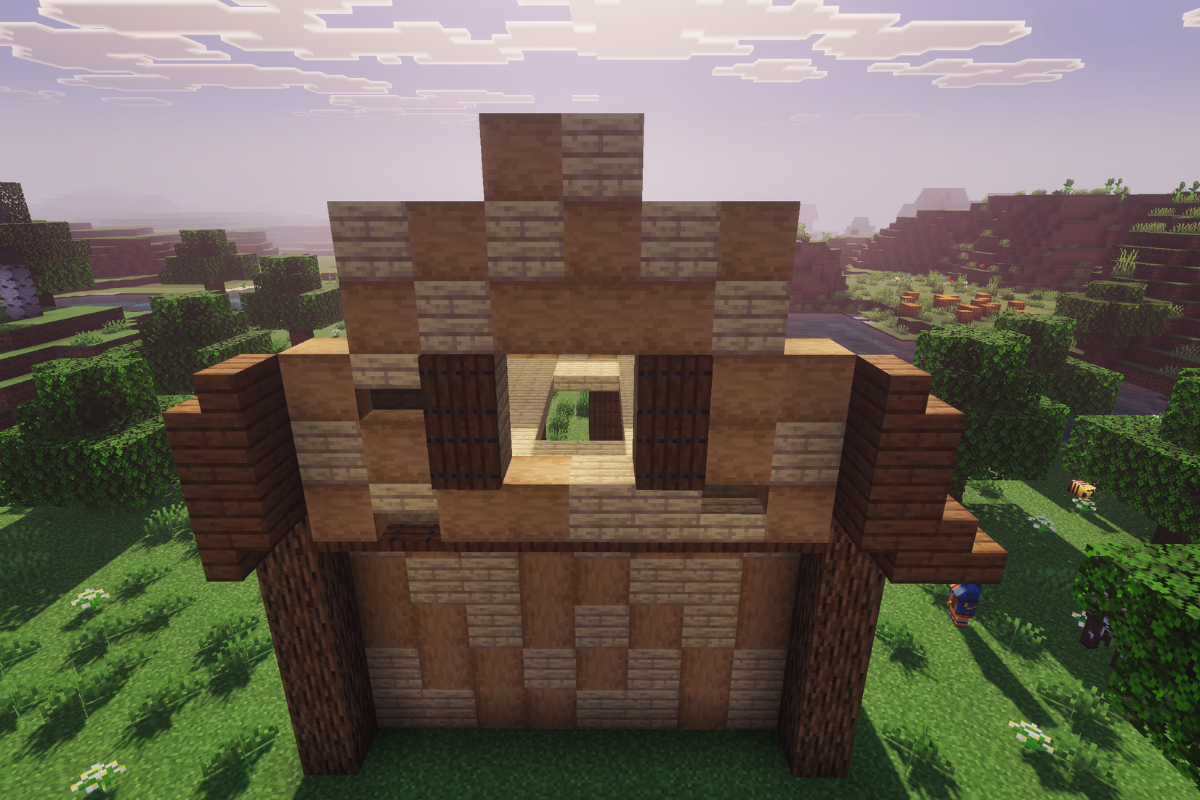
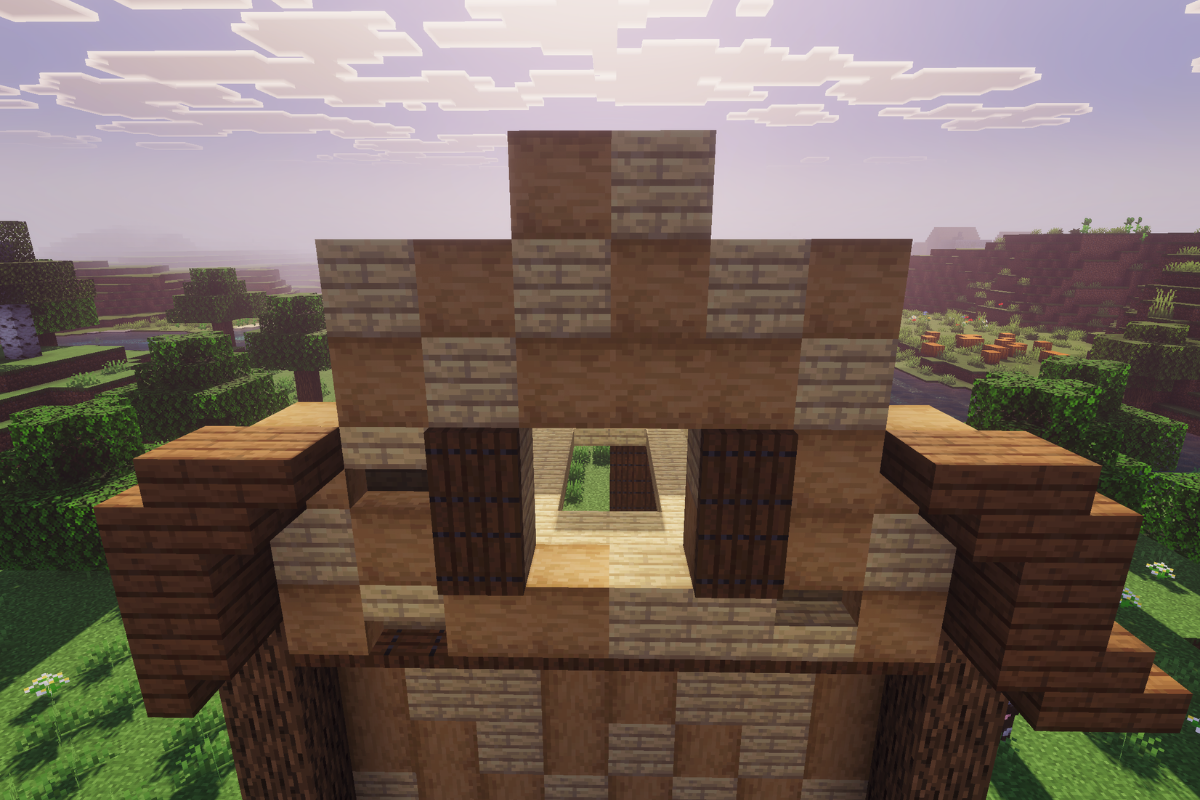
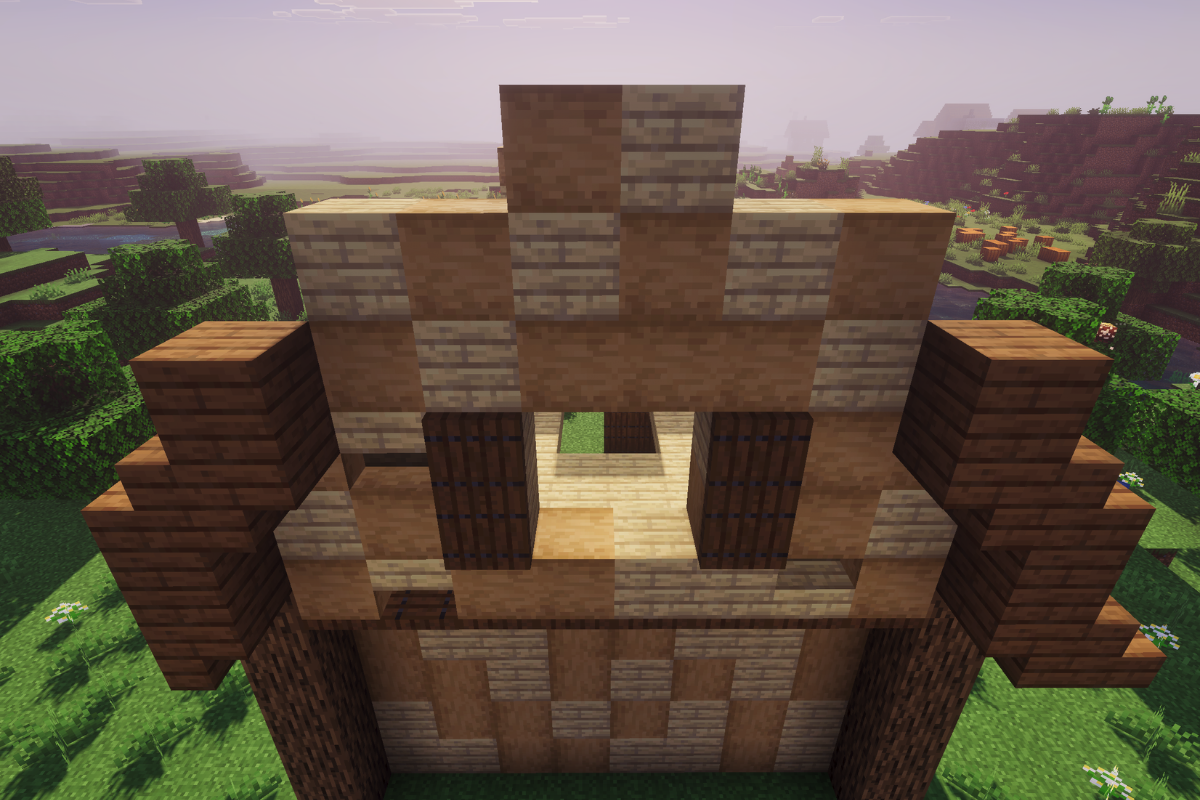
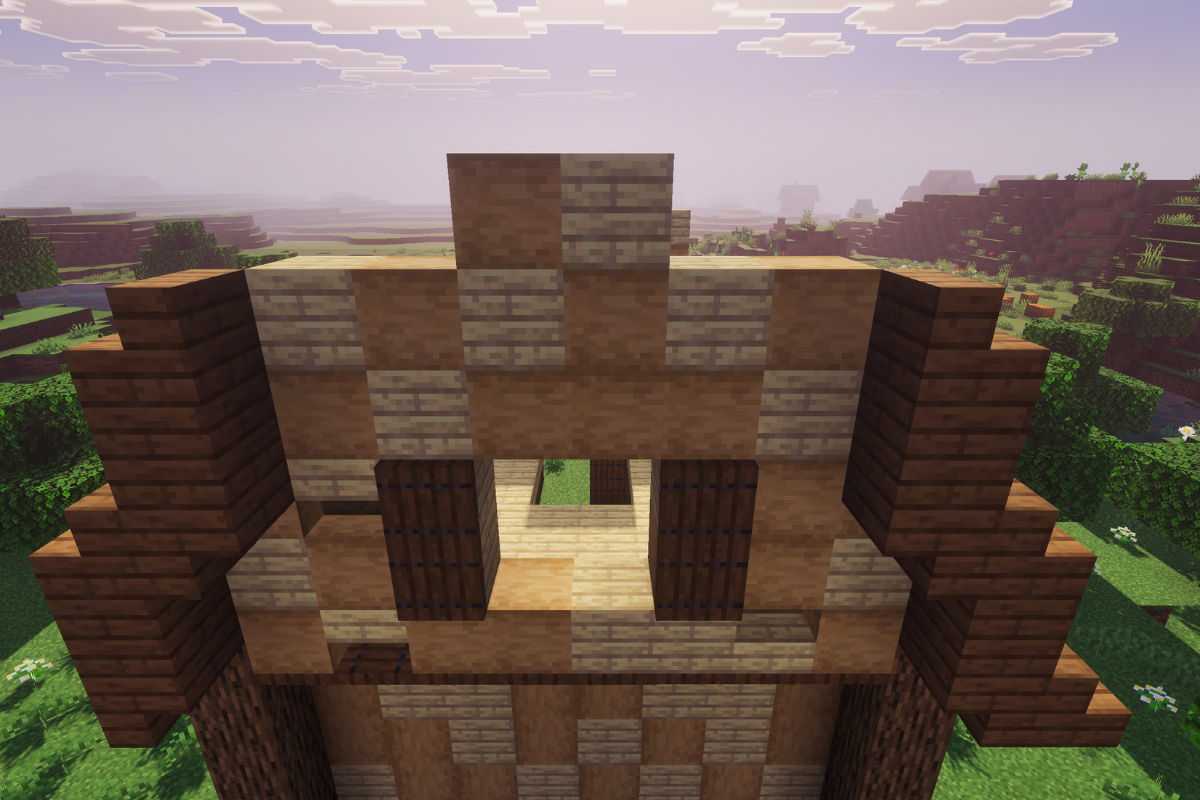
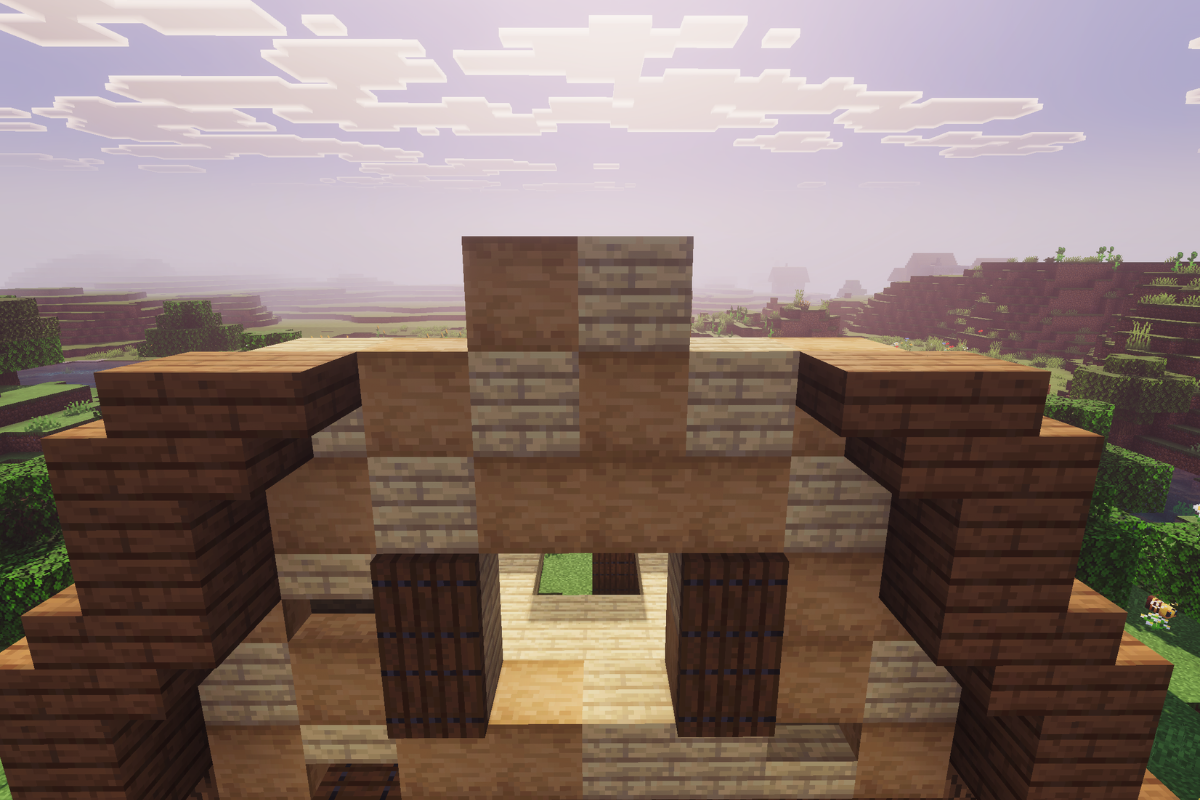
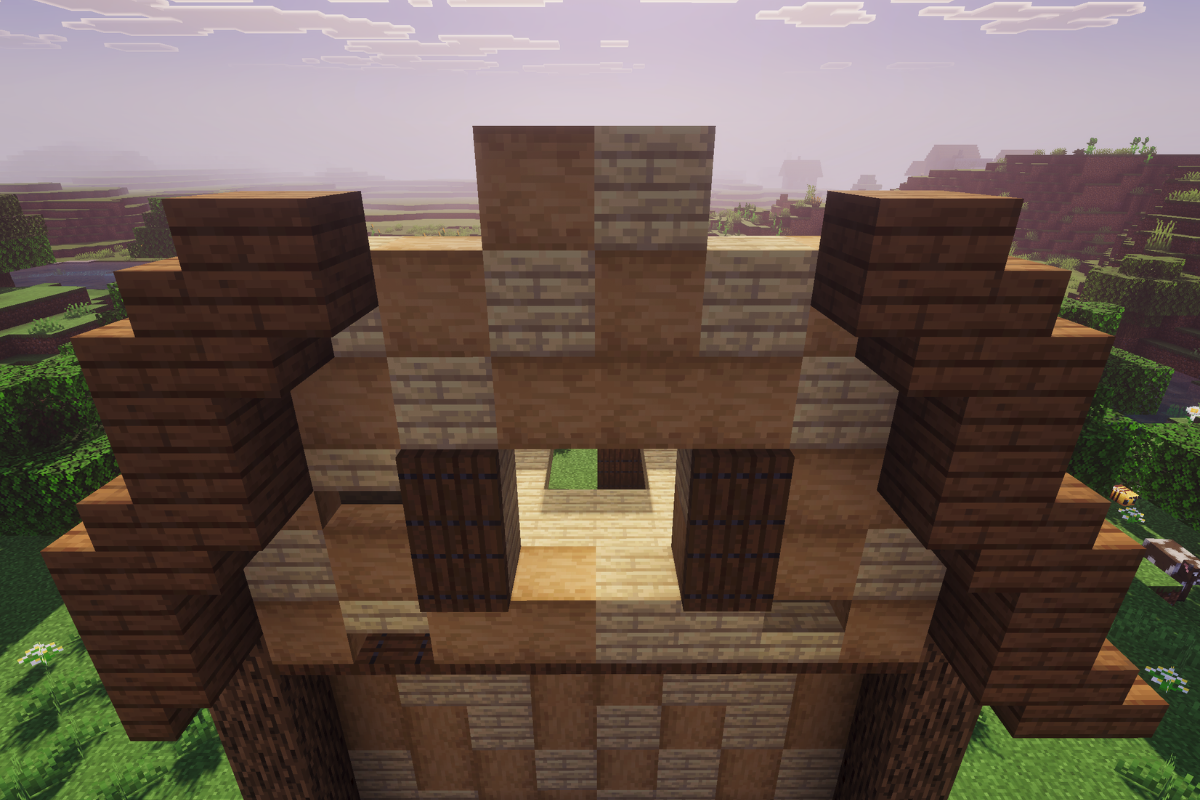
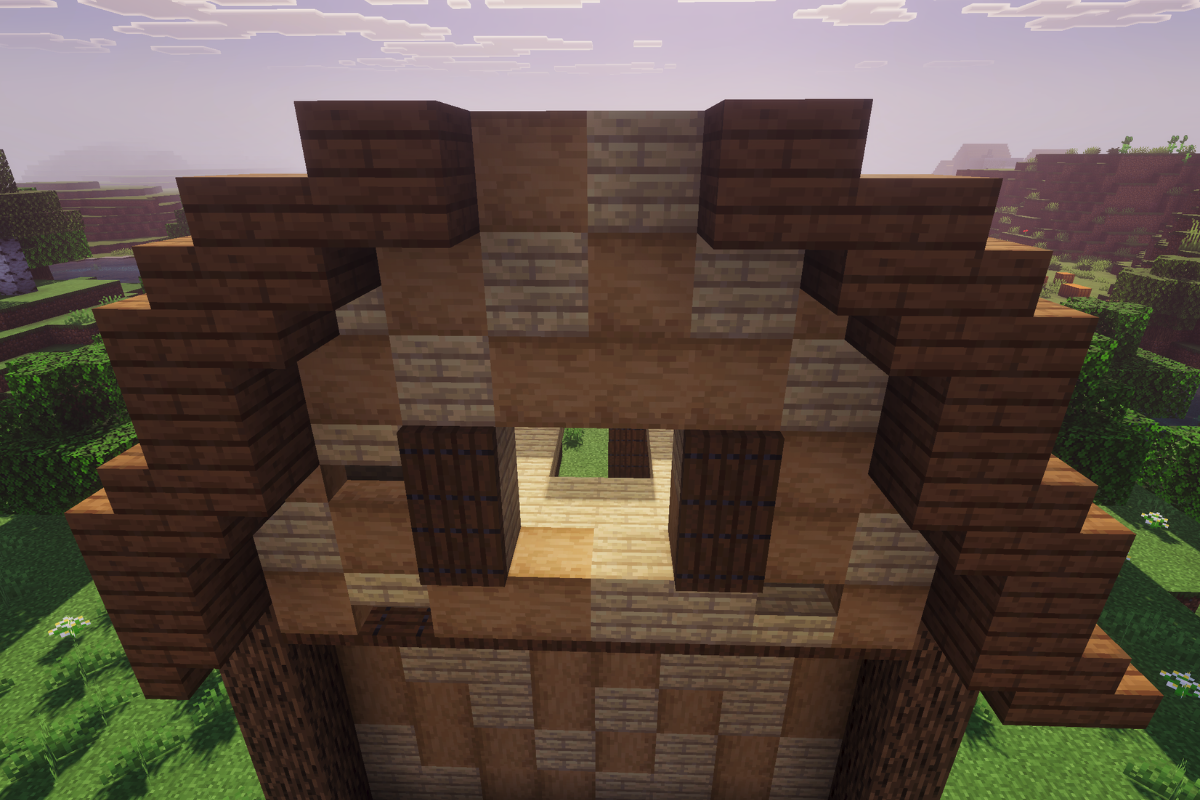
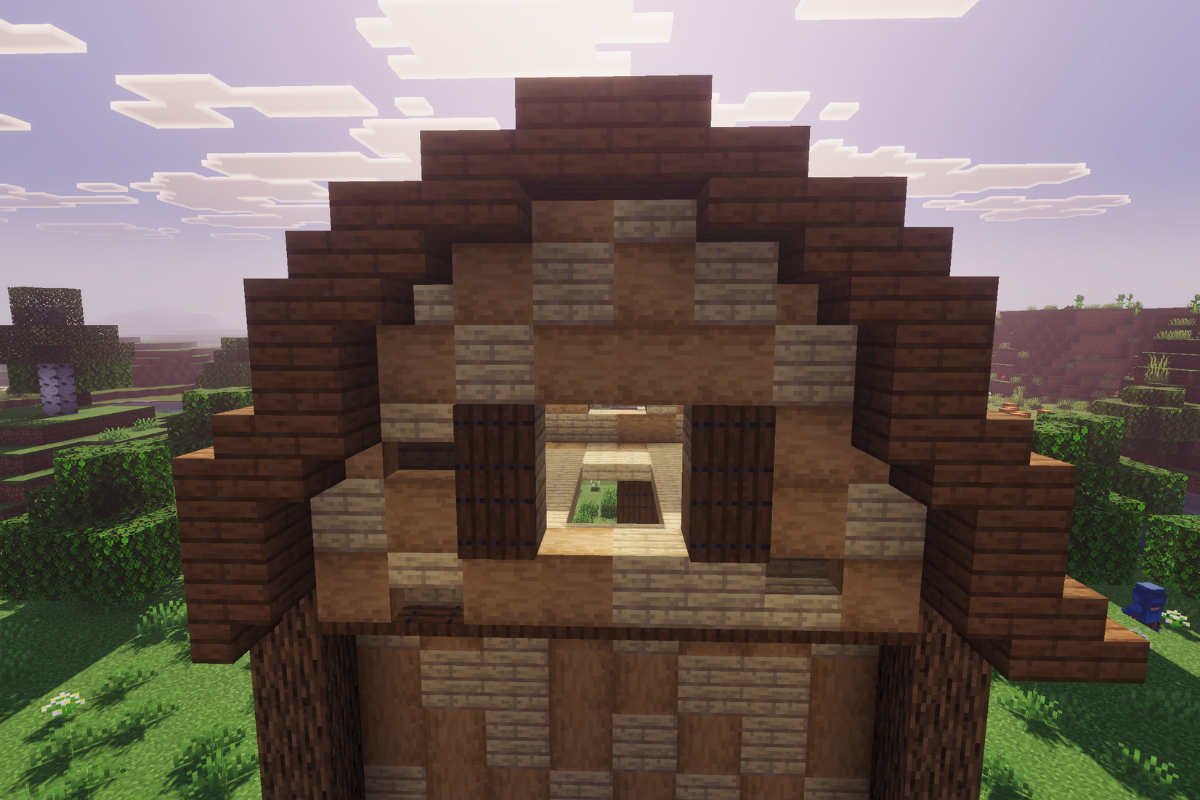
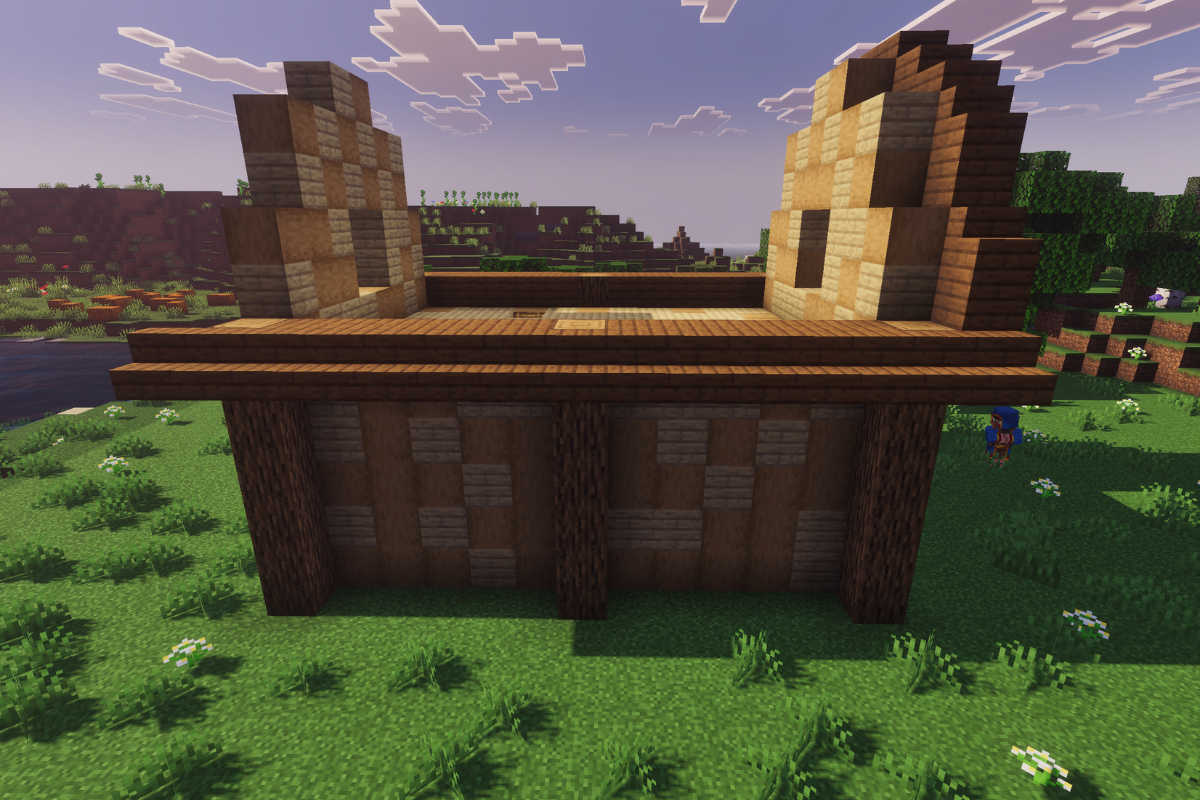
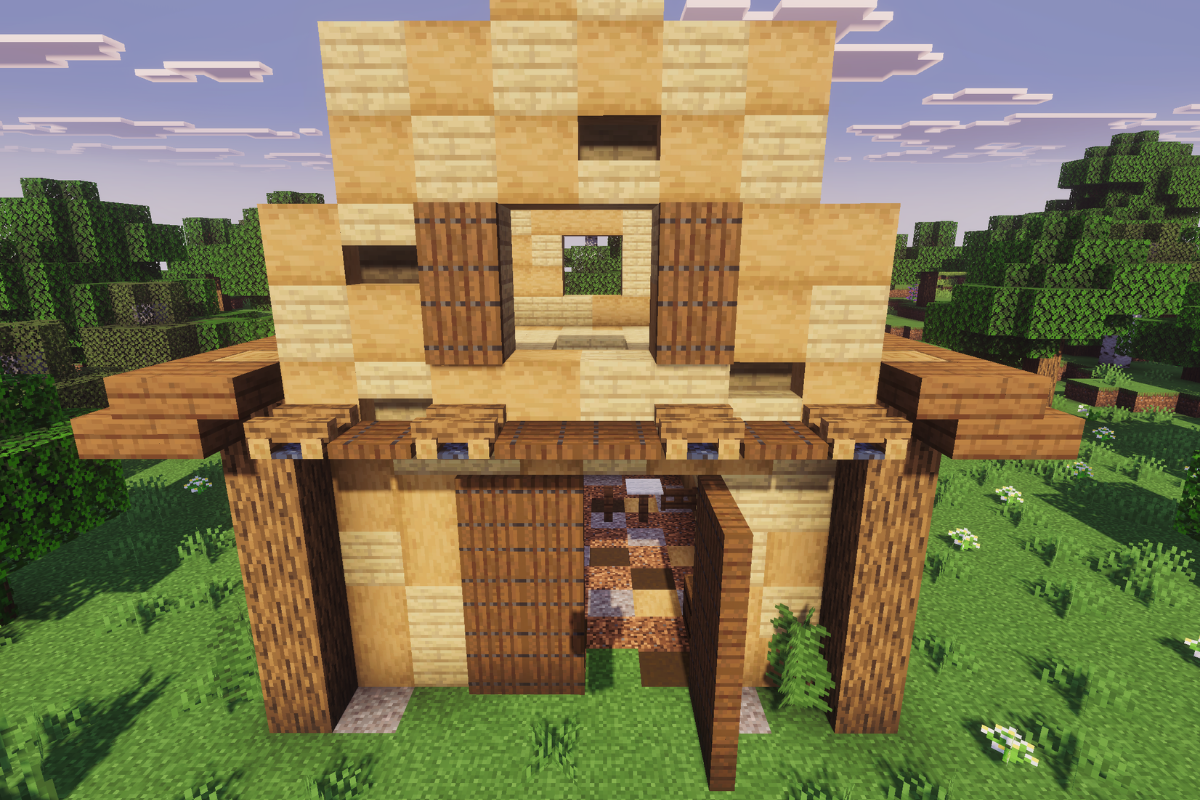
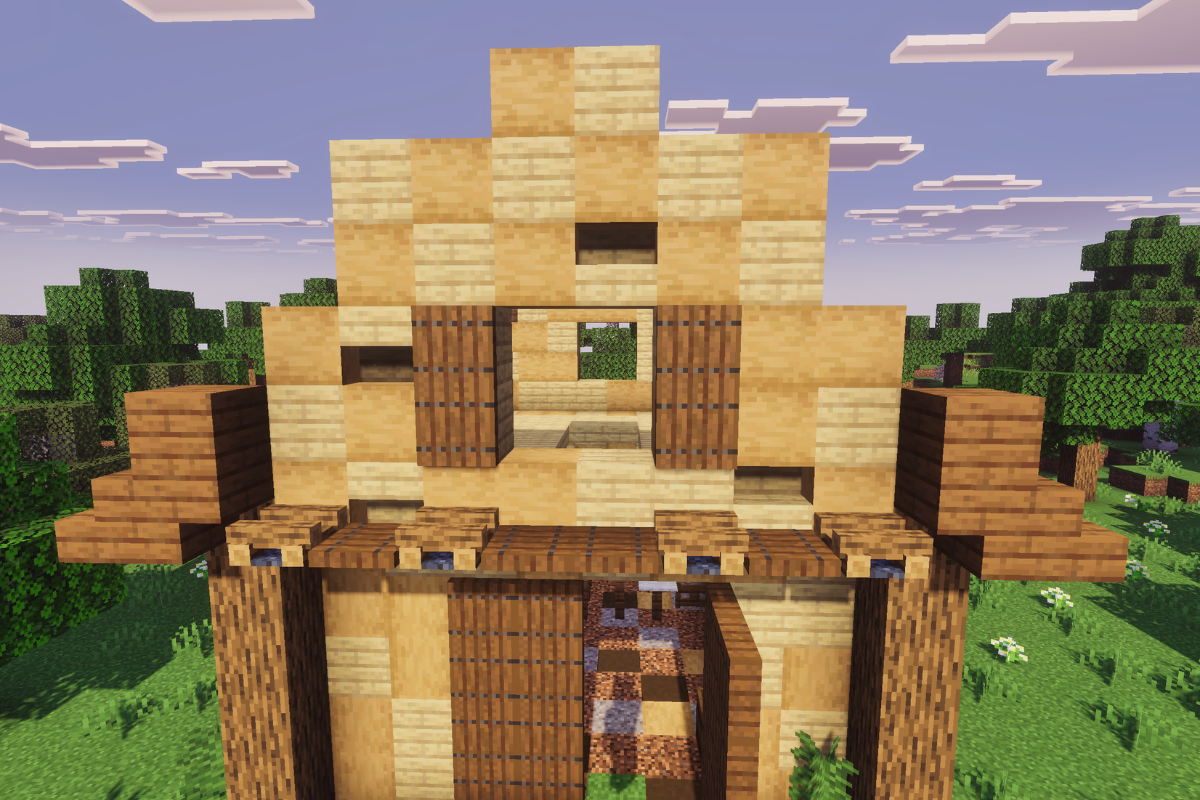
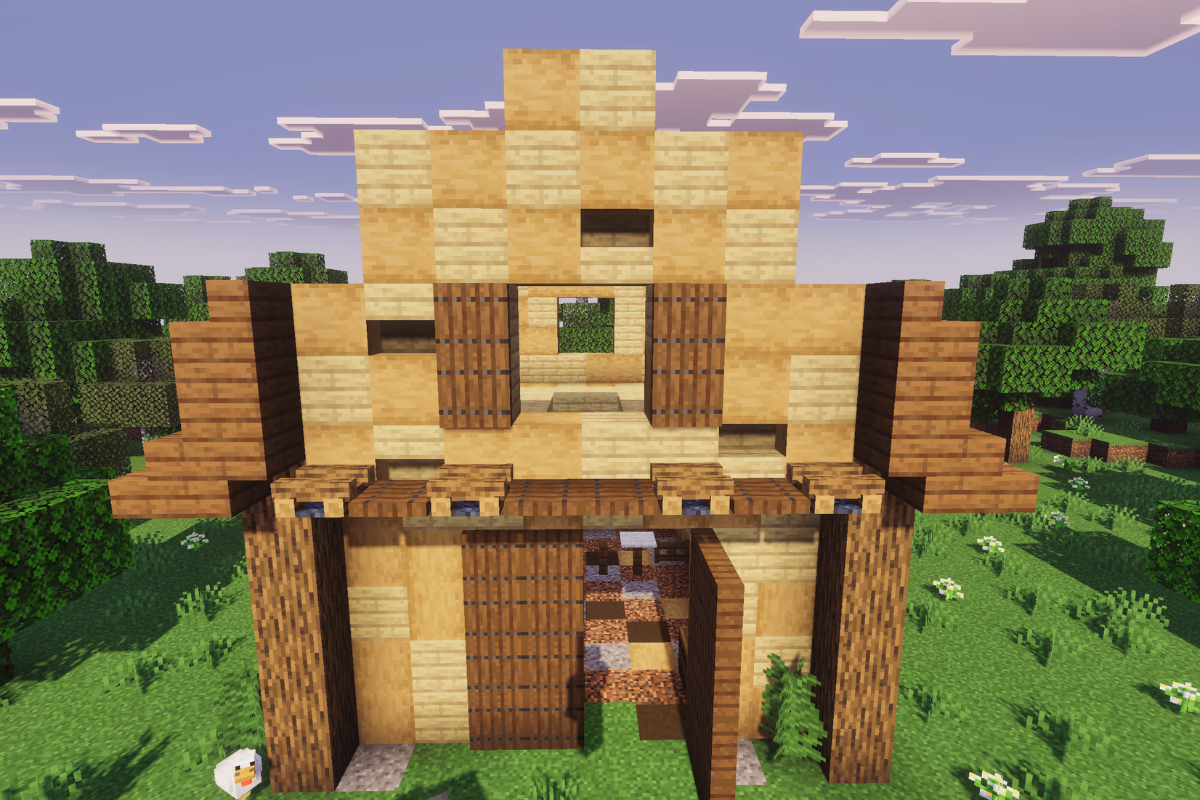
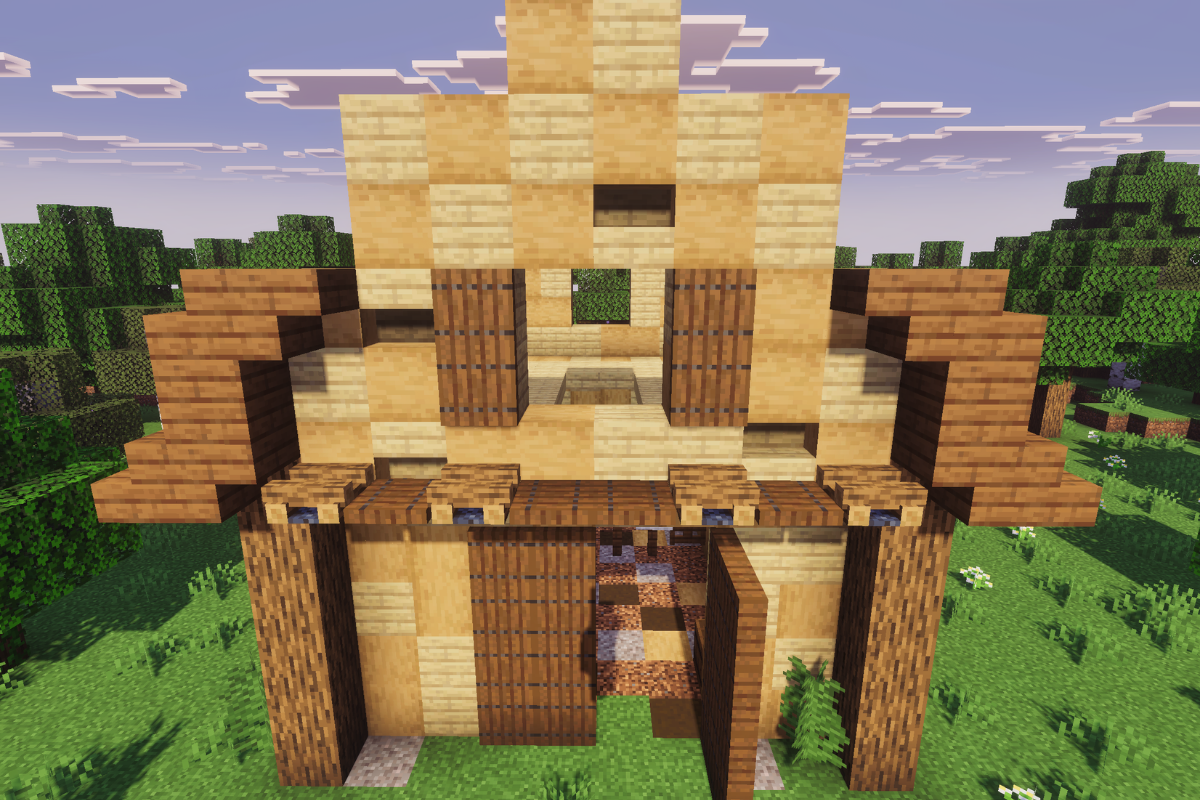
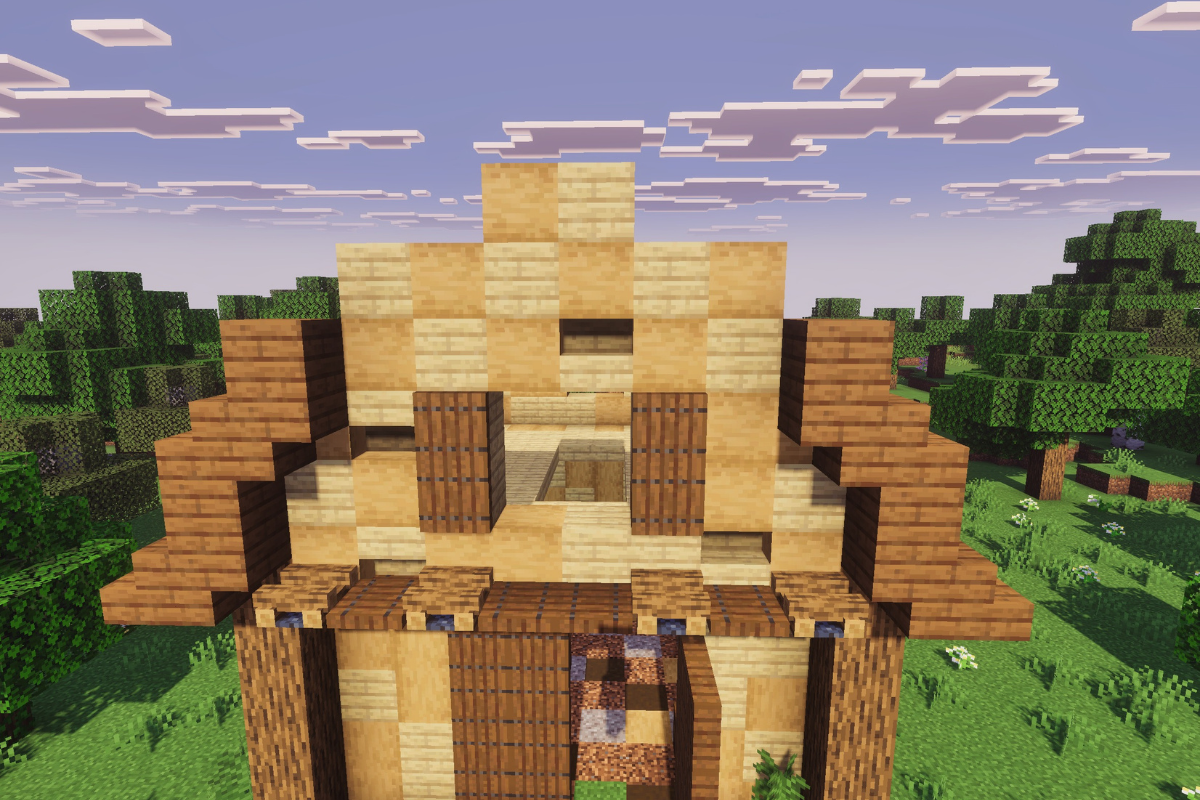
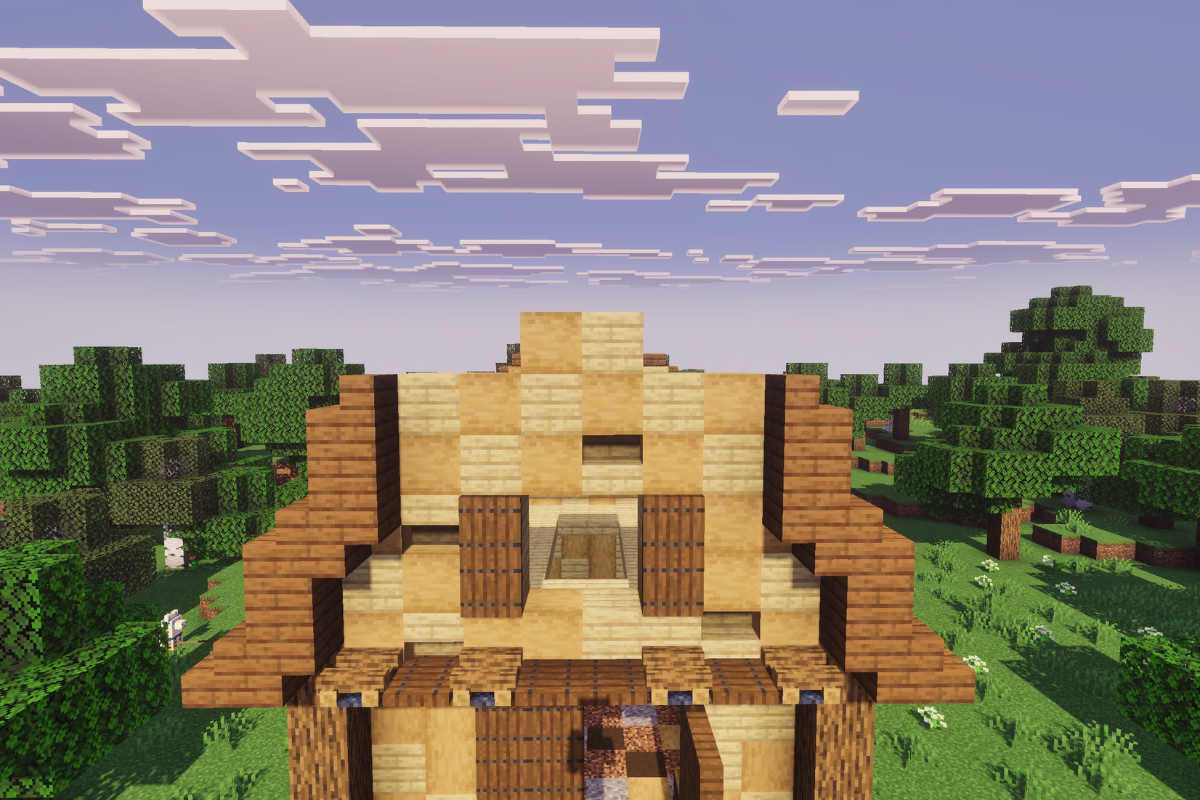
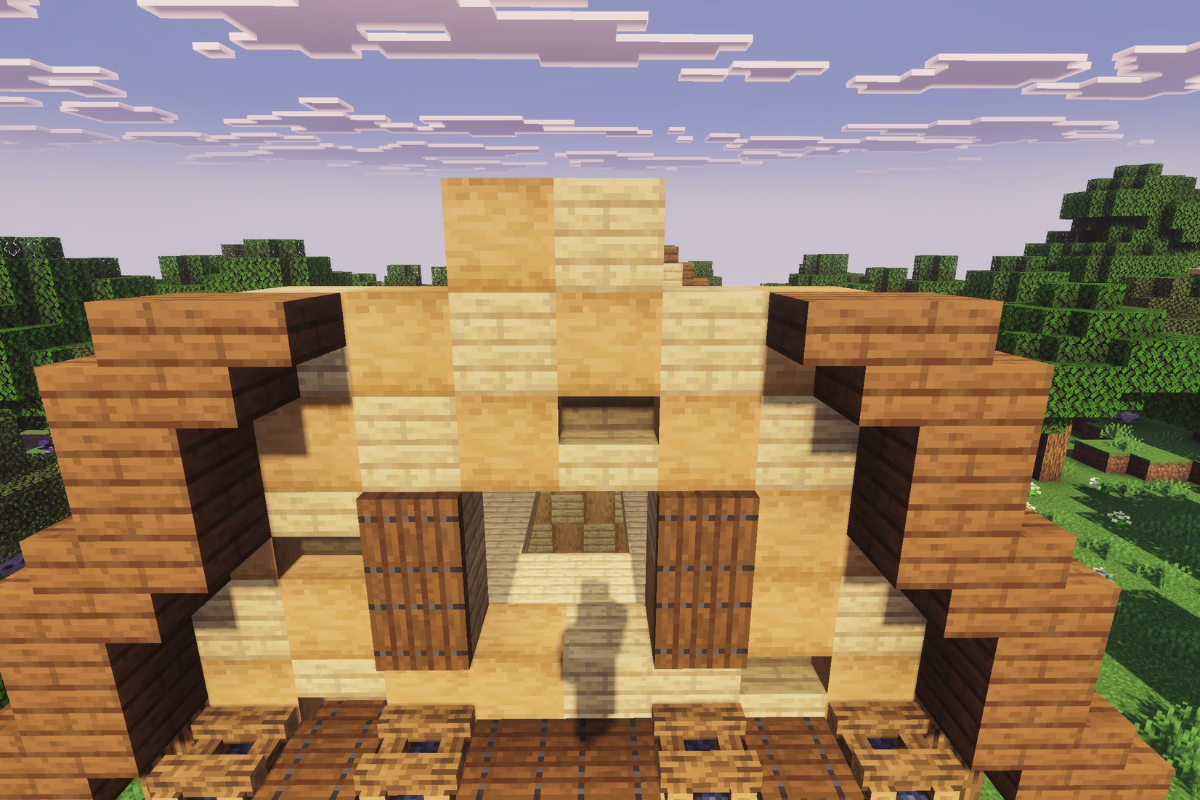
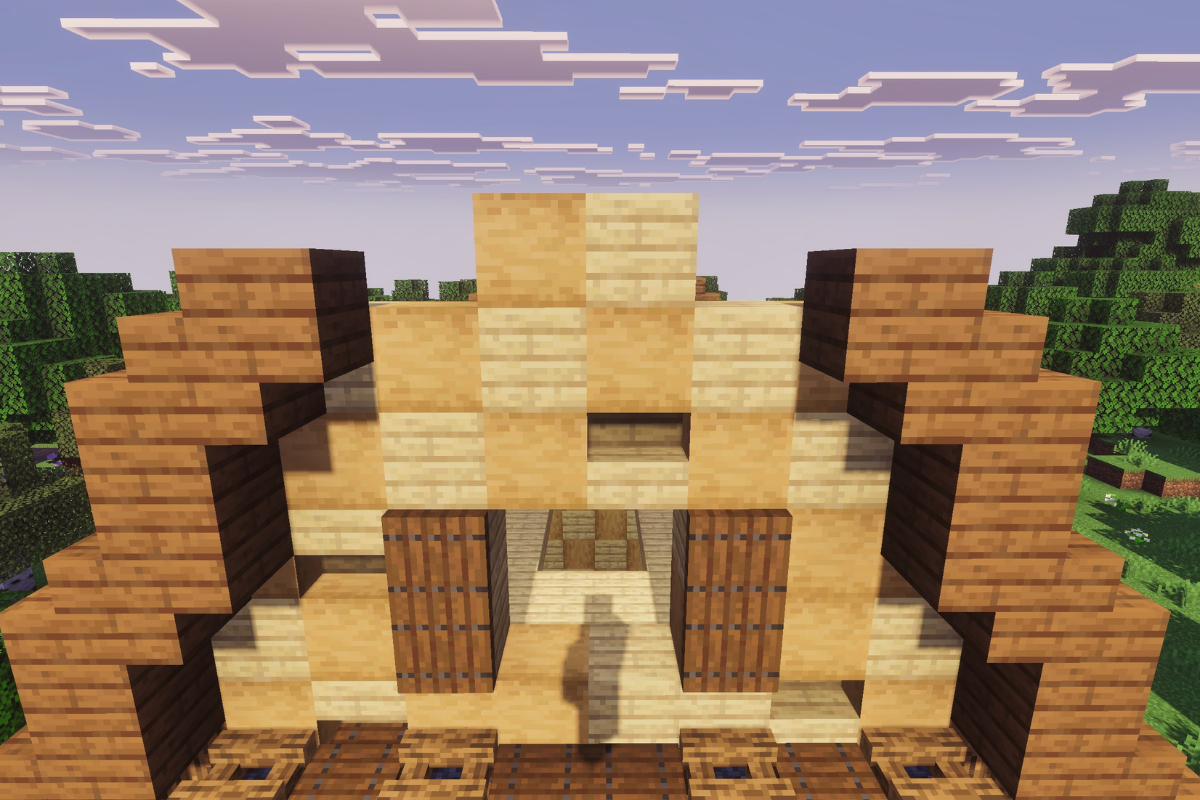
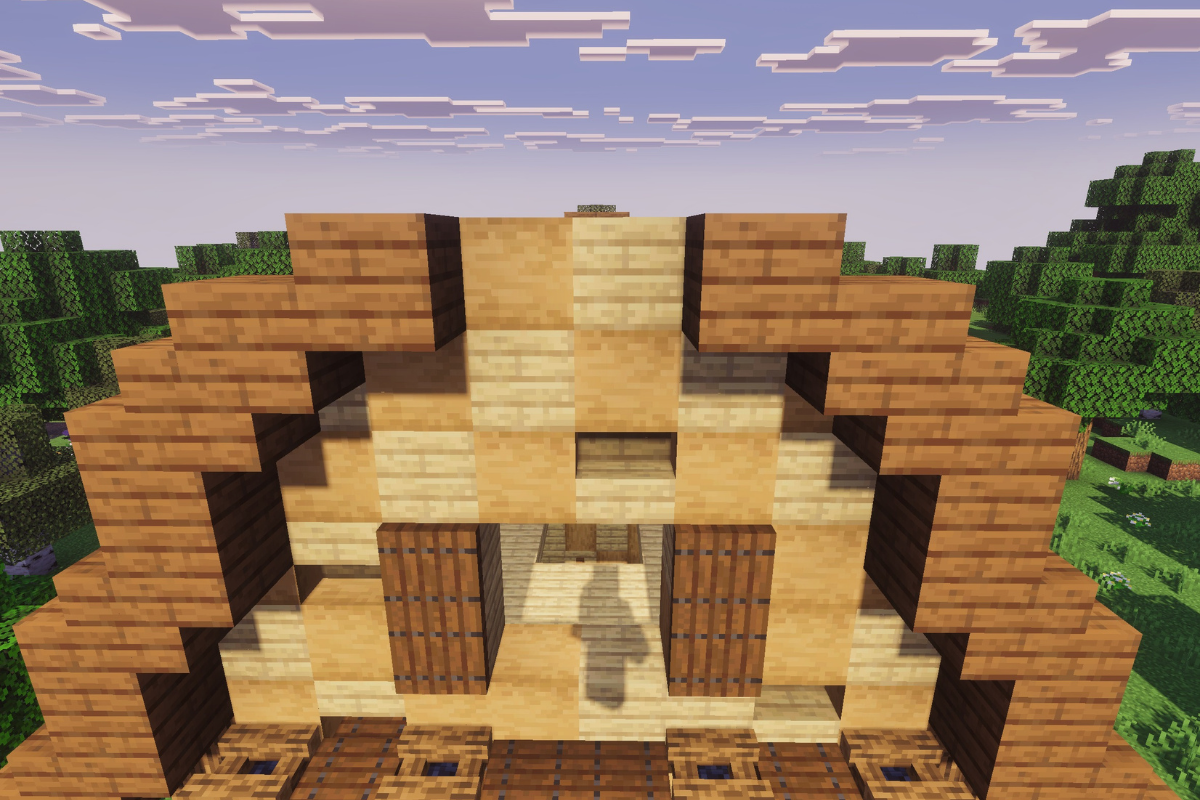
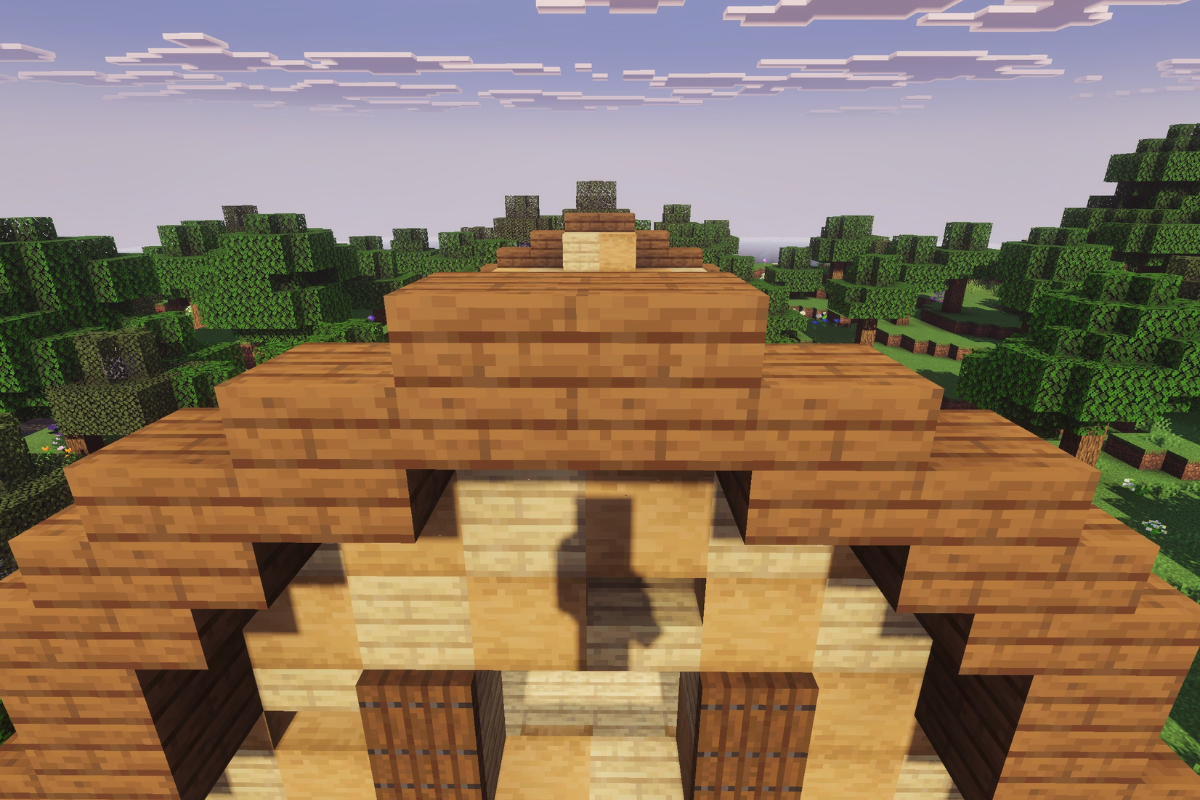
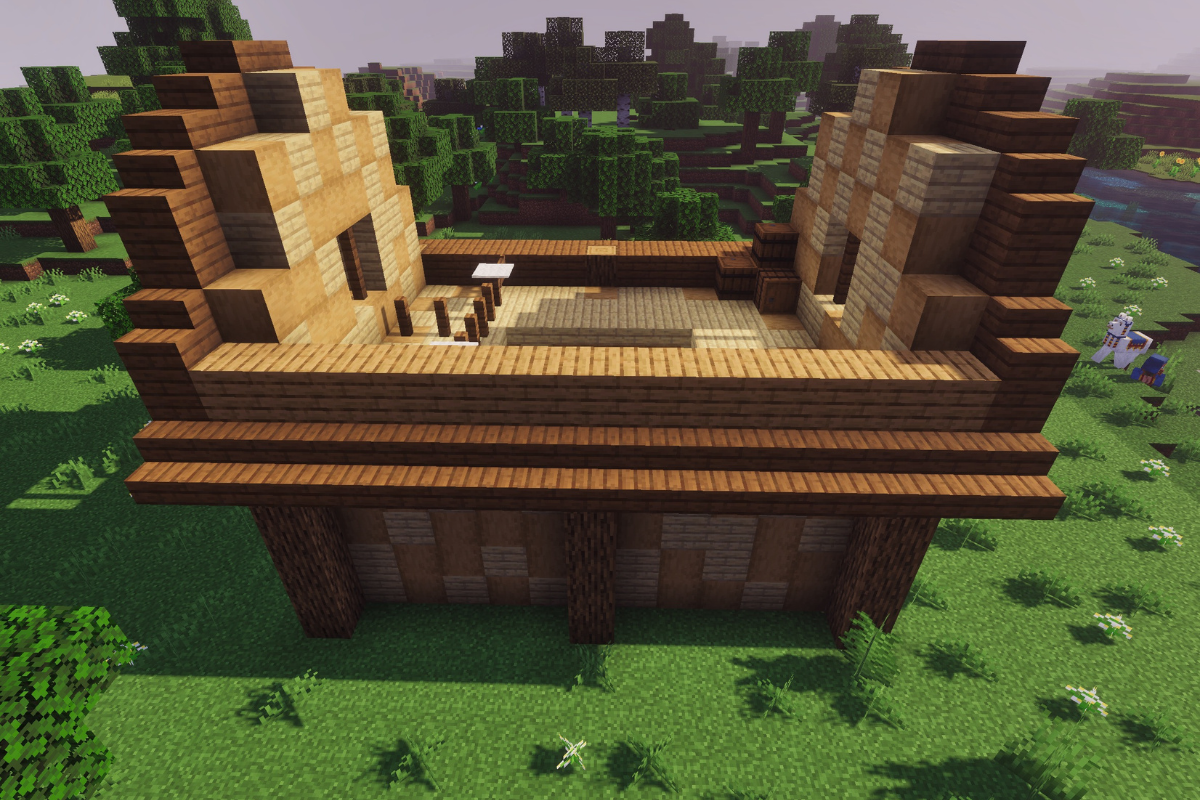
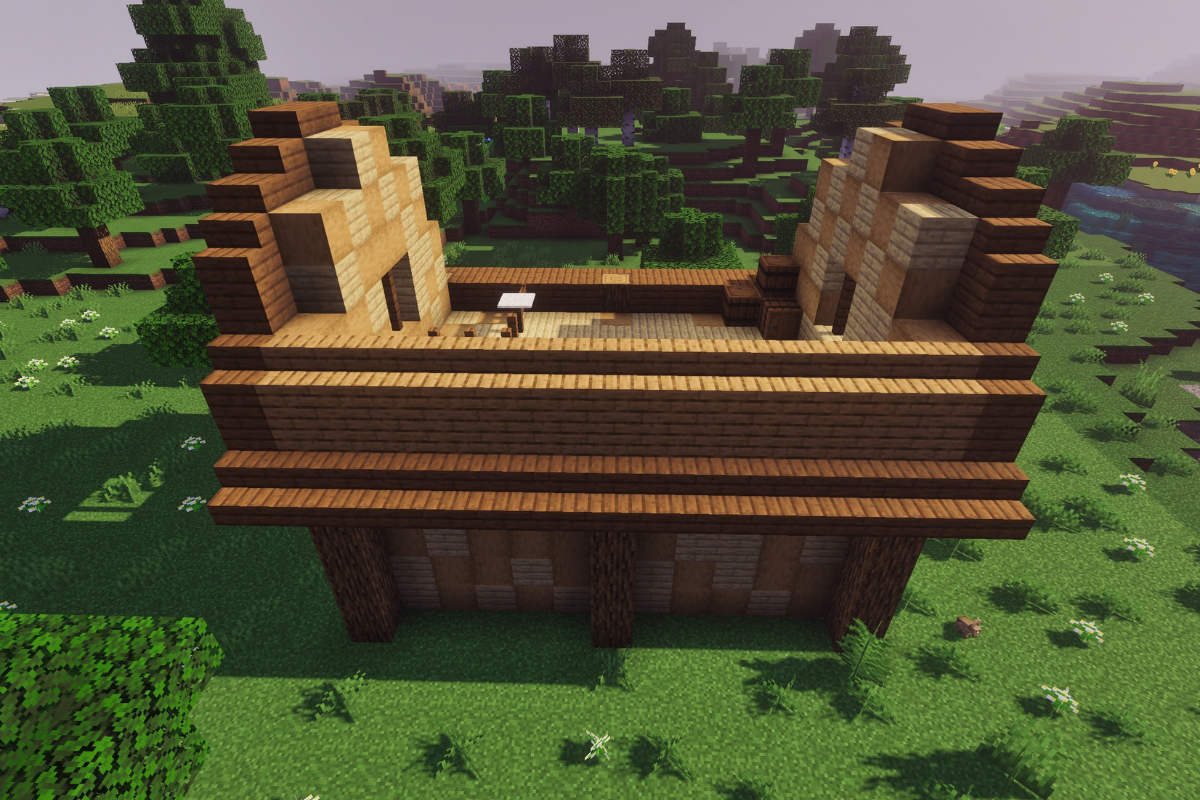
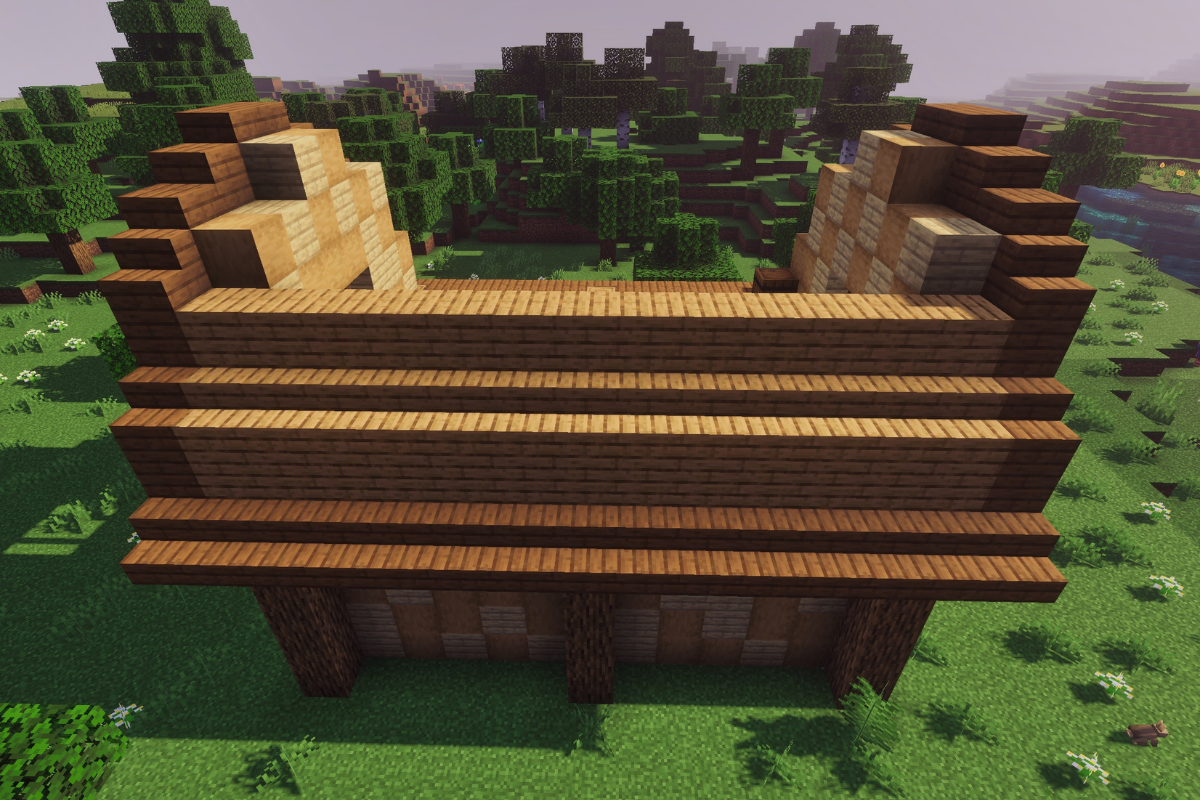
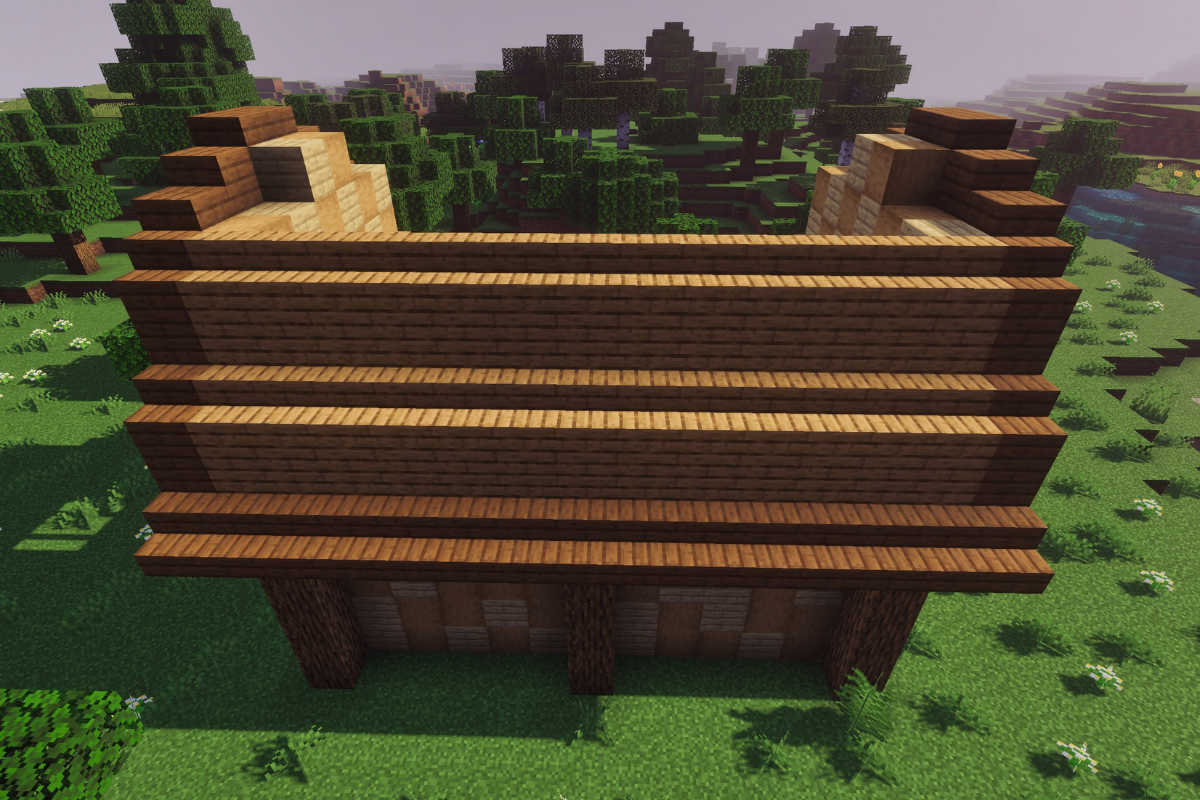
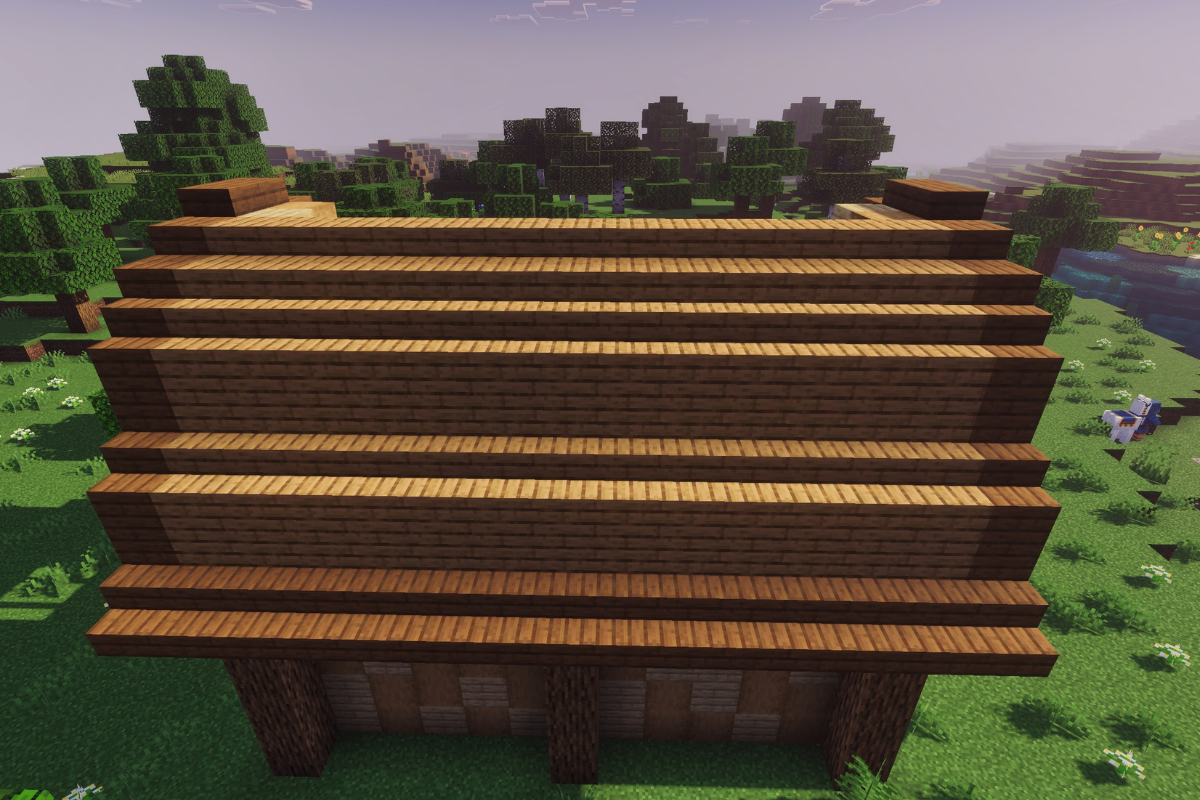
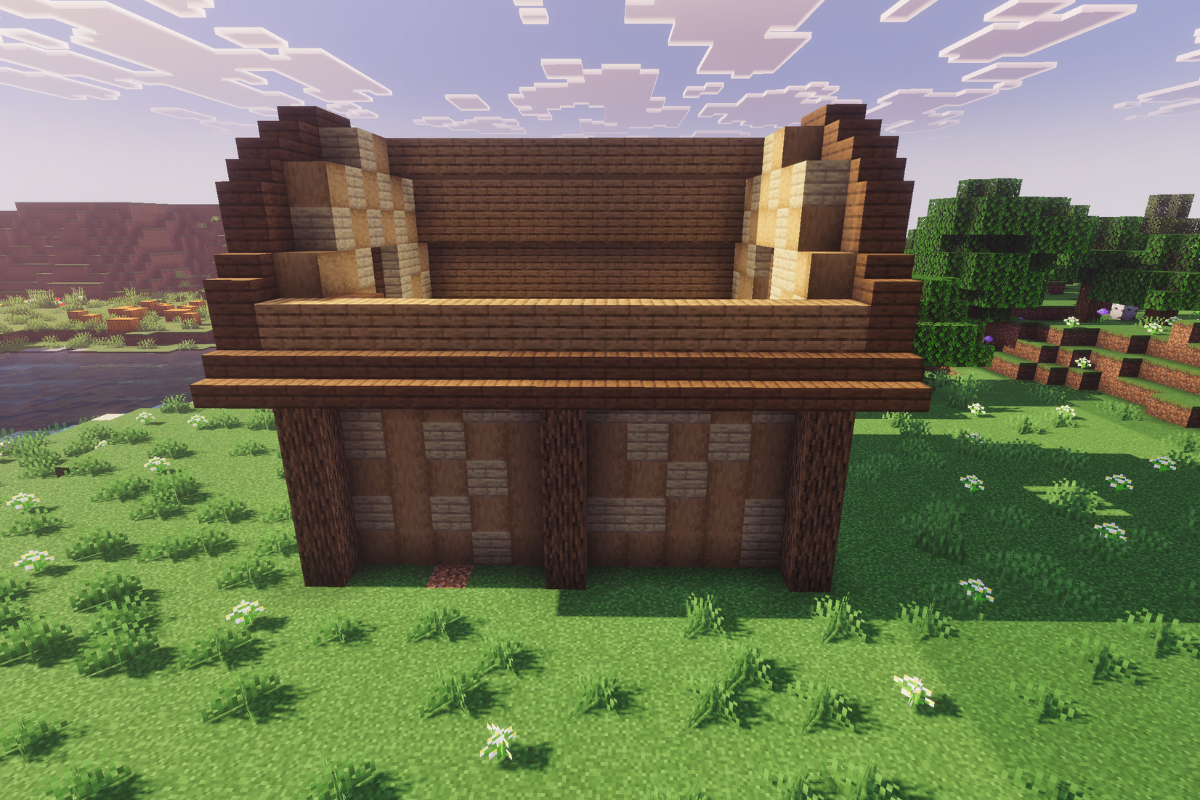
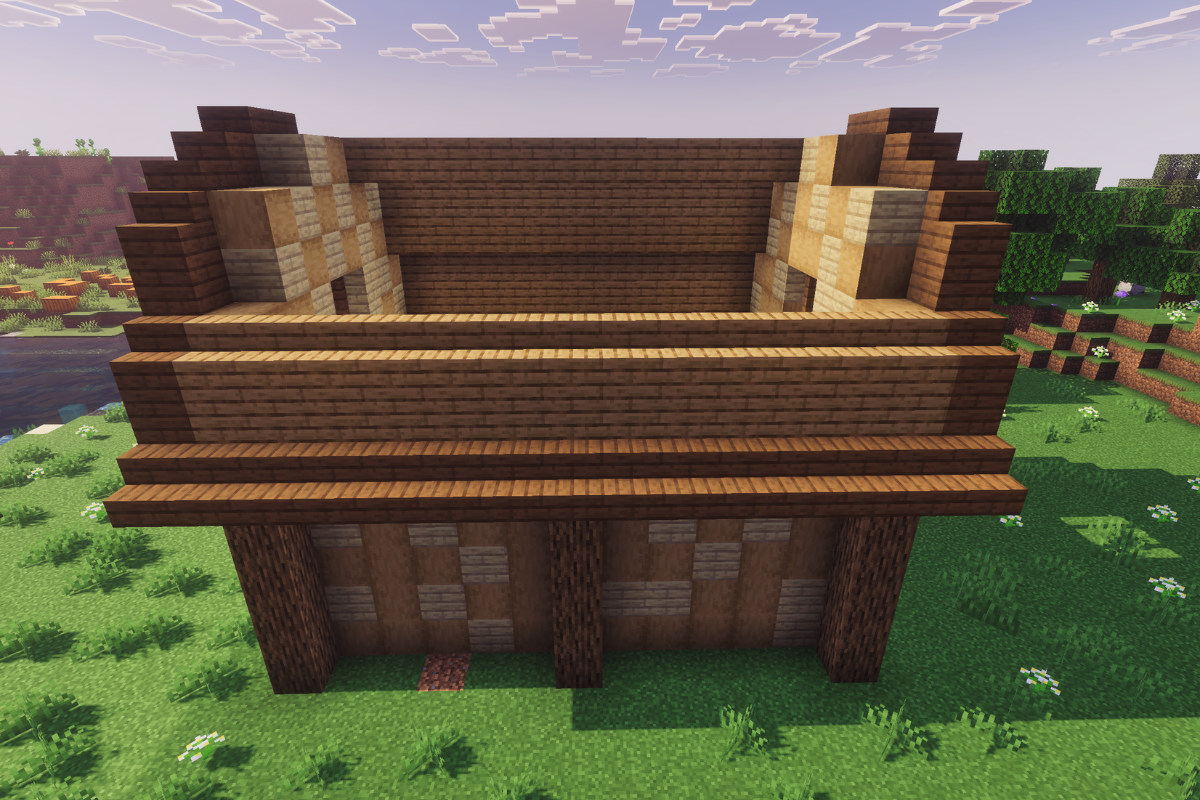
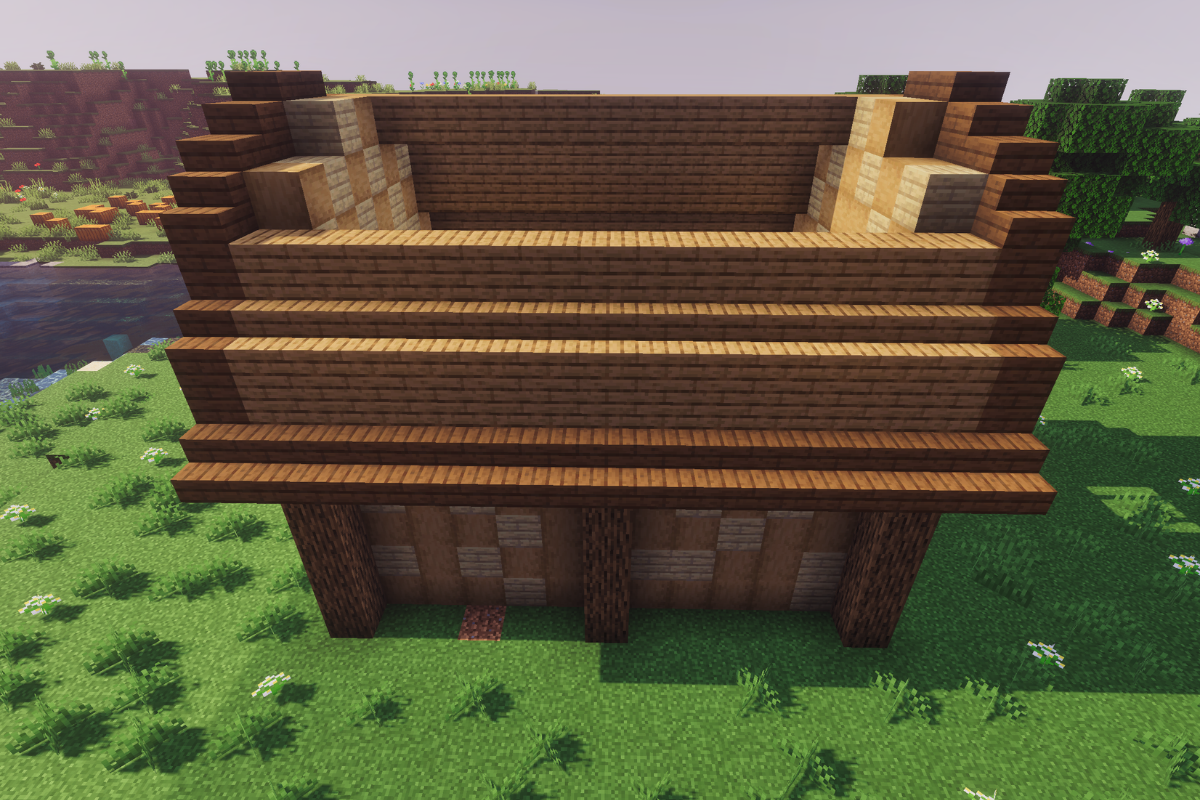
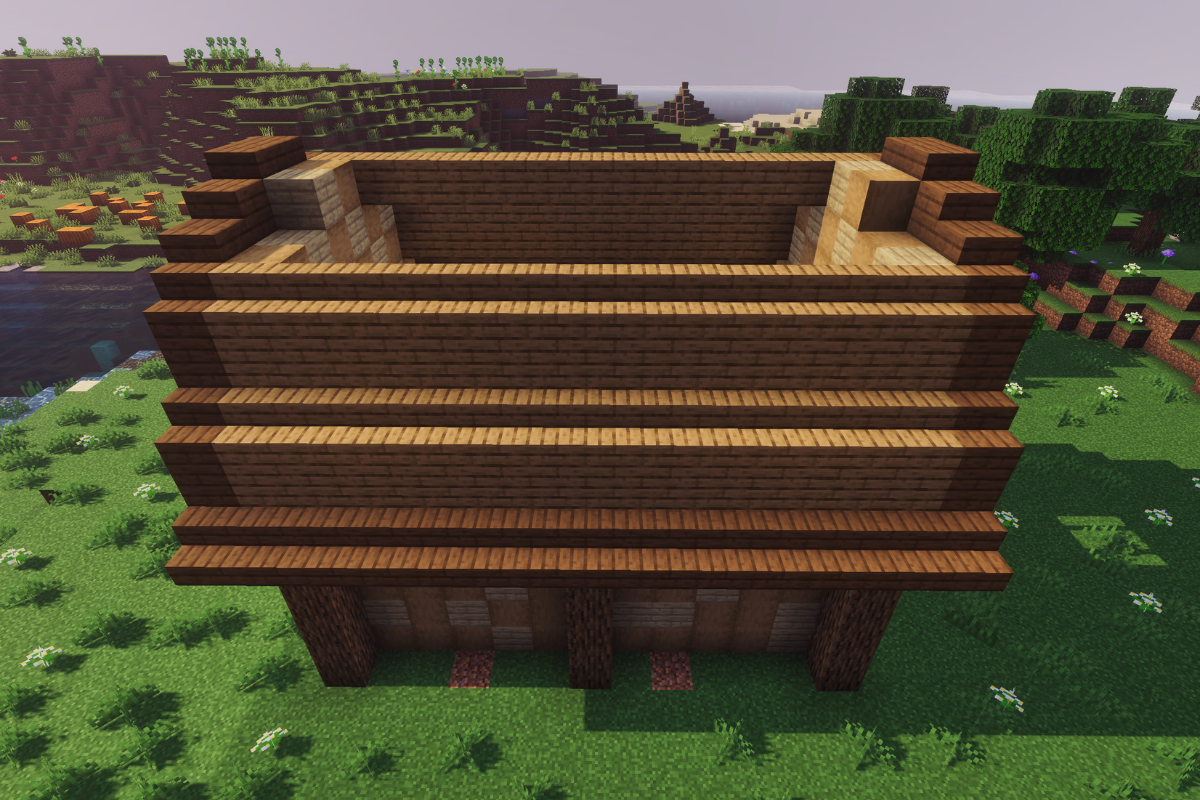
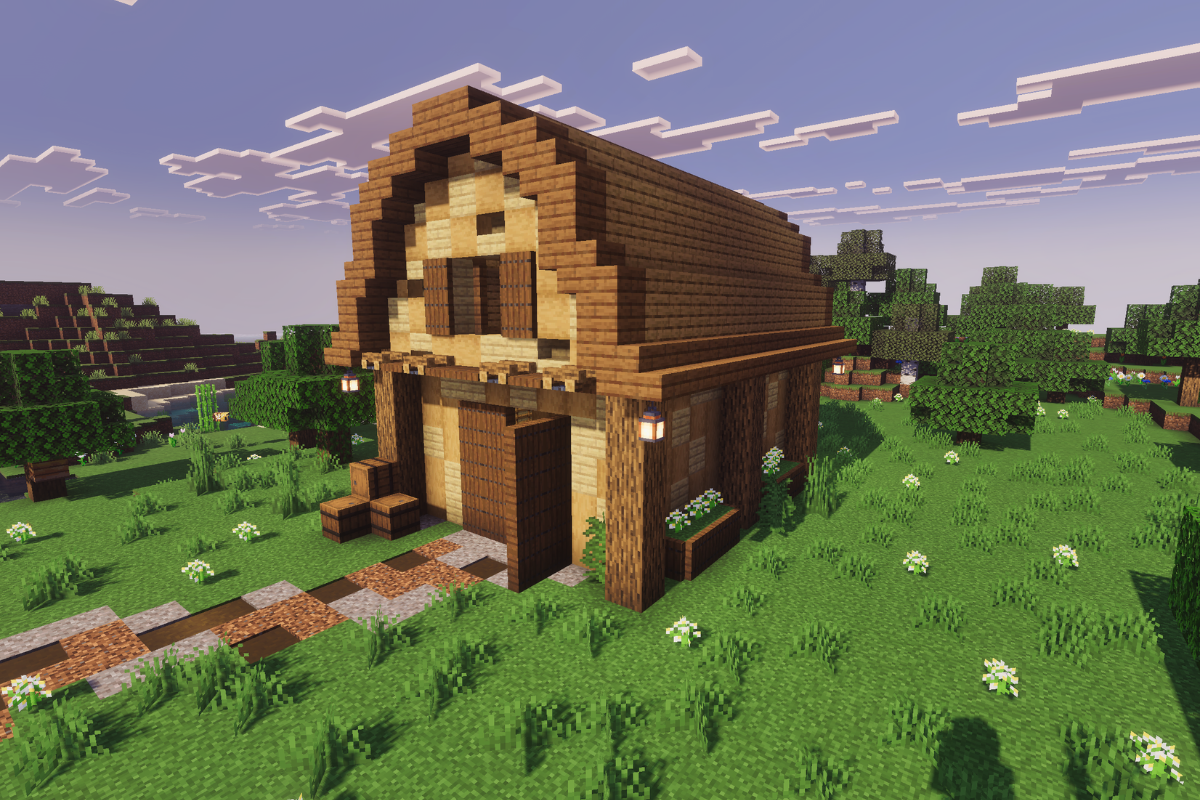
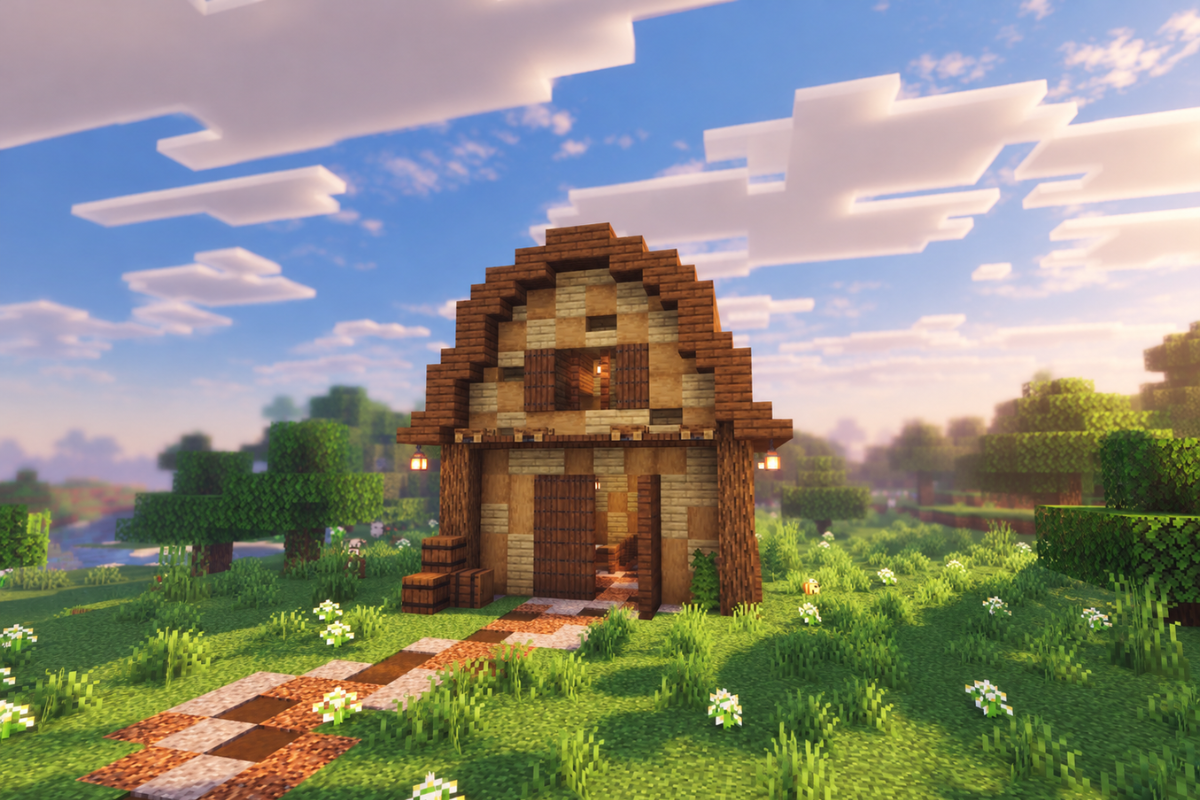
Looking for an easy Minecraft oak barn to build in your survival world? This American-style oak barn is a great choice for beginners who want a practical and attractive starter farm.

Here’s what you’ll get with this build:

  • Two animal pens to keep your farm animals organized.

  • A spacious loft for extra storage or decoration.

  • Classic American barn design using oak and other simple building materials.

  • 75 easy-to-follow steps to help you complete the build from start to finish.

You can build this barn early in your survival world and expand your farm as you collect more resources. You can also take inspiration from other Minecraft barn designs and building ideas.

Material List
Click each material to check them off
Oak Planks
Oak Planks
1 stack + 37
Stripped Oak Logs
Stripped Oak Logs
1 stack + 6
Birch Planks
Birch Planks
1 stack + 32
Spruce Planks
Spruce Planks
20
Birch Stairs
Birch Stairs
6
Spruce Stairs
Spruce Stairs
44
Oak Stairs
Oak Stairs
1 stack + 1
Birch Slabs
Birch Slabs
6
Spruce Slabs
Spruce Slabs
4
Oak Slabs
Oak Slabs
1 stack + 1
Spruce Fences
Spruce Fences
17
Spruce Fence Gates
Spruce Fence Gates
4
Spruce Trapdoors
Spruce Trapdoors
1 stack + 10
Coarse Dirts
Coarse Dirts
35
Gravels
Gravels
13
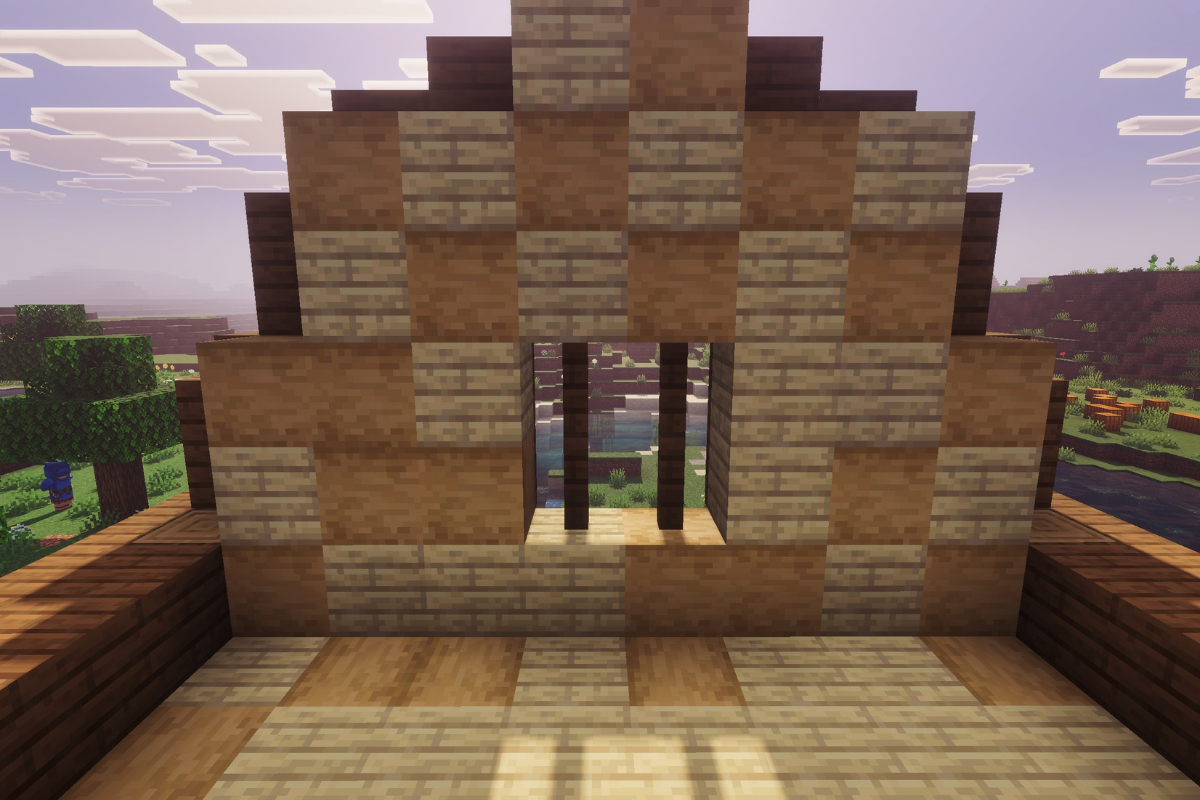
Path Dirts
Path Dirts
5
Lanterns
Lanterns
4
Campfires
Campfires
4
White Carpets
White Carpets
4
Barrels
Barrels
8
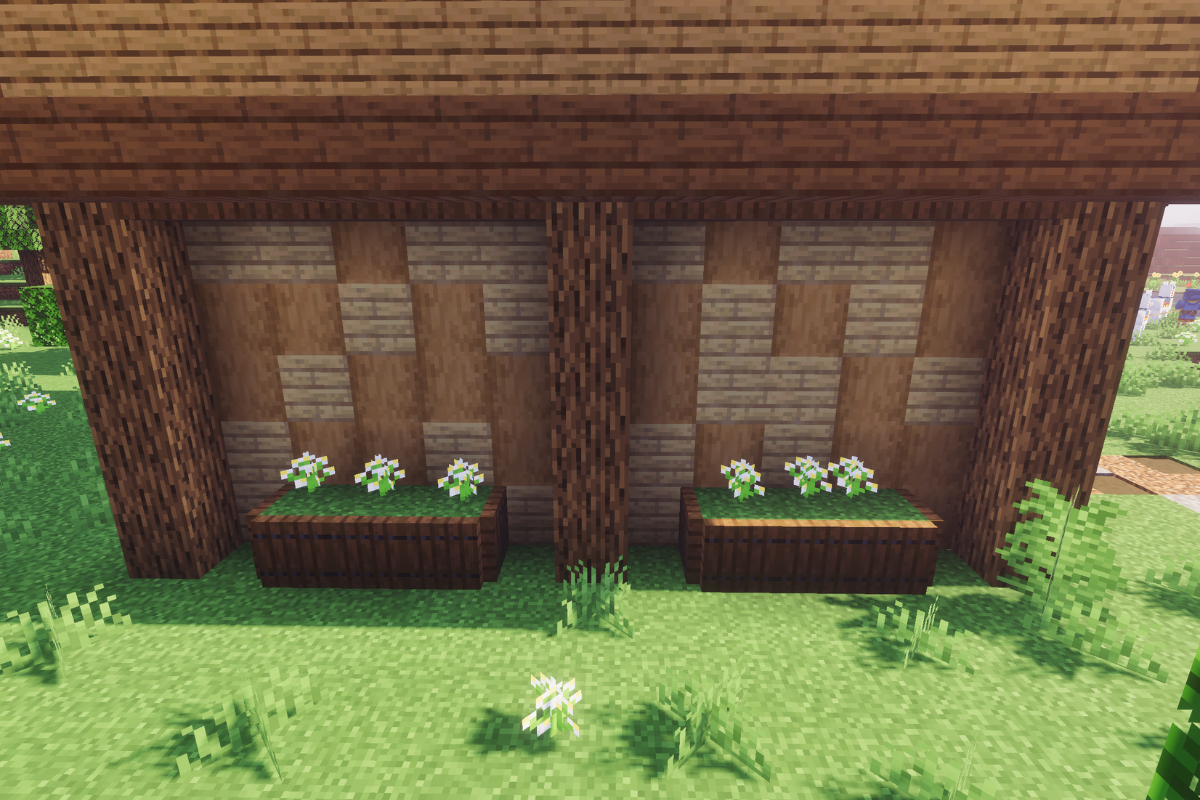
Ladders
Ladders
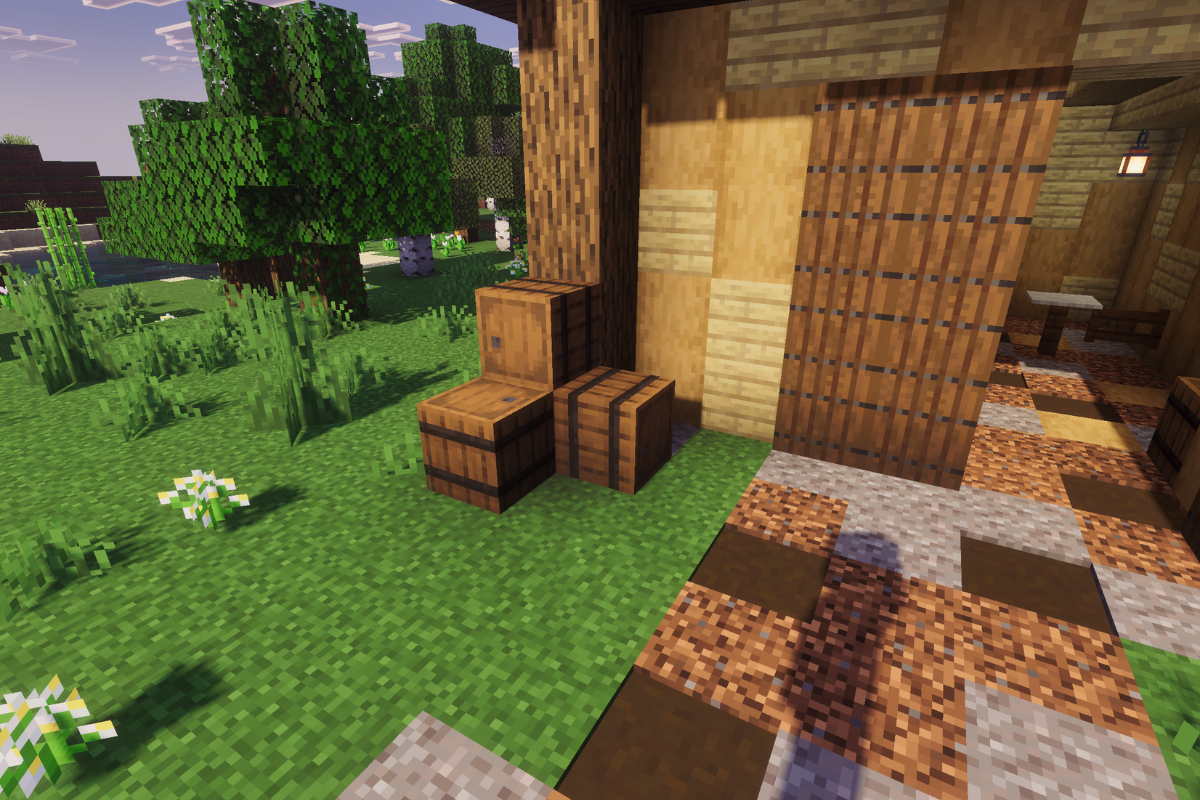
4
Grass Blocks
Grass Blocks
12
Azure Bluets
Azure Bluets
12

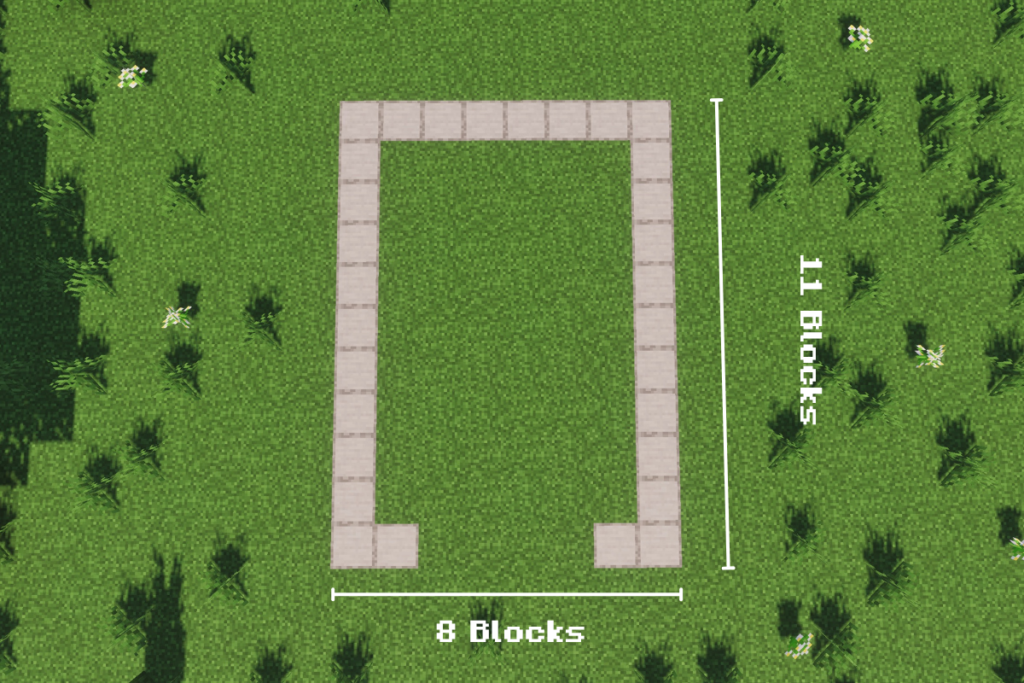
Build Sizing

The sizing to use for your build

Step-by-Step Tutorial

STEP 1 / 75

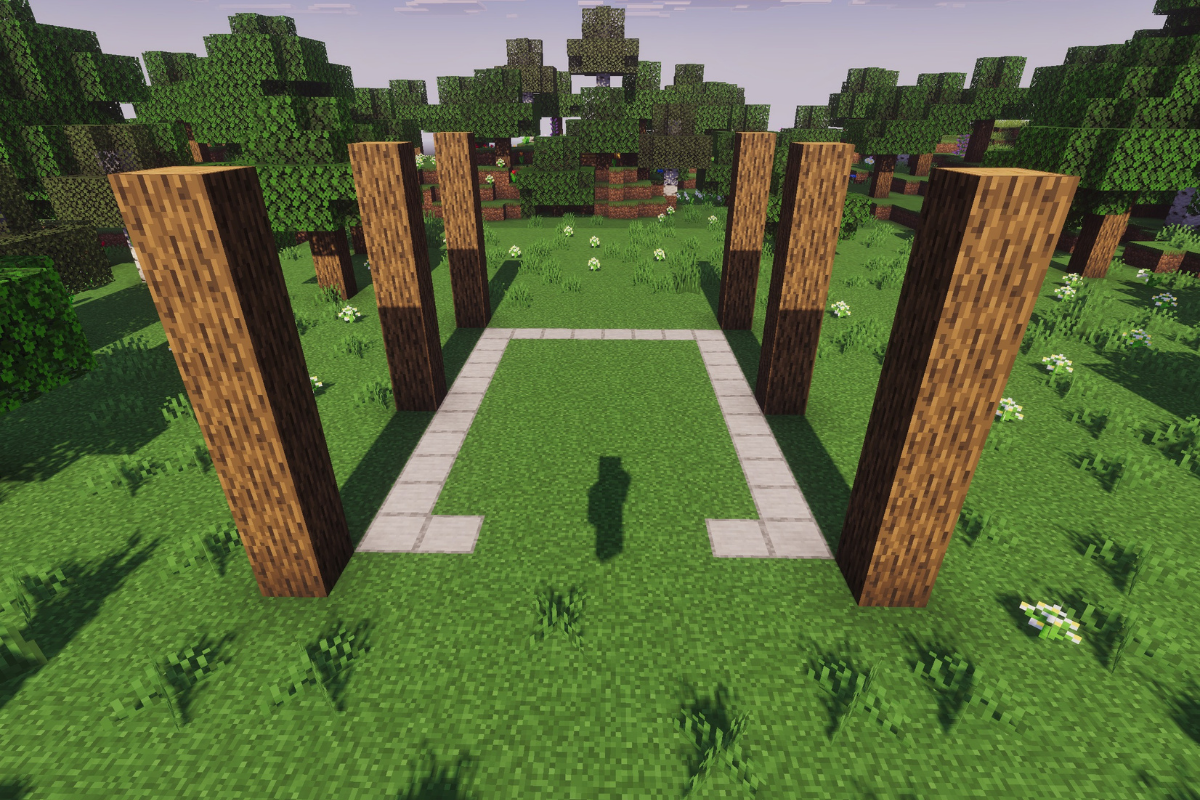
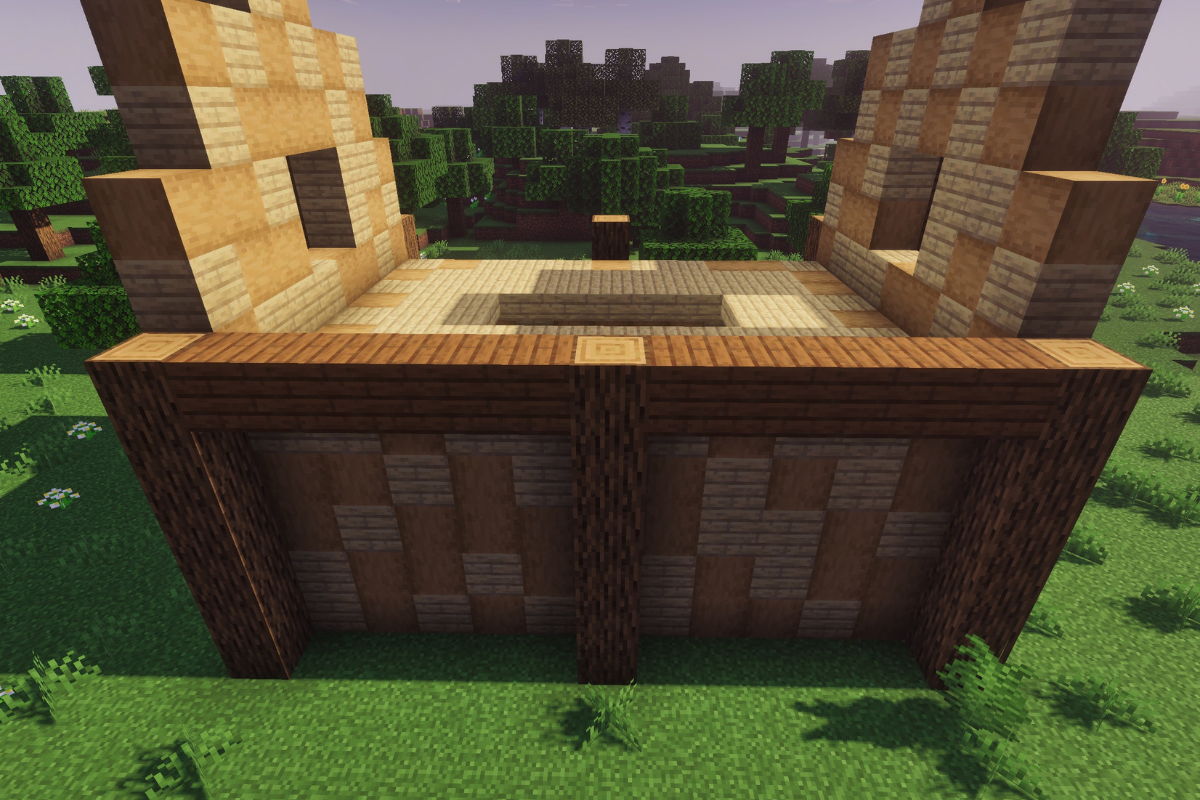
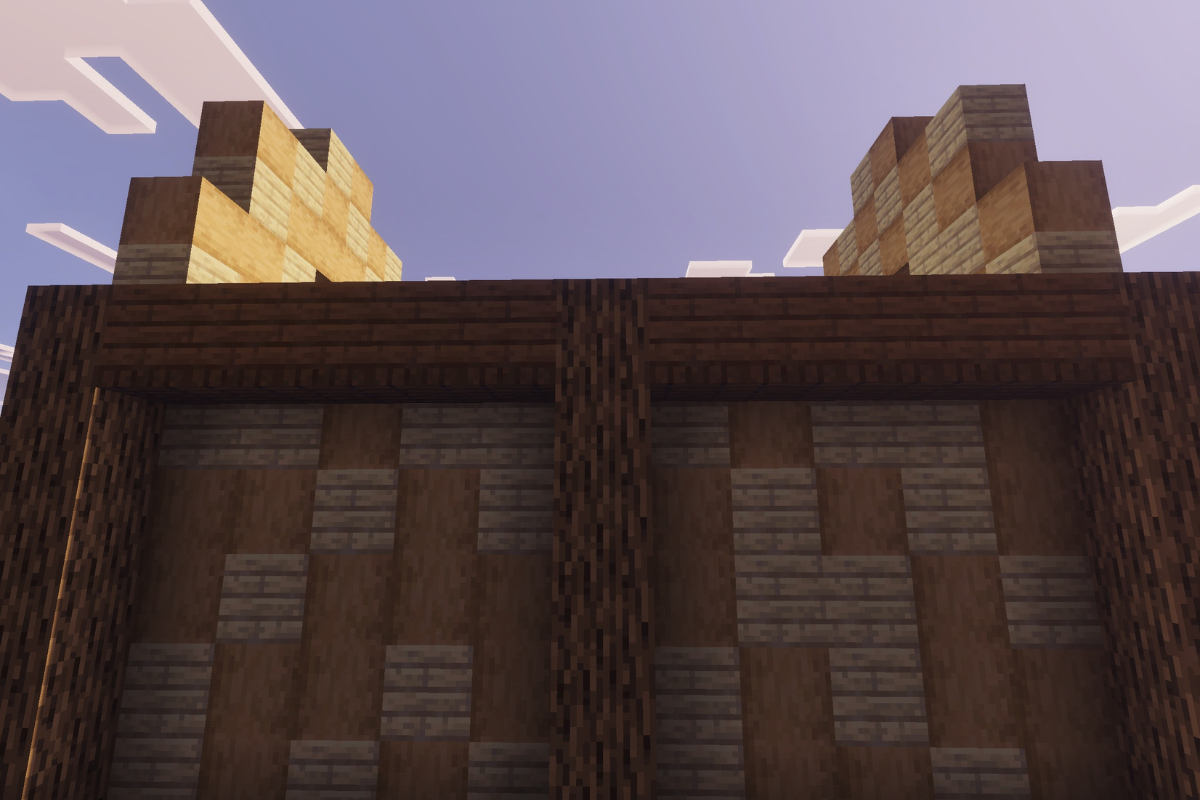
Build six pillars around the outer section of the barn layout using oak planks. Make each pillar six blocks tall. Along the sides of the barn, space the pillars five blocks apart.

  • Icon
    x 36
STEP 2 / 75

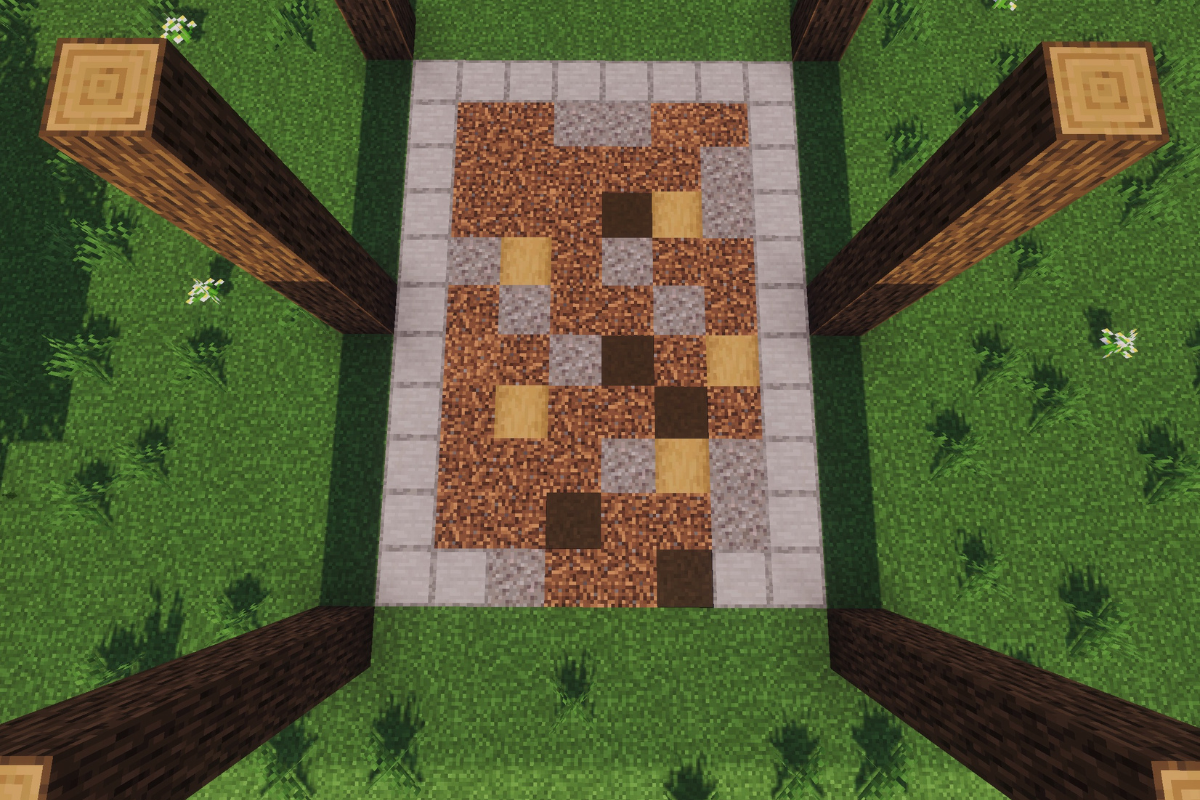
If you want to add variation to the floor of your barn, use a combination of coarse dirt, gravel, dirt path blocks, and stripped oak logs. Use a shovel on dirt to create the dirt path blocks, then arrange all the materials across the barn floor to create a mixed, textured finish.

  • Icon
    x 35
  • Icon
    x 13
  • Icon
    x 5
  • Icon
    x 5
STEP 3 / 75

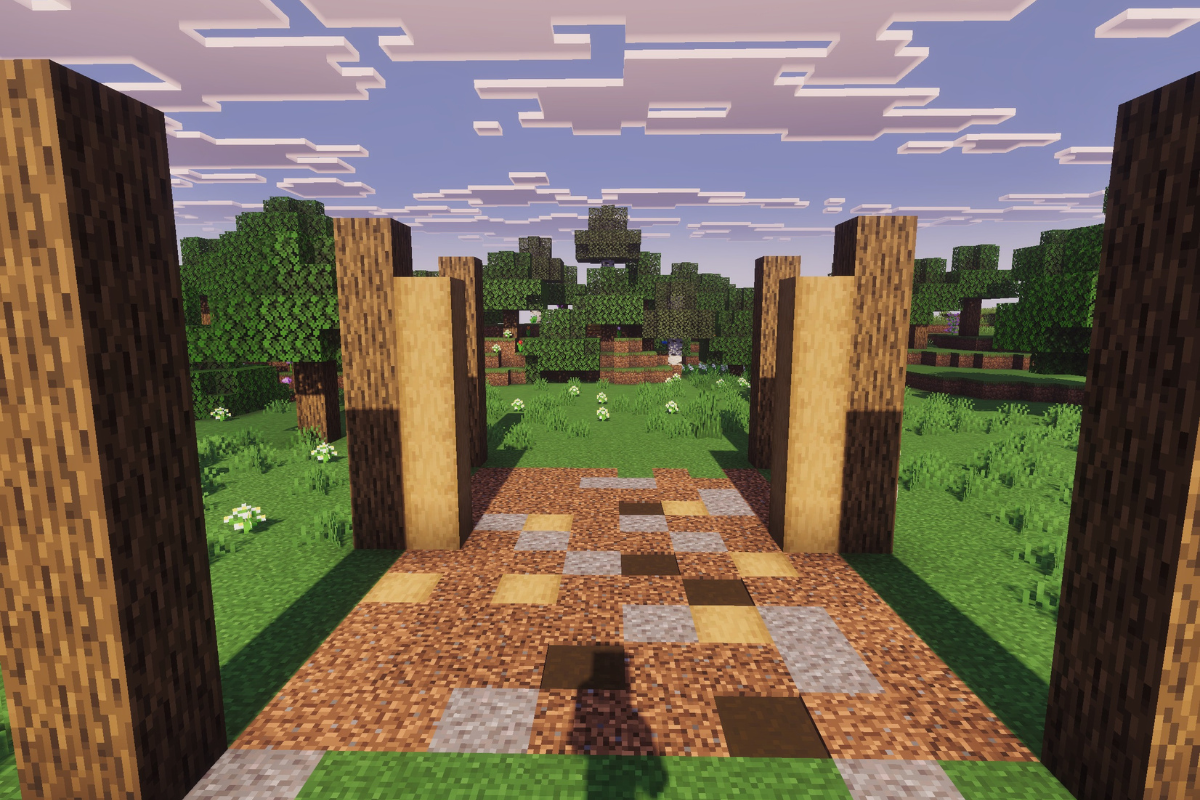
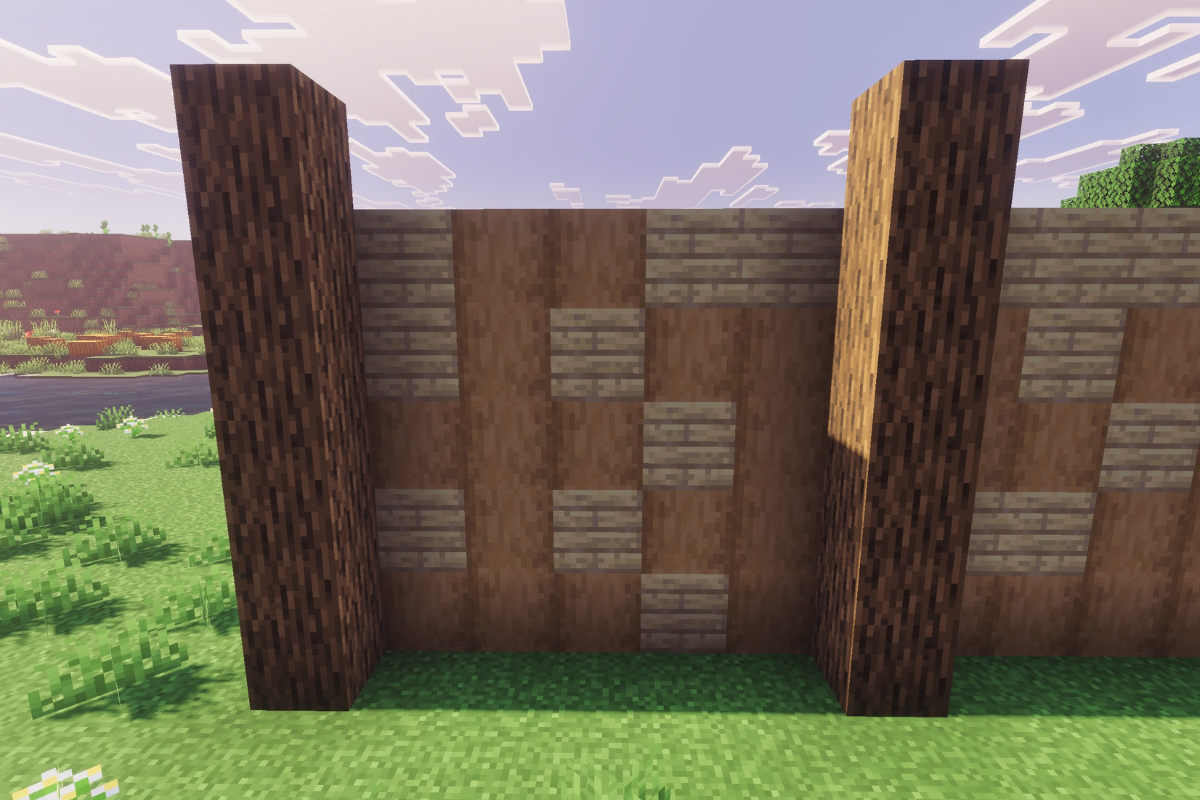
In front of each of the two middle pillars of the barn structure, build an additional pillar that is five blocks tall. Use stripped oak logs for both pillars.

  • Icon
    x 10
STEP 4 / 75

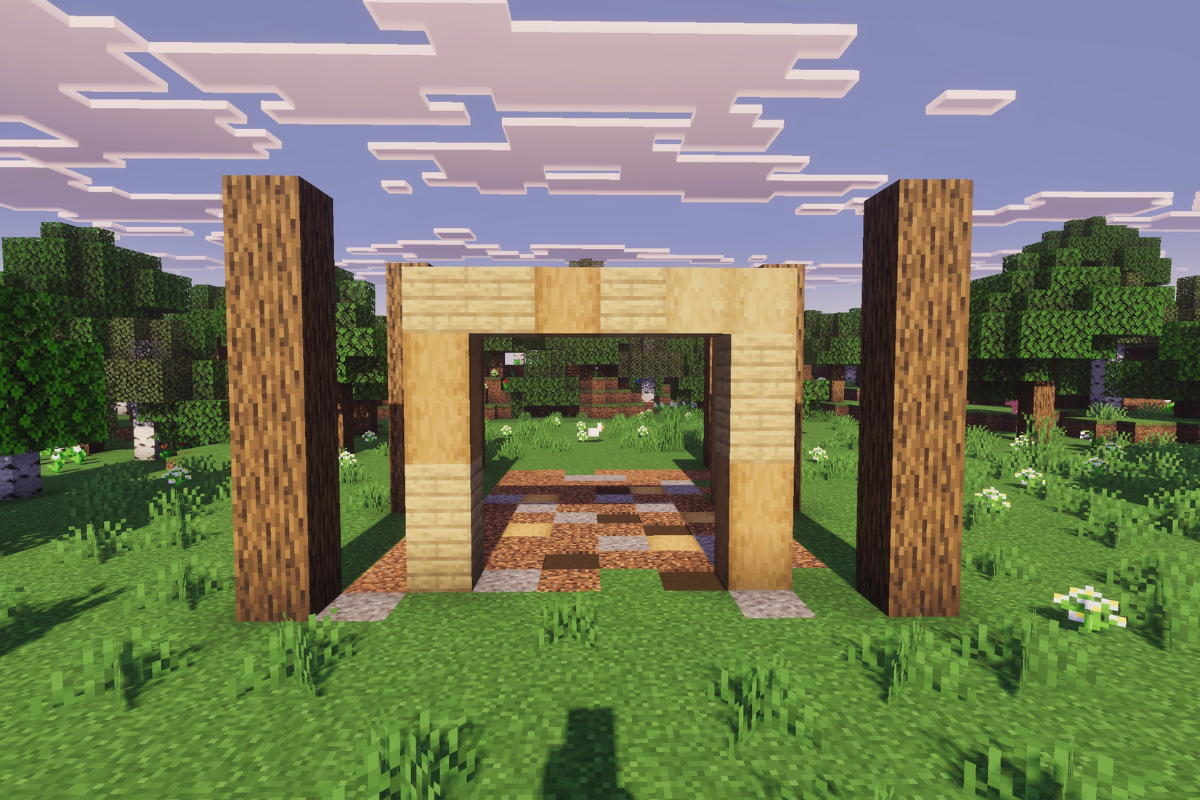
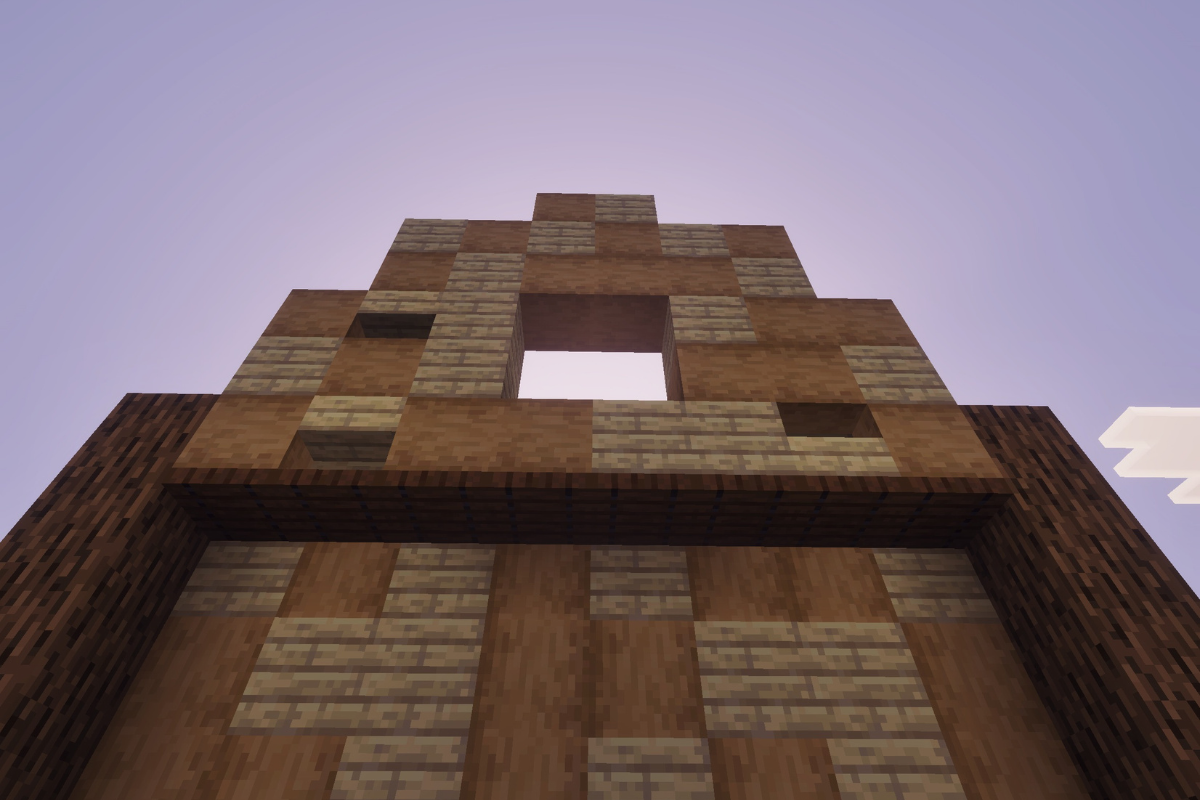
Build an arch around the doorway or entryway at the front of the barn using birch planks and stripped oak logs. Arrange the blocks to form the arch and match the barn’s existing design.

  • Icon
    x 7
  • Icon
    x 7
STEP 5 / 75

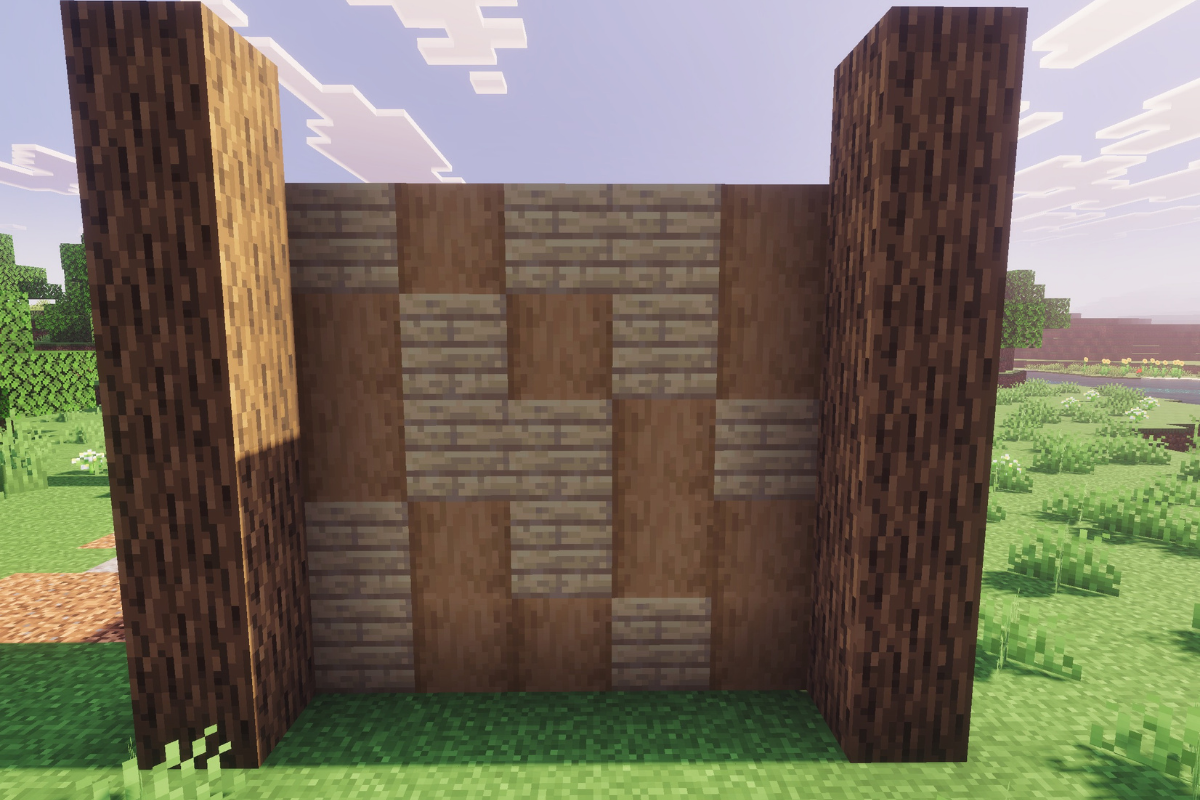
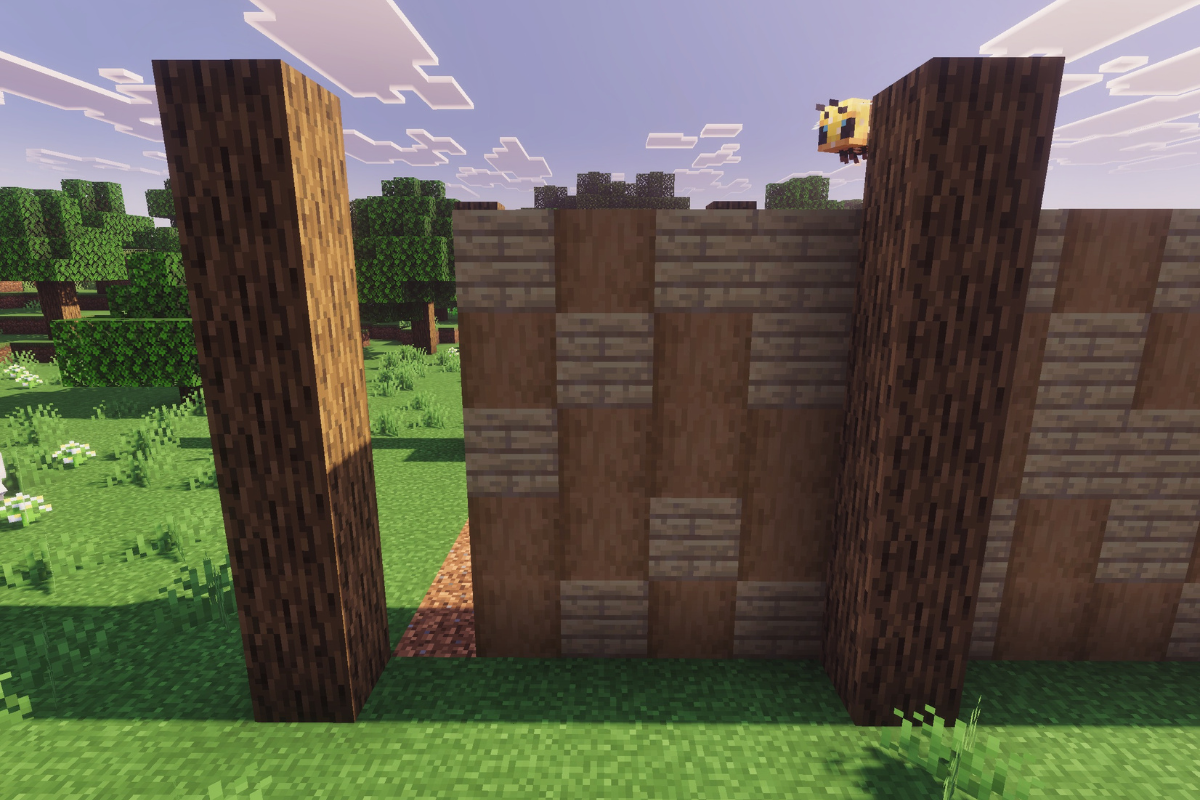
Build the first layer of the wall on the left side of the barn using birch planks and stripped oak logs.

  • Icon
    x 12
  • Icon
    x 13
STEP 6 / 75

Build the second layer of the wall on the left side of the barn using birch planks and stripped oak logs.

  • Icon
    x 9
  • Icon
    x 11
STEP 7 / 75

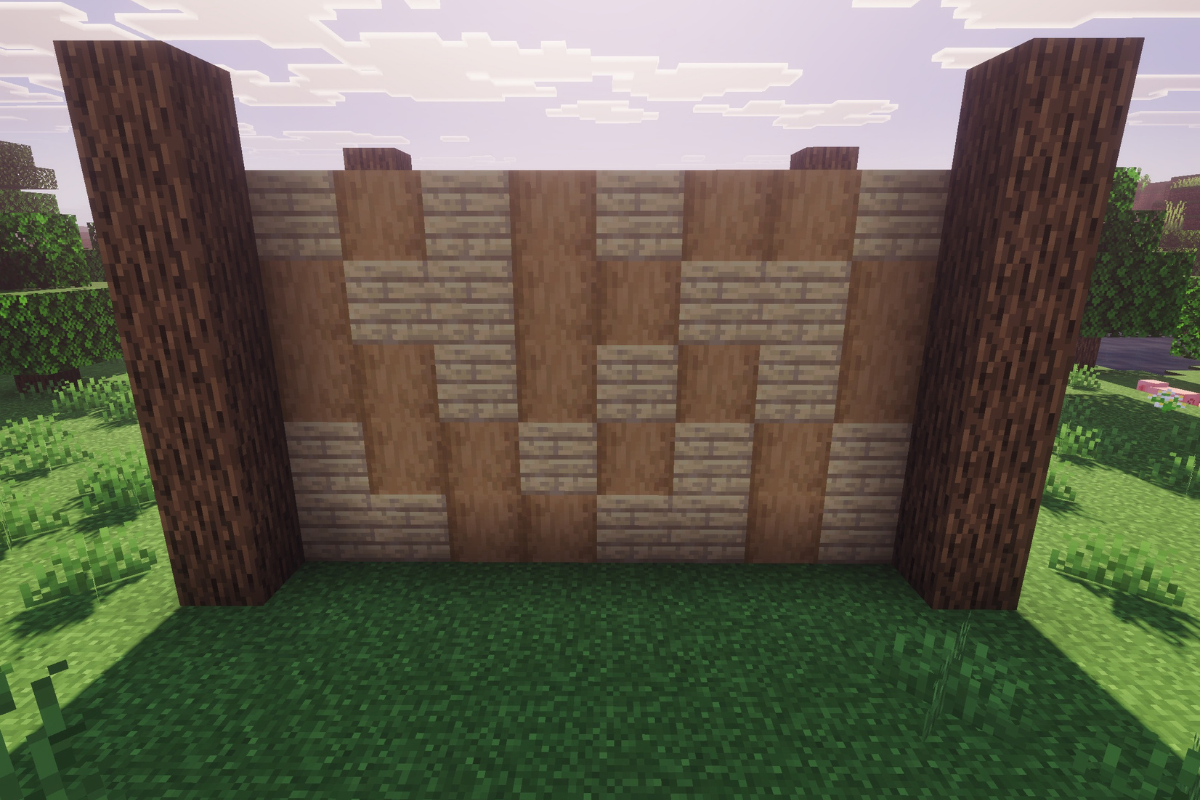
Build the back wall of the barn using birch planks and stripped oak logs.

  • Icon
    x 20
  • Icon
    x 20
STEP 8 / 75

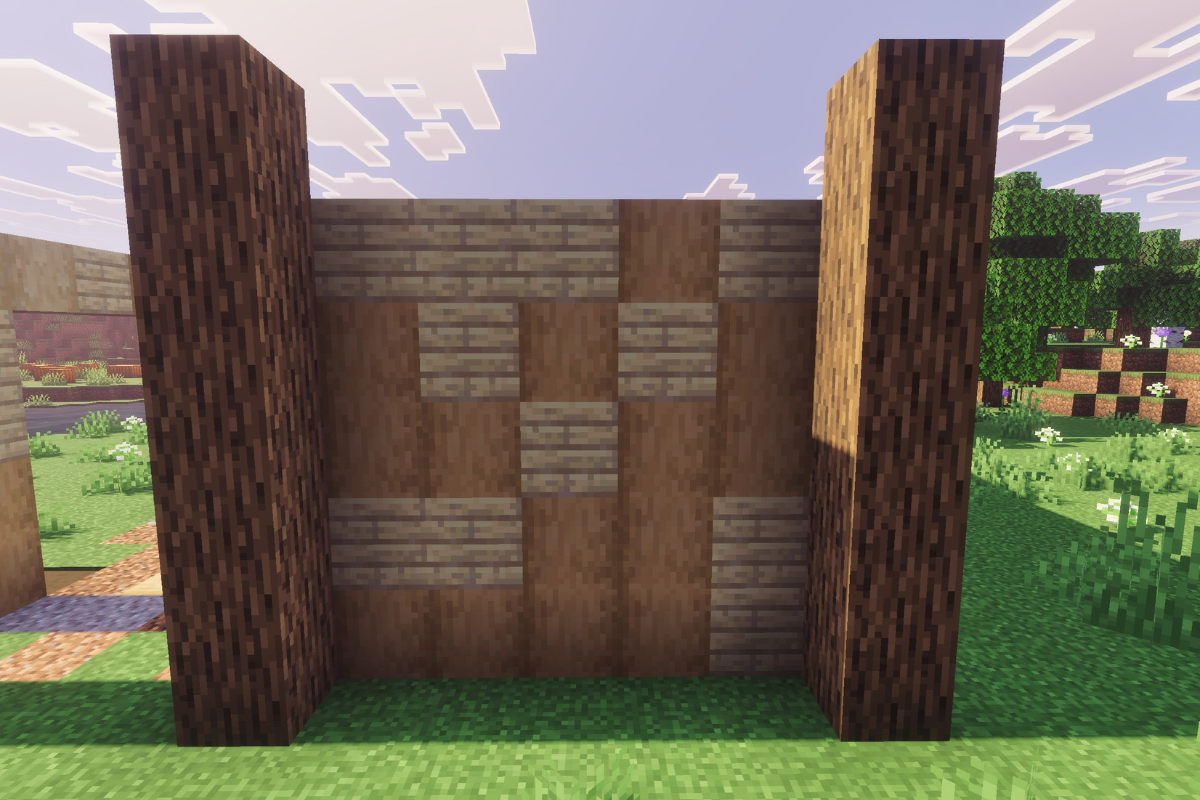
Build the first layer of the wall on the right side of the barn using birch planks and stripped oak logs.

  • Icon
    x 11
  • Icon
    x 14
STEP 9 / 75

Complete the second layer of the wall on the right side of the barn using birch planks and stripped oak logs.

  • Icon
    x 9
  • Icon
    x 16
STEP 10 / 75

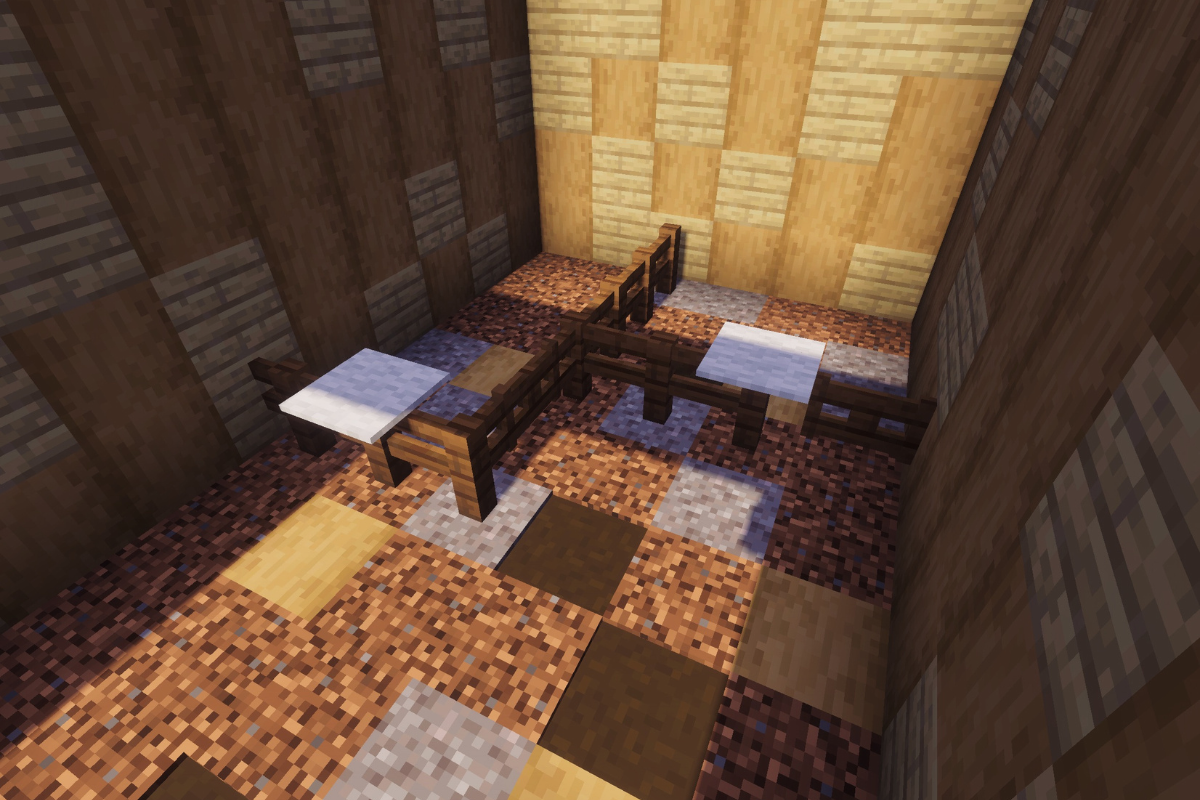
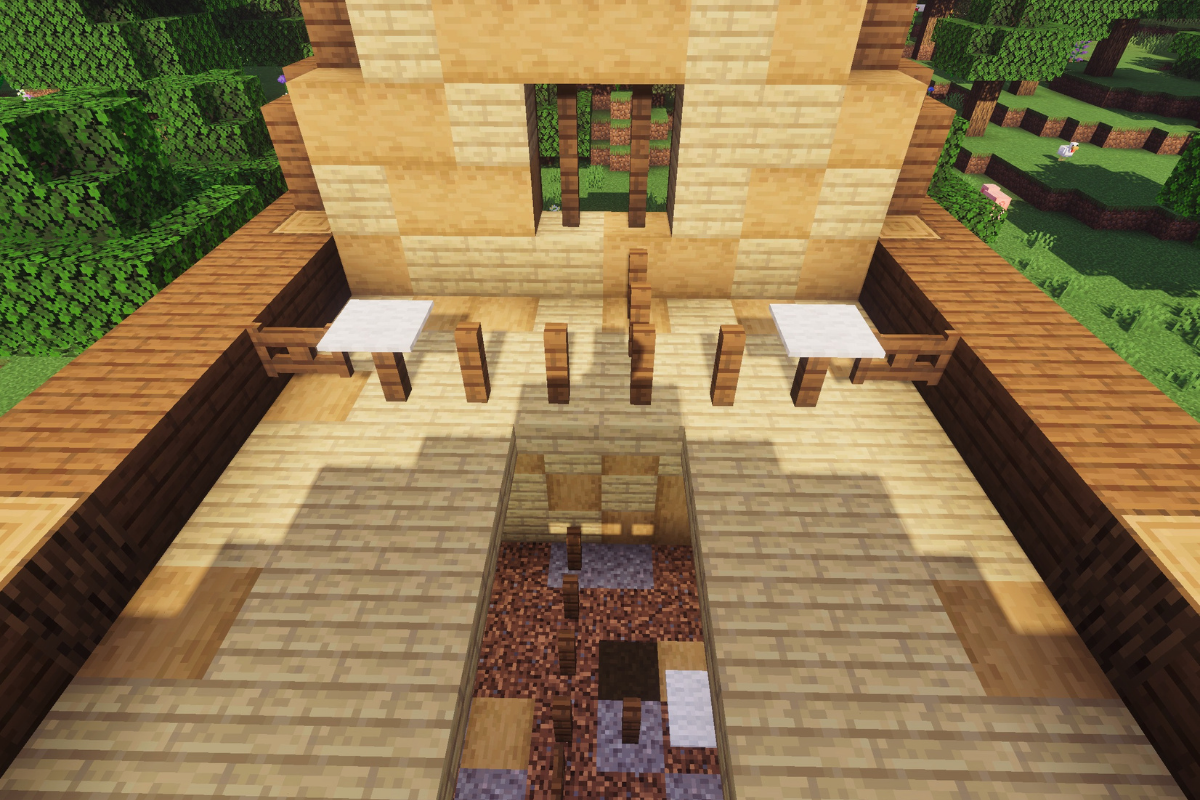
Build two animal pens at the back of the barn using spruce fences. Add a spruce fence gate to each pen and place white carpets as shown.

  • Icon
    x 9
  • Icon
    x 2
  • Icon
    x 2
STEP 11 / 75

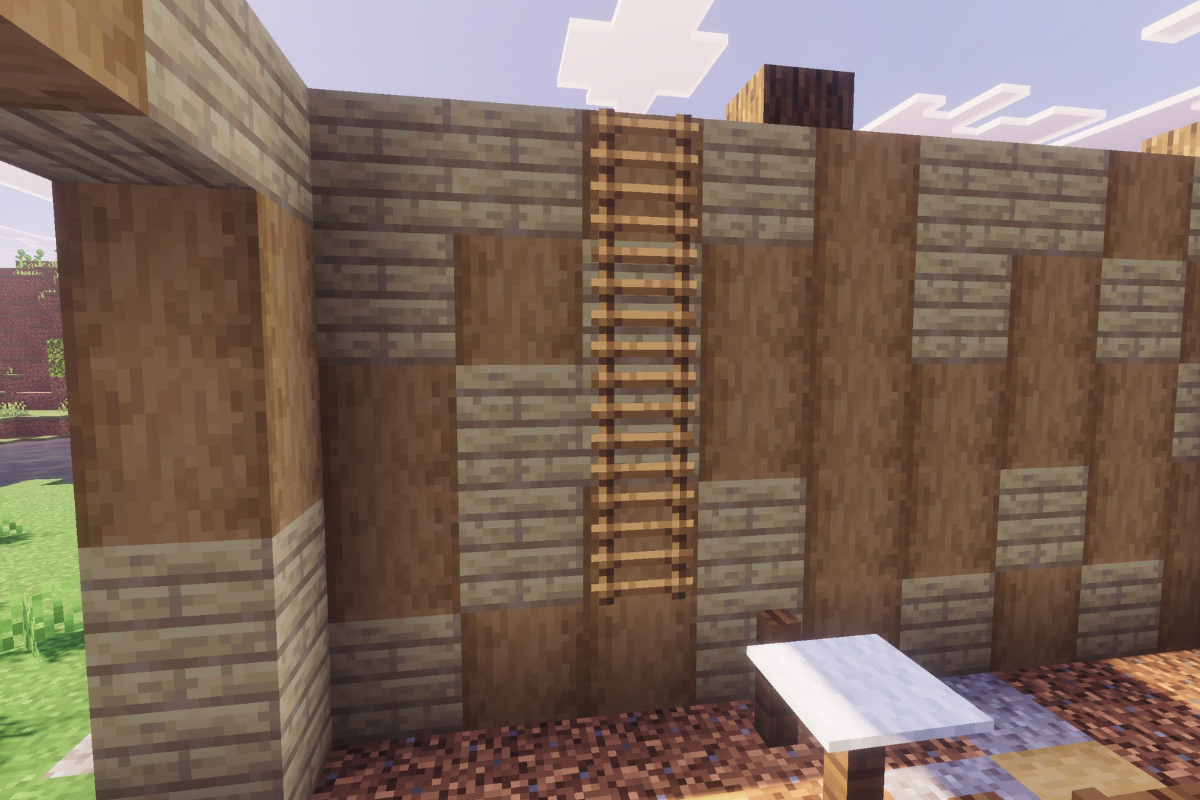
Install a ladder to provide access to the loft.

  • Icon
    x 4
STEP 12 / 75

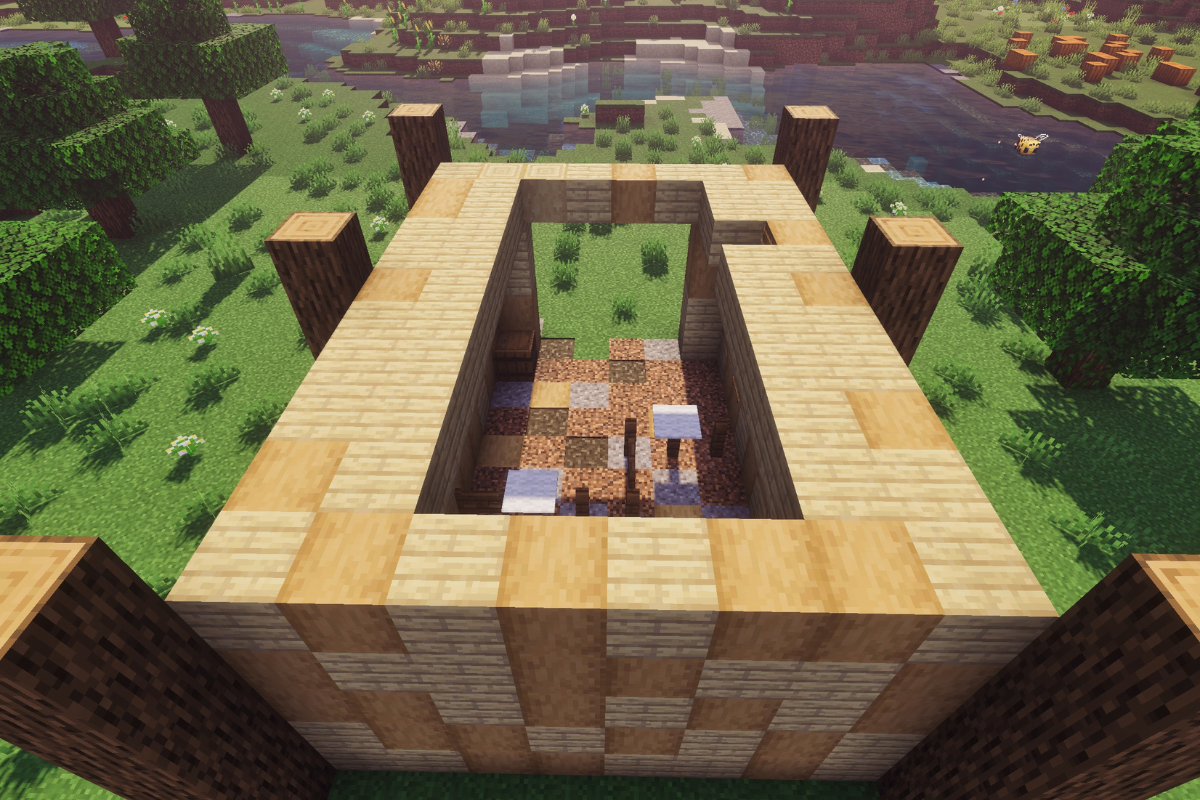
Place two rows of birch planks along the loft roof.

  • Icon
    x 17
STEP 13 / 75

Place birch slabs along the front and back sections as shown.

  • Icon
    x 6
STEP 14 / 75

Fill in the inner sections of the loft roof with birch planks.

  • Icon
    x 18
STEP 15 / 75

Place lanterns inside the barn to illuminate the interior.

  • Icon
    x 4
STEP 16 / 75

Build a support beam between the two stripped oak log pillars at the back of the barn using stripped oak logs, birch planks, and birch stairs.

  • Icon
    x 4
  • Icon
    x 2
  • Icon
    x 2
STEP 17 / 75

Add two layers along the back roof beam support using stripped oak logs, birch planks, and a birch stair.

  • Icon
    x 1
  • Icon
    x 6
  • Icon
    x 5
STEP 18 / 75

Build two layers along the back of the barn using stripped oak logs and birch planks.

  • Icon
    x 12
  • Icon
    x 5
STEP 19 / 75

Finish the back roof support by adding the final stripped oak log and birch plank.

  • Icon
    x 1
  • Icon
    x 1
STEP 20 / 75

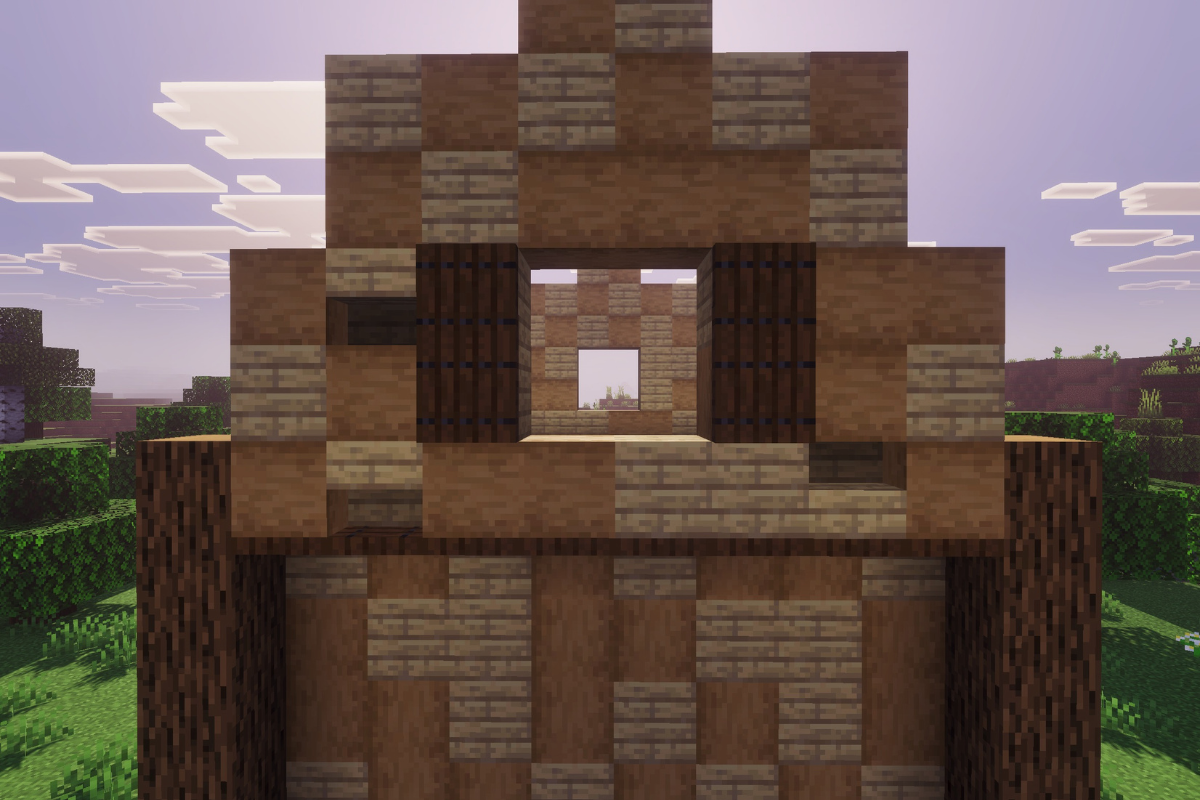
Build a support beam between the two stripped oak log pillars at the front of the barn using stripped oak logs, birch stairs, and birch planks.

  • Icon
    x 4
  • Icon
    x 2
  • Icon
    x 2
STEP 21 / 75

Build two layers along the front beam support using stripped oak logs, birch planks, and a birch stair.

  • Icon
    x 1
  • Icon
    x 6
  • Icon
    x 5
STEP 22 / 75

Add two layers to the front barn roof support using birch planks, stripped oak logs, and a birch stair.

  • Icon
    x 5
  • Icon
    x 6
  • Icon
    x 1
STEP 23 / 75

Finish the front roof support formation by adding the final stripped oak log and birch plank.

  • Icon
    x 1
  • Icon
    x 1
STEP 24 / 75

Use spruce trapdoors to create a large closed door on the left side of the barn.

  • Icon
    x 16
STEP 25 / 75

Use spruce trapdoors to create a large door at the front right side of the barn.

  • Icon
    x 16
STEP 26 / 75

Build an awning at the front of the barn using campfires and spruce trapdoors.

  • Icon
    x 4
  • Icon
    x 4
STEP 27 / 75

Place spruce trapdoors underneath the front roof support.

  • Icon
    x 8
STEP 28 / 75

Place spruce trapdoors around the front window.

  • Icon
    x 4
STEP 29 / 75

Place spruce trapdoors underneath the back roof support.

  • Icon
    x 8
STEP 30 / 75

Place spruce trapdoors around the back window.

  • Icon
    x 4
STEP 31 / 75

Fill the section between the oak pillars on the left side of the barn with spruce planks.

  • Icon
    x 5
STEP 32 / 75

Place spruce trapdoors underneath the spruce plank pillar on the left side of the barn.

  • Icon
    x 10
STEP 33 / 75

Fill the section between the oak pillars on the right side of the barn with spruce planks.

  • Icon
    x 5
STEP 34 / 75

Place spruce trapdoors underneath the spruce plank pillar on the right side of the barn.

  • Icon
    x 10
STEP 35 / 75

Place spruce stairs along the left side of the roof lining.

  • Icon
    x 15
STEP 36 / 75

Place upside-down spruce stairs behind the regular stairs at the back of the roof lining.

  • Icon
    x 2
STEP 37 / 75

Place spruce planks on top of the upside-down stairs at the back.

  • Icon
    x 2
STEP 38 / 75

Place spruce stairs on top of the spruce planks at the back.

  • Icon
    x 2
STEP 39 / 75

Add upside-down spruce stairs to the back roof lining.

  • Icon
    x 2
STEP 40 / 75

Place spruce planks along the back roof lining.

  • Icon
    x 2
STEP 41 / 75

Place spruce stairs above the back planks, using one stair per plank block on both sides.

  • Icon
    x 2
STEP 42 / 75

Add another layer of upside-down spruce stairs to the back roof lining.

  • Icon
    x 2
STEP 43 / 75

Place spruce slabs along the back roof lining.

  • Icon
    x 2
STEP 44 / 75

Place spruce planks along the back roof lining.

  • Icon
    x 2
STEP 45 / 75

Finish the back roof lining by adding the final spruce planks.

  • Icon
    x 4
STEP 46 / 75

Place spruce stairs along the side of the roof lining.

  • Icon
    x 15
STEP 47 / 75

Place upside-down spruce stairs behind the regular stairs at the front of the roof lining.

  • Icon
    x 2
STEP 48 / 75

Place spruce planks on top of the upside-down stairs at the front.

  • Icon
    x 2
STEP 49 / 75

Place spruce stairs on top of the spruce planks at the front.

  • Icon
    x 2
STEP 50 / 75

Add upside-down spruce stairs to the front roof lining.

  • Icon
    x 2
STEP 51 / 75

Place spruce planks along the front roof lining.

  • Icon
    x 2
STEP 52 / 75

Place spruce stairs above the front planks, using one stair per plank block on both sides.

  • Icon
    x 2
STEP 53 / 75

Add another layer of upside-down spruce stairs to the front roof lining.

  • Icon
    x 2
STEP 54 / 75

Place spruce slabs along the front roof lining.

  • Icon
    x 2
STEP 55 / 75

Place spruce planks along the front roof lining.

  • Icon
    x 2
STEP 56 / 75

Finish the front roof lining by adding the final spruce planks.

  • Icon
    x 4
STEP 57 / 75

Use spruce fences to create the window sections at the front and back of the barn.

  • Icon
    x 8
STEP 58 / 75

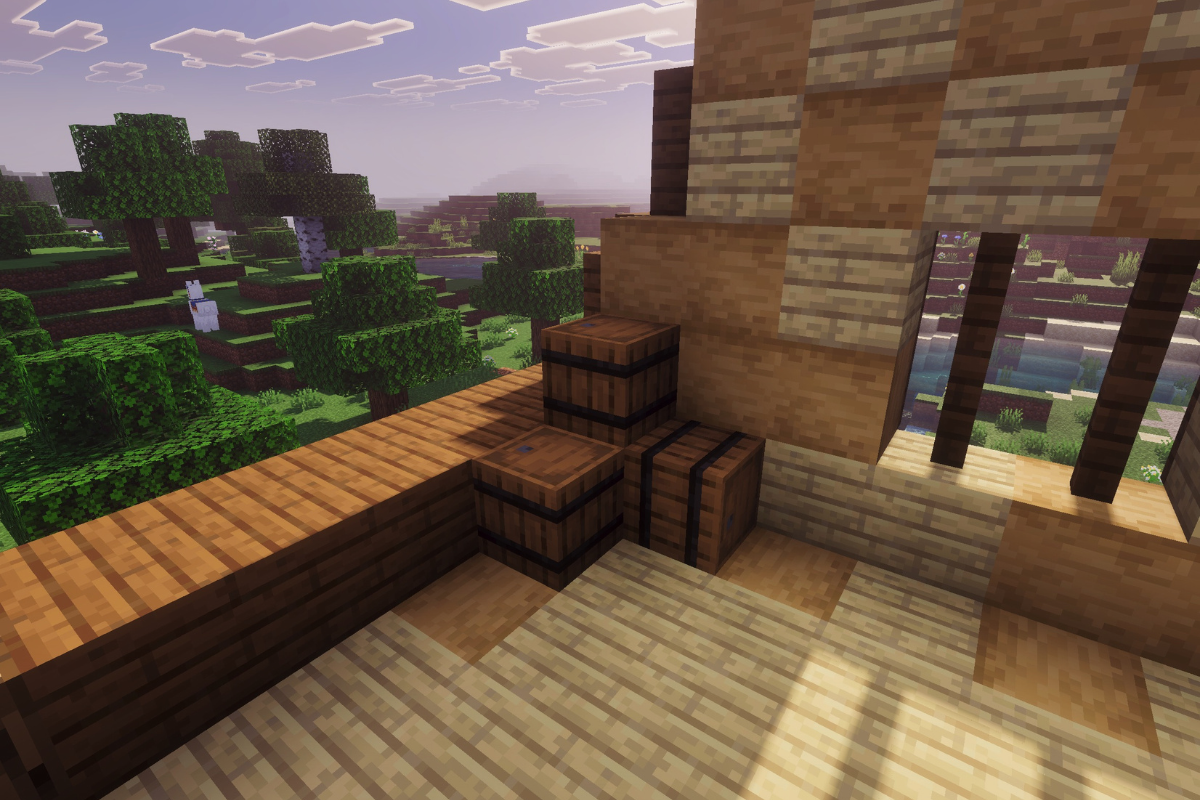
Place four barrels at the front-right side of the barn for extra forage storage.

  • Icon
    x 4
STEP 59 / 75

Build two animal pens in the loft using spruce fences. Add a spruce fence gate to each pen and place white carpets as shown.

  • Icon
    x 8
  • Icon
    x 2
  • Icon
    x 2
STEP 60 / 75

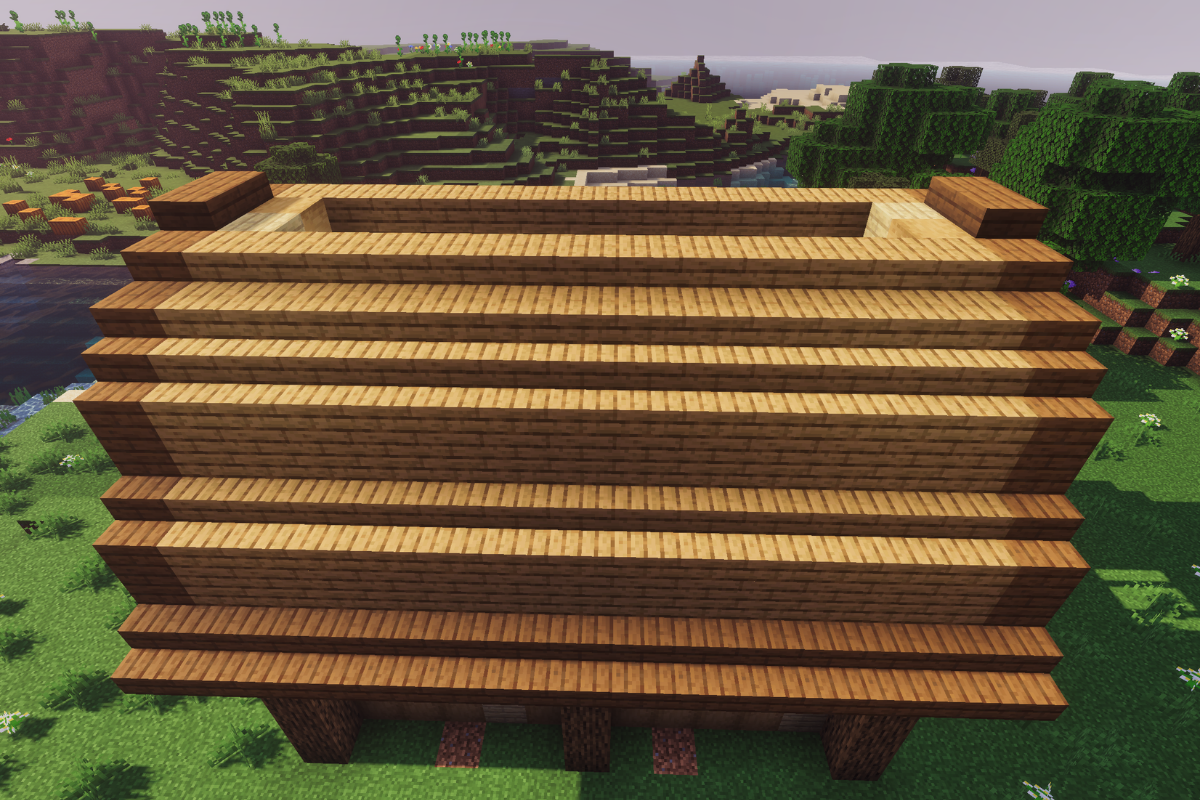
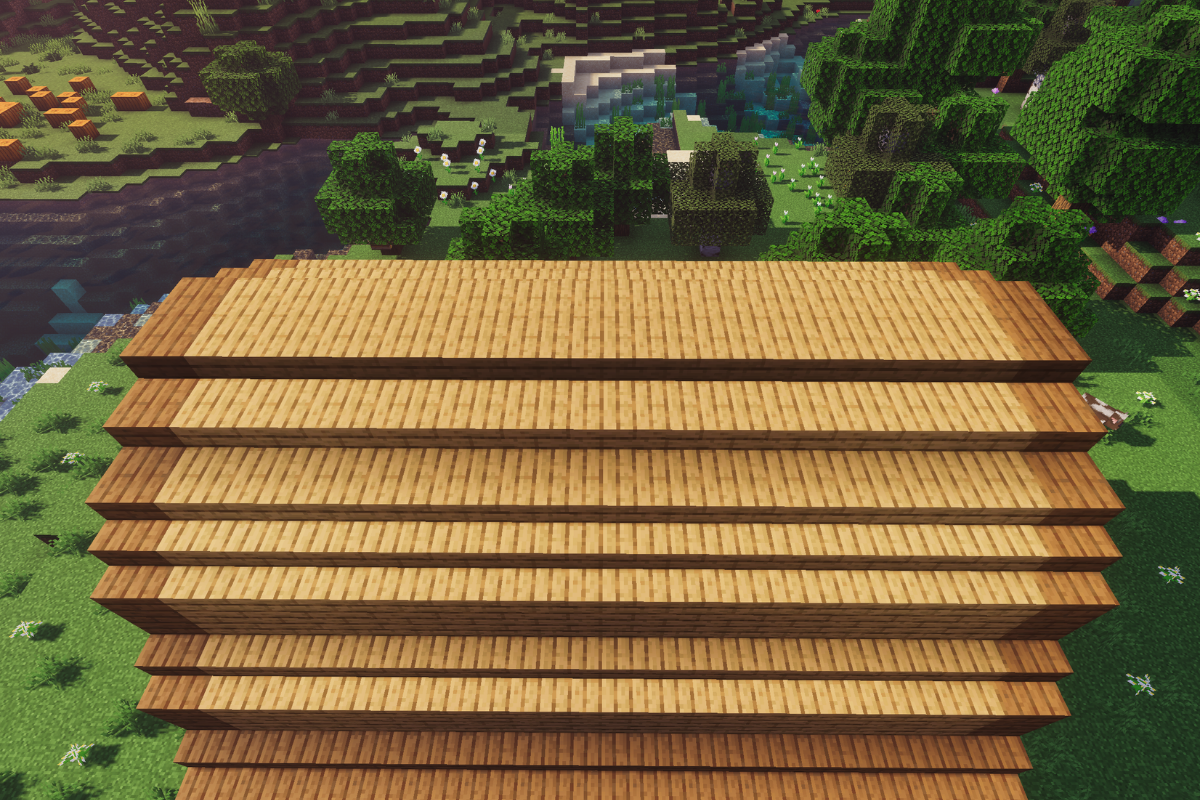
Place oak planks along the left side of the roof.

  • Icon
    x 13
STEP 61 / 75

Place oak stairs along the left side of the roof.

  • Icon
    x 13
STEP 62 / 75

Add another row of oak planks along the left side of the roof.

  • Icon
    x 13
STEP 63 / 75

Add another row of oak stairs along the left side of the roof.

  • Icon
    x 13
STEP 64 / 75

Continue shaping the left side of the roof using oak slabs and oak stairs.

  • Icon
    x 13
  • Icon
    x 13
STEP 65 / 75

Place oak planks along the right side of the roof.

  • Icon
    x 13
STEP 66 / 75

Place oak stairs along the right side of the roof.

  • Icon
    x 13
STEP 67 / 75

Add another row of oak planks along the right side of the roof.

  • Icon
    x 13
STEP 68 / 75

Add another row of oak stairs along the right side of the roof.

  • Icon
    x 13
STEP 69 / 75

Continue shaping the right side of the roof using oak planks and oak slabs.

  • Icon
    x 13
  • Icon
    x 13
STEP 70 / 75

Finish the roof by placing oak slabs along the remaining roof sections.

  • Icon
    x 26
STEP 71 / 75

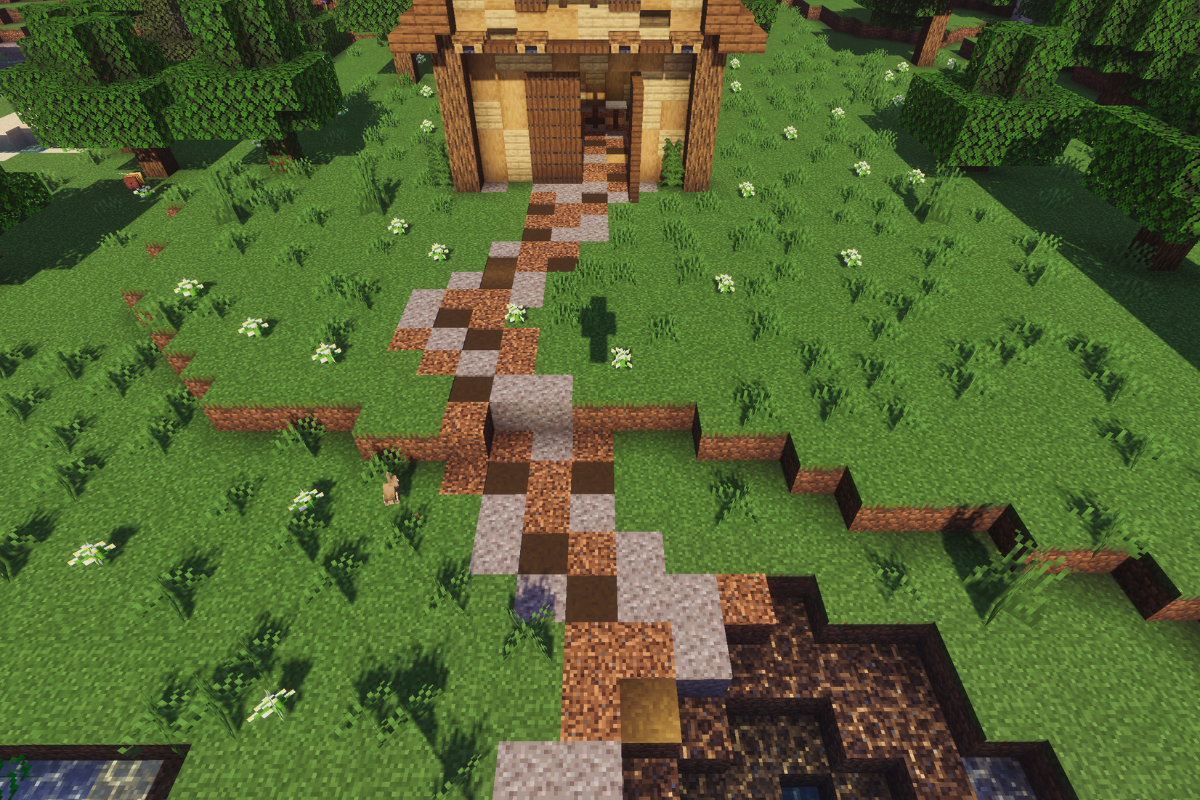
Create a path leading to the front of the barn using gravel and coarse dirt. Use a shovel as needed to shape the path.

STEP 72 / 75

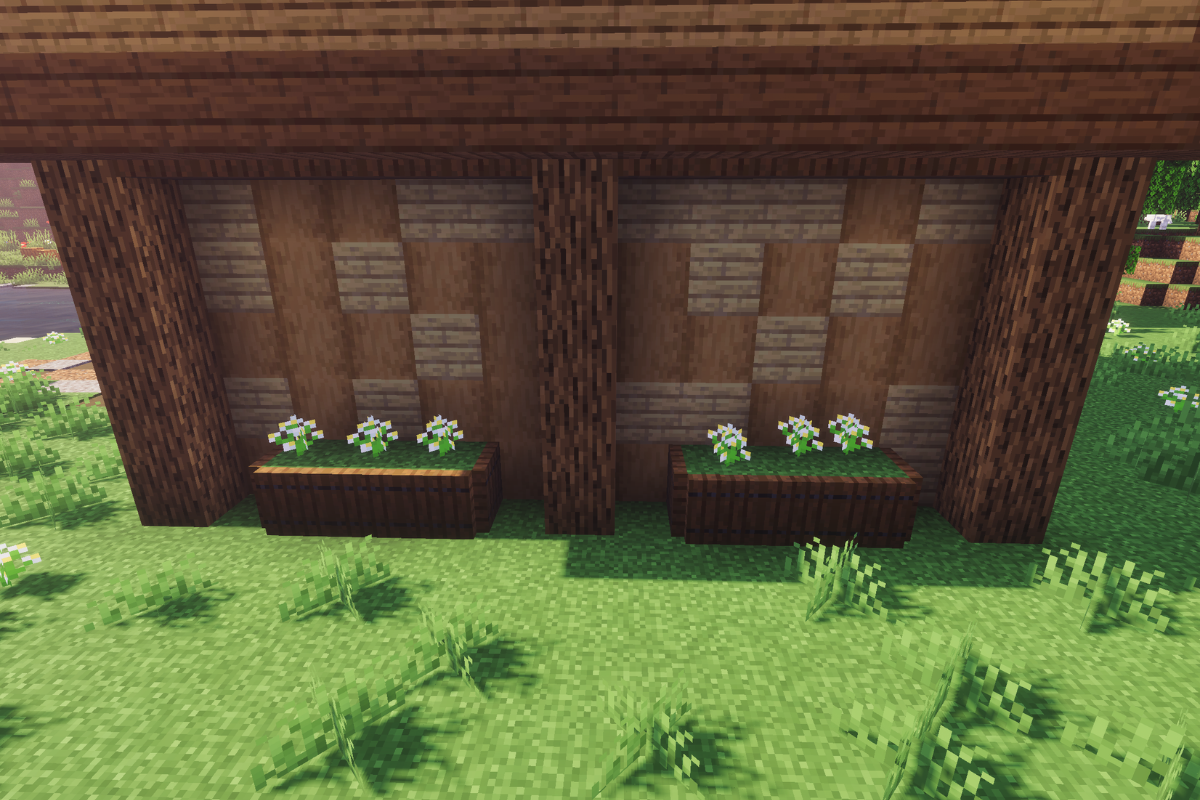
Create a small flower garden on the right side of the barn. Use spruce trapdoors to frame the garden, fill the area with grass blocks, and plant azure bluets.

  • Icon
    x 10
  • Icon
    x 6
  • Icon
    x 6
STEP 73 / 75

Create a small flower garden on the left side of the barn. Use spruce trapdoors to frame the garden, fill the area with grass blocks, and plant azure bluets.

  • Icon
    x 10
  • Icon
    x 6
  • Icon
    x 6
STEP 74 / 75

Place four barrels at the front-left side of the barn.

  • Icon
    x 4
STEP 75 / 75

Finished.

Conclusion

This American-style oak barn is a great addition to any Minecraft survival world. With two animal pens, a loft, and a classic wooden design, it gives your starter farm both functionality and countryside charm.

Follow all 75 steps to complete your barn, then customize the surrounding area with crop fields, fences, pathways, or a small farmhouse. You can always add more decorations as your world grows.

Whether you’re starting your first farm or expanding an existing one, this oak barn is a simple and practical build worth trying.

Leave a Reply

Your email address will not be published. Required fields are marked *