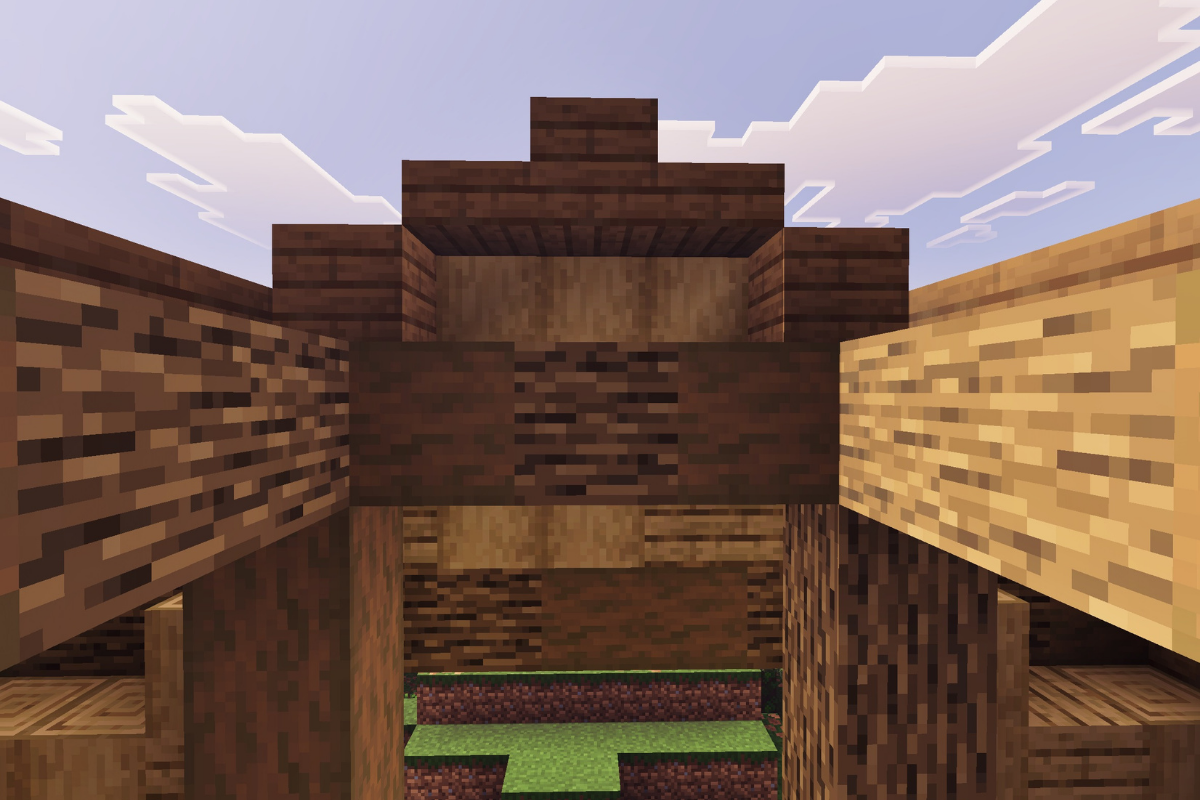
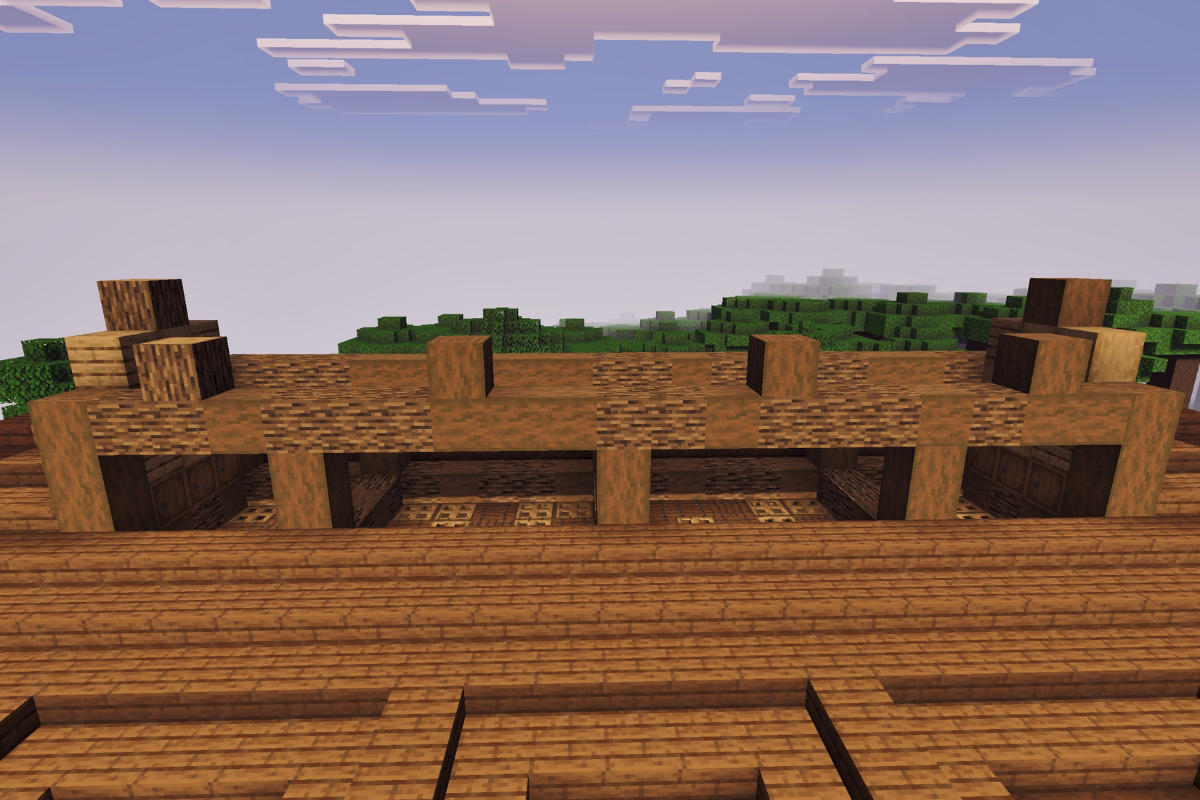
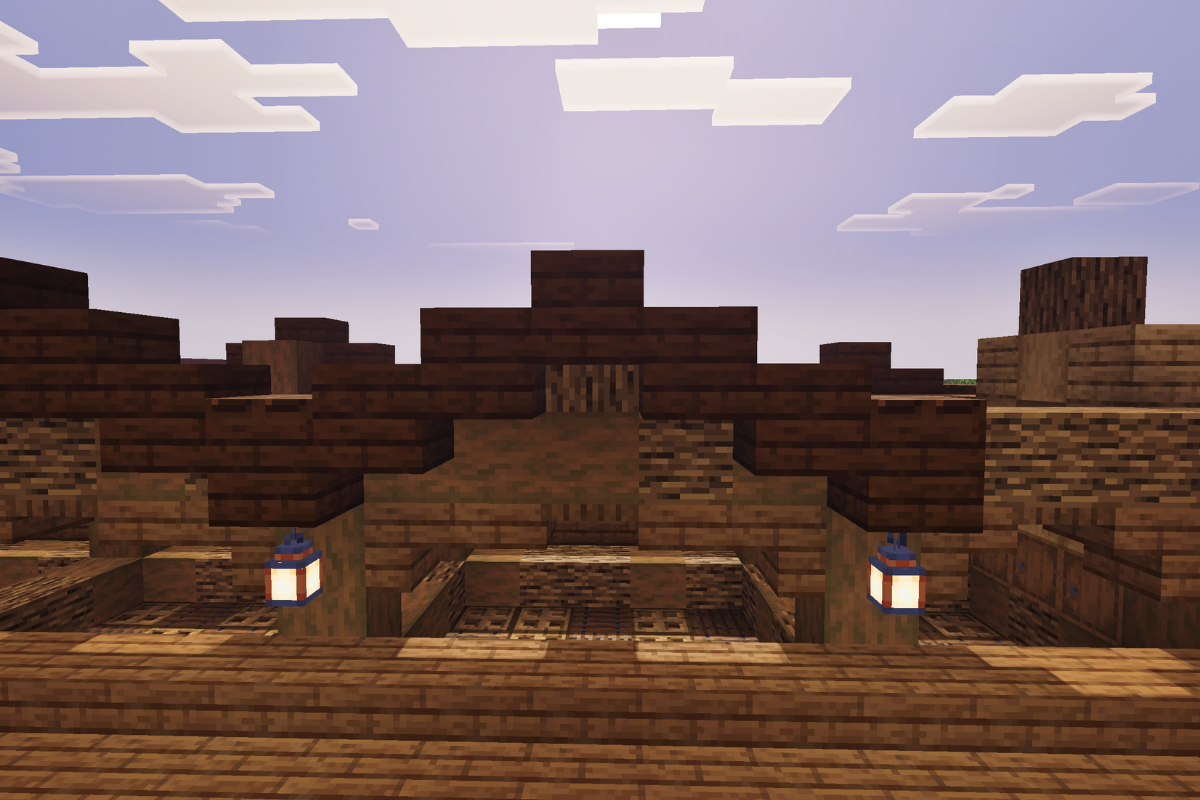
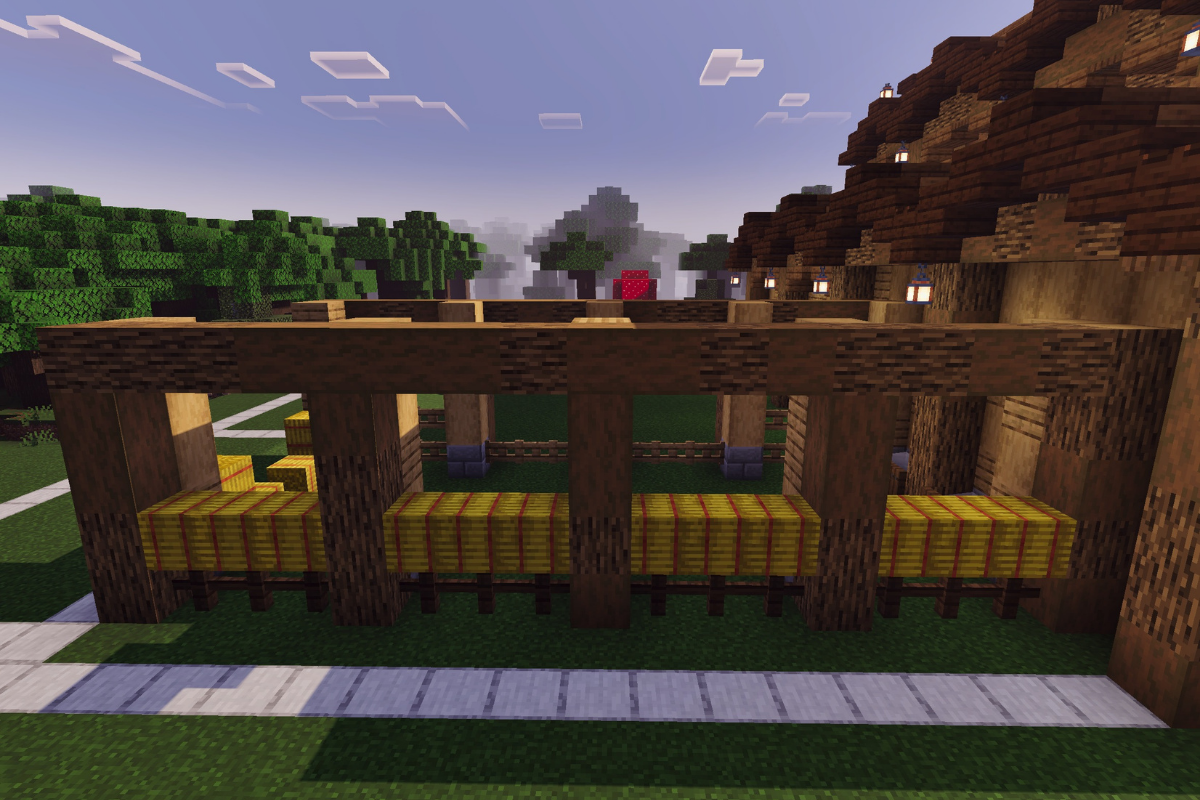
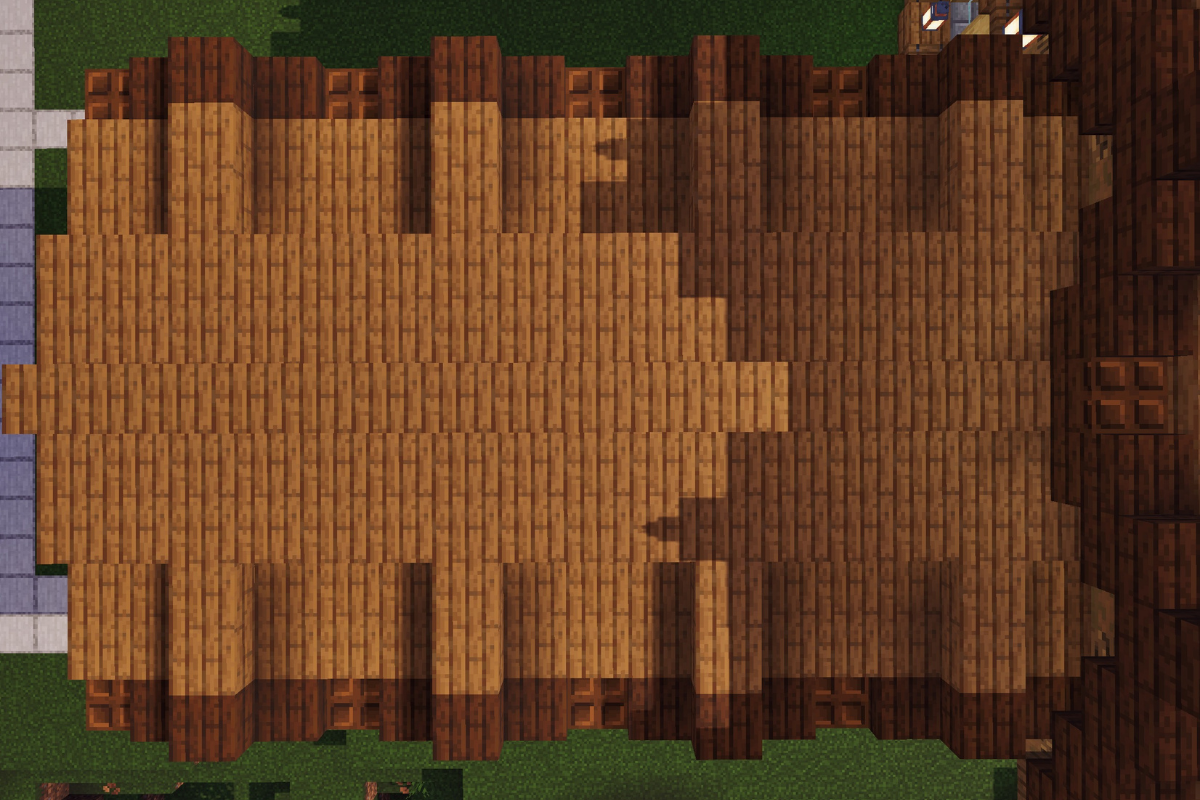
STEP 91 / 235
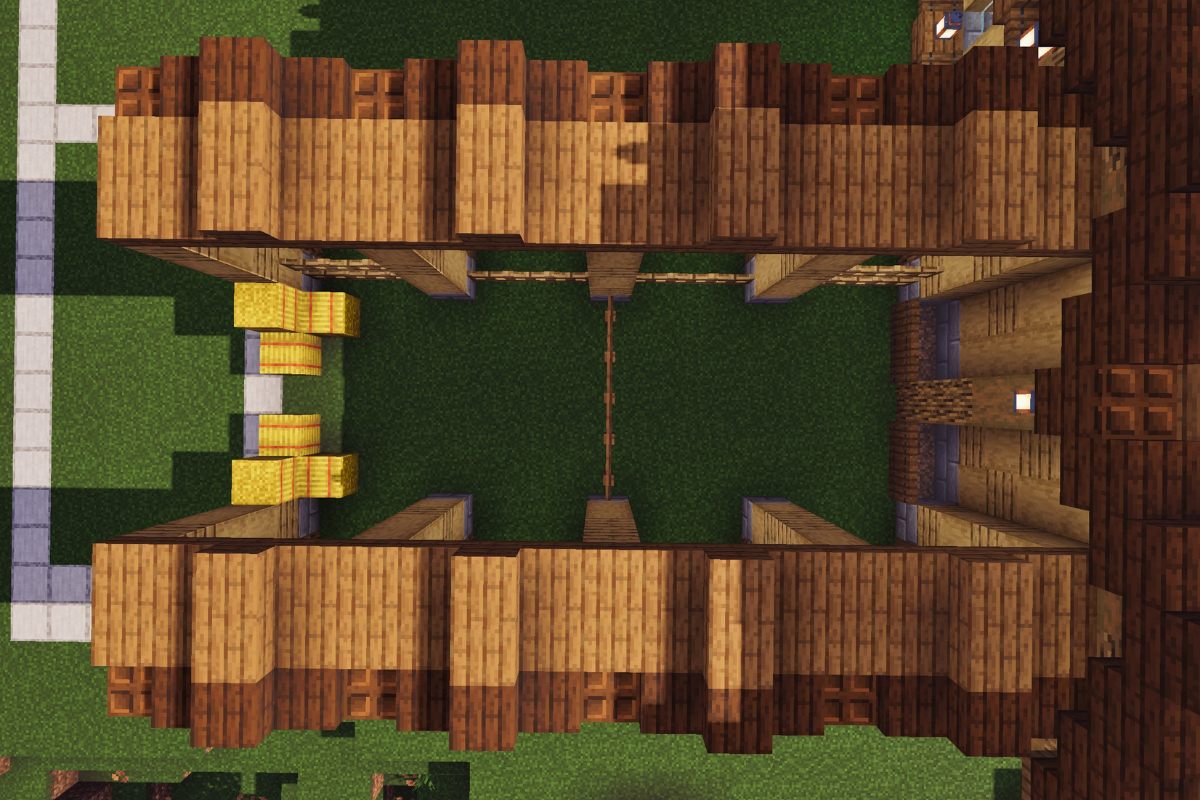
Add a supporting beam on top of the 5 pillars.
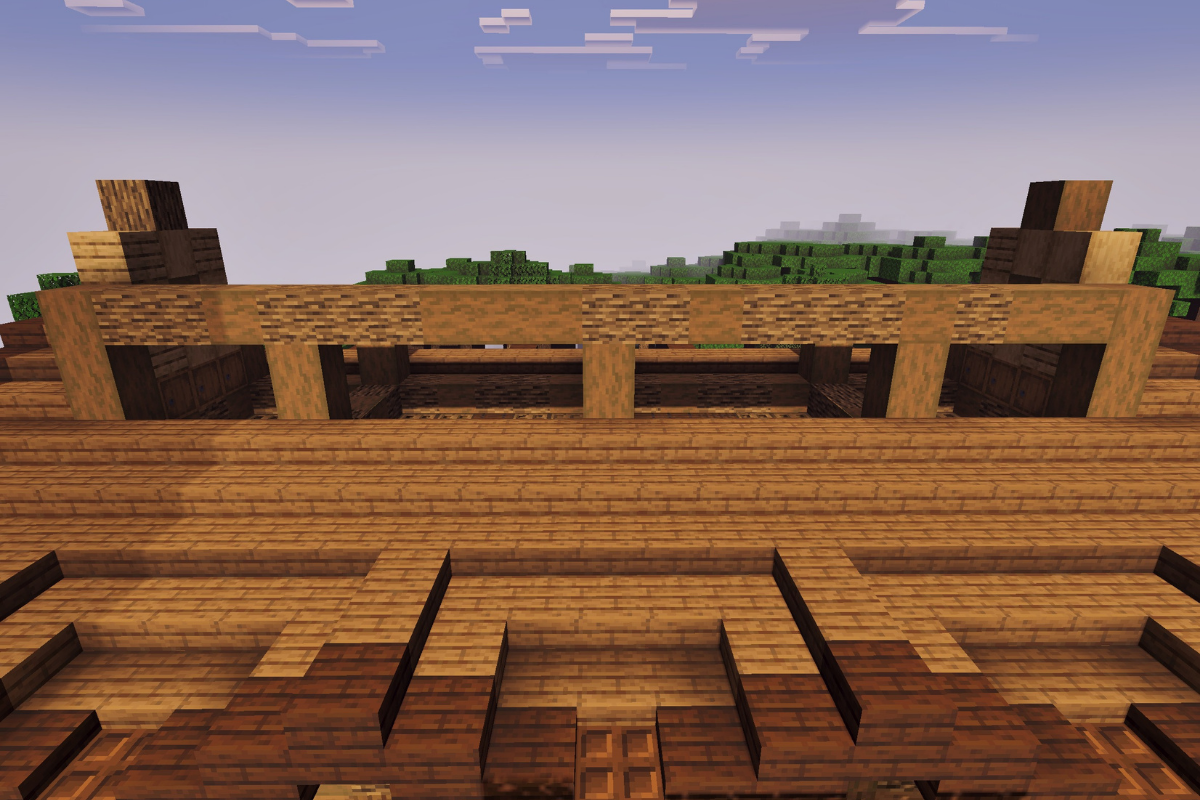
STEP 92 / 235
Add a supporting beam on top of the 5 pillars
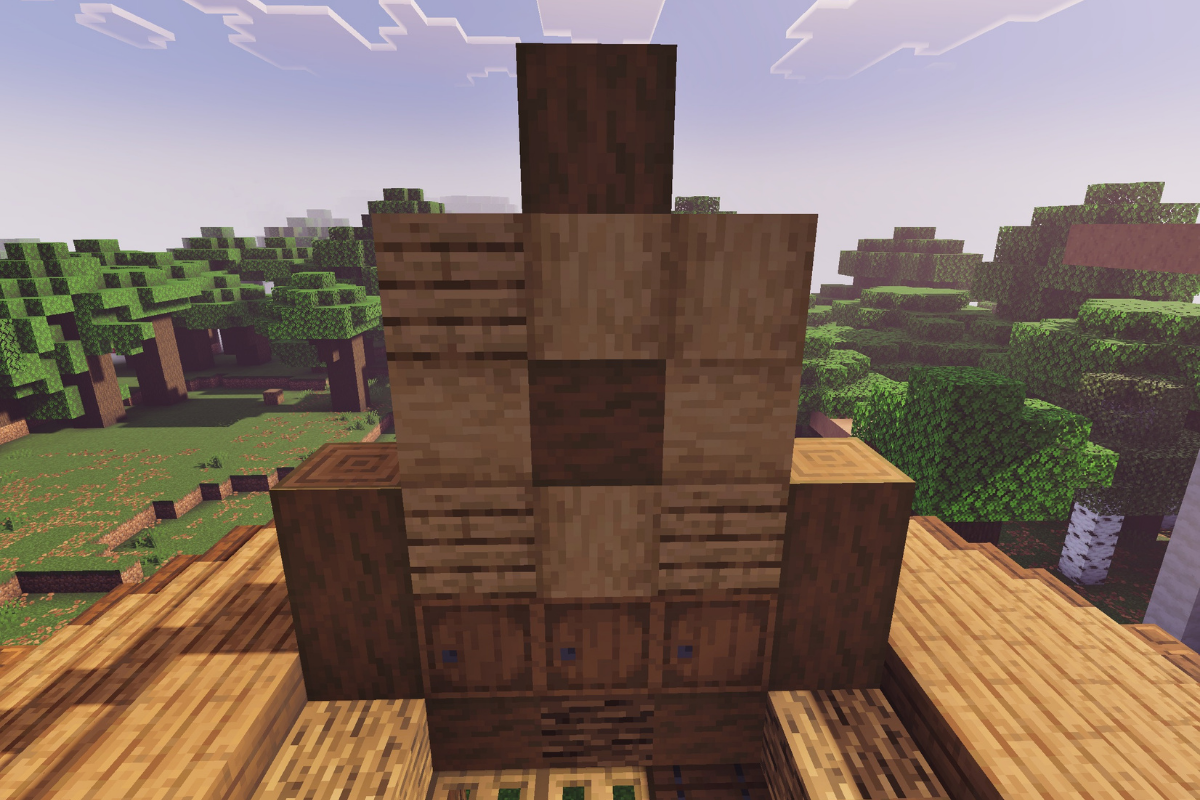
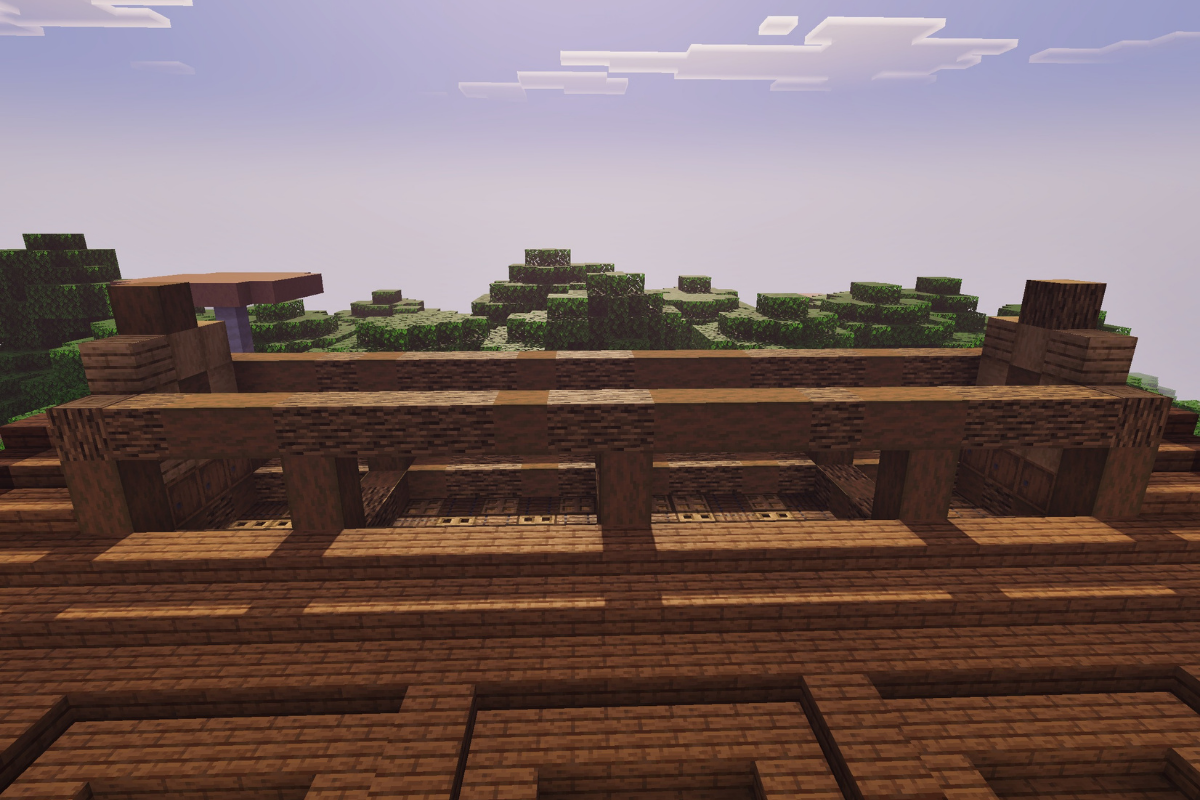
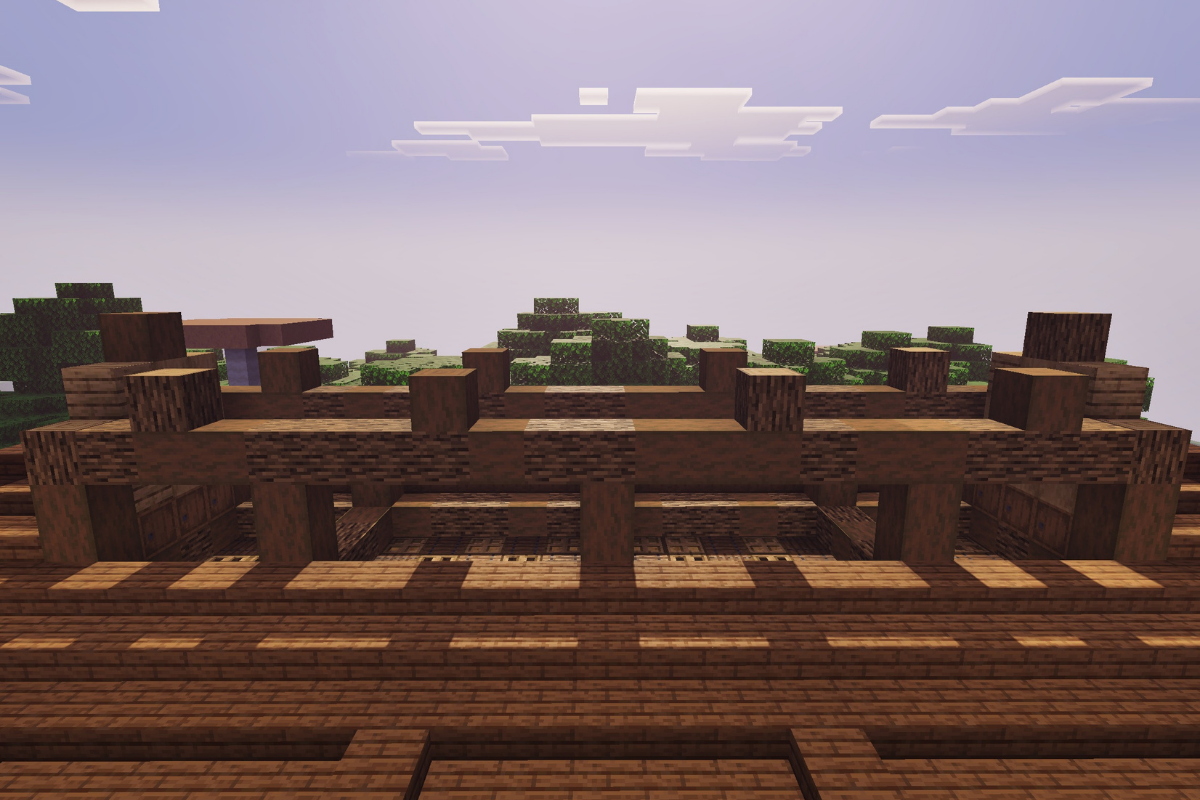
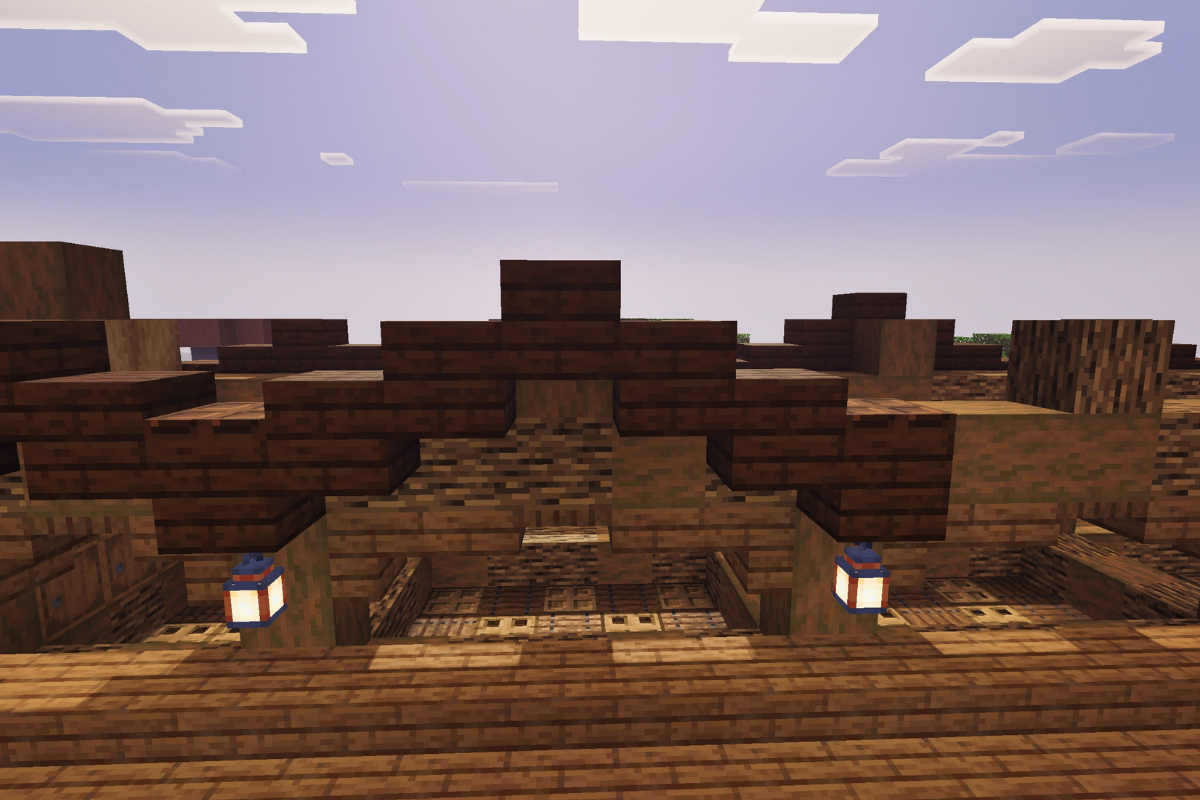
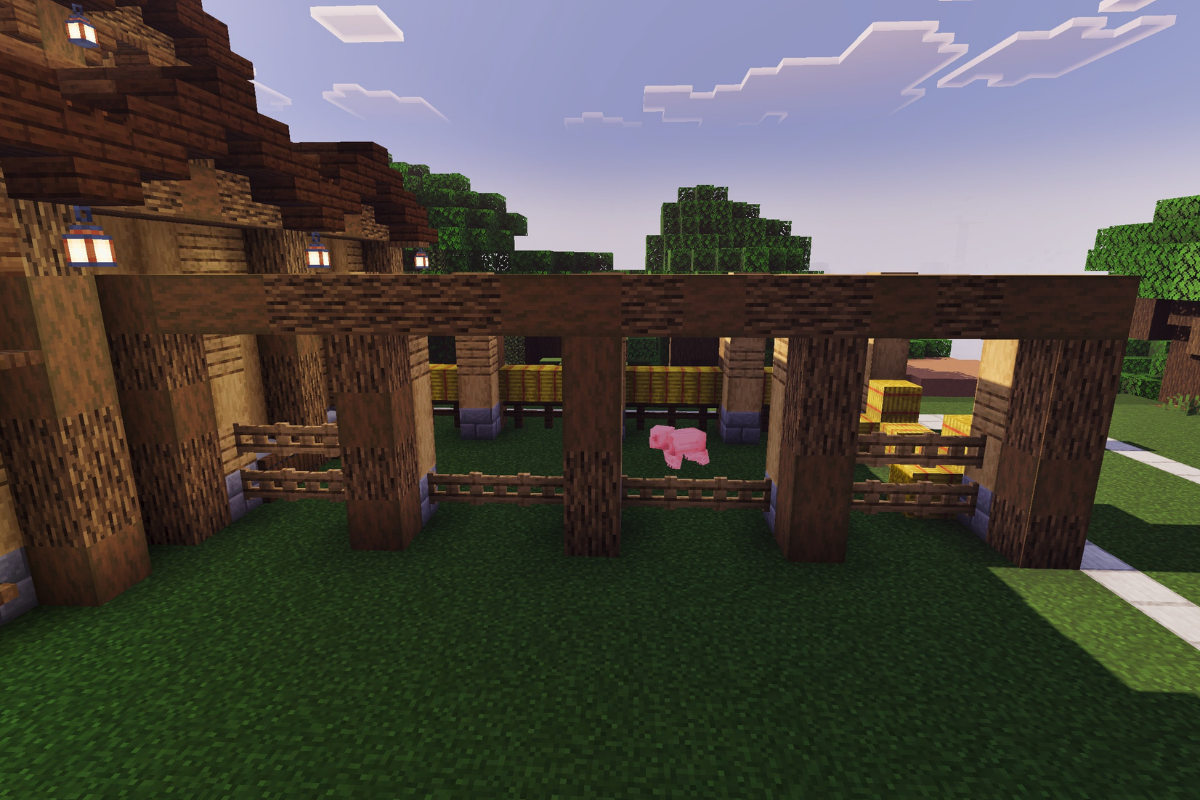
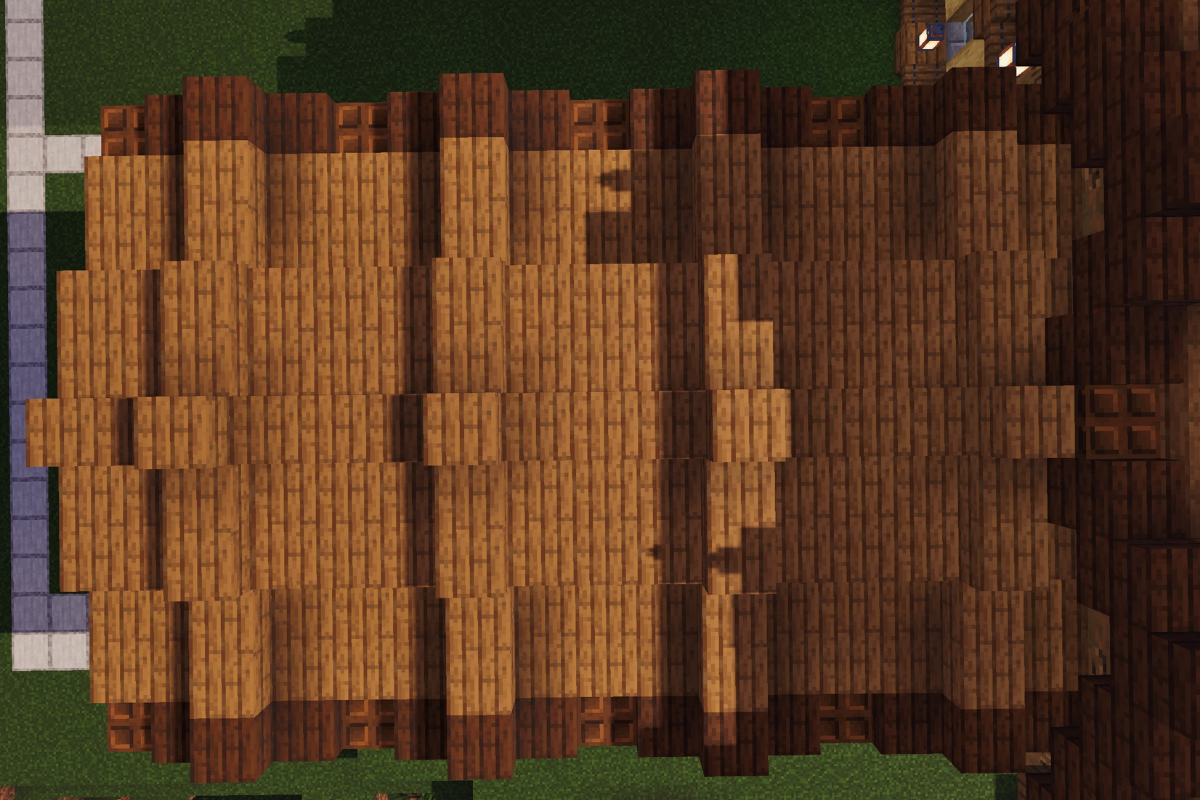
STEP 93 / 235
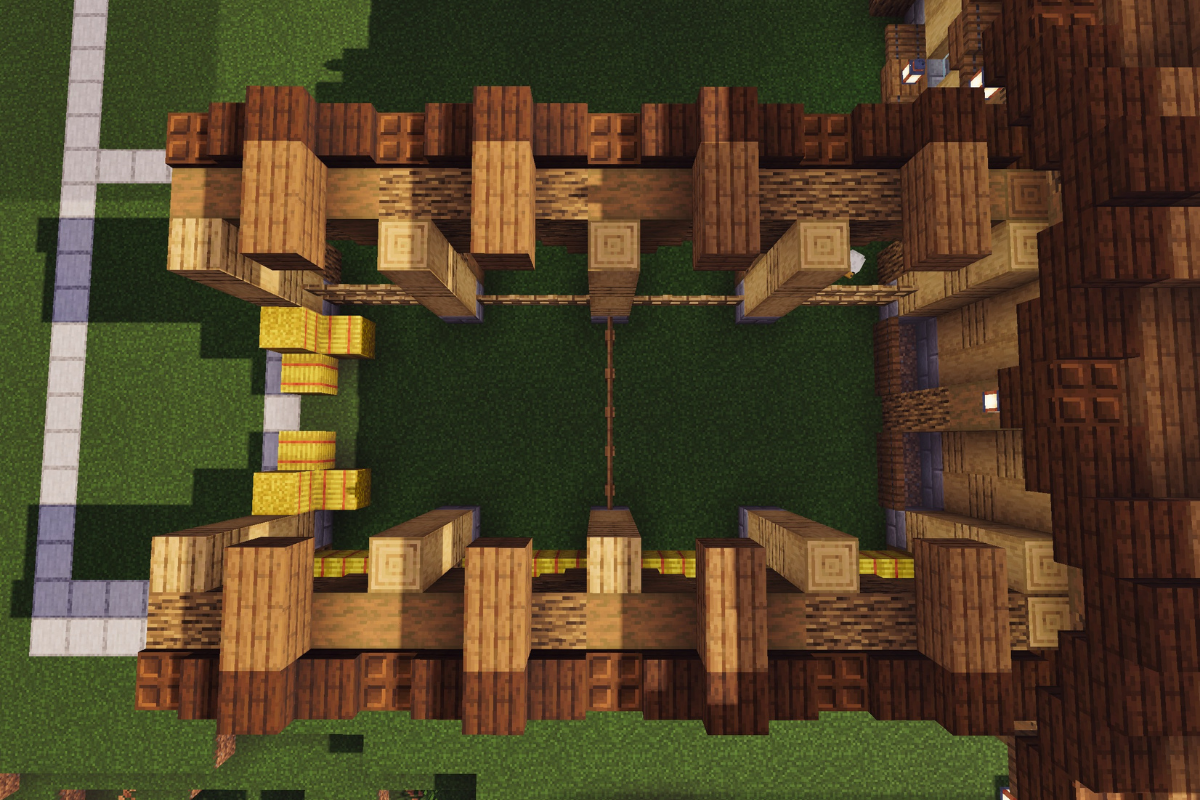
Add a block at the top/center between each pillar.
STEP 94 / 235
Add a block at the top/center between each pillar.
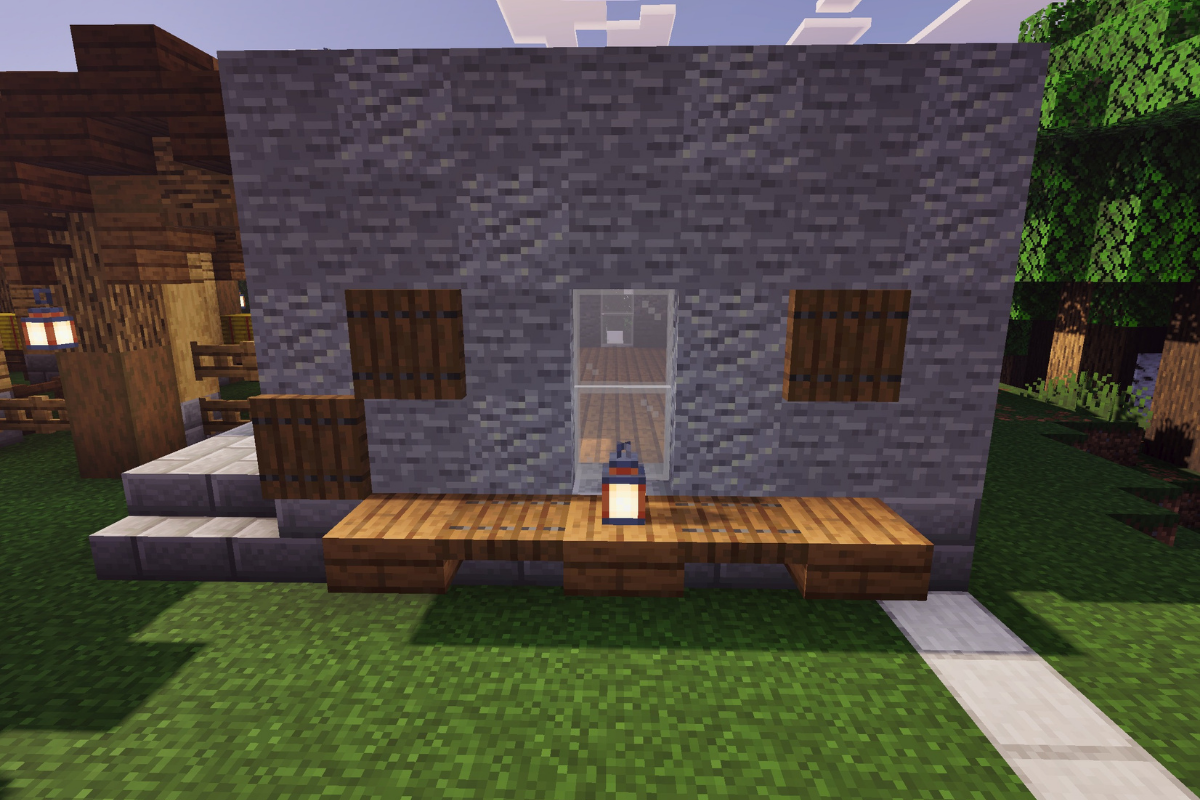
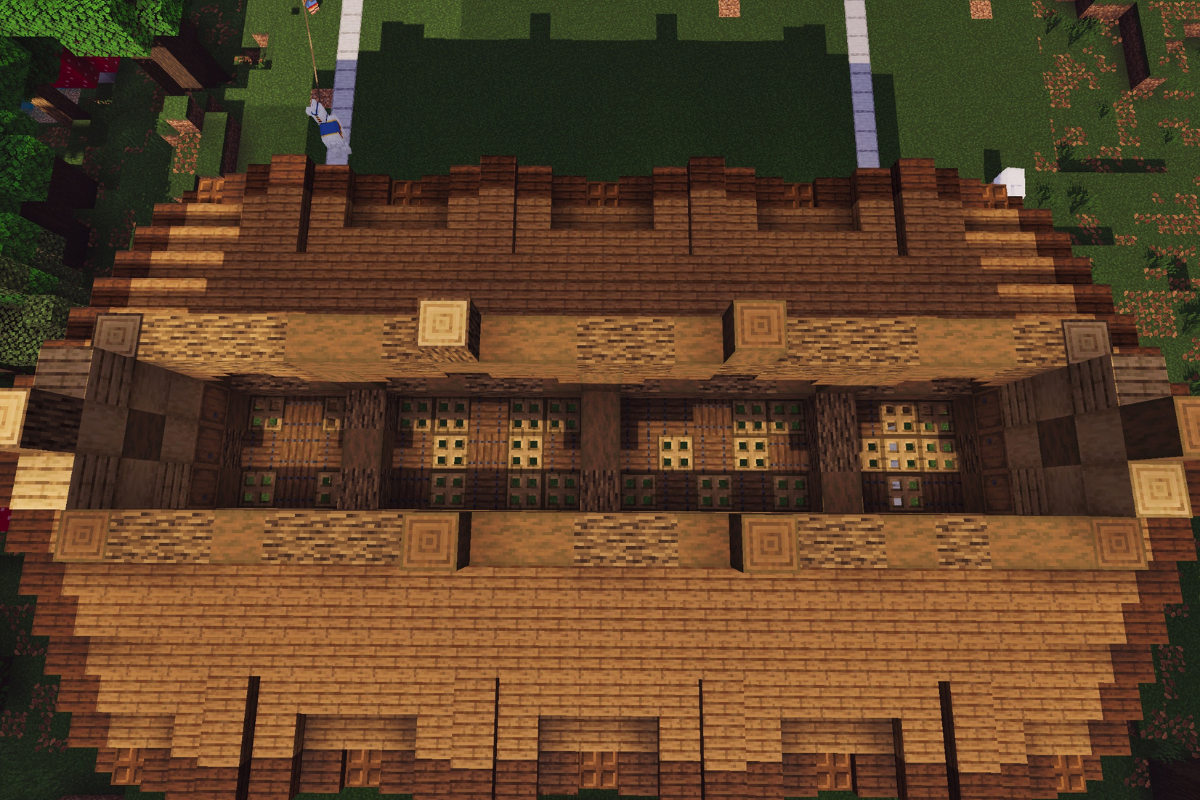
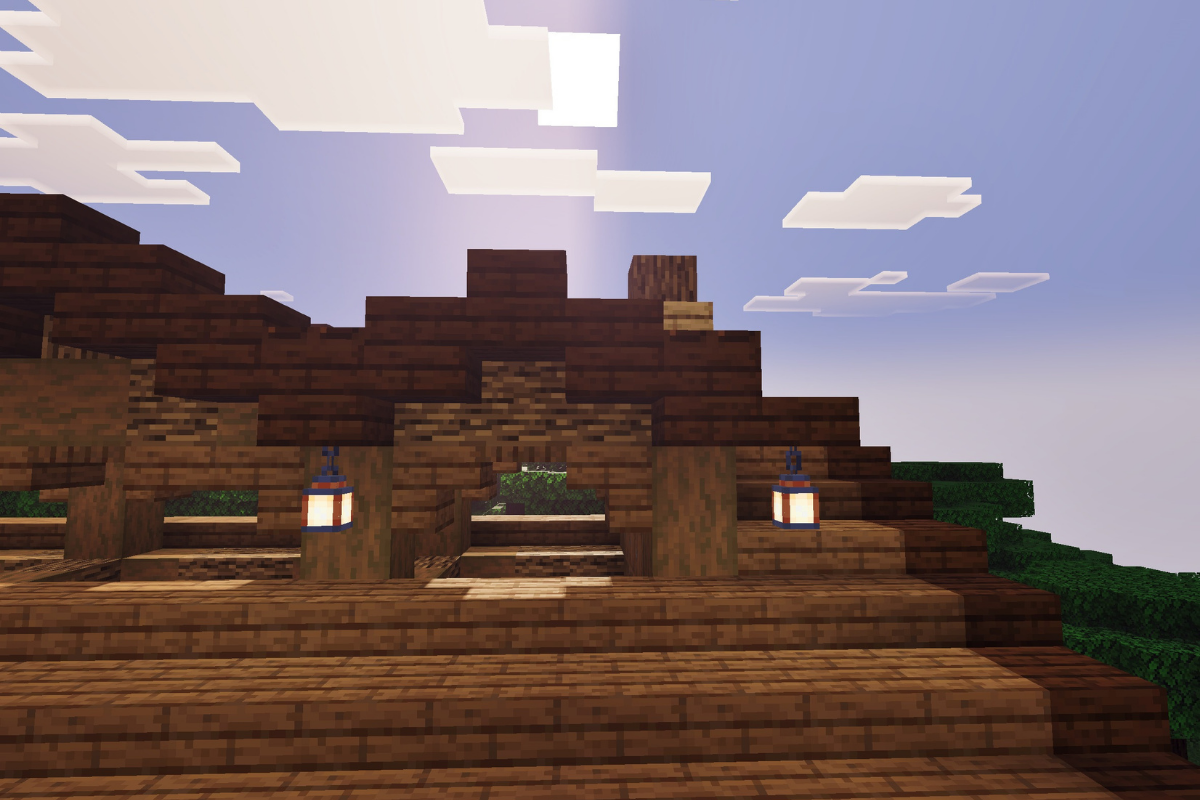
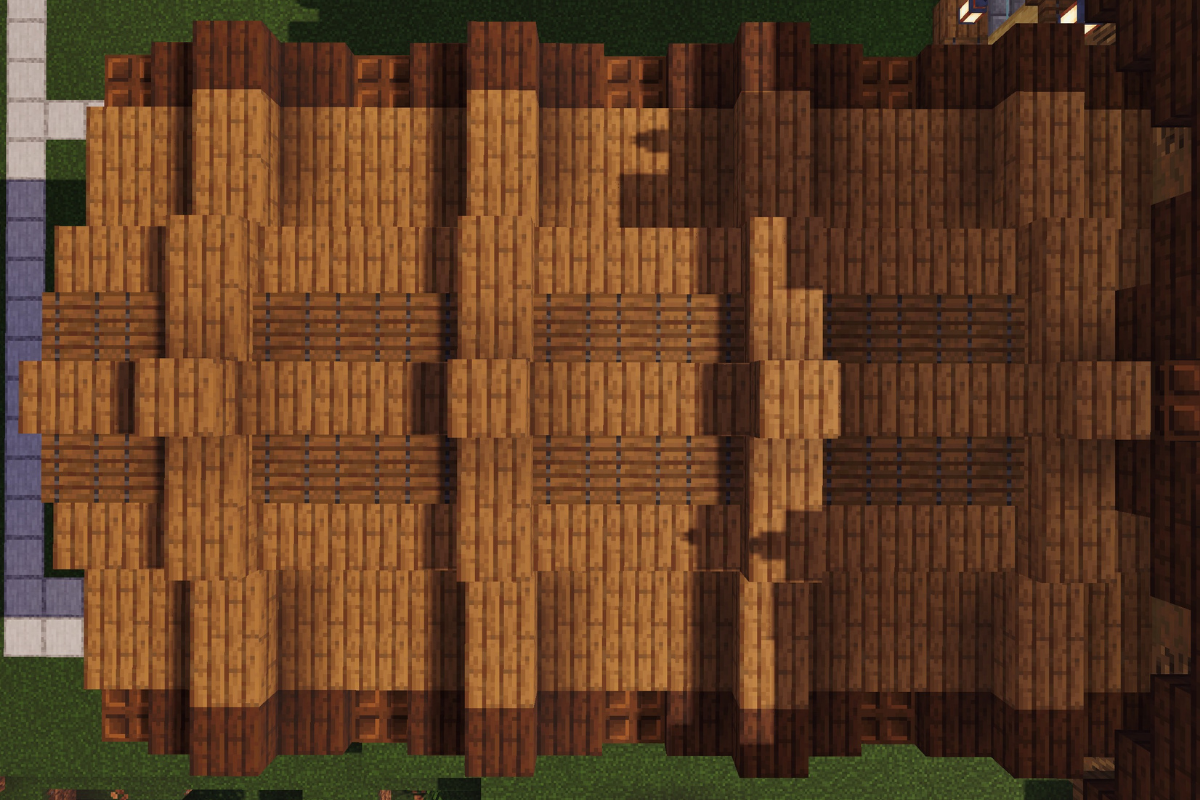
STEP 95 / 235
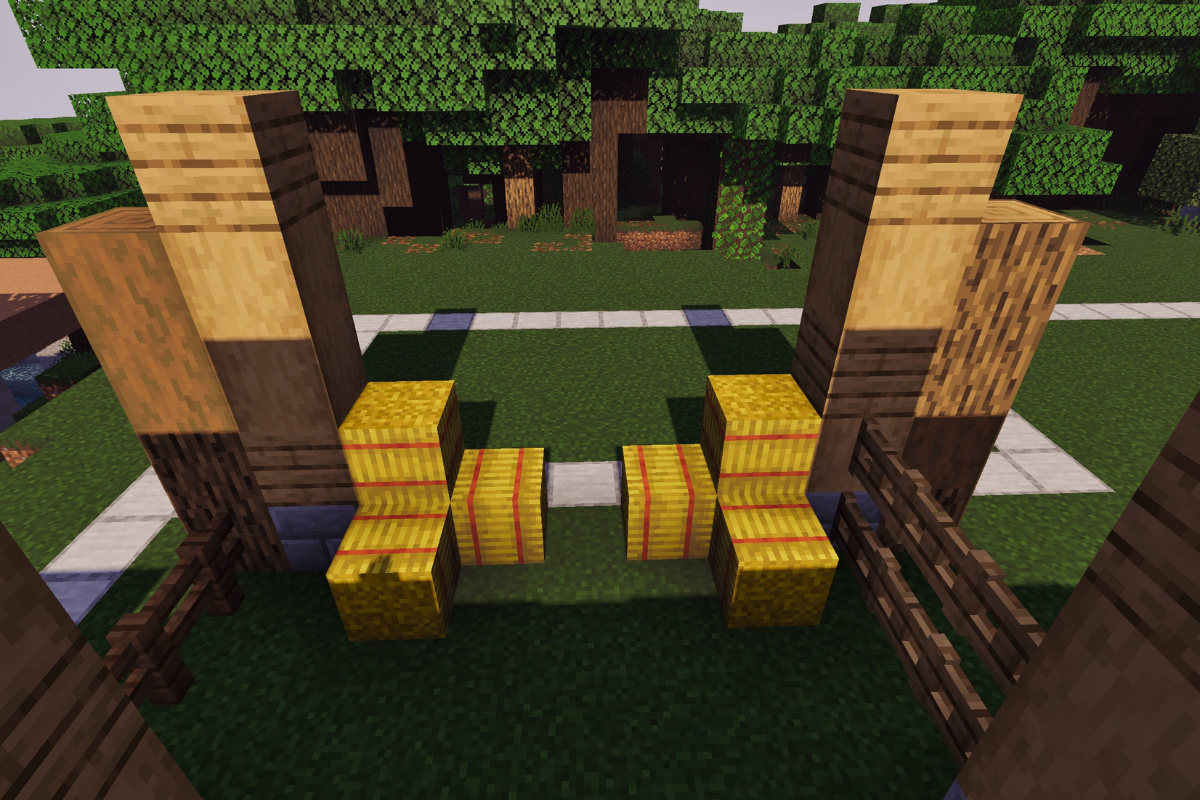
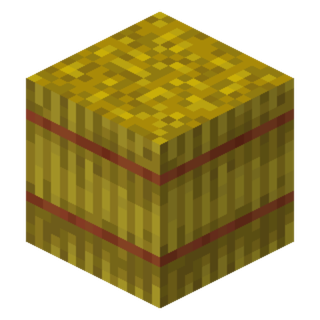
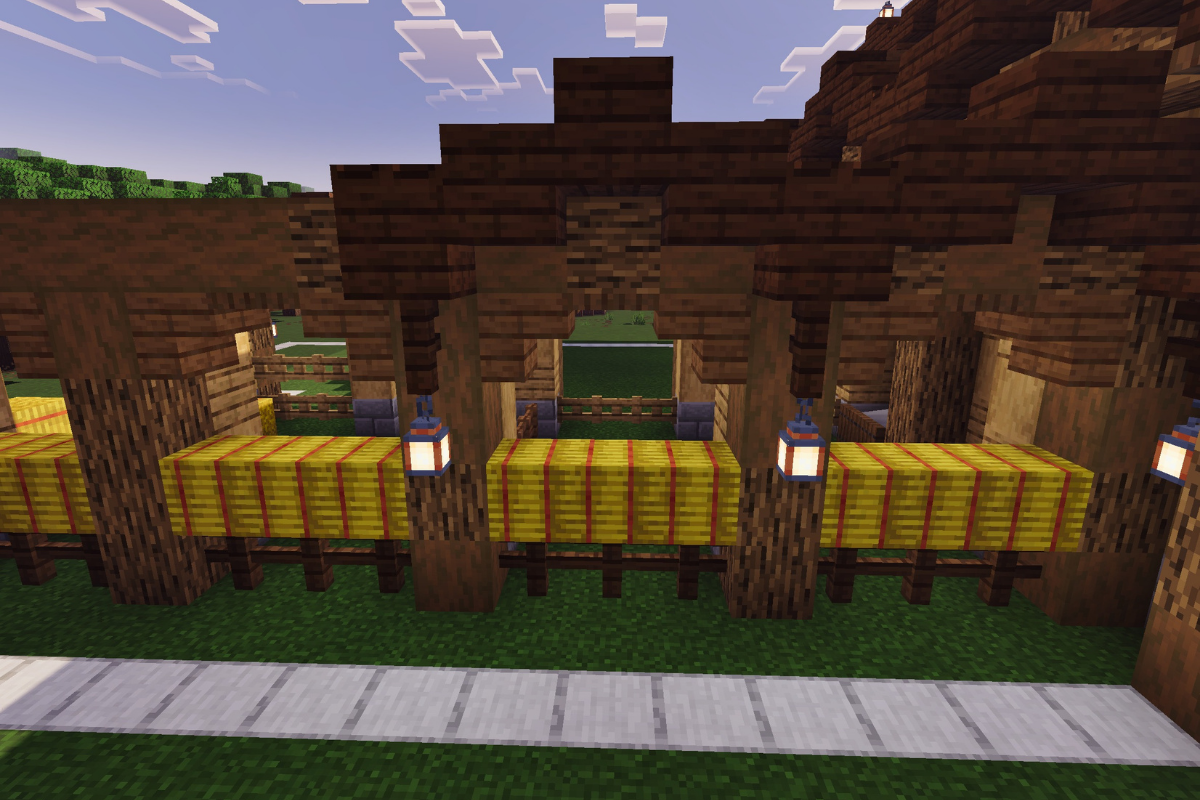
Add decor to the 4 smaller gaps between the gaps.
STEP 96 / 235
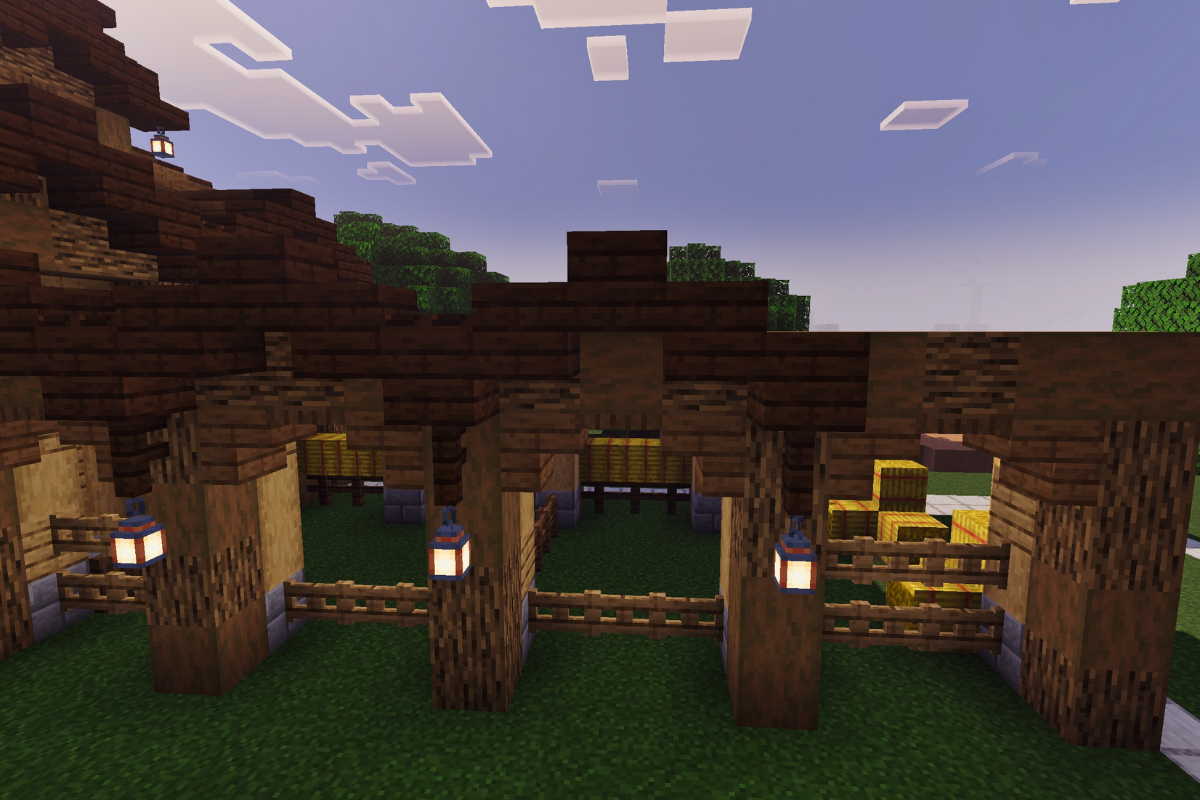
Add decor to the 4 larger gaps between the gaps.
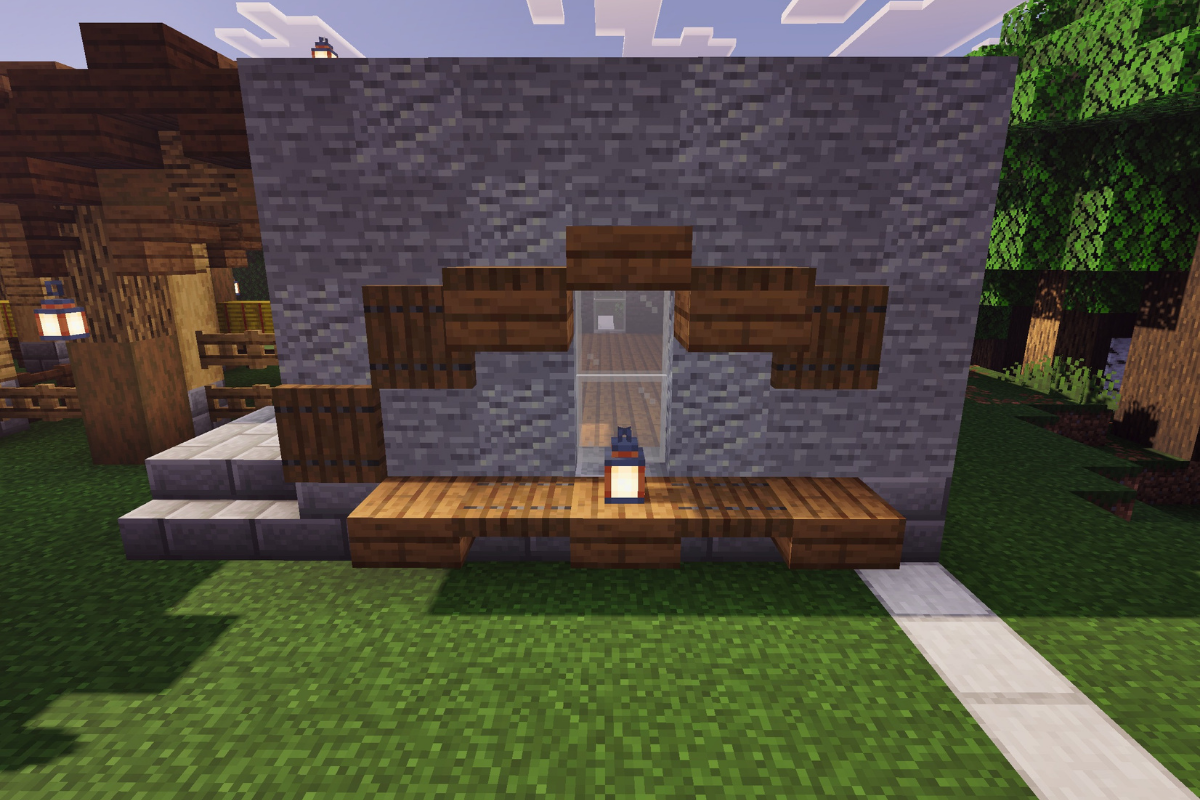
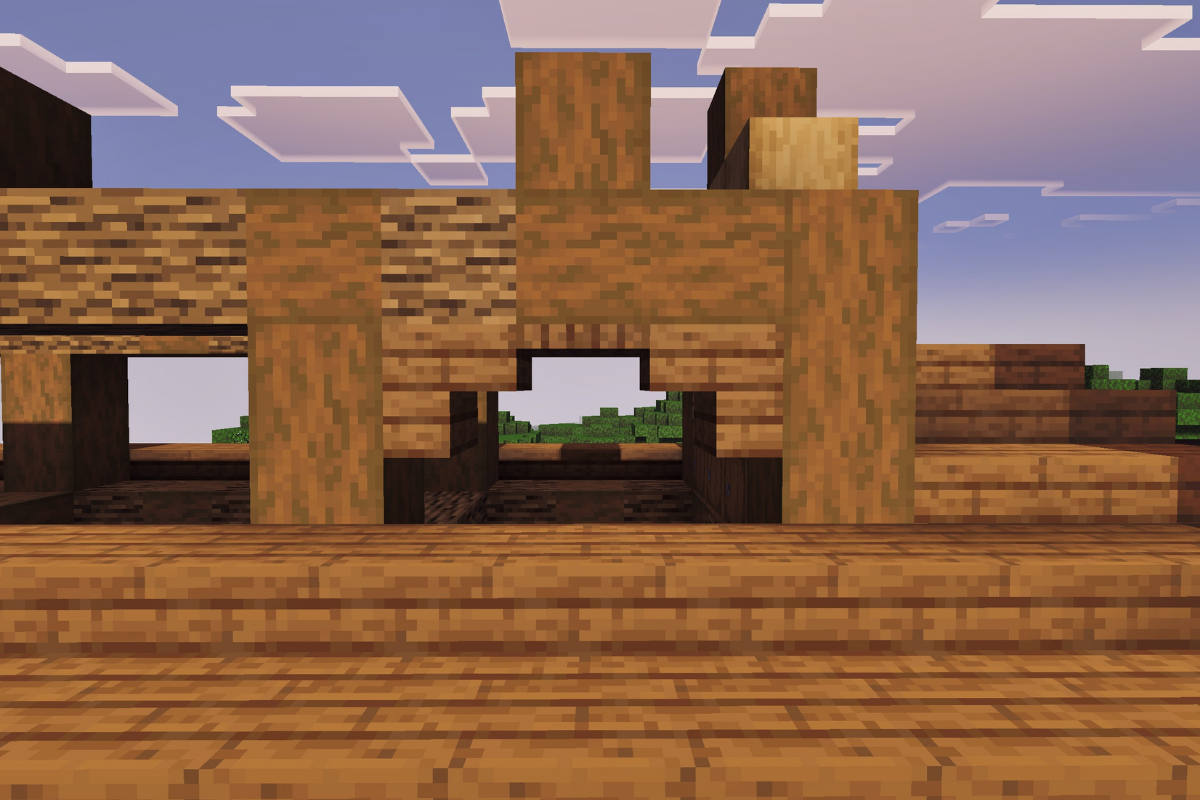
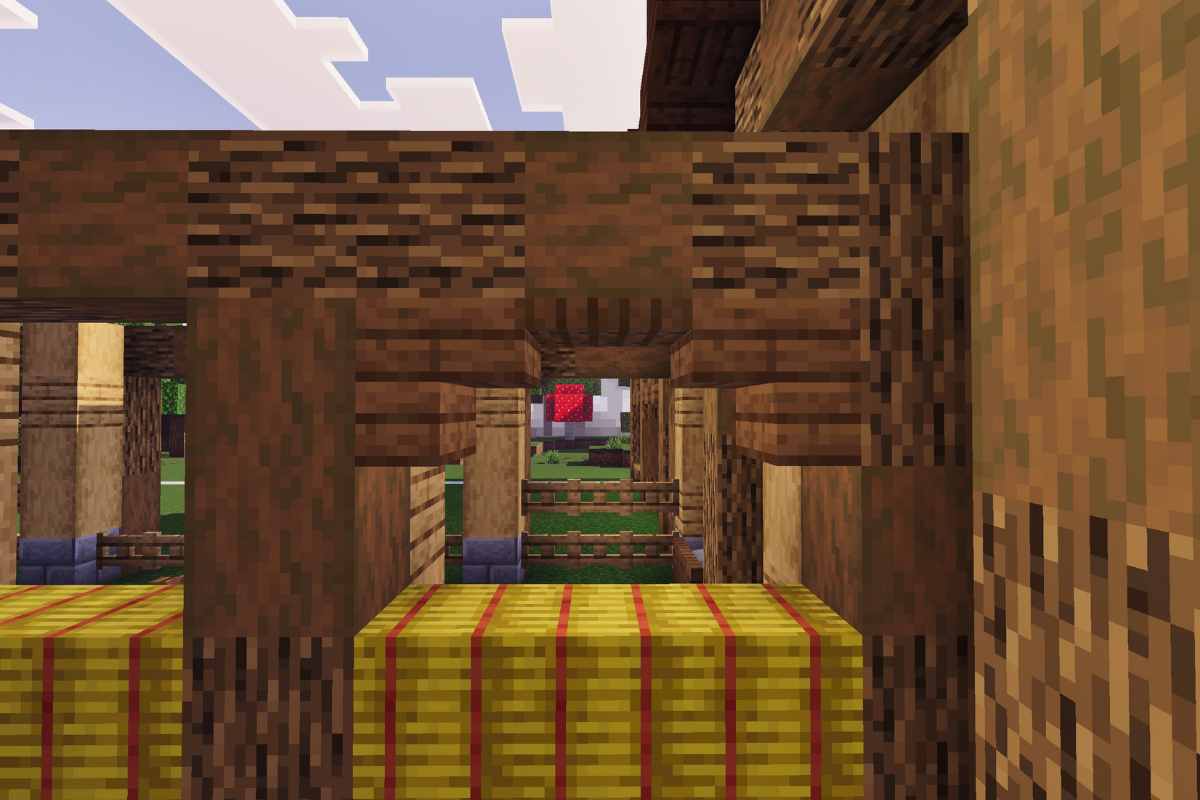
STEP 97 / 235
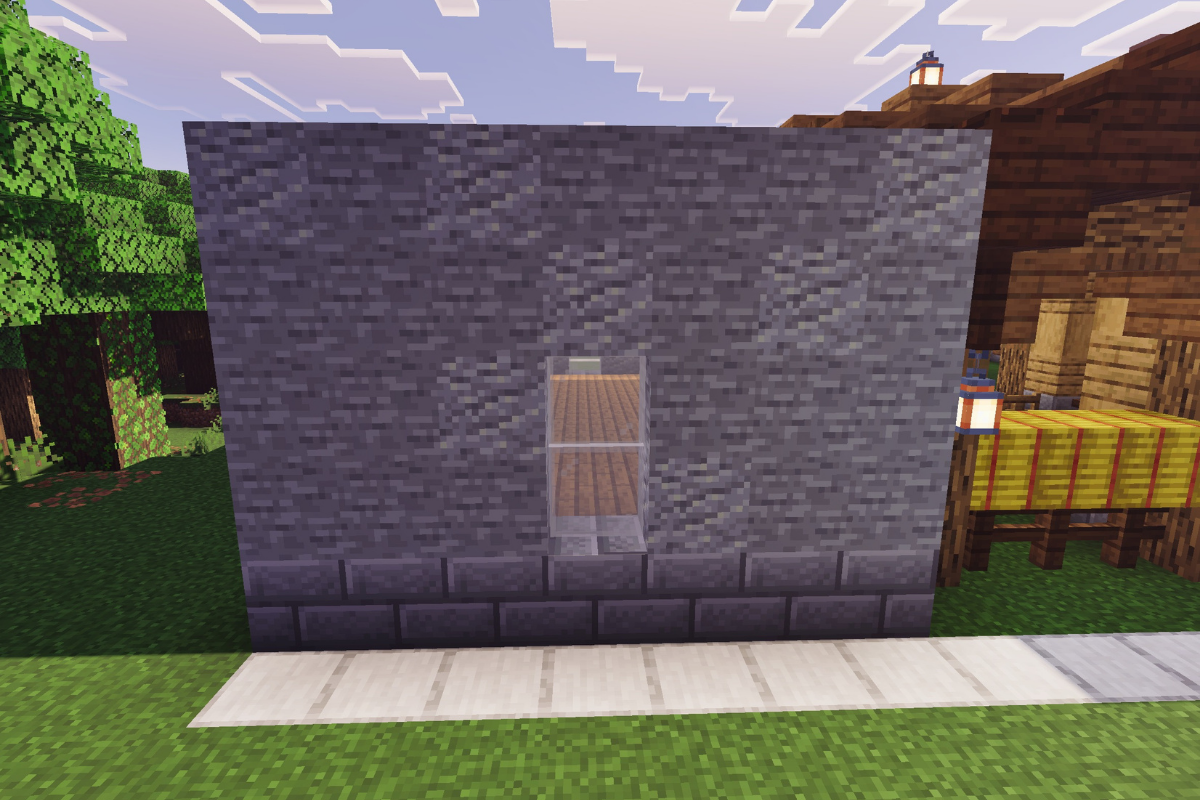
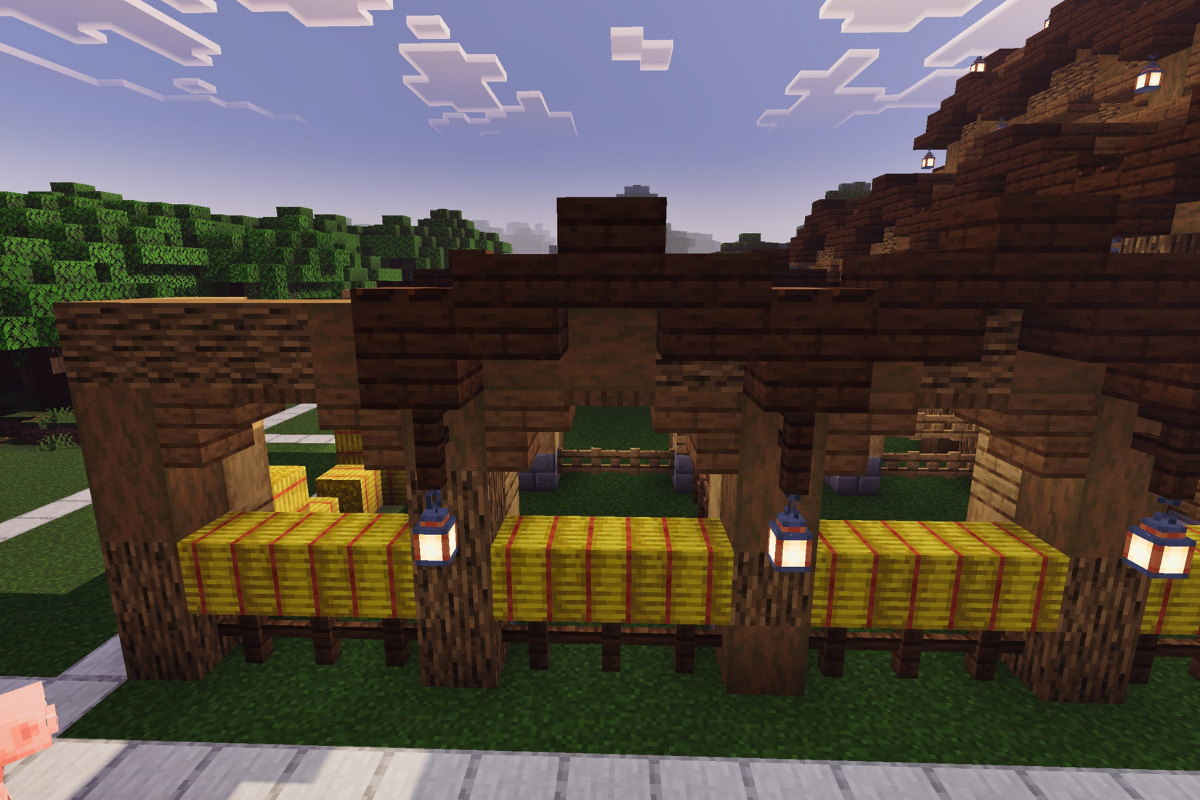
Remove the 4 blocks at the top of the smaller gaps.
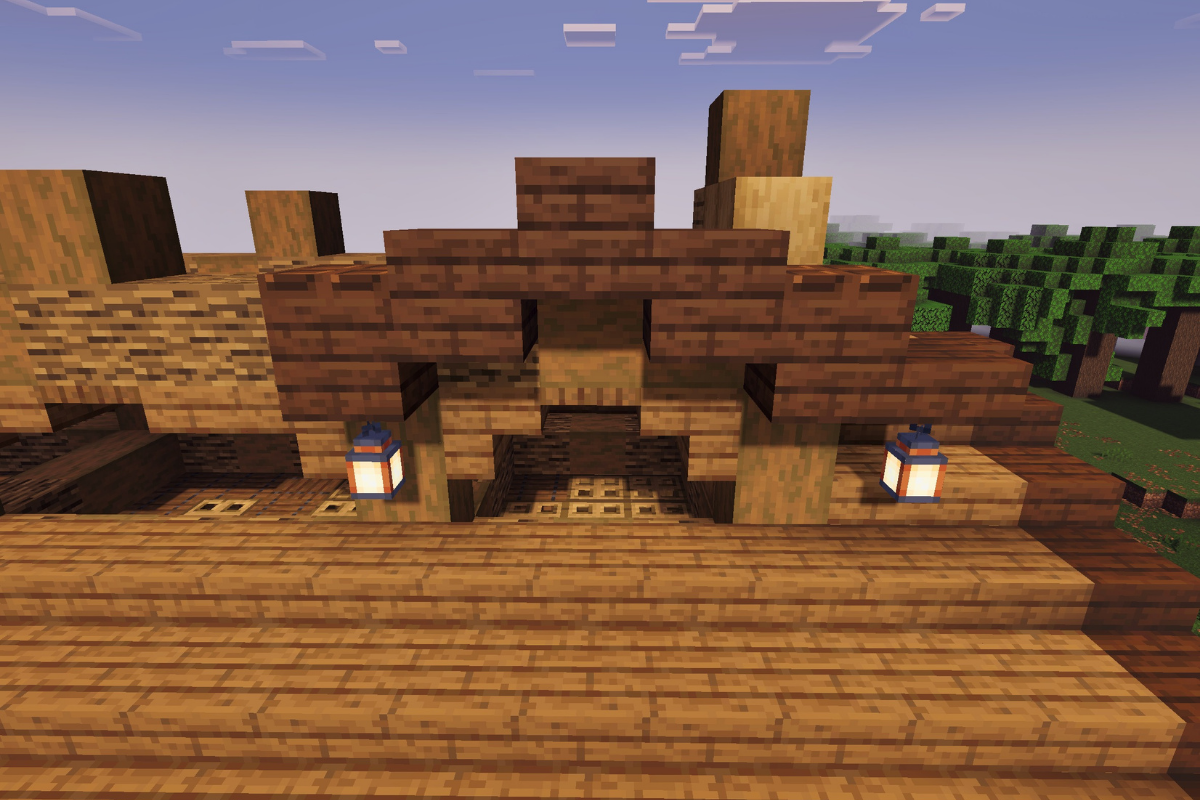
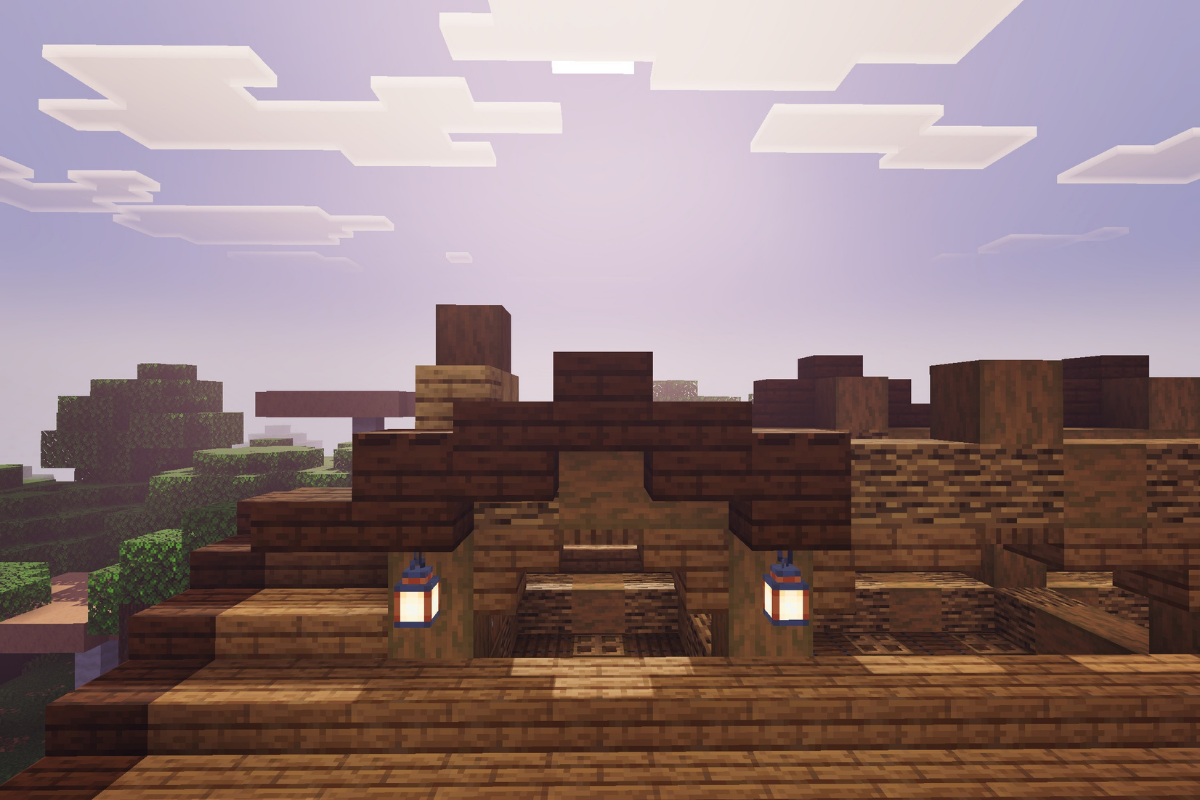
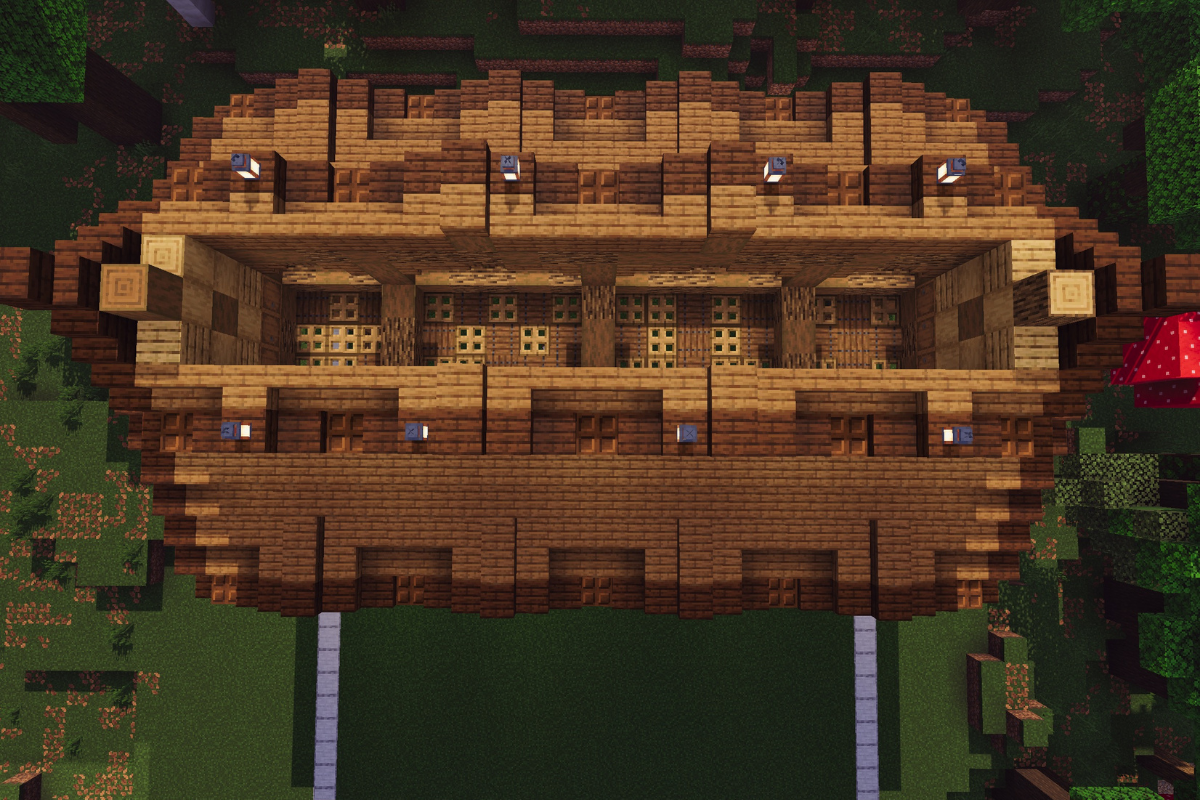
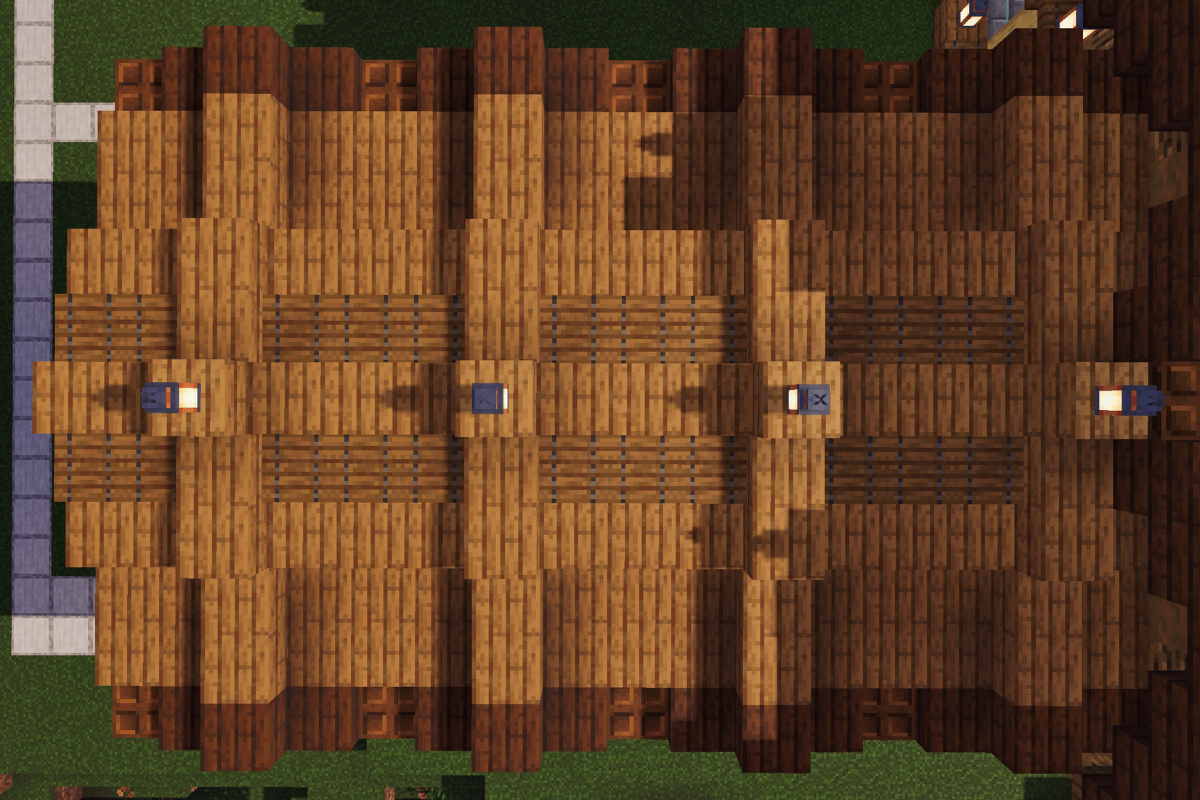
STEP 98 / 235
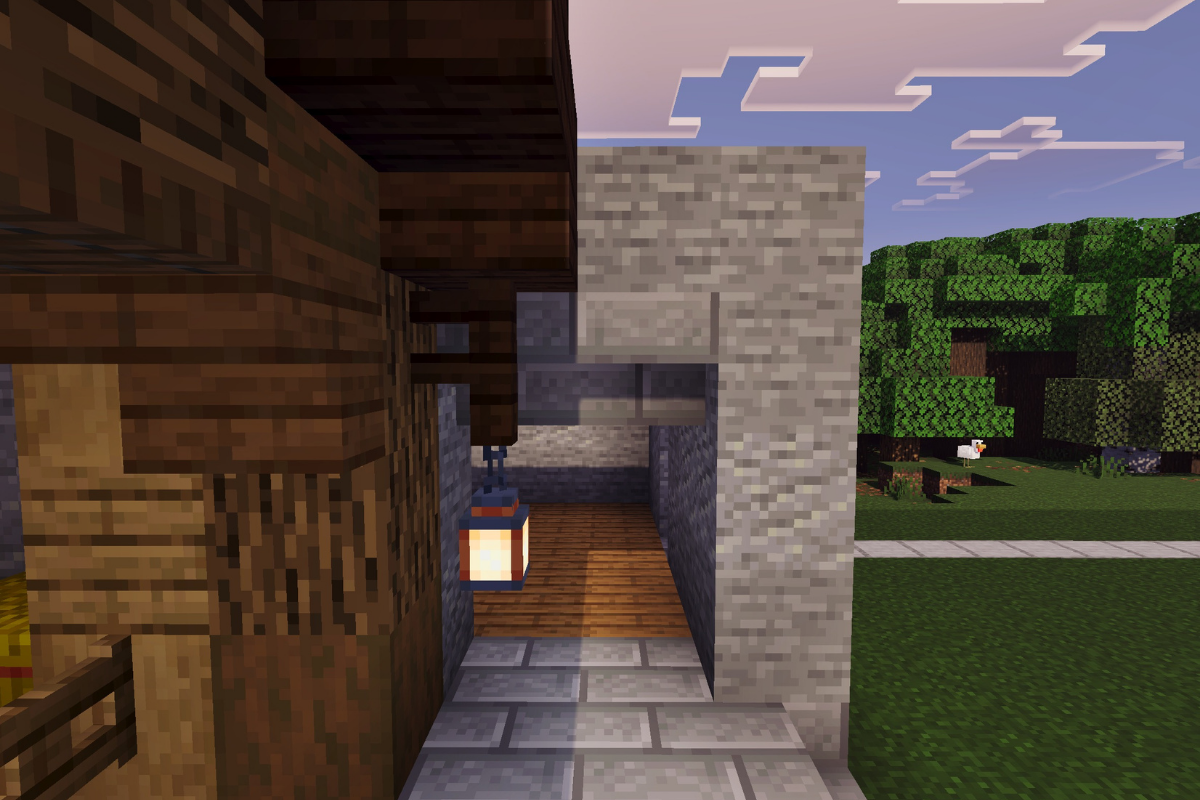
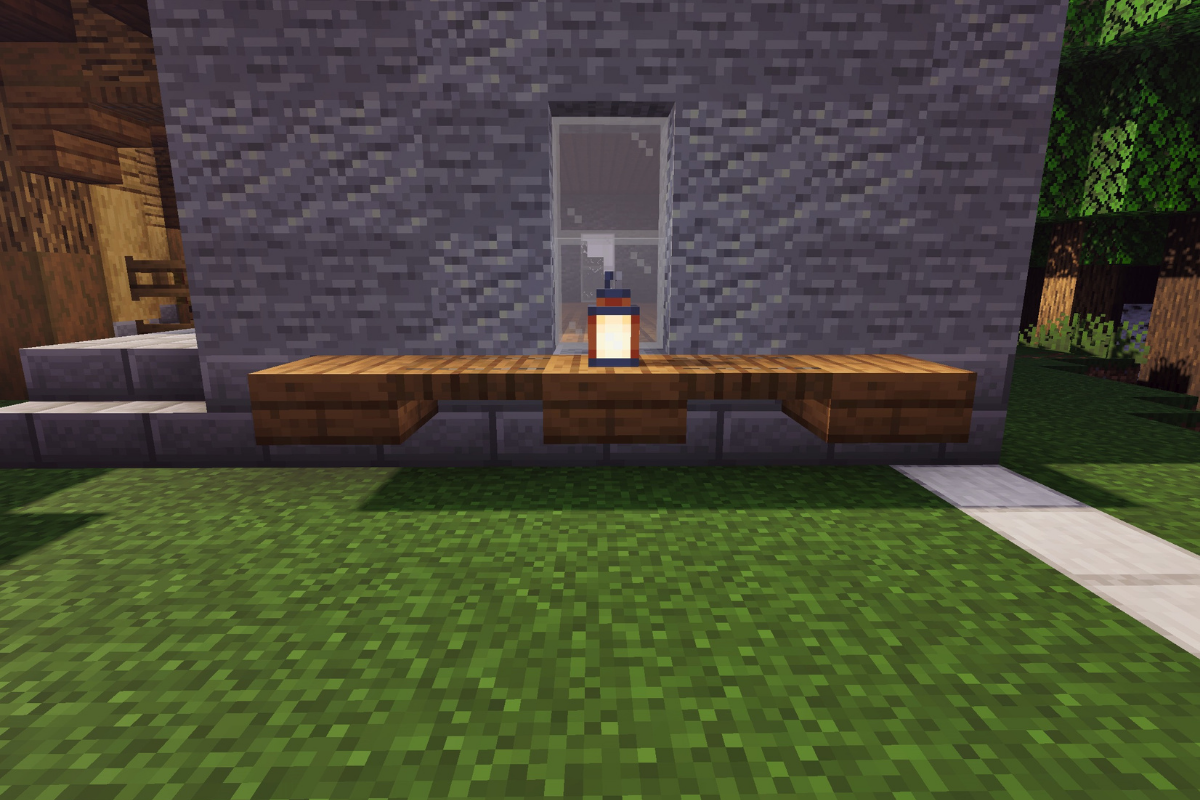
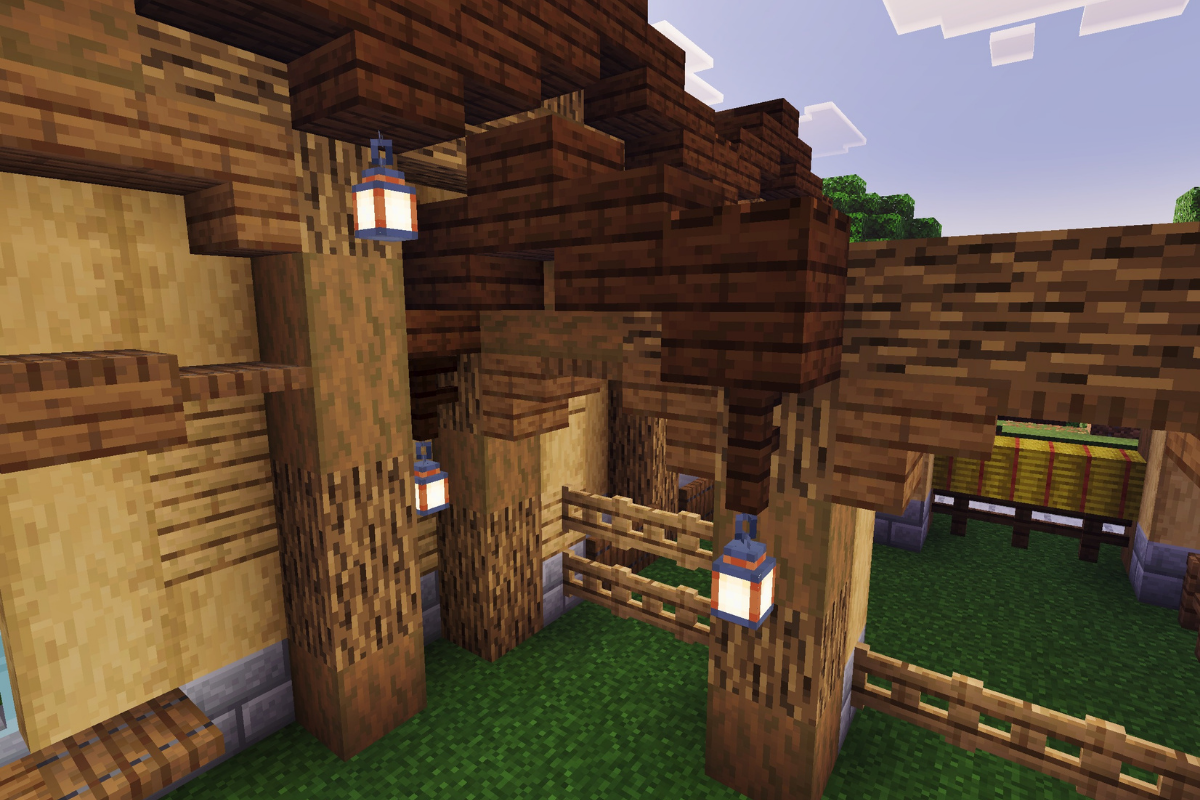
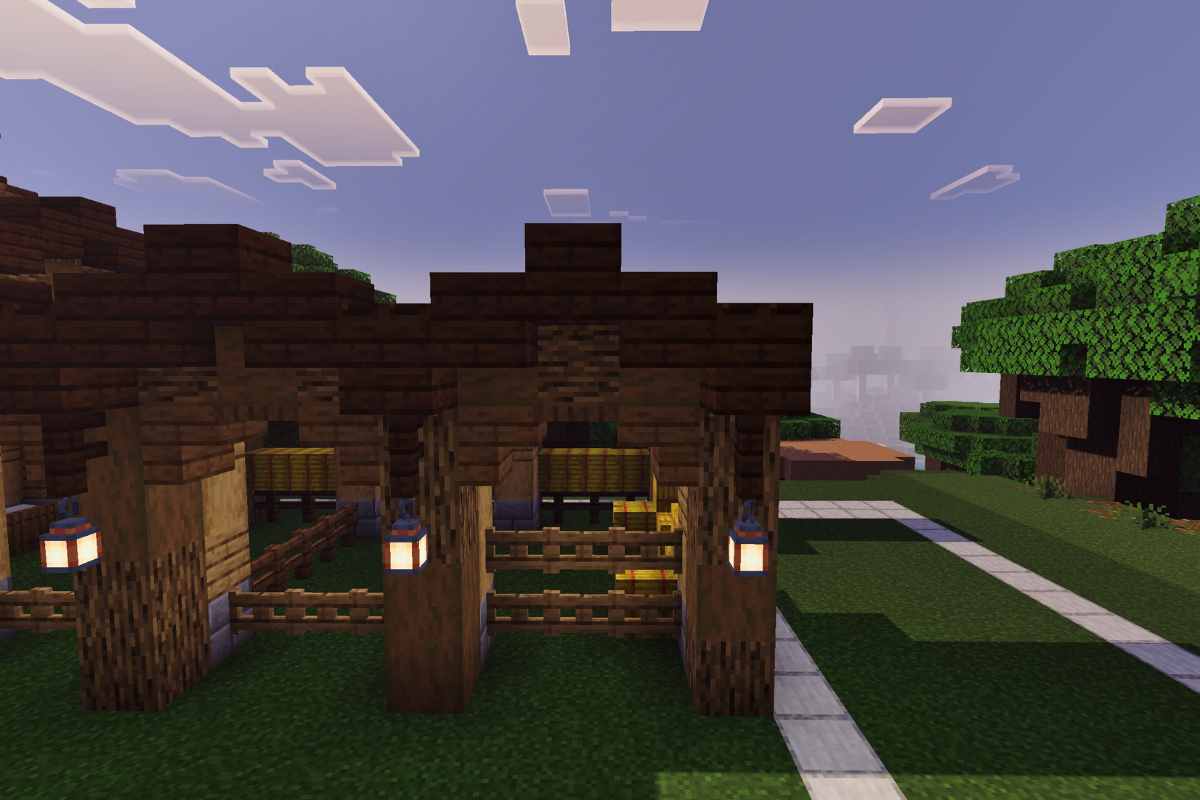
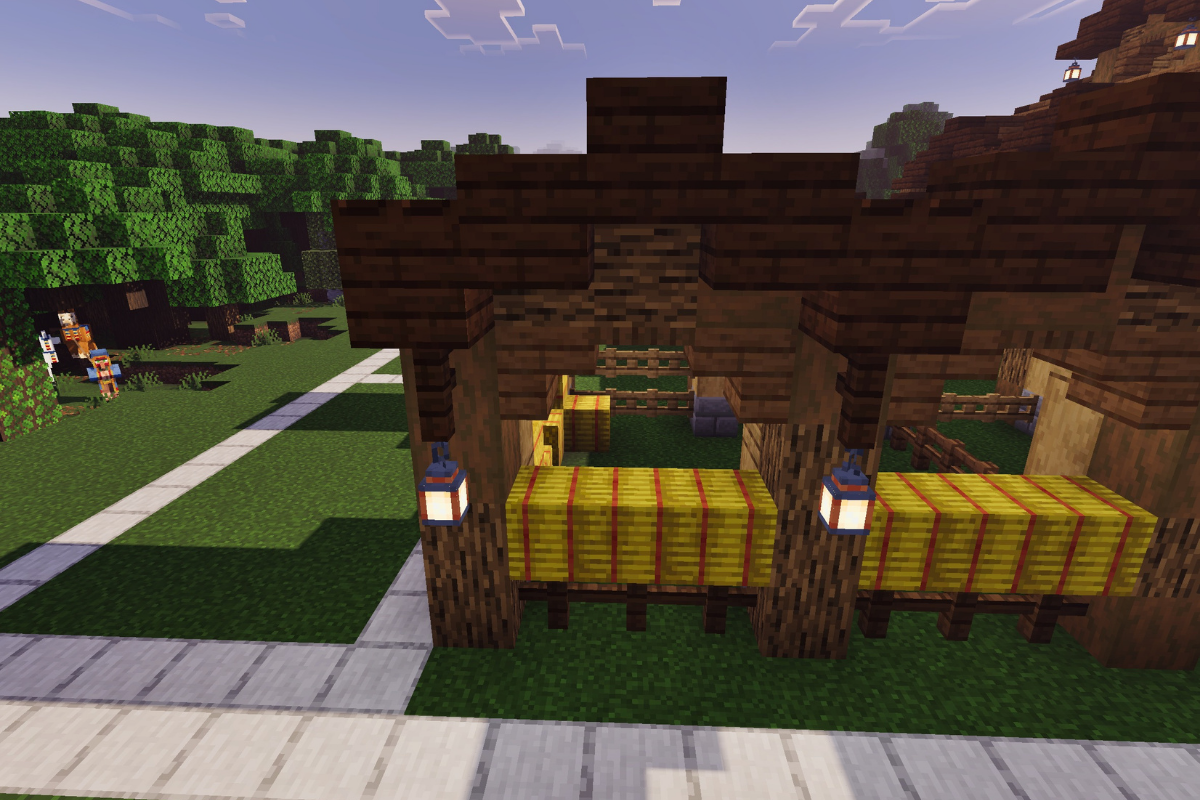
Add awing on the first roof support along with decor and lantern.
STEP 99 / 235
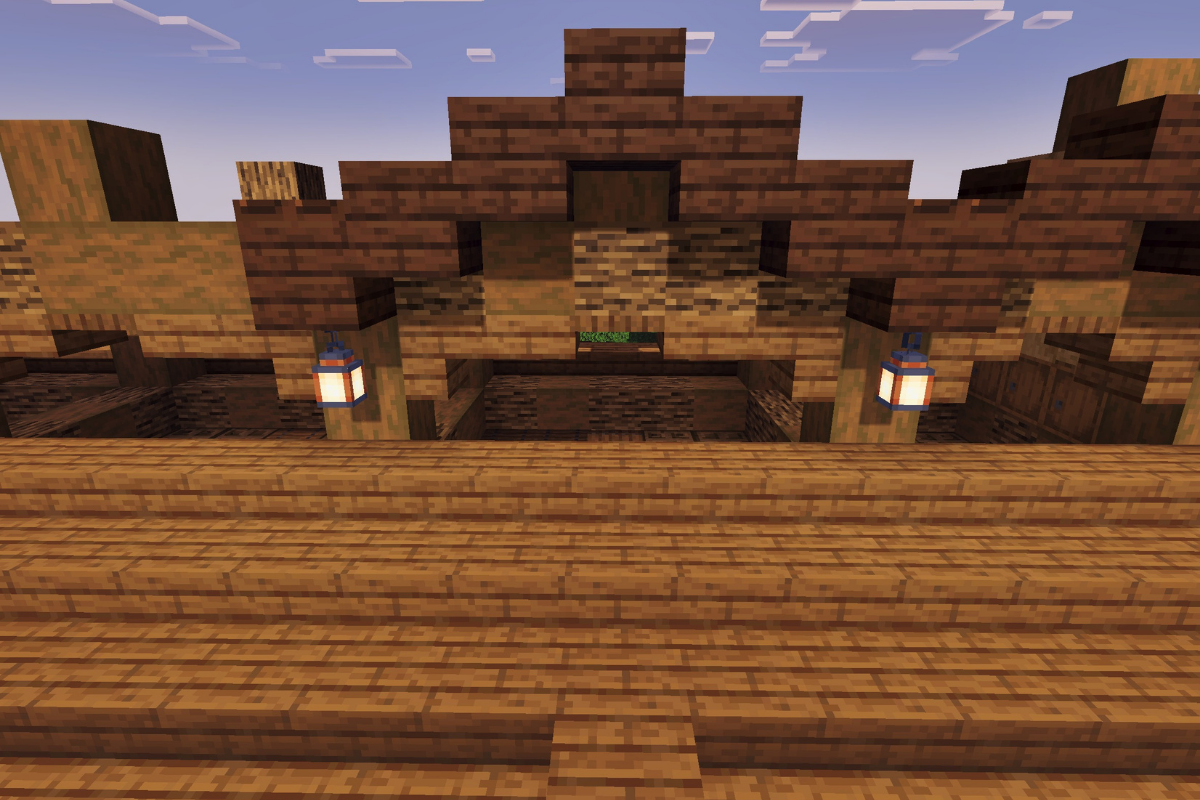
Add awing on the second roof support along with decor and a lantern.
STEP 100 / 235
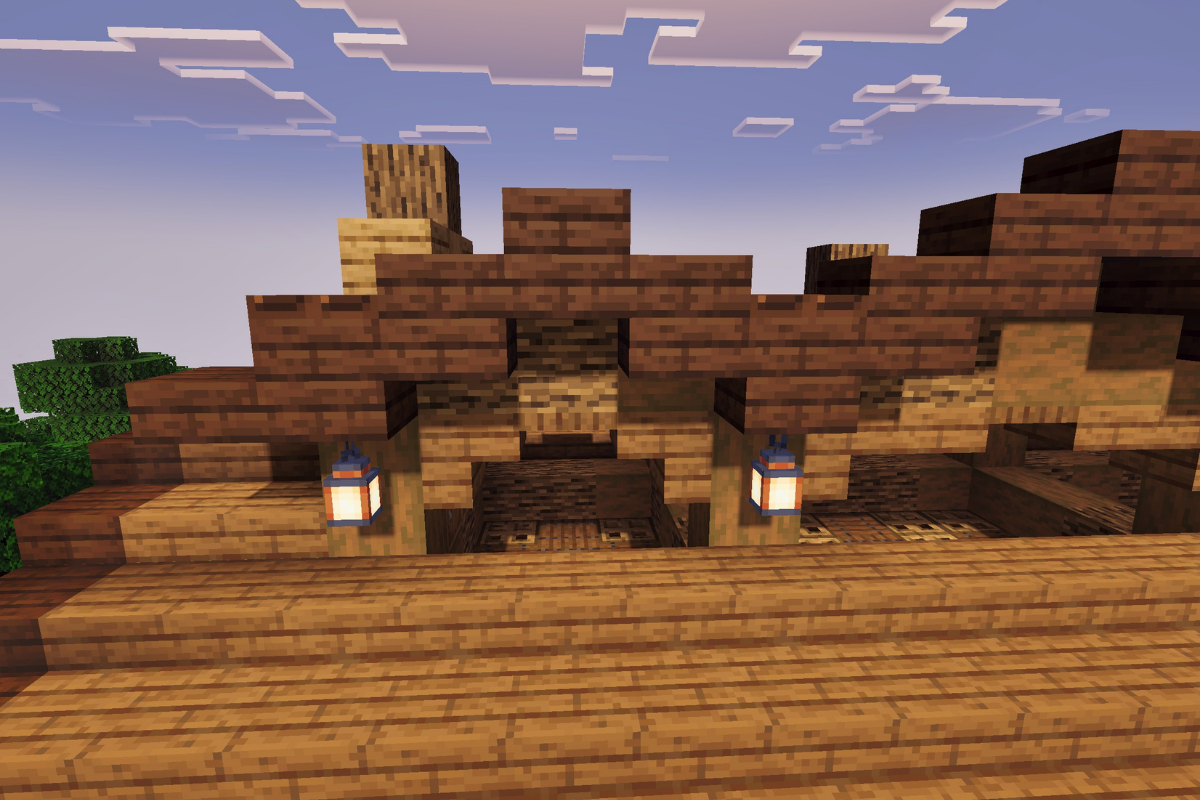
Add awing on the third roof support along with decor and a lantern.
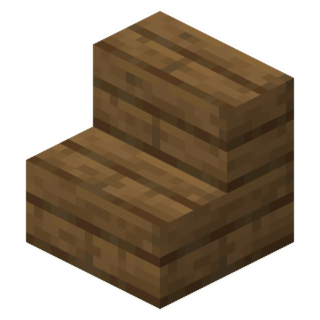
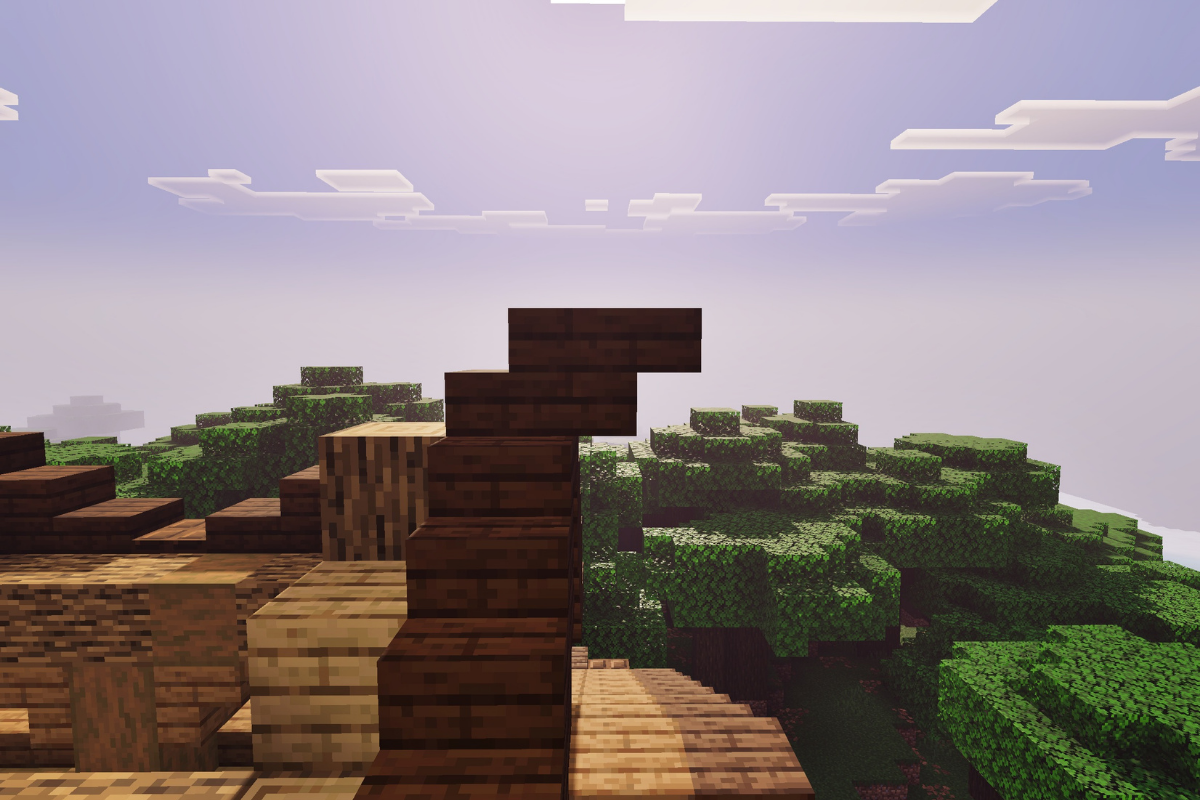
STEP 111 / 235
Add a upside downstair case Infront the stairs at the top.
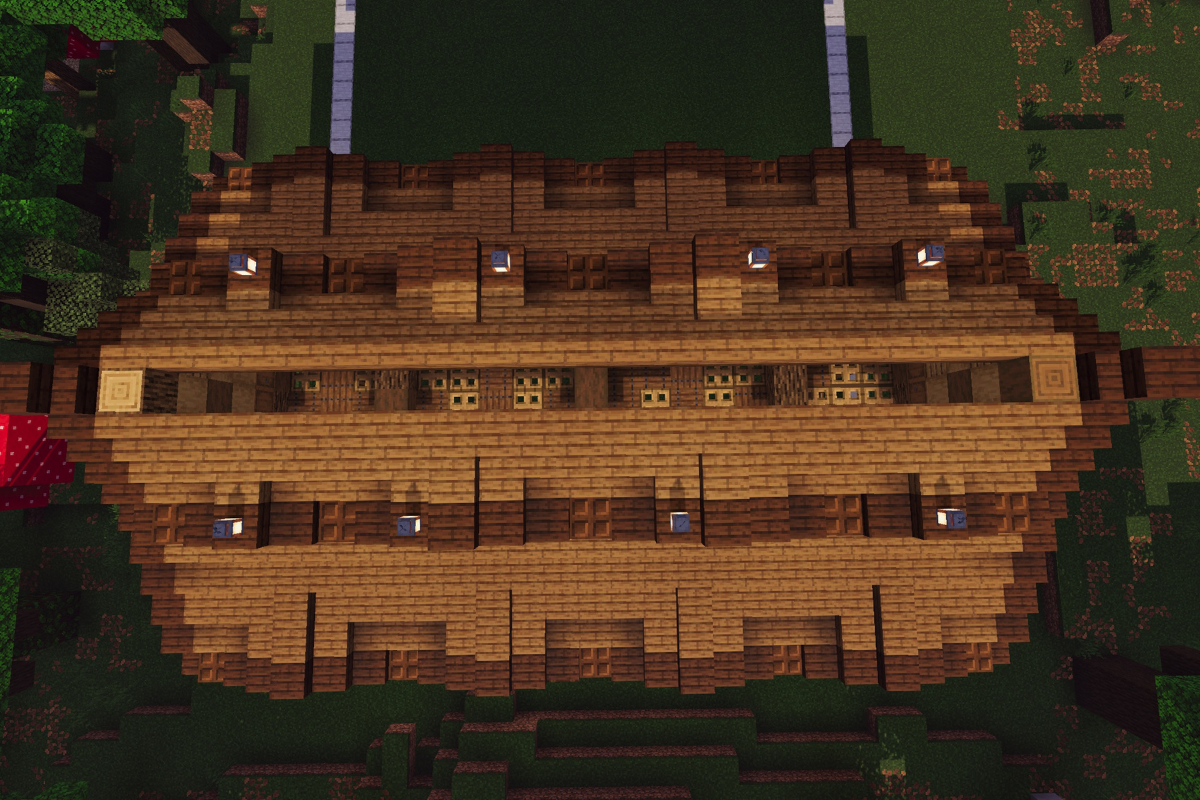
STEP 112 / 235
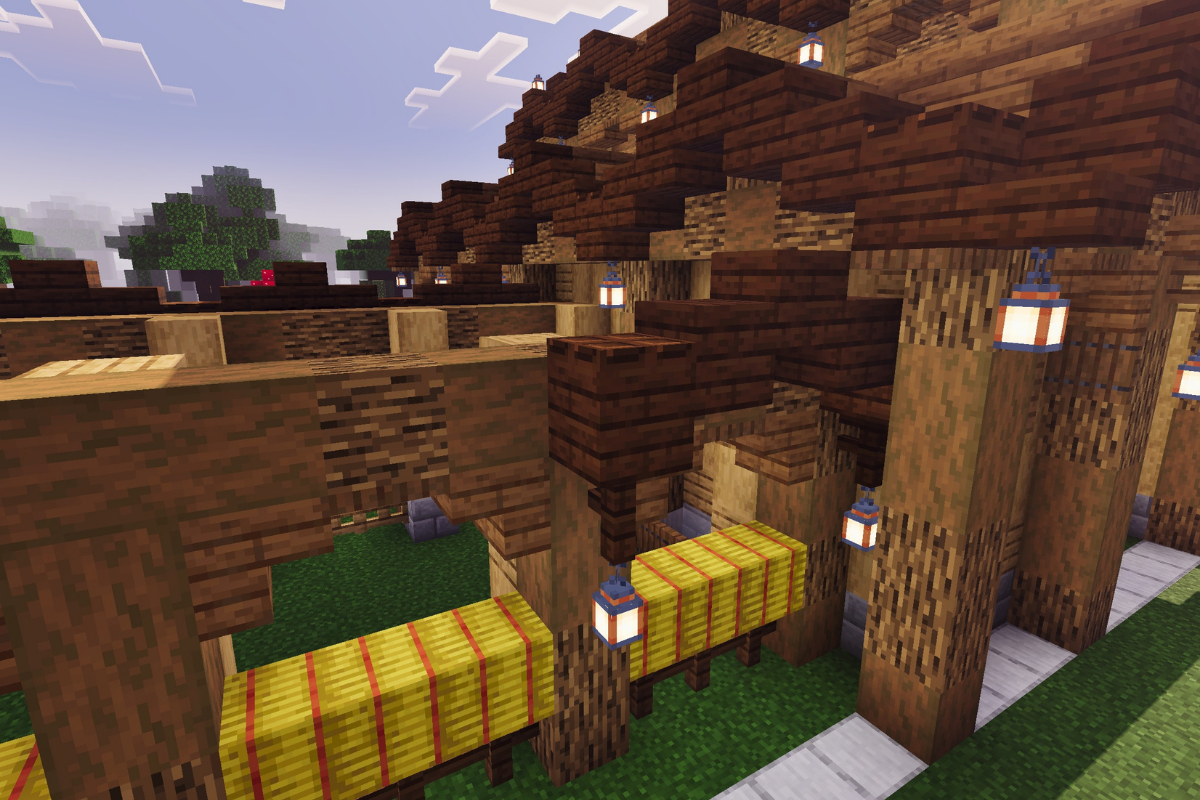
Add spruce slabs behind the highest dark oak slab of each of the 8 roof awnings.
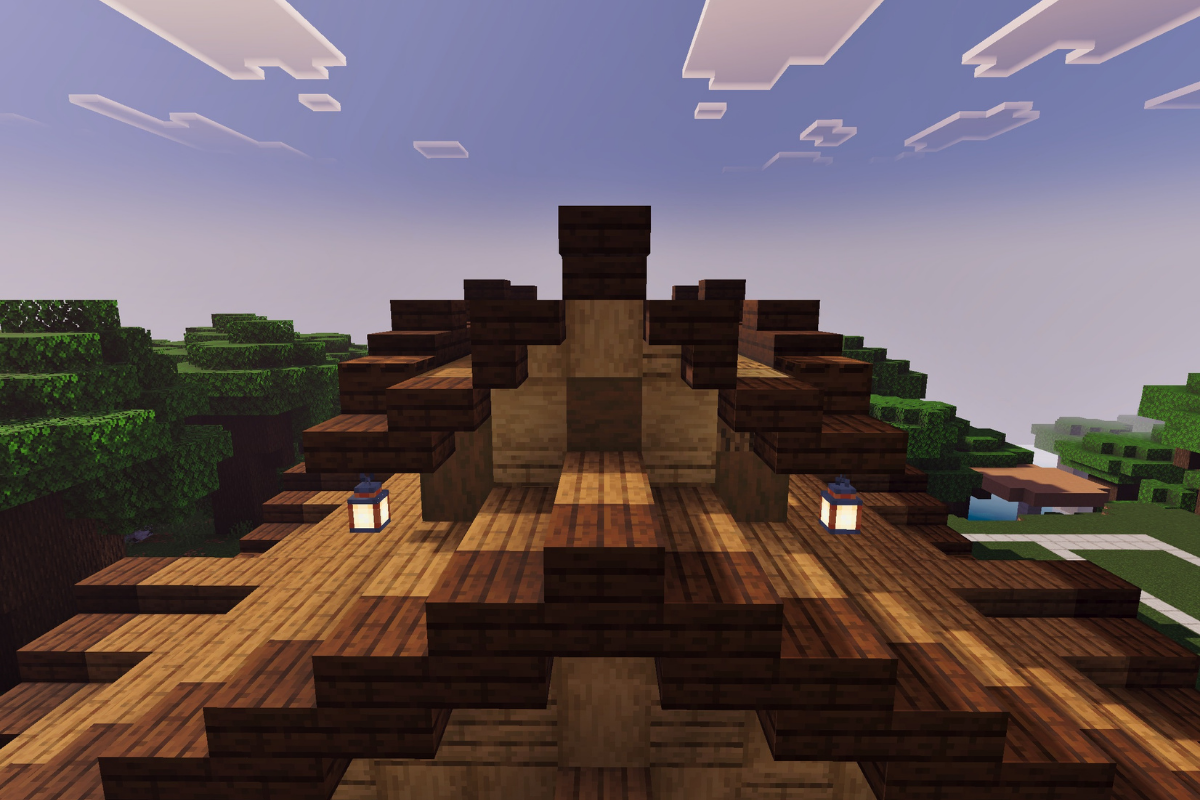
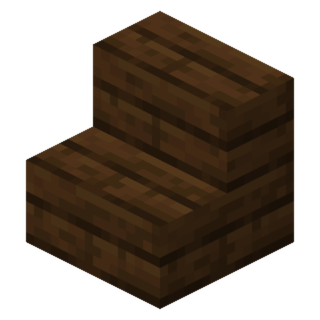
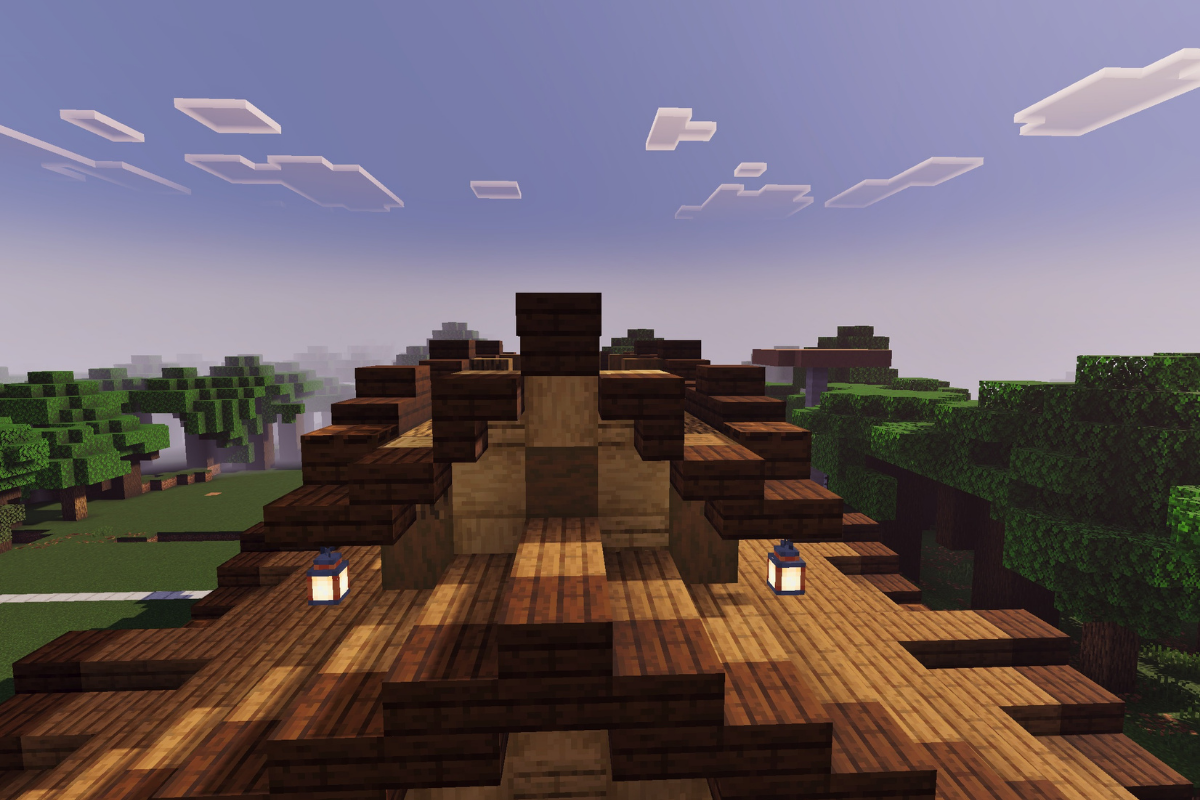
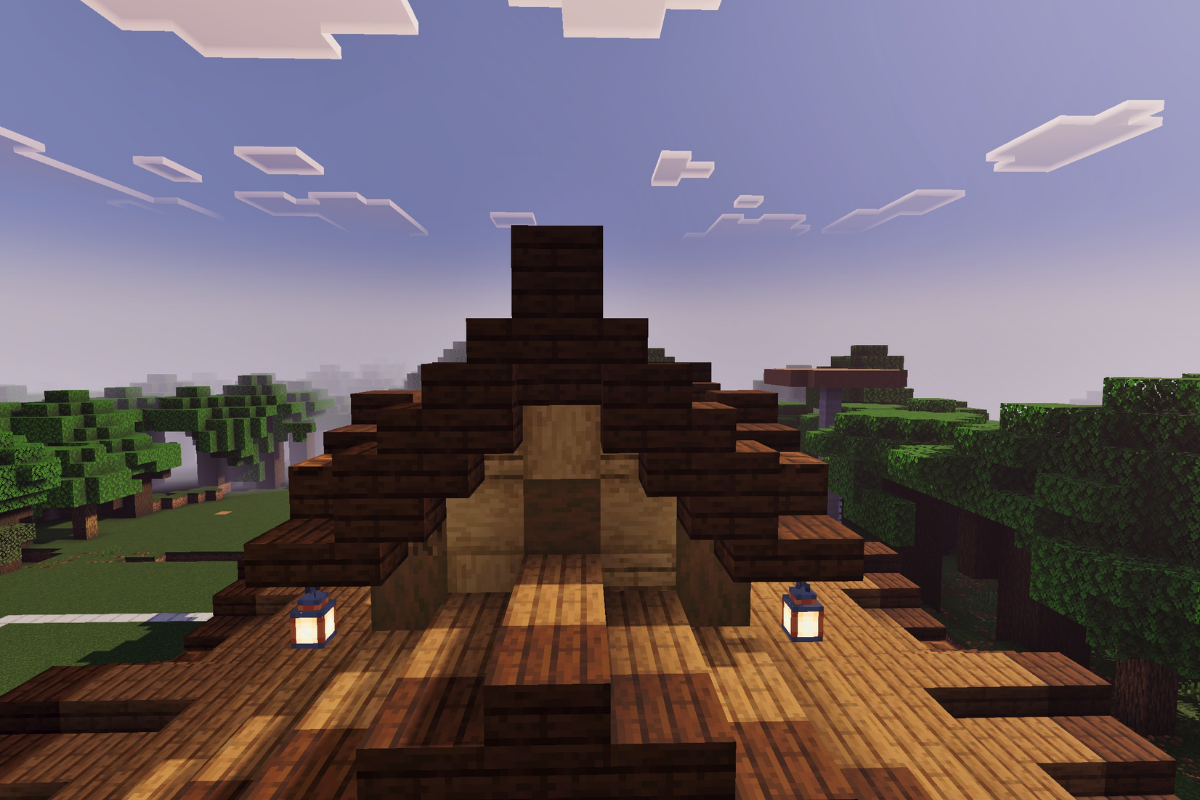
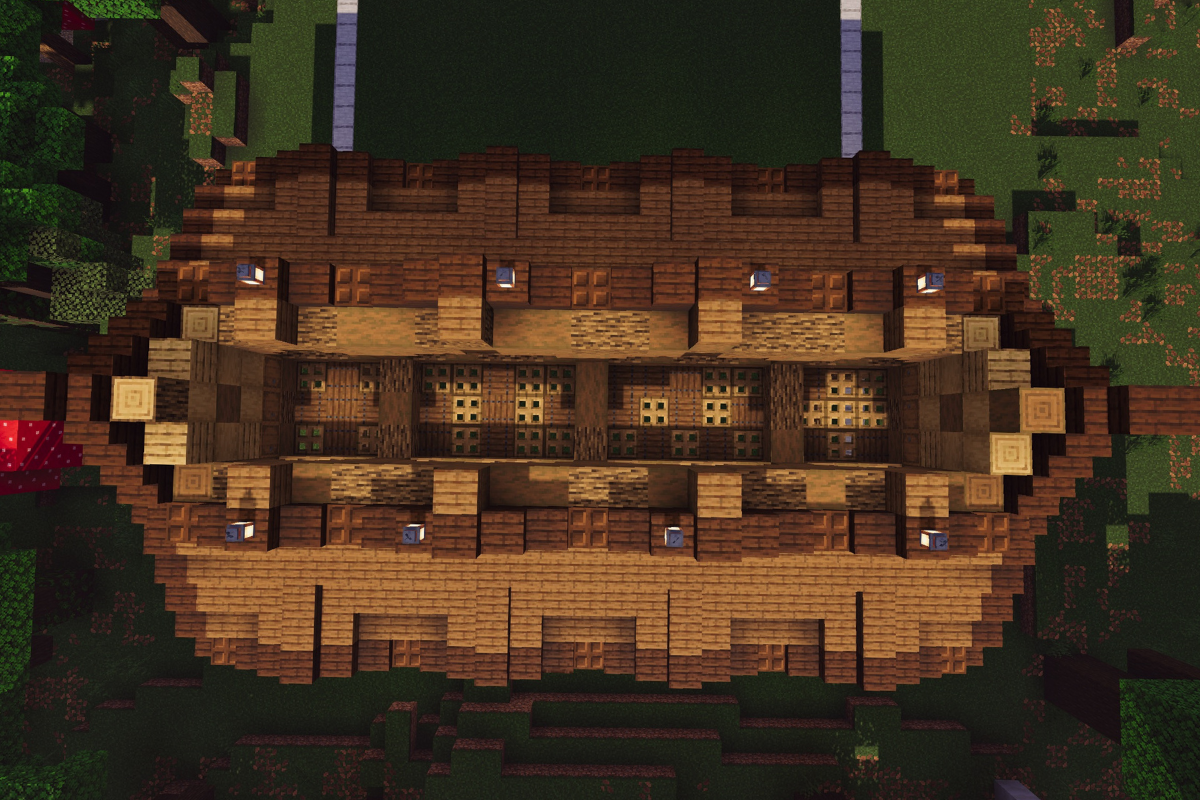
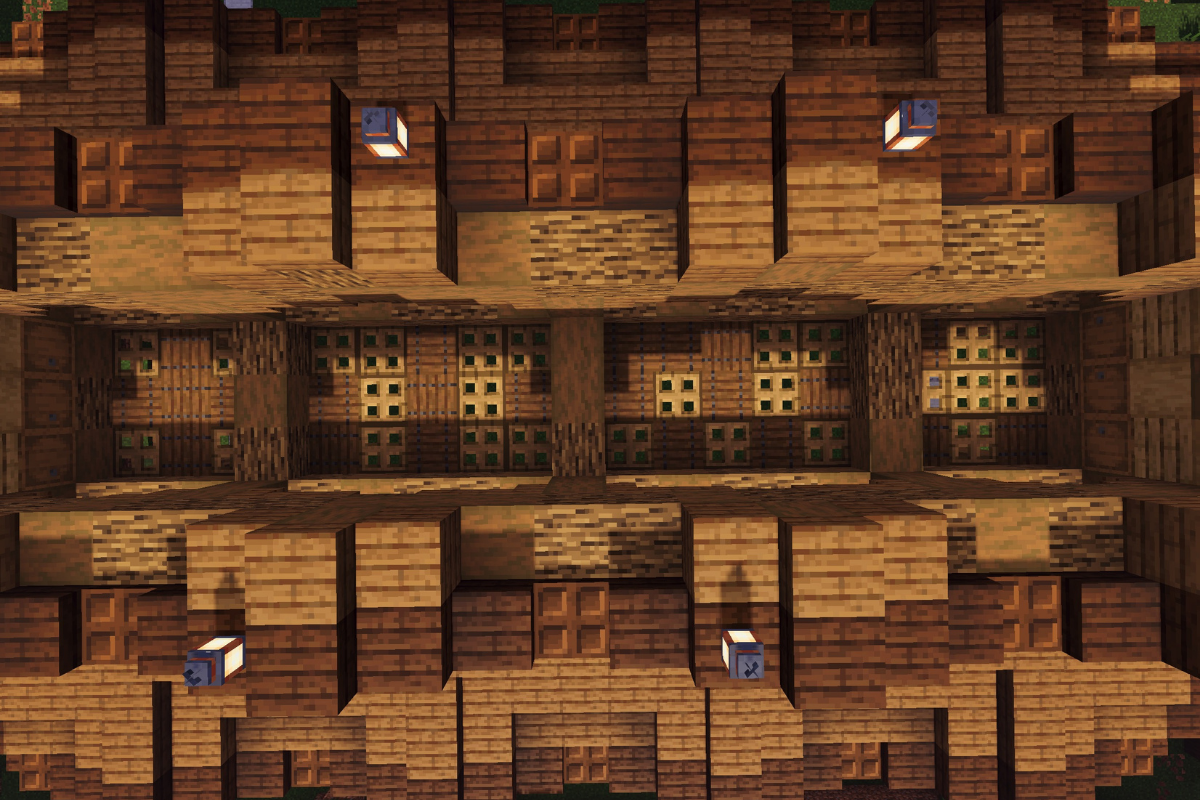
STEP 113 / 235
Add lanterns to the roof.
STEP 114 / 235
Add a spruce plank on each side of the 4 center roof supports.
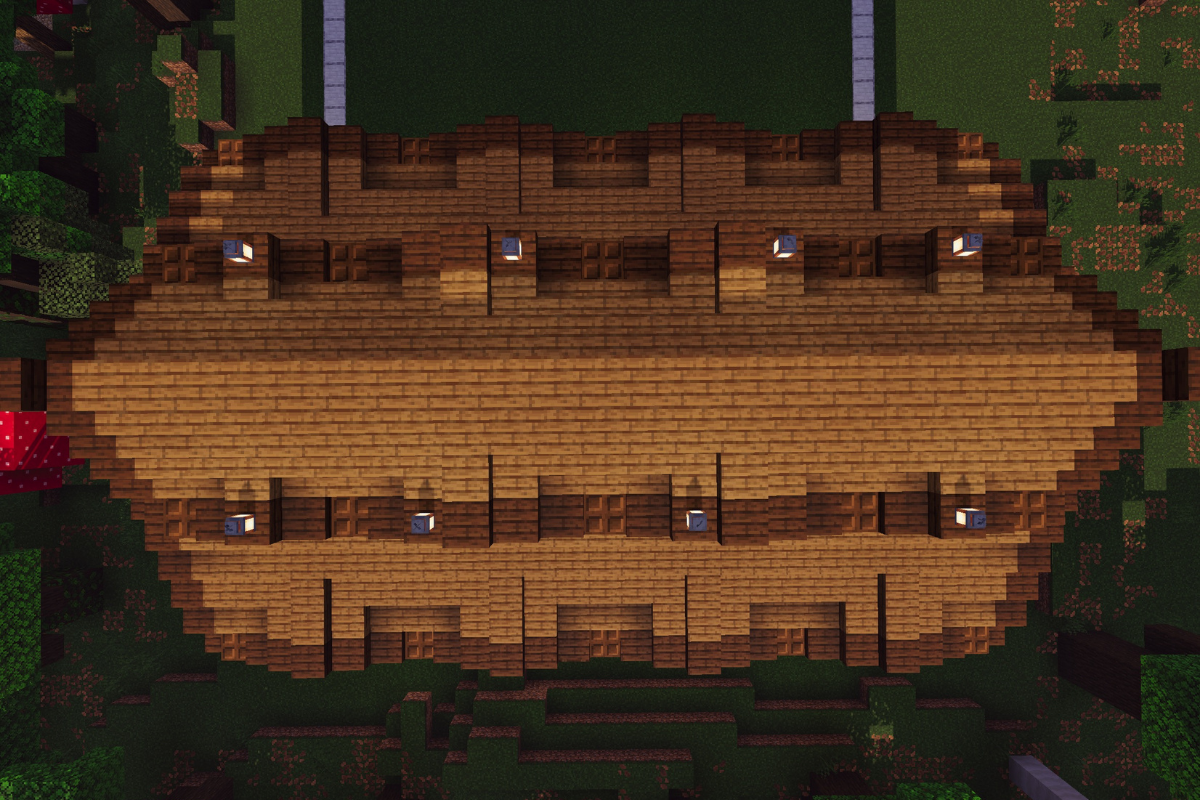
STEP 115 / 235
Fill in the space using spruce stairs.
STEP 116 / 235
Replicate on the other side.
STEP 117 / 235
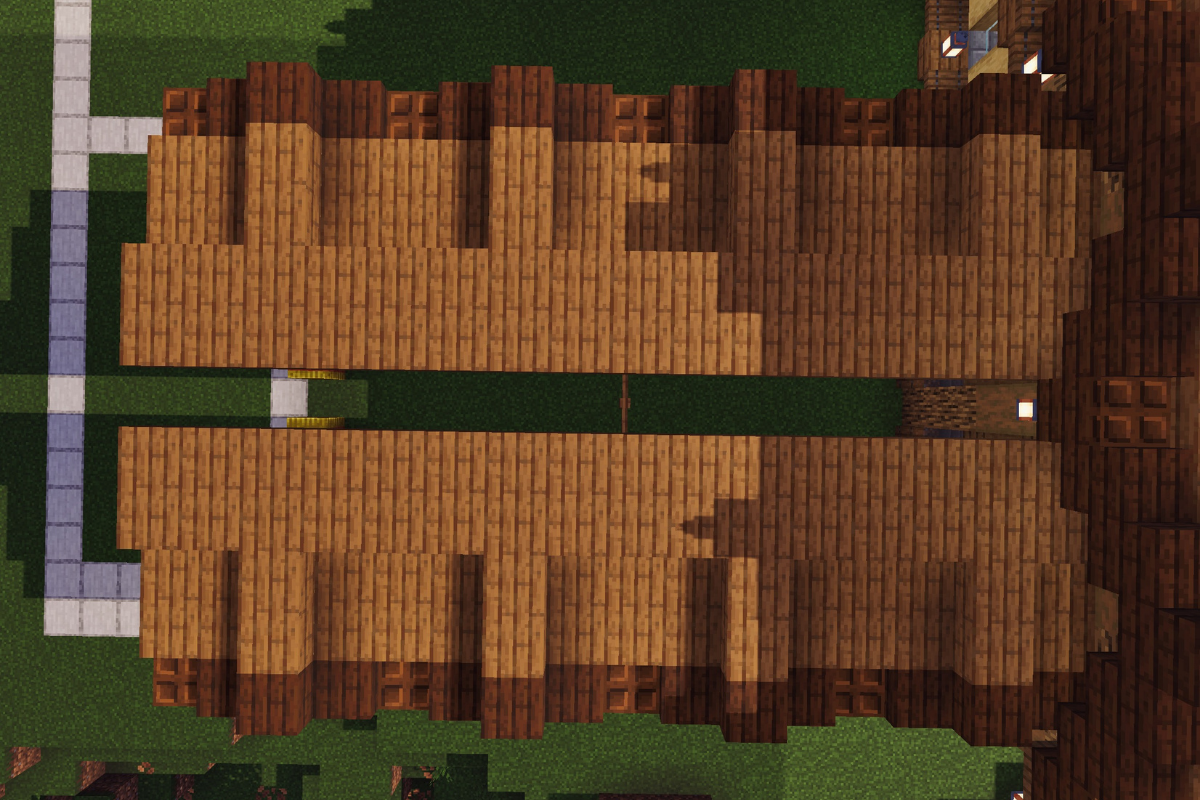
Fill in each row on each side with spruce stairs.
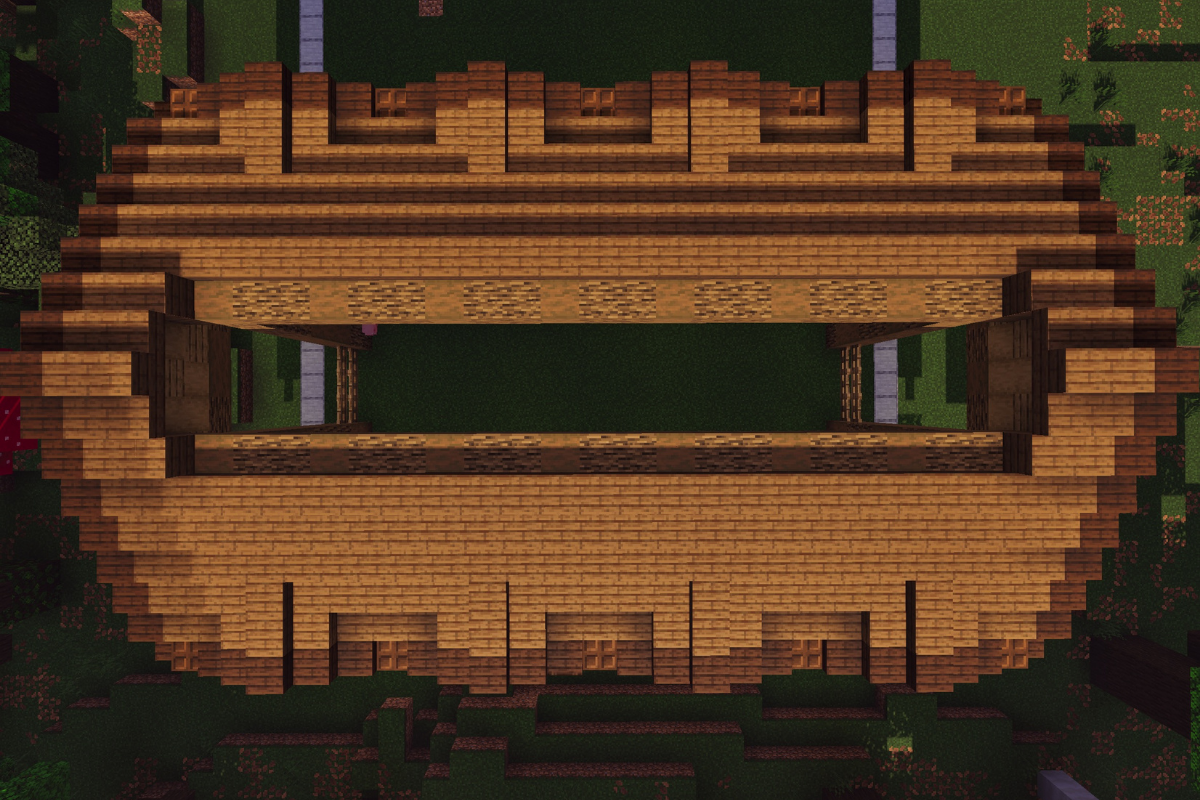
STEP 118 / 235
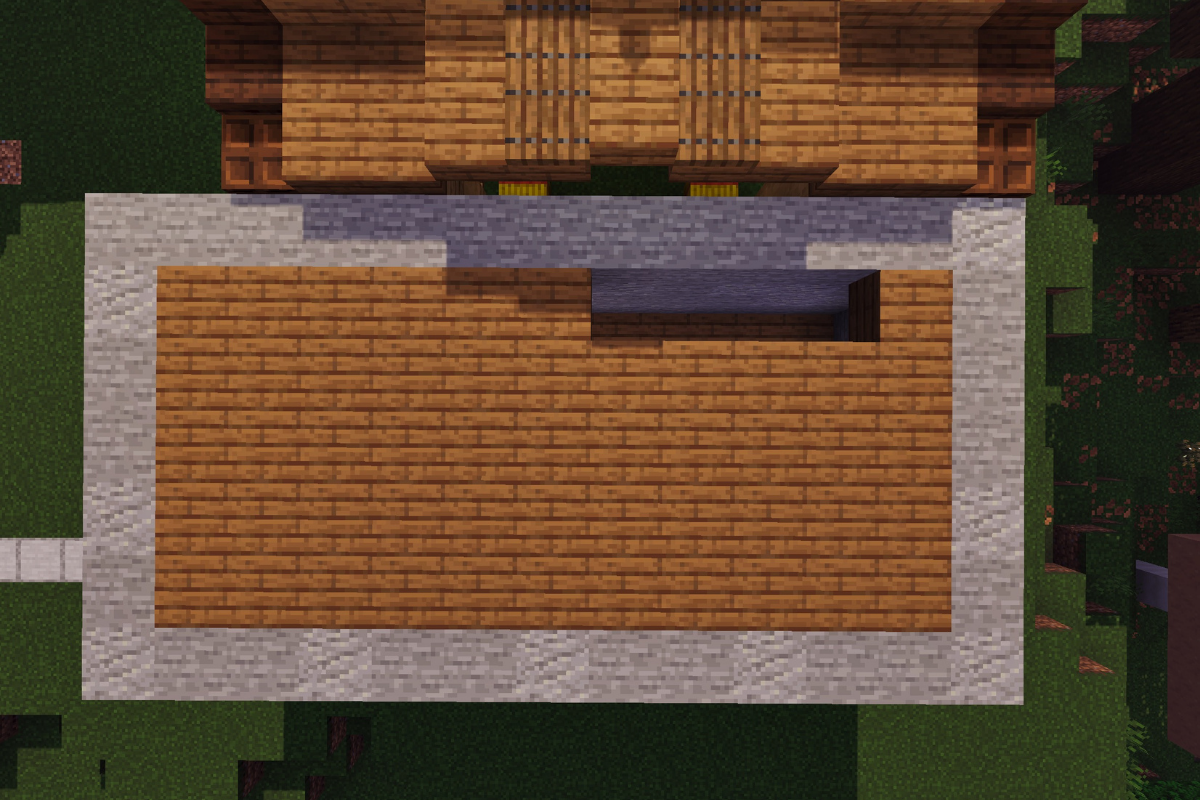
Fill in final lay on the roof using spruce slabs.
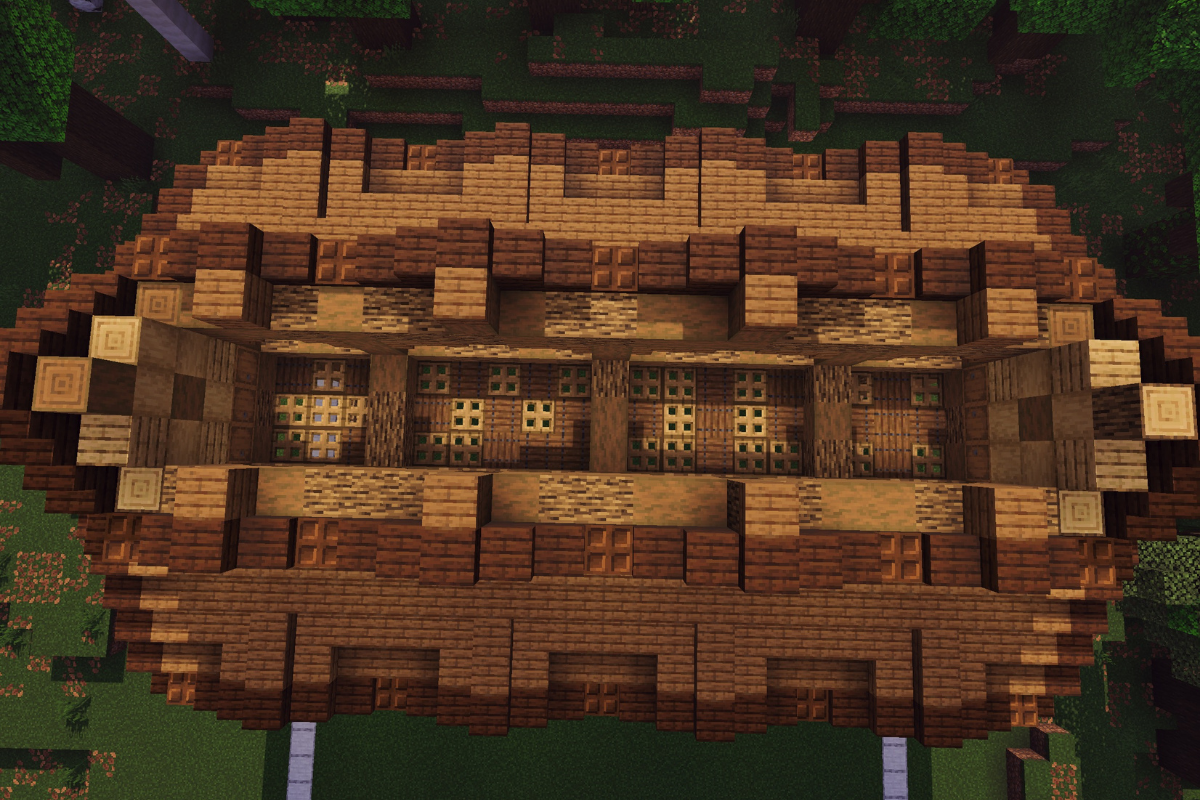
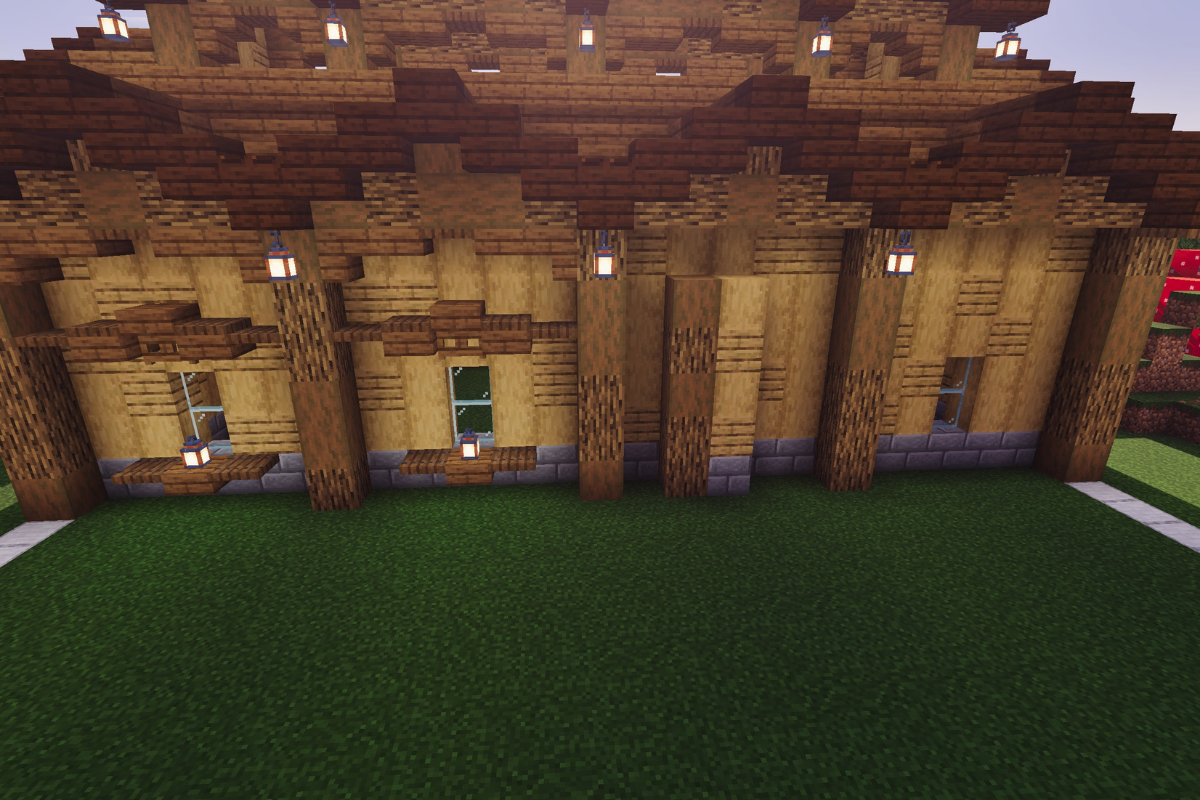
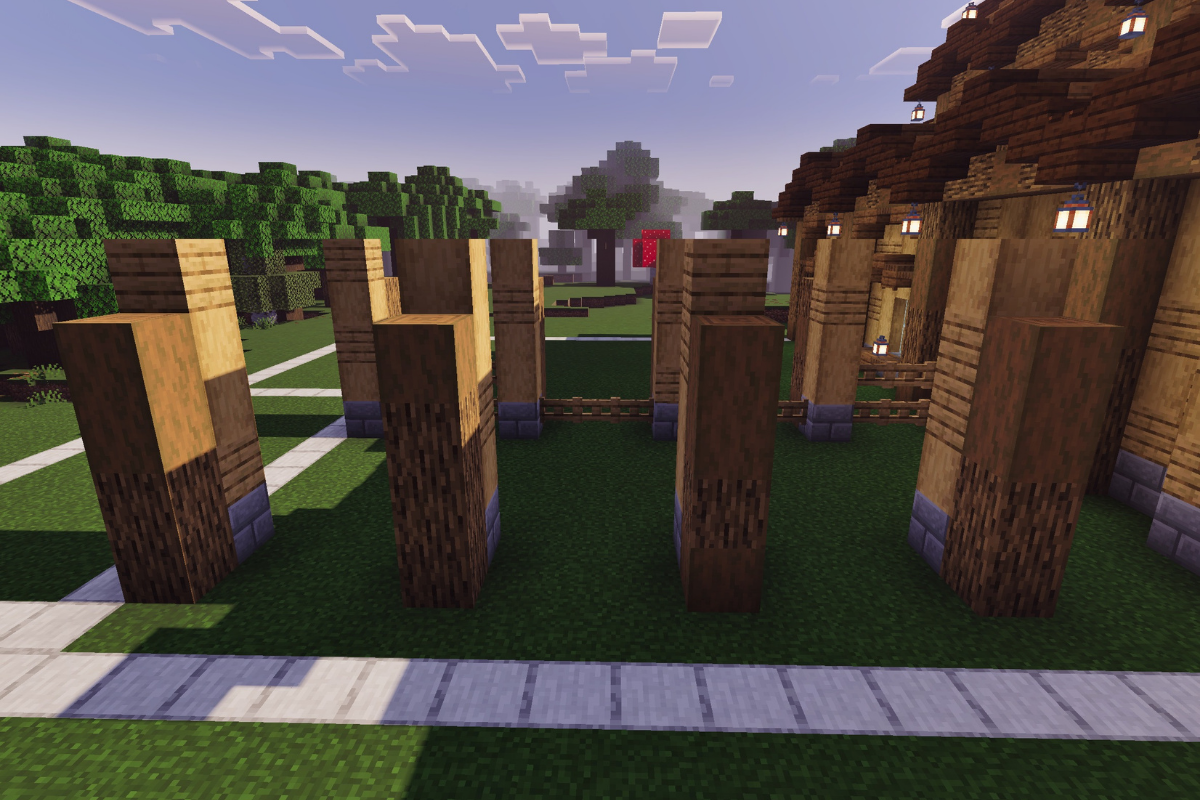
STEP 119 / 235
Create two textured pillars on the side of the barn.
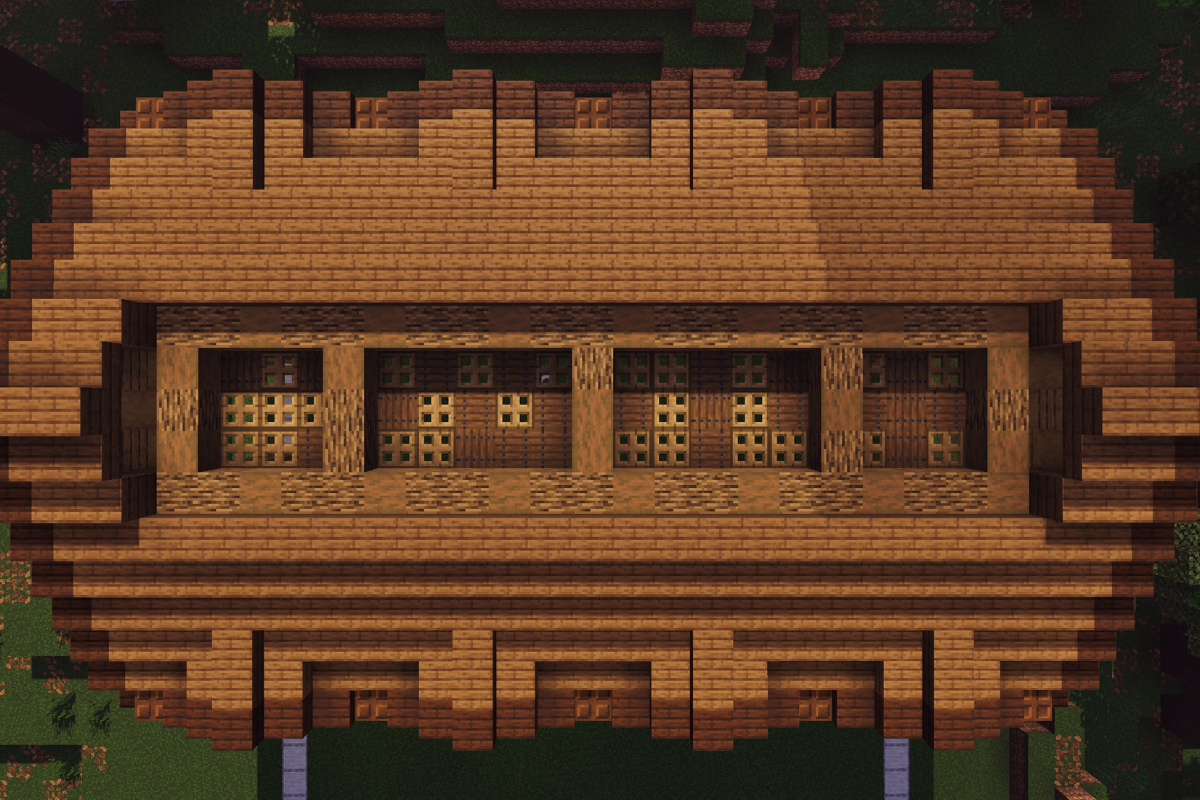
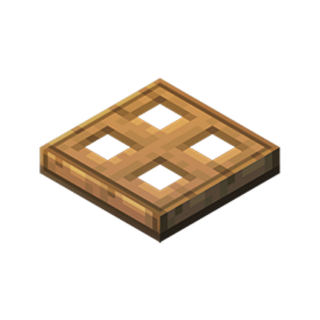
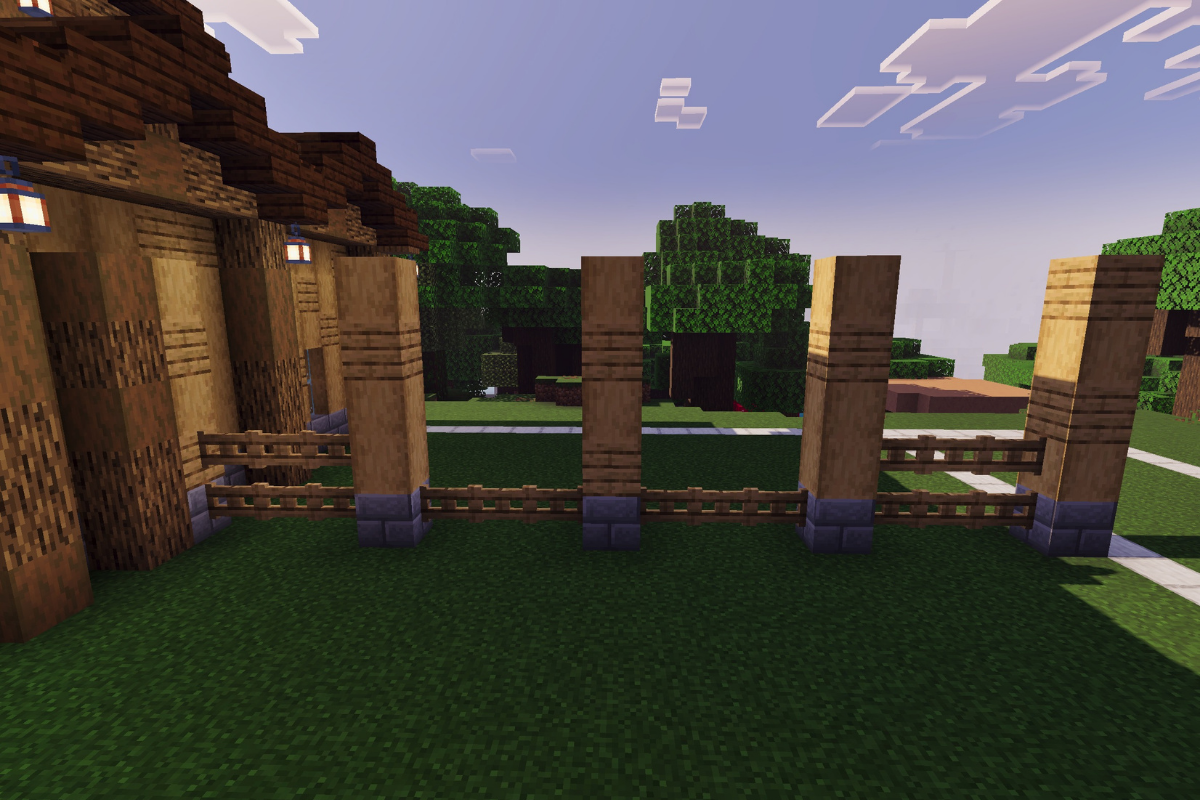
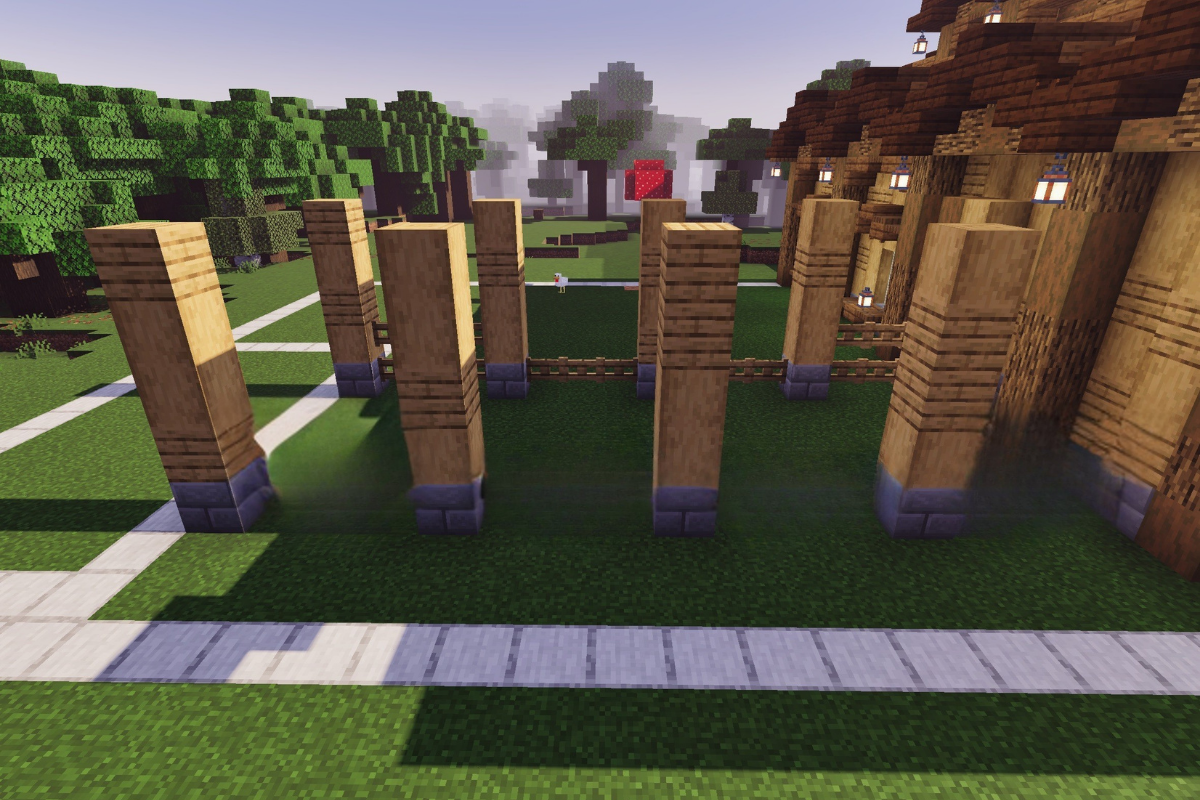
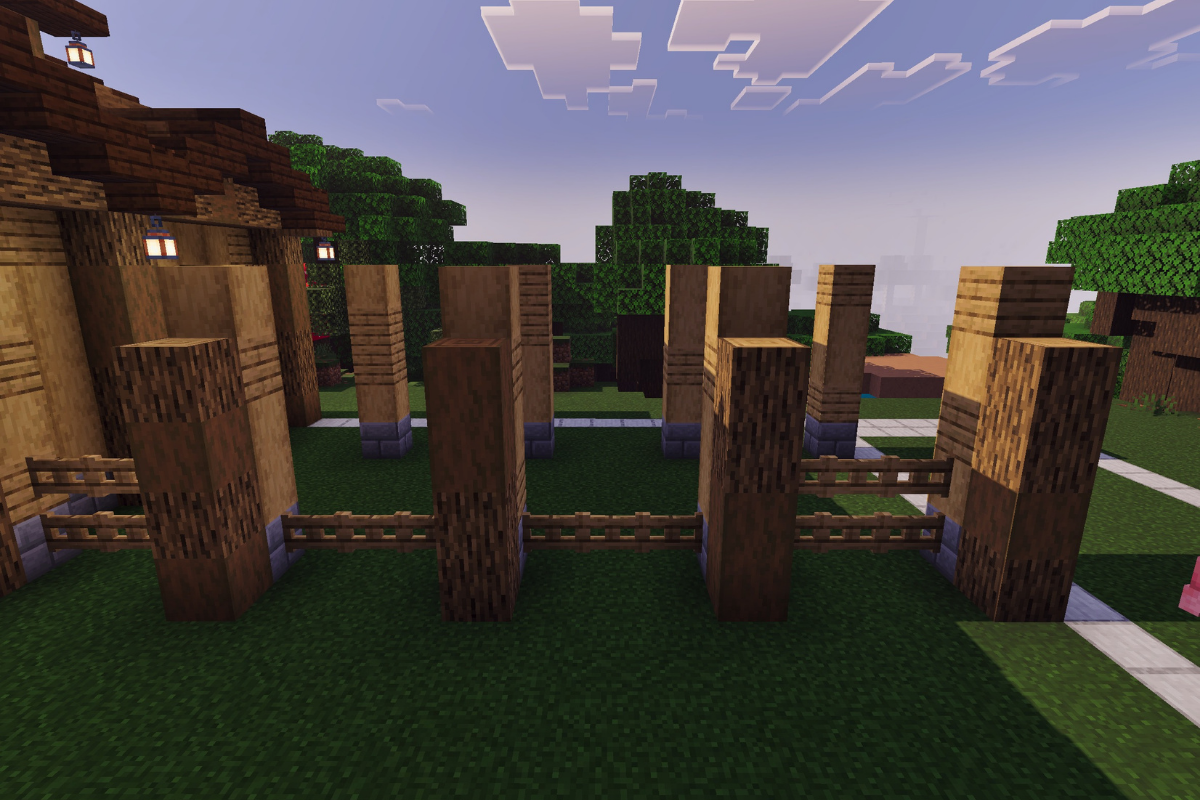
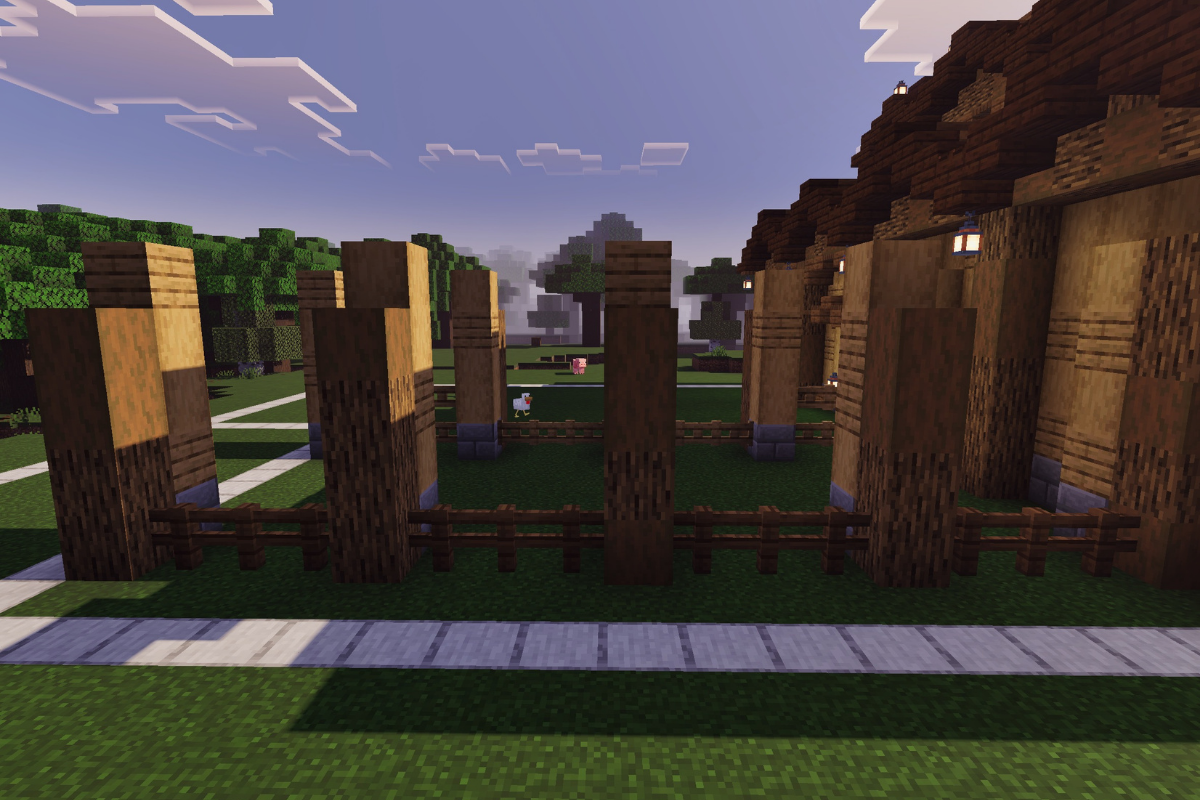
STEP 120 / 235
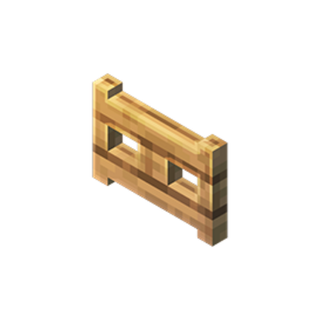
Add 6 oak gate 3 blocks wide and 2 blocks tall.


 x 16
x 16 x 30
x 30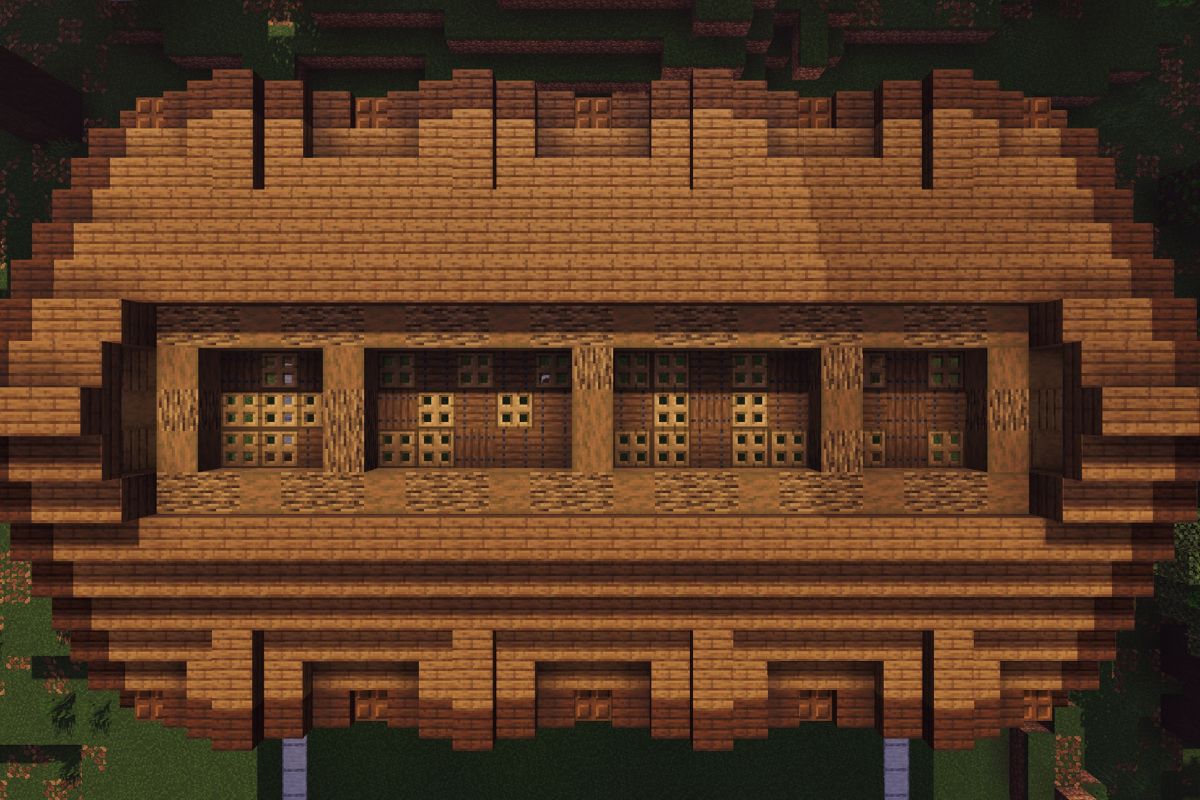
 x 32
x 32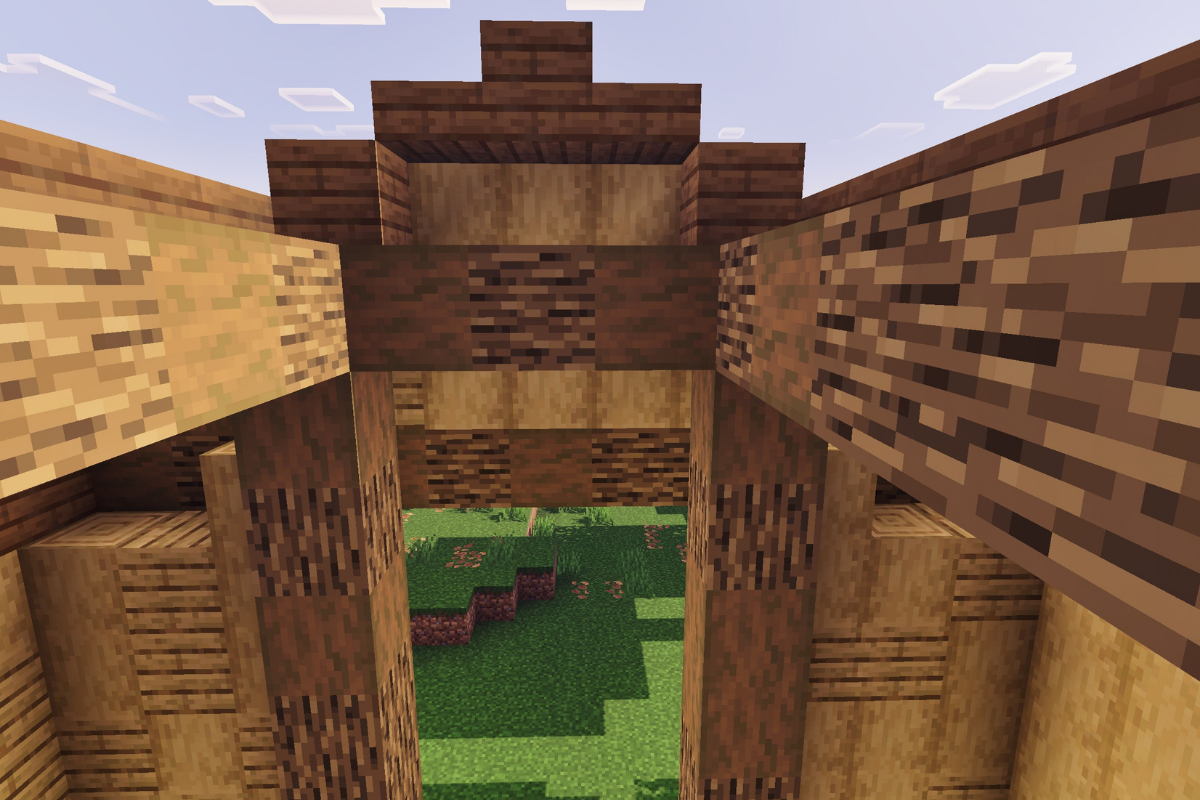
 x 26
x 26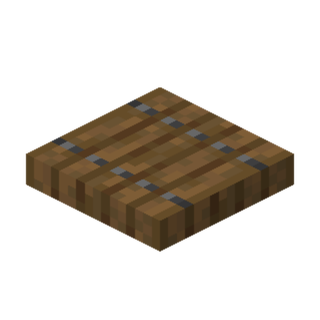 x 22
x 22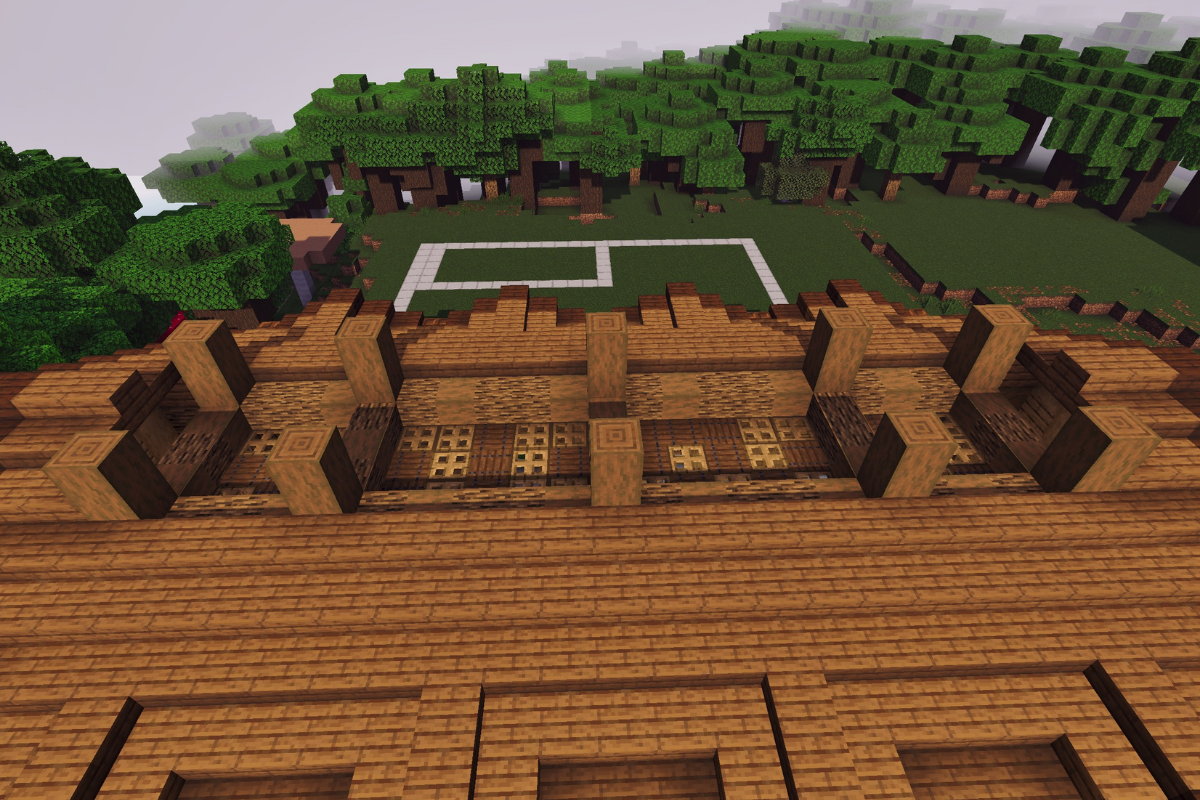

 x 3
x 3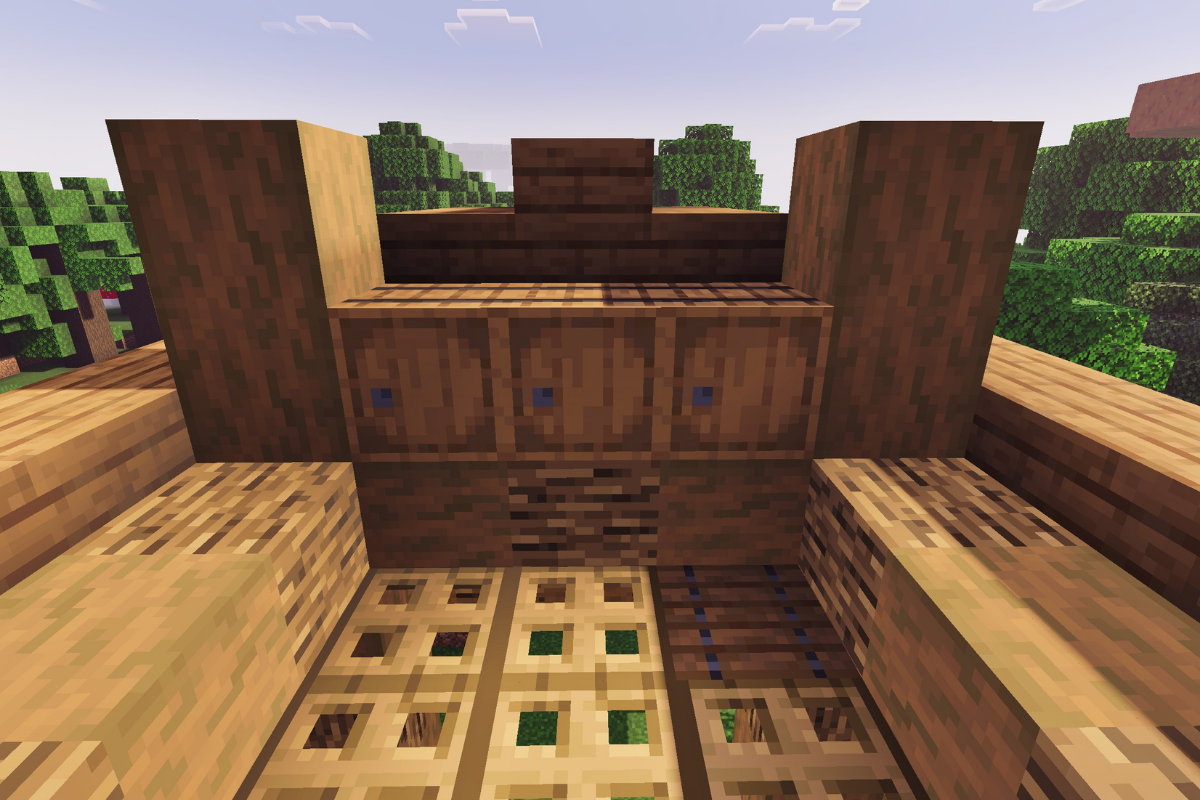
 x 3
x 3 x 5
x 5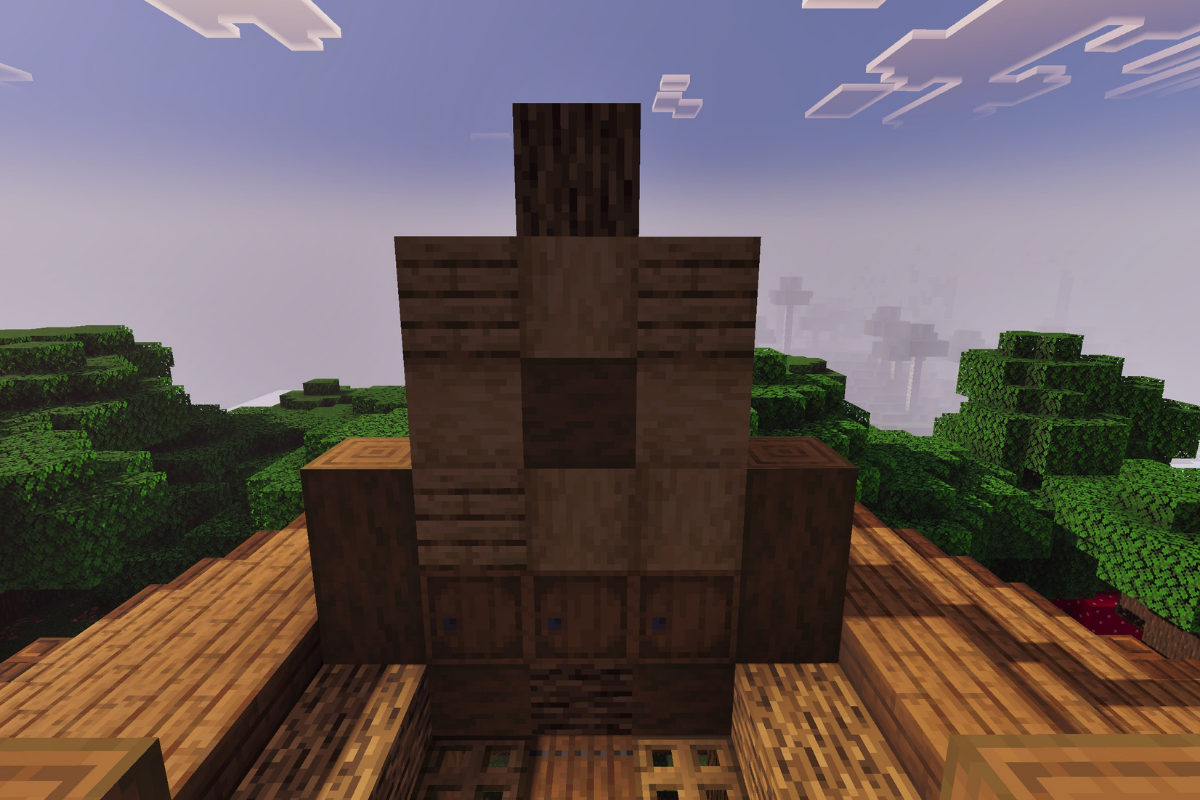
 x 8
x 8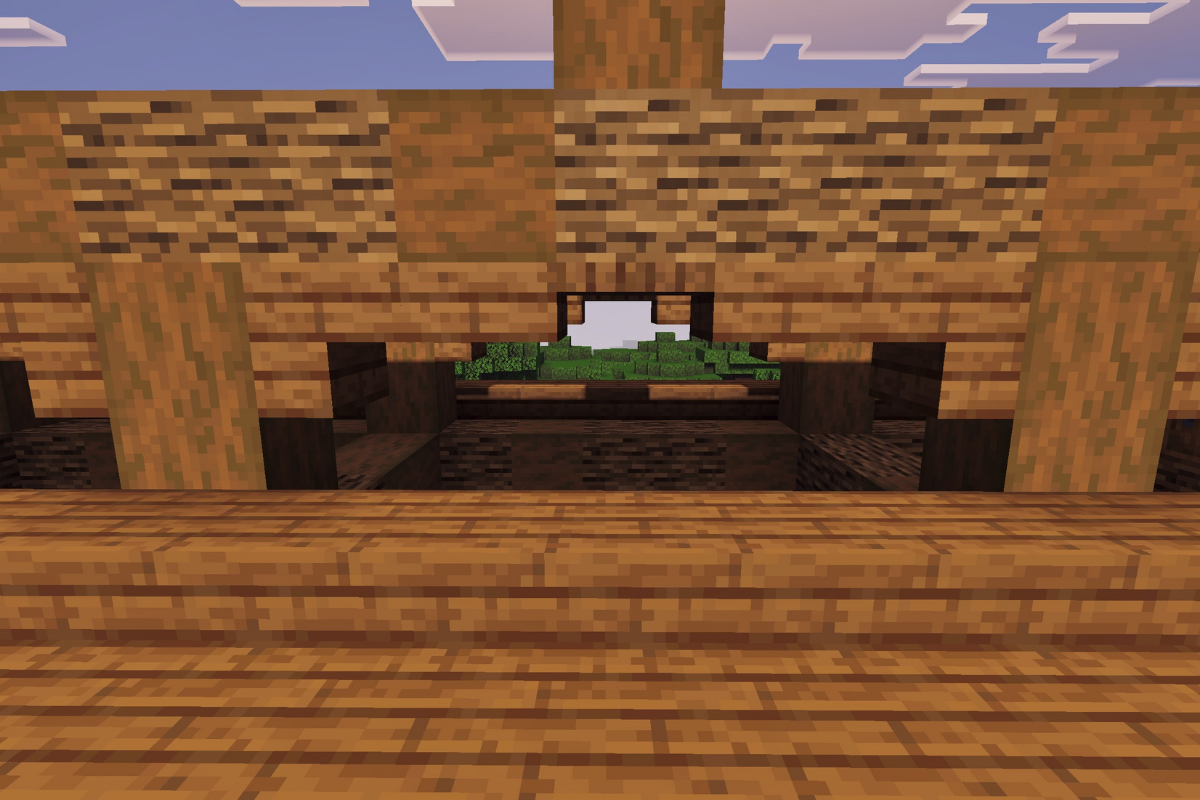
 x 11
x 11 x 2
x 2 x 2
x 2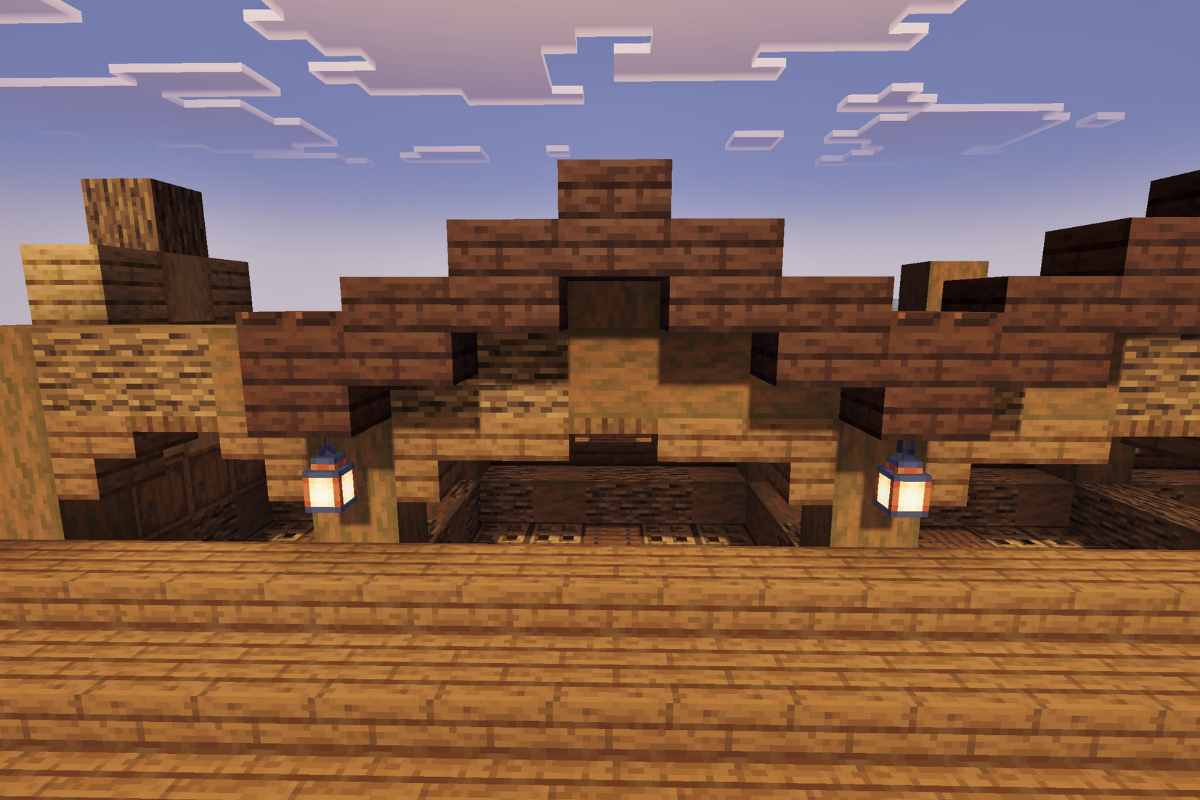
 x 5
x 5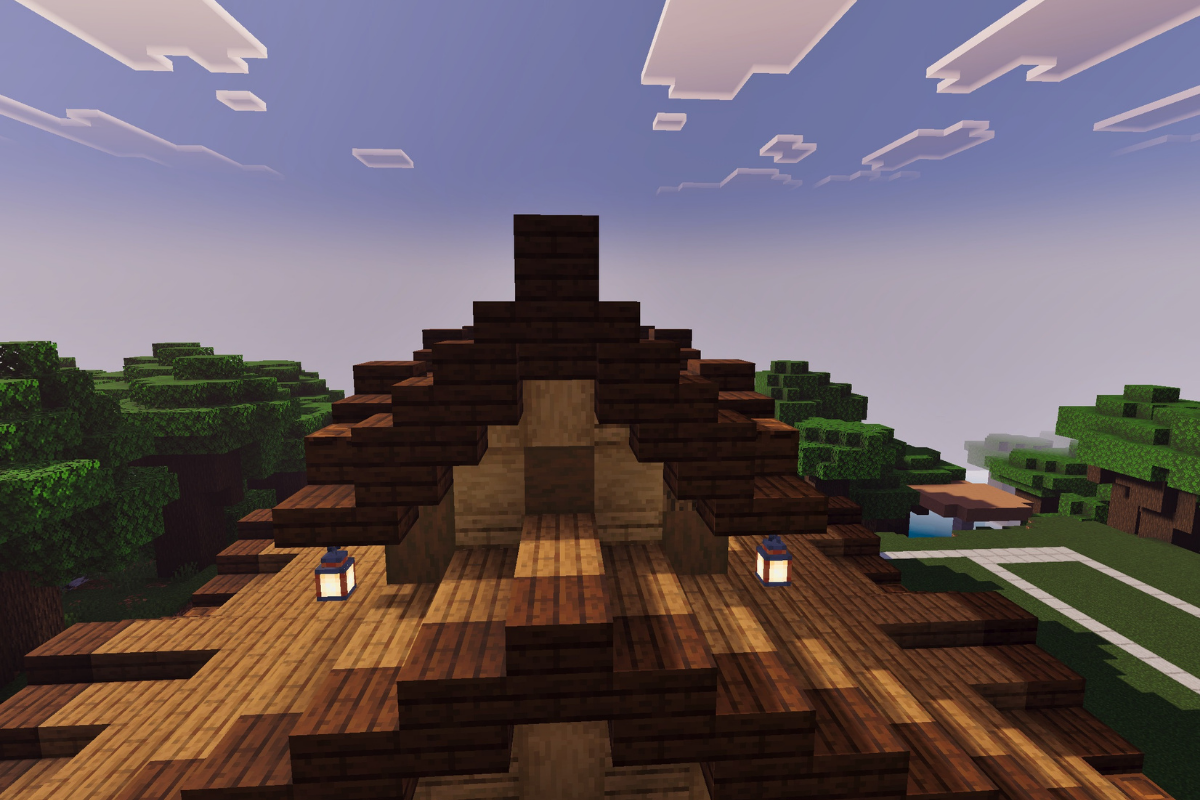
 x 8
x 8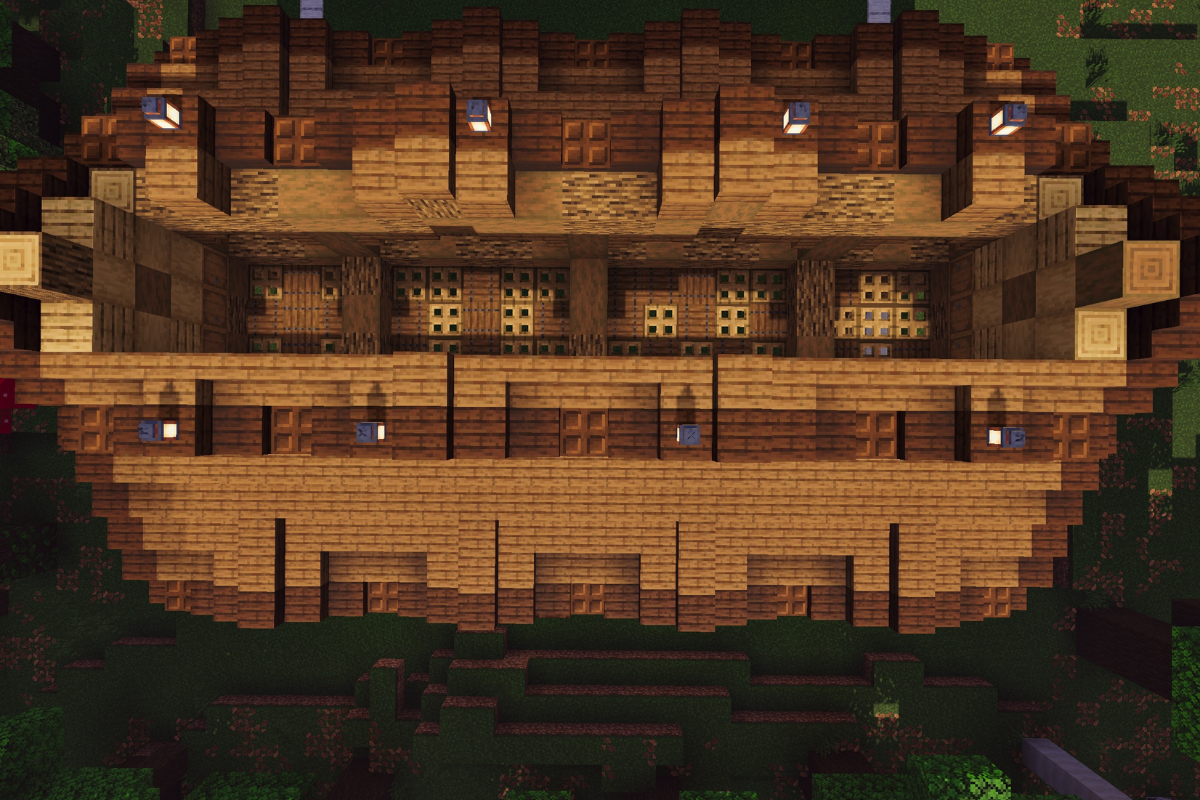
 x 1
x 1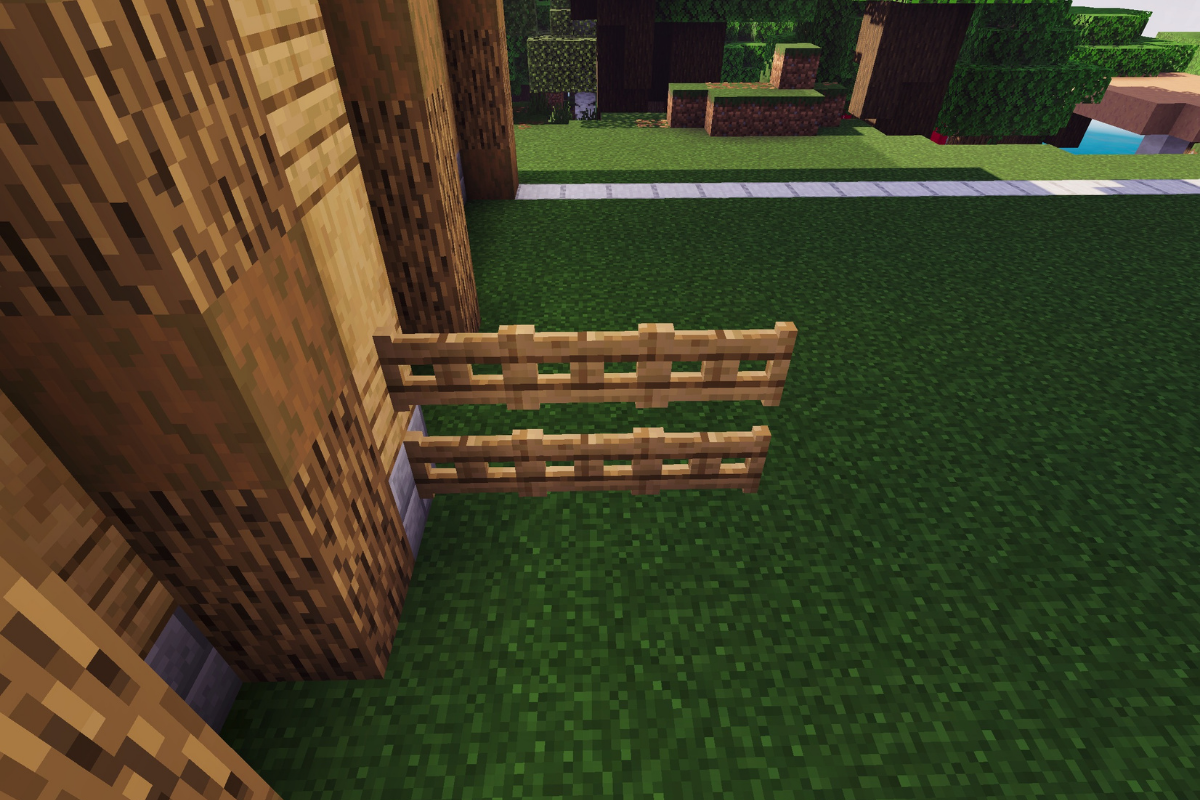
 x 12
x 12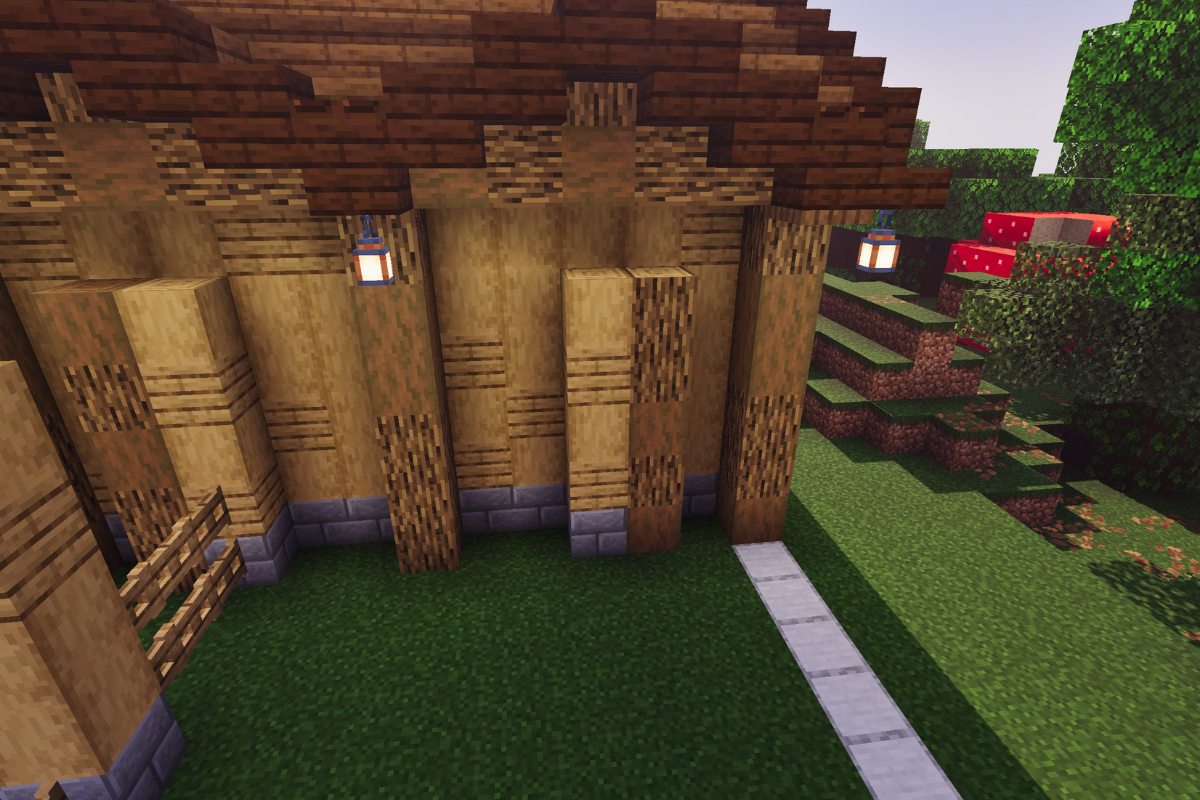
 x 12
x 12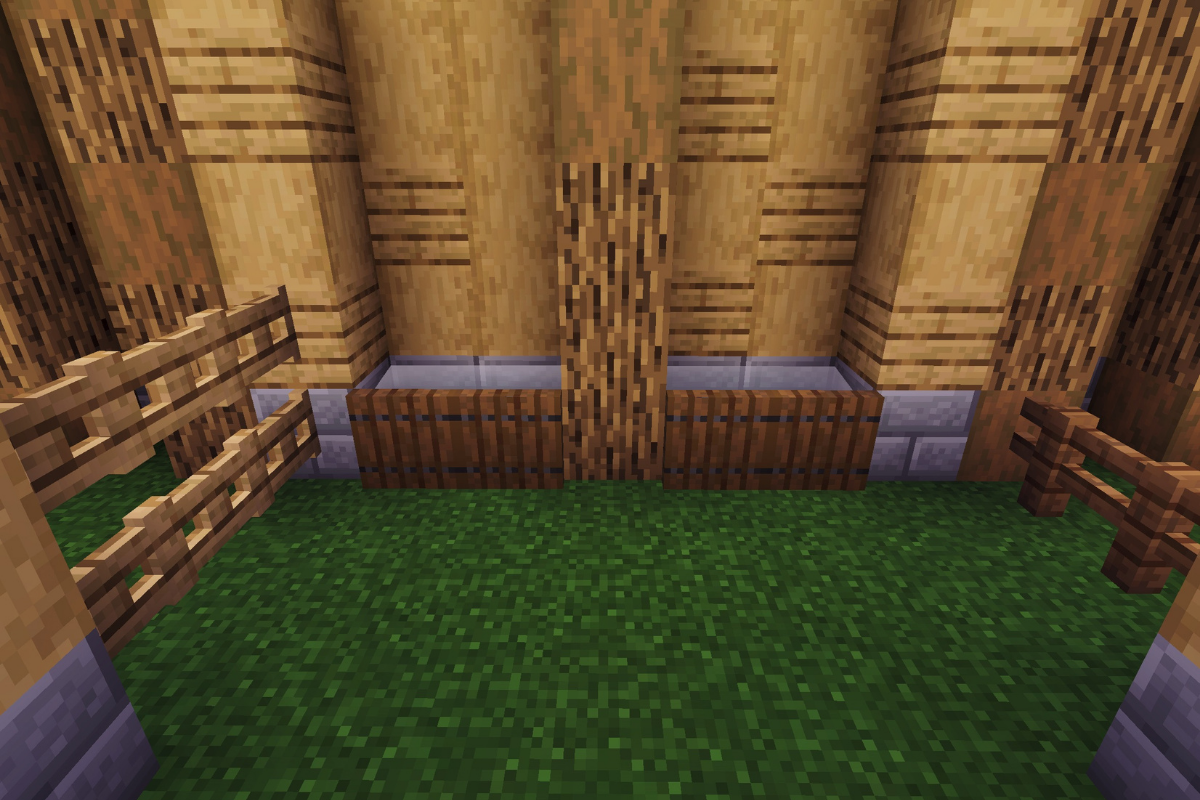
 x 4
x 4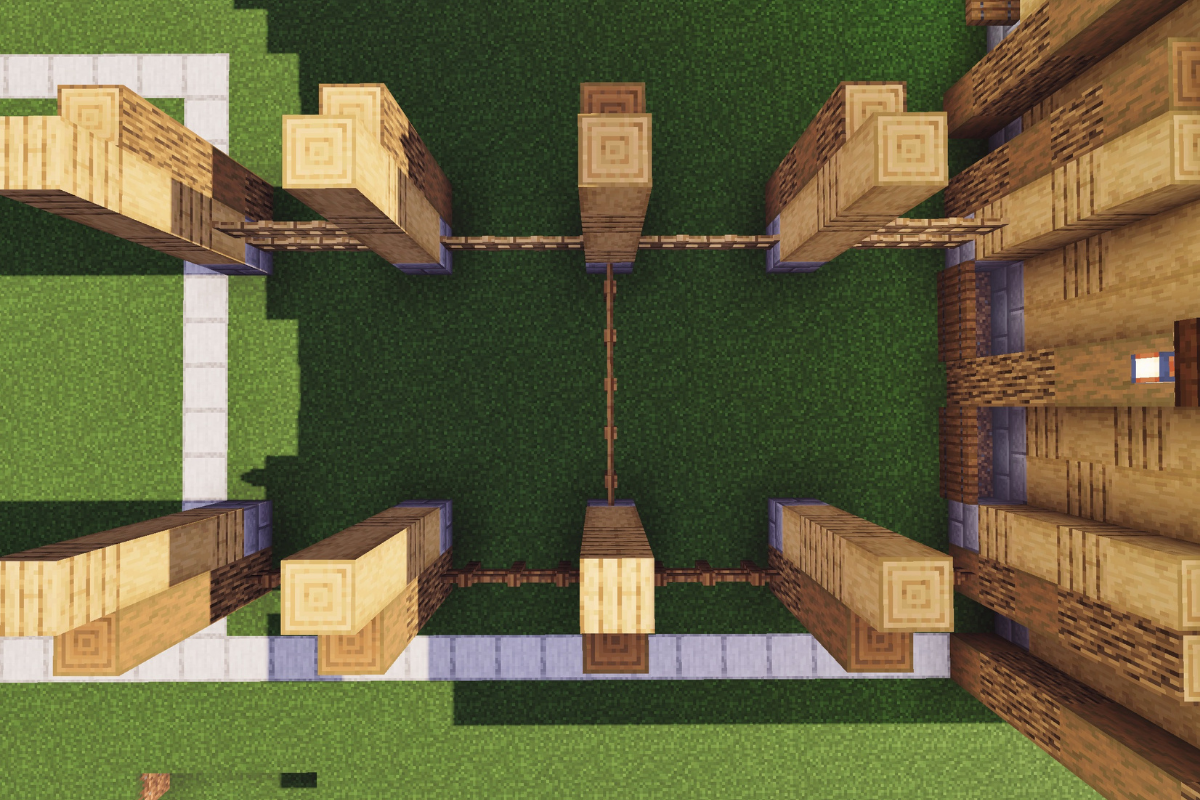
 x 8
x 8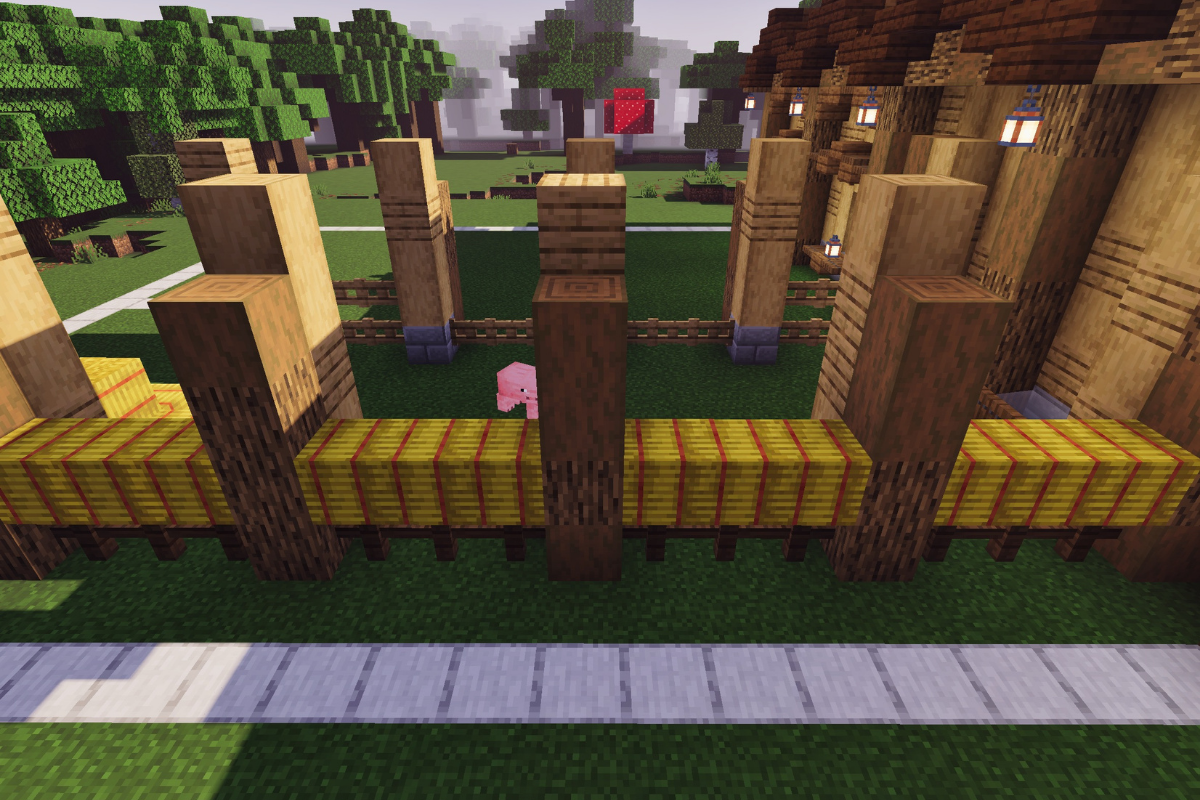
 x 10
x 10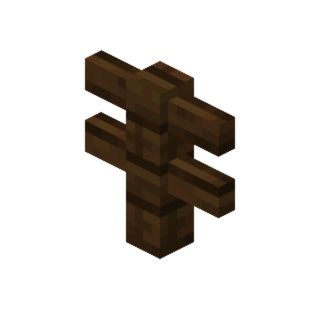 x 2
x 2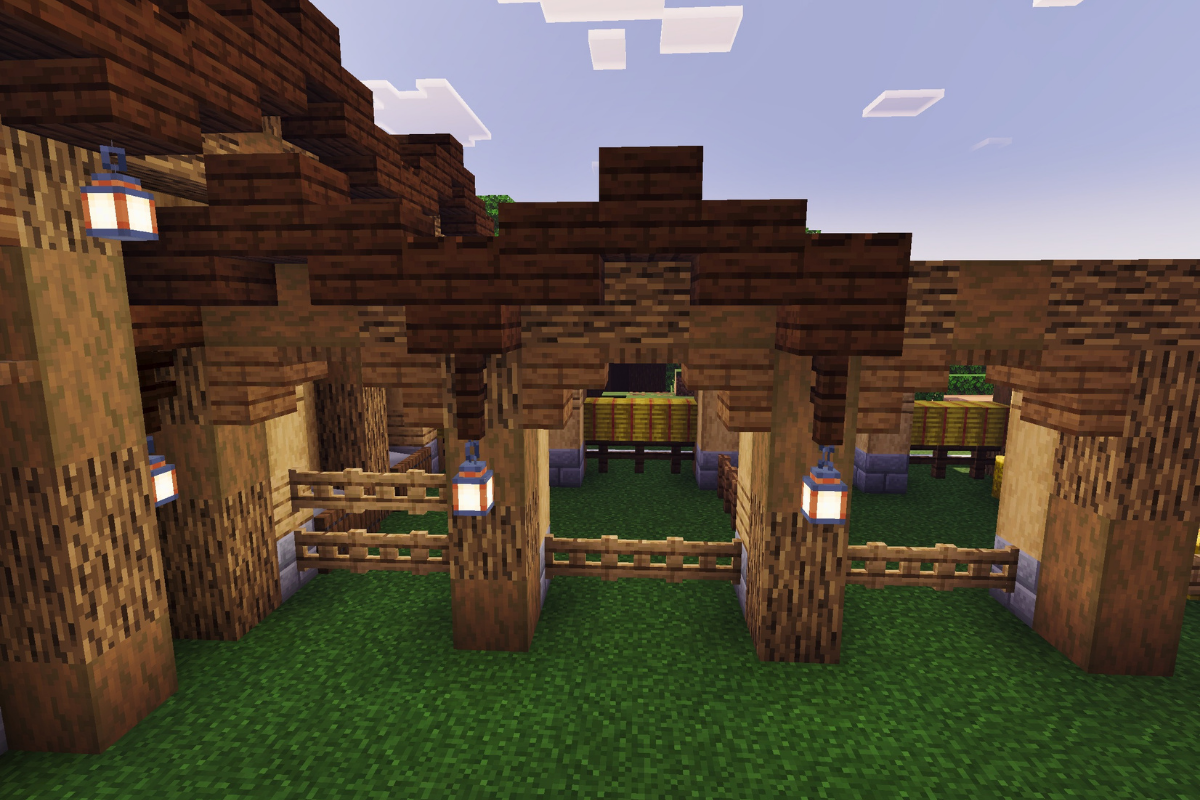
 x 2
x 2
 x 24
x 24 x 12
x 12
 x 2
x 2