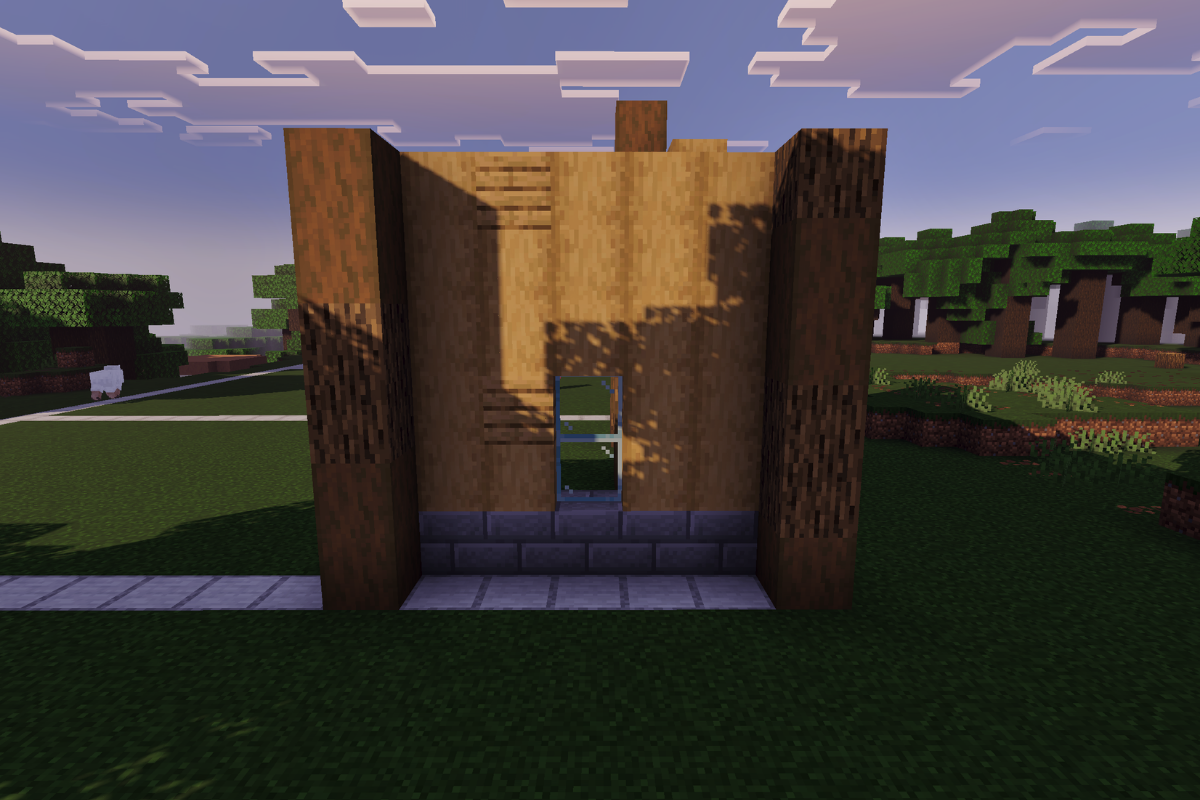
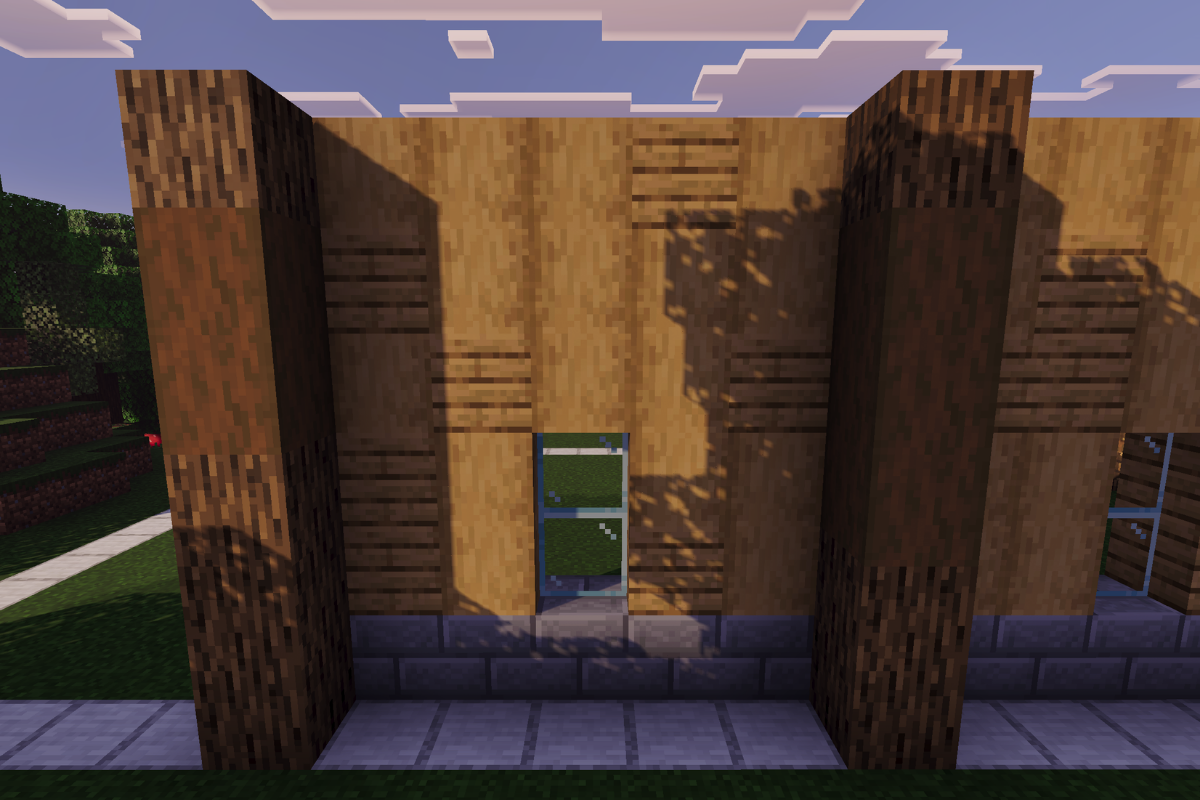
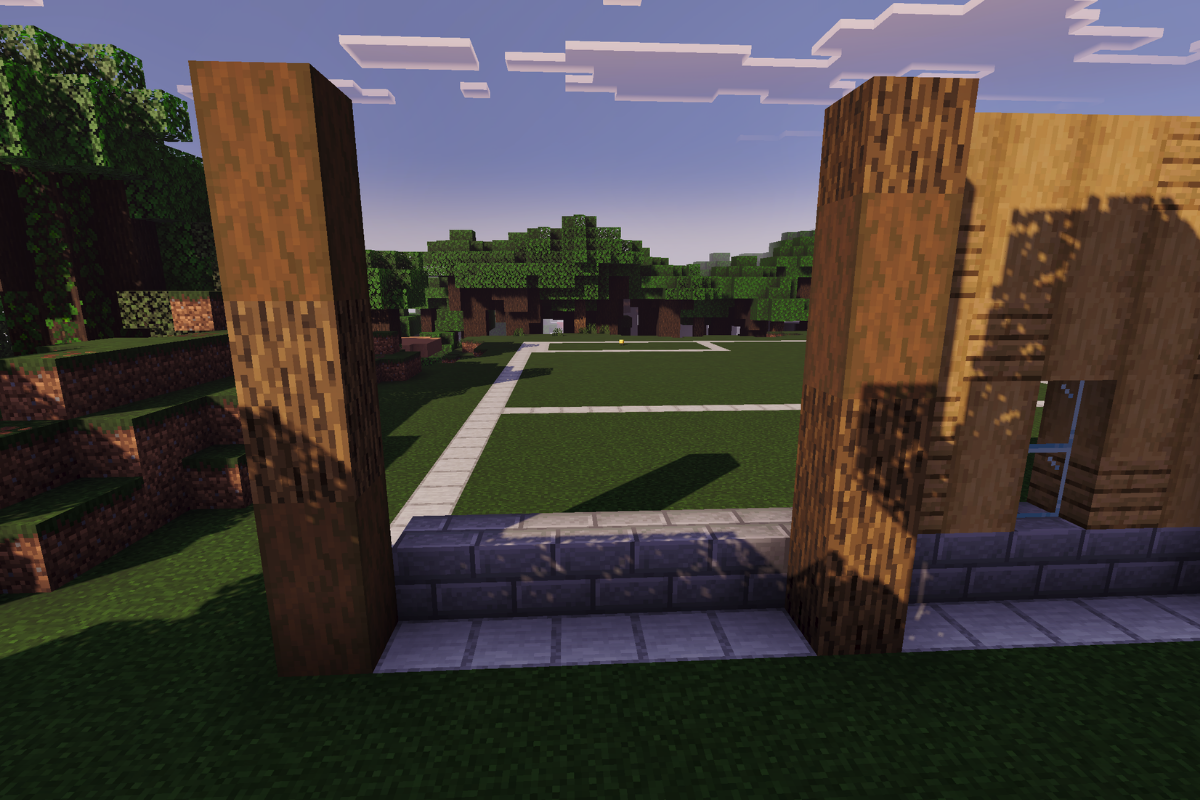
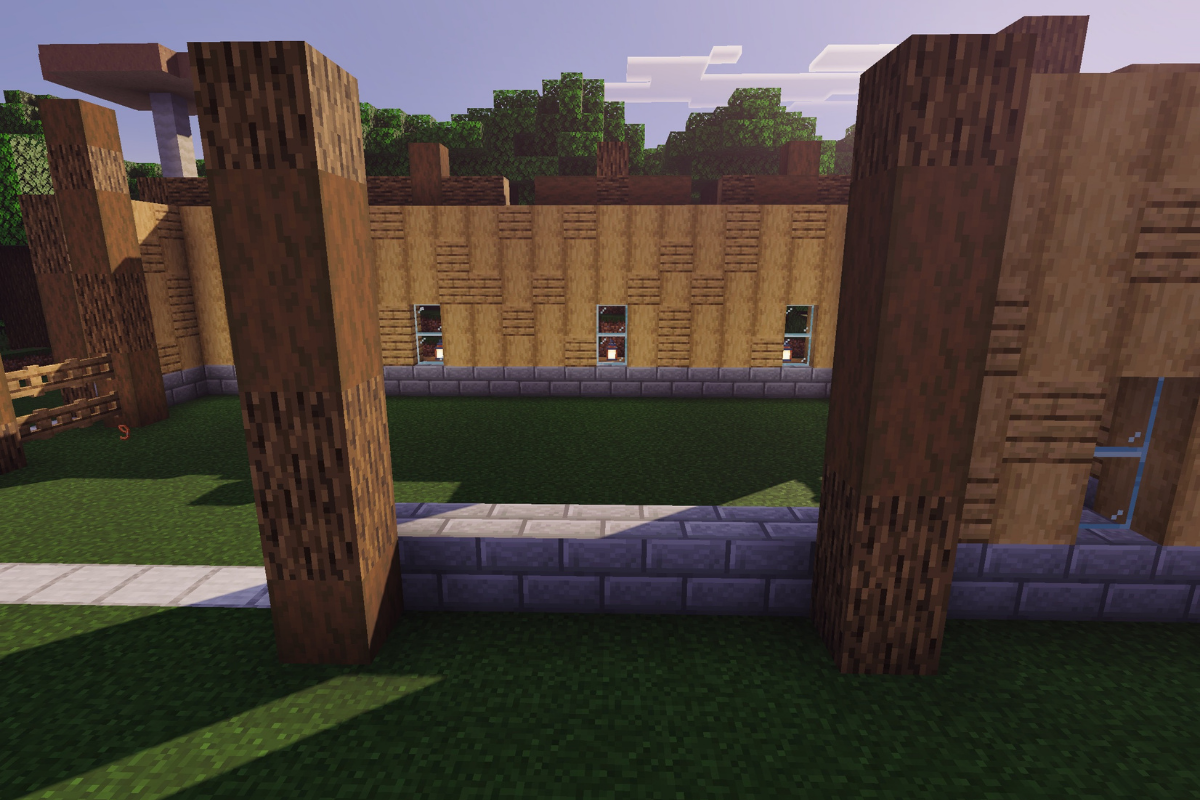
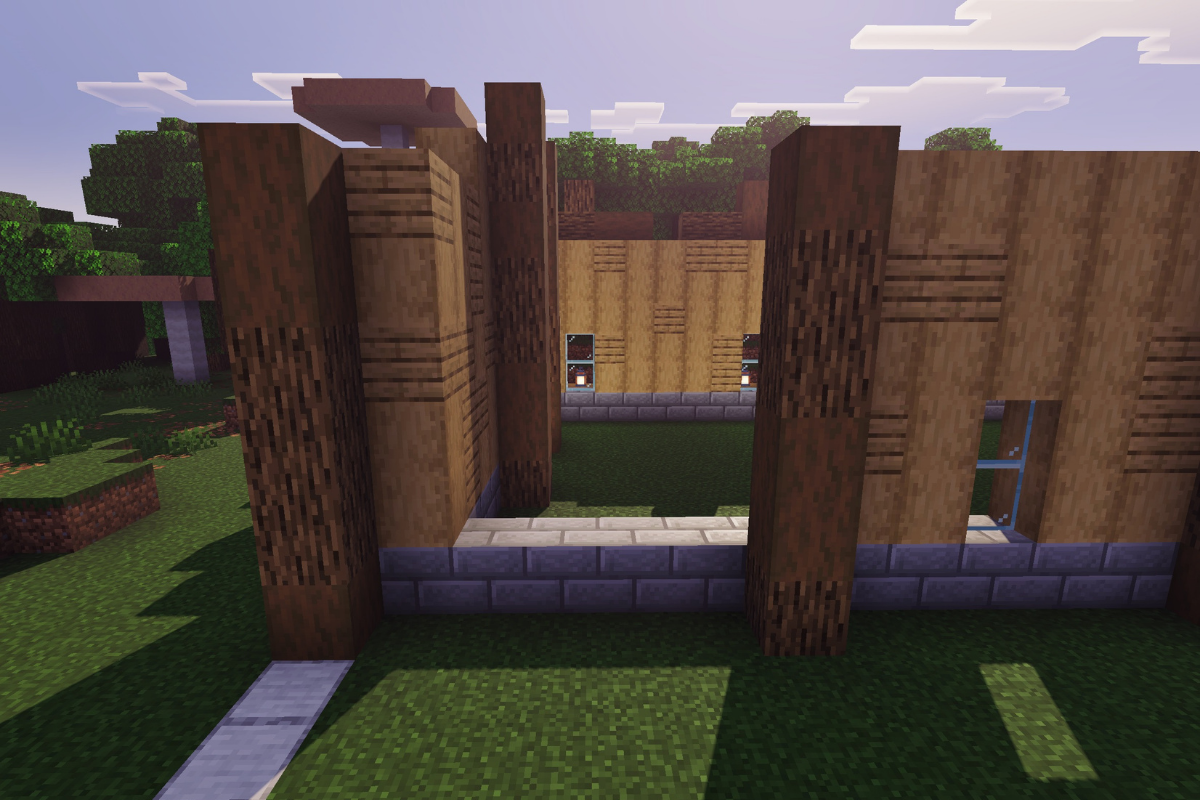
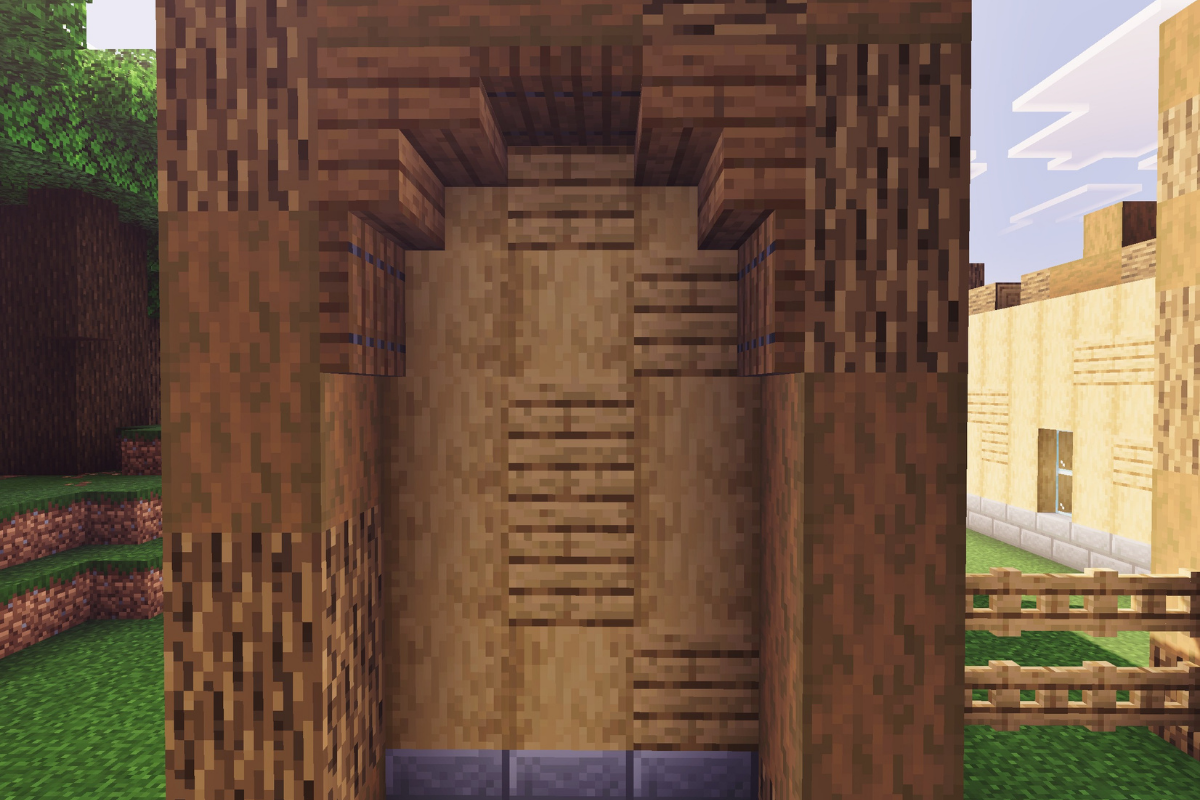
Fill in the wall between both posts, leaving a window two blocks tall in the middle.
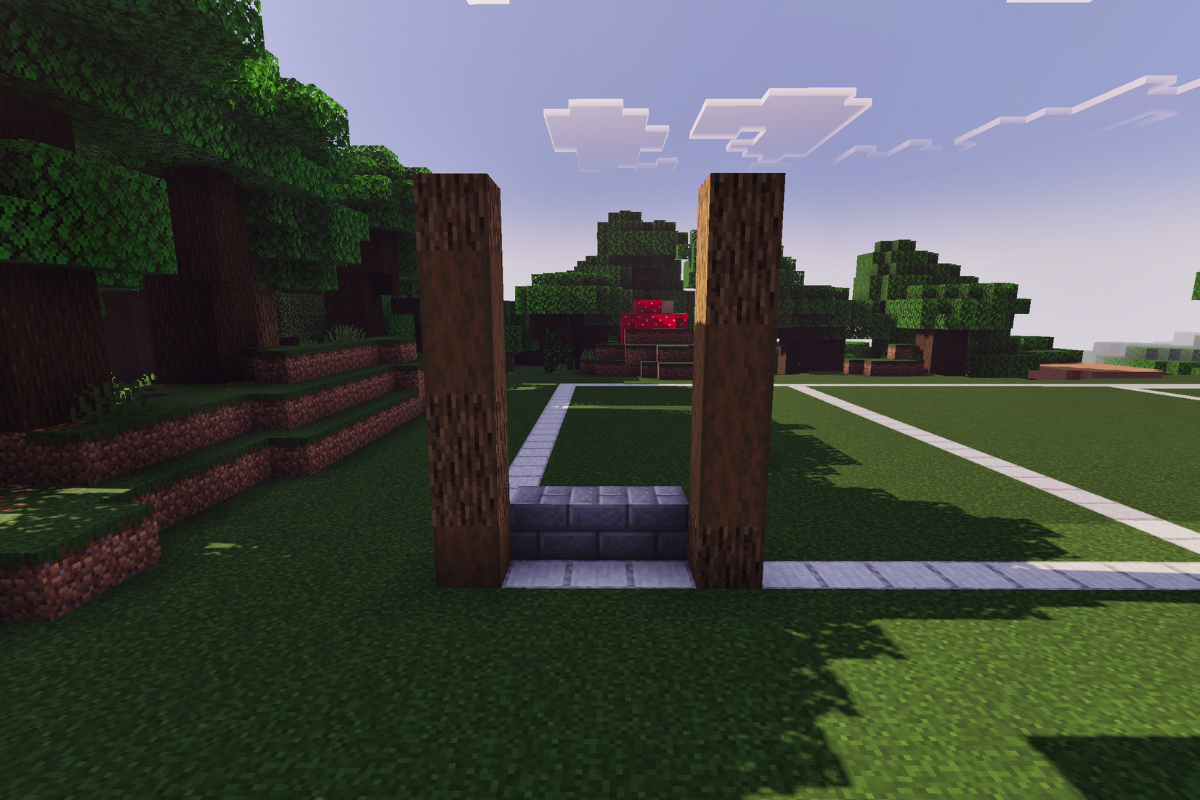
Place 6 stone bricks base and a textured pillar both 6 blocks tall.
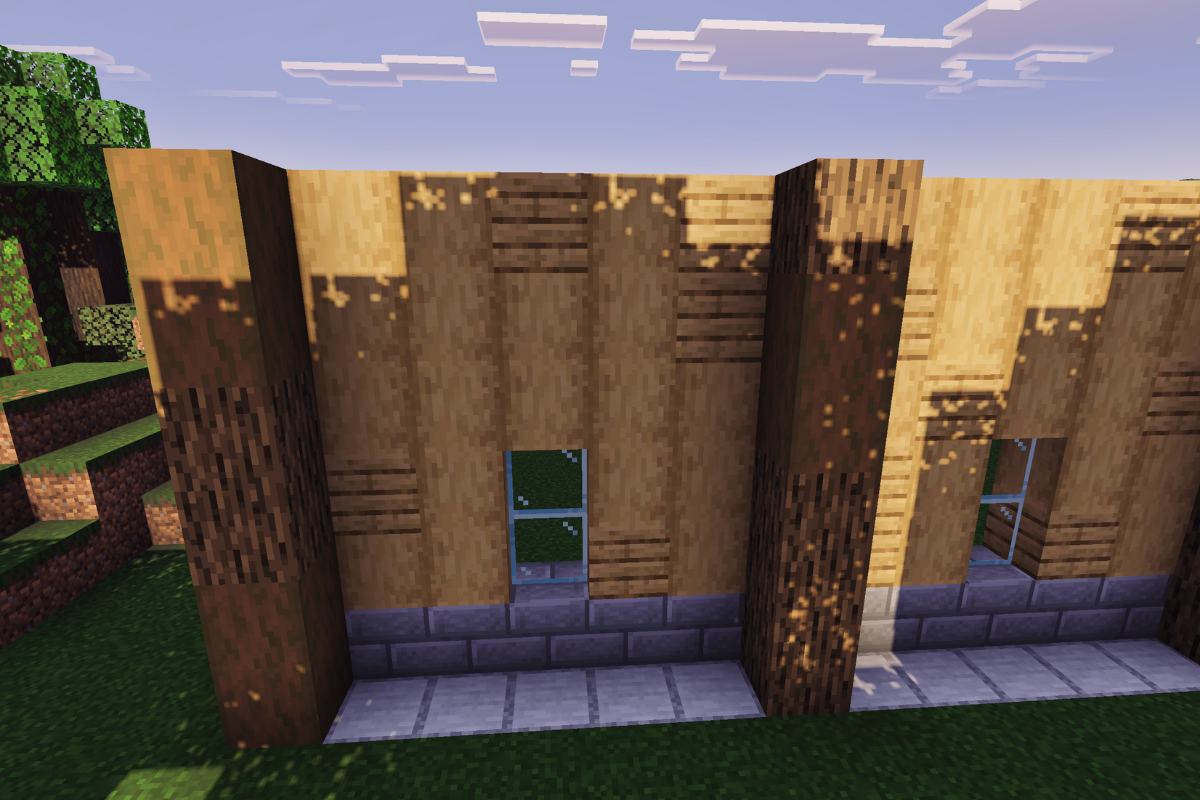
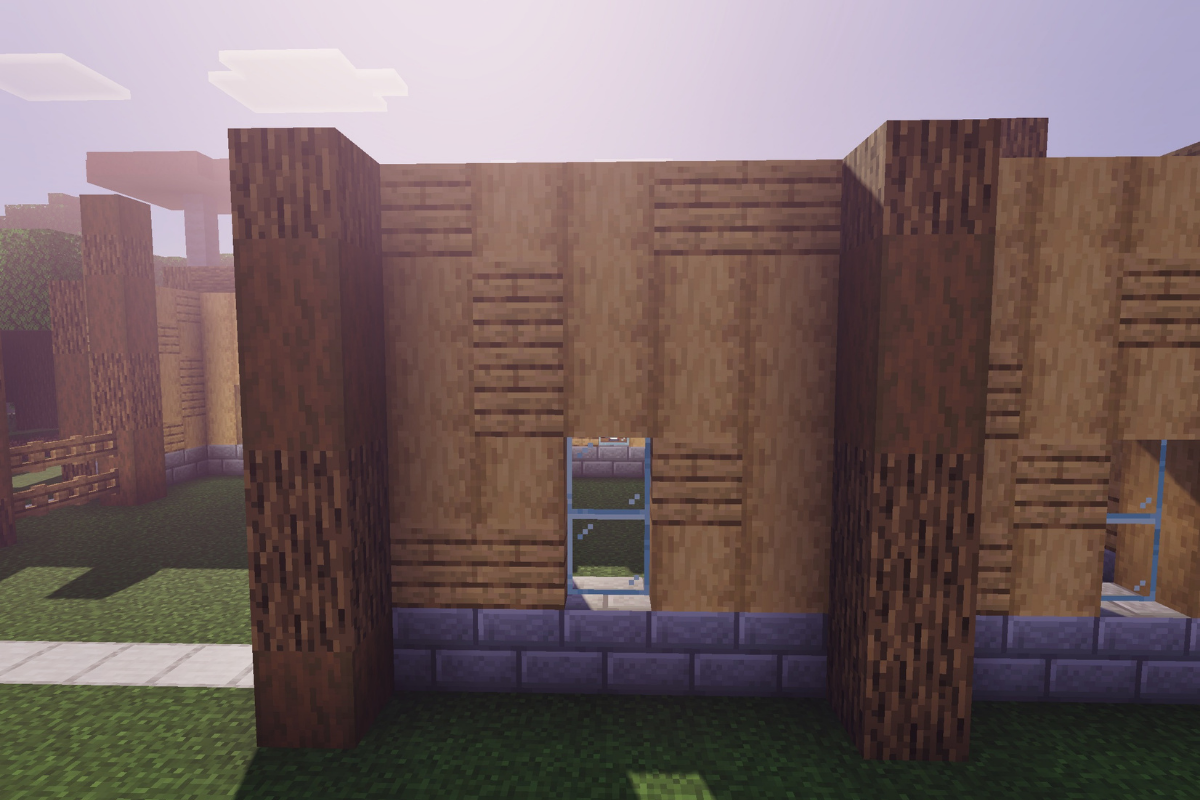
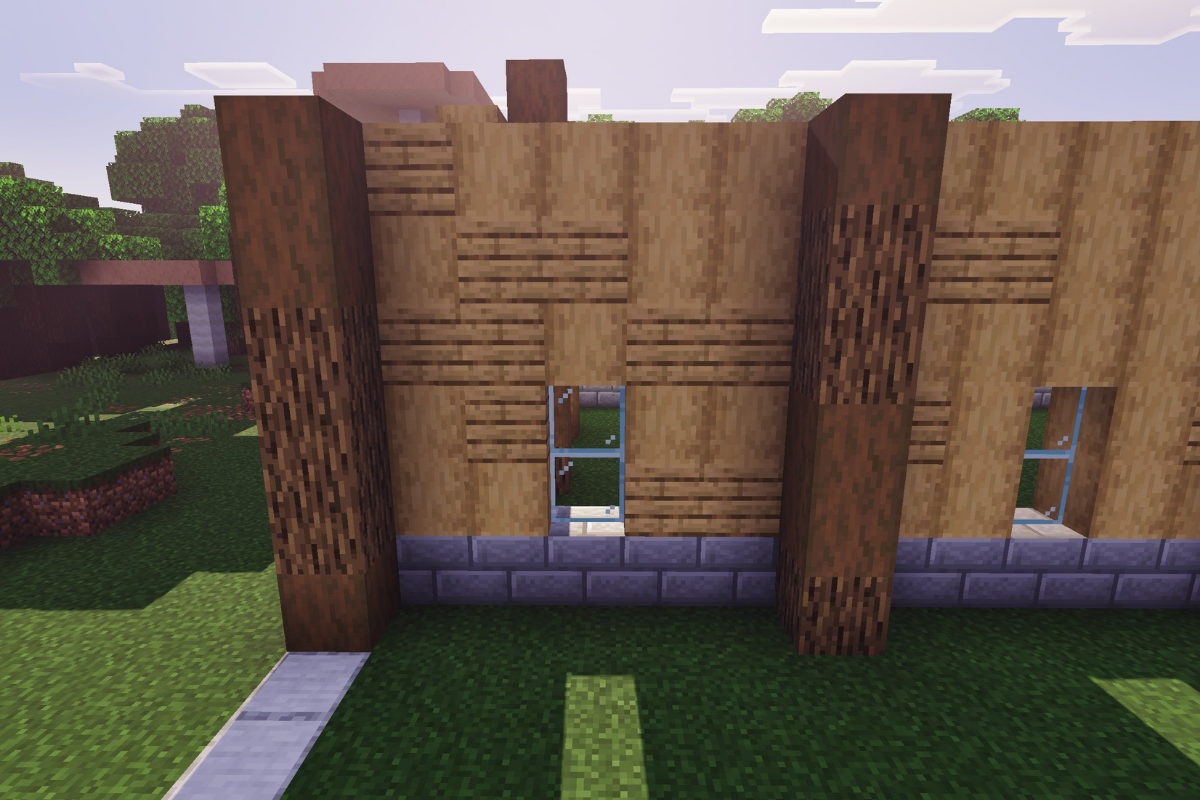
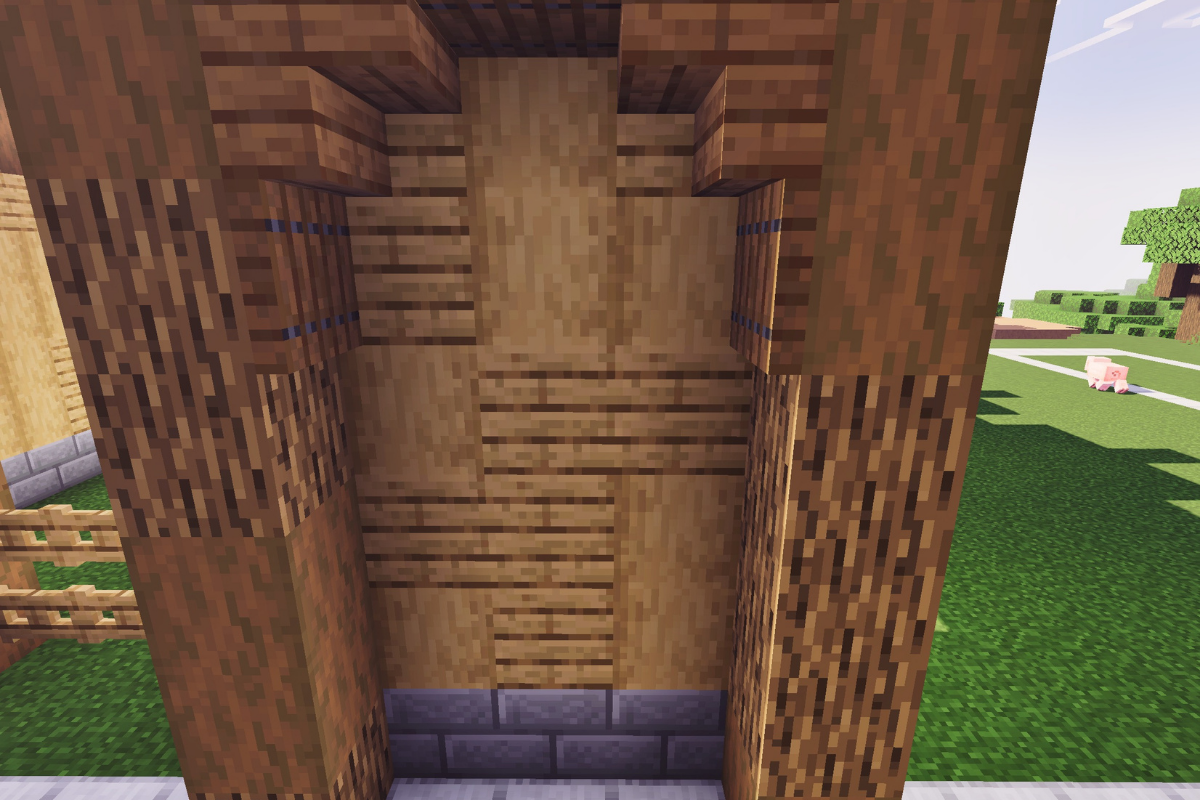
Fill in the wall between both posts, leaving a window two blocks tall in the middle.
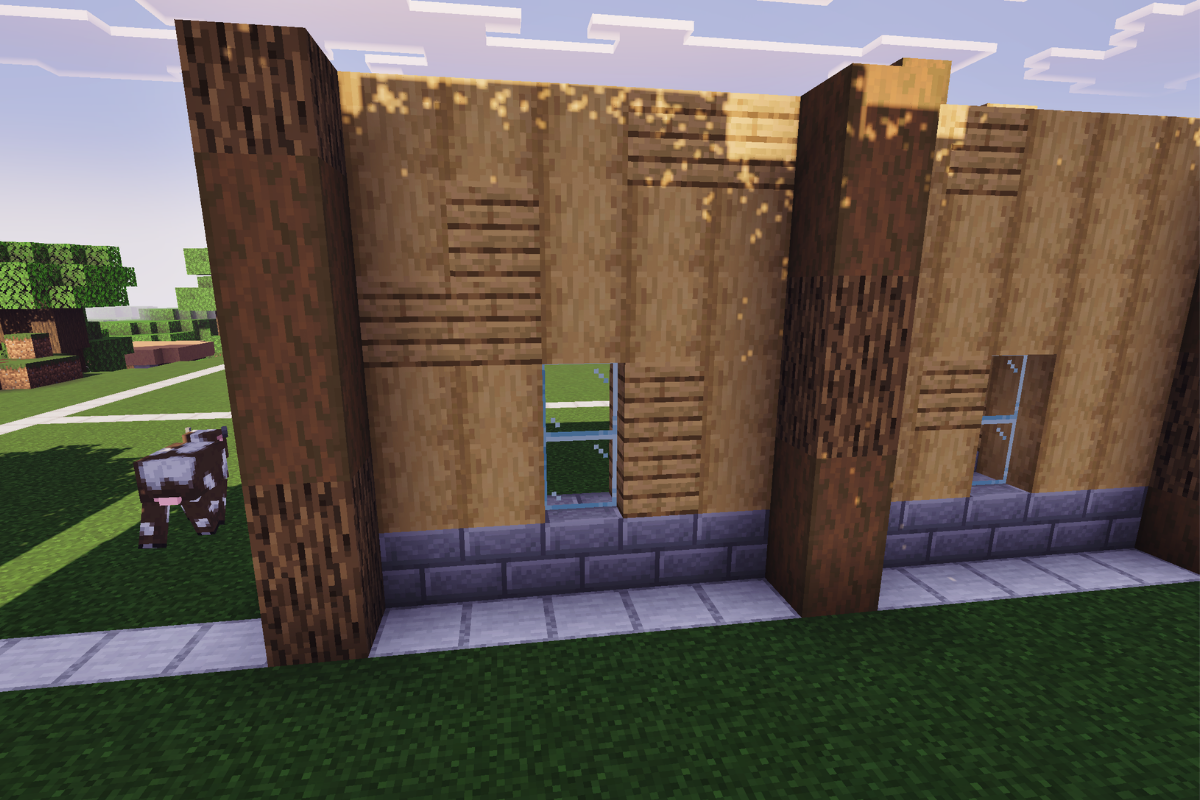
Place 5 stone bricks base and a textured pillar both 6 blocks tall.
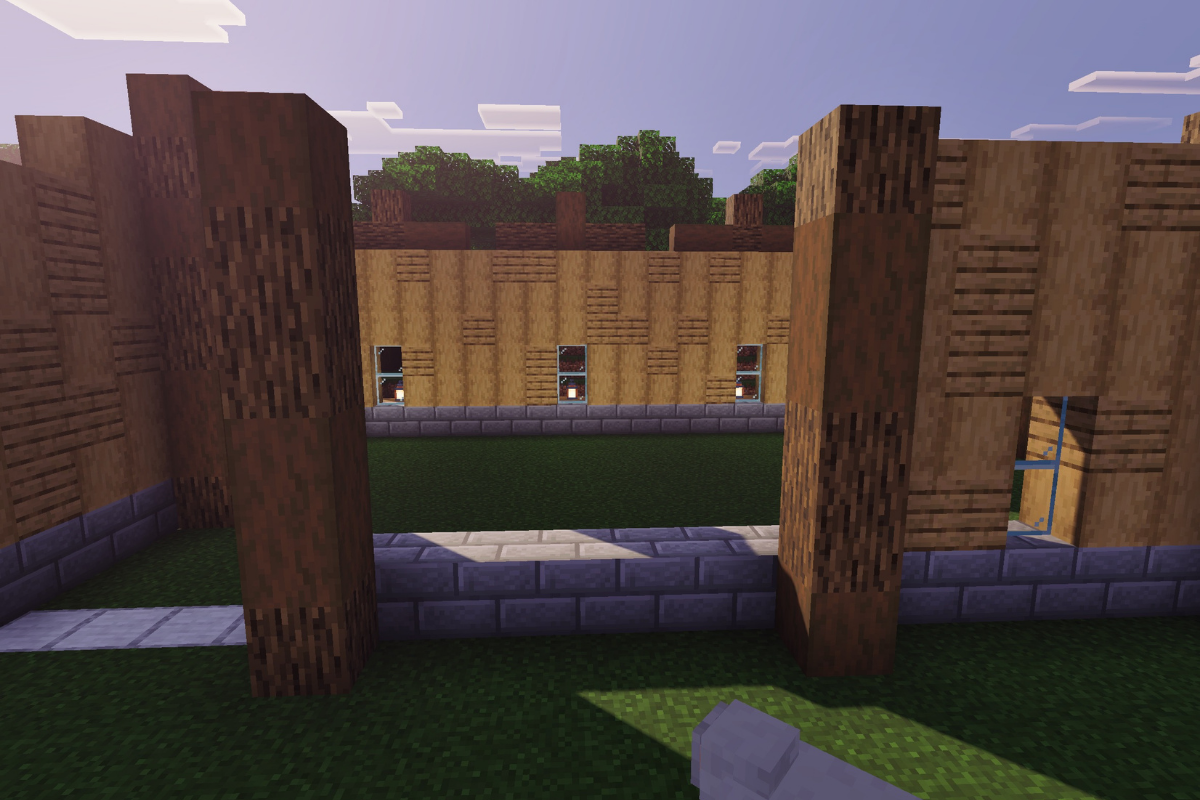
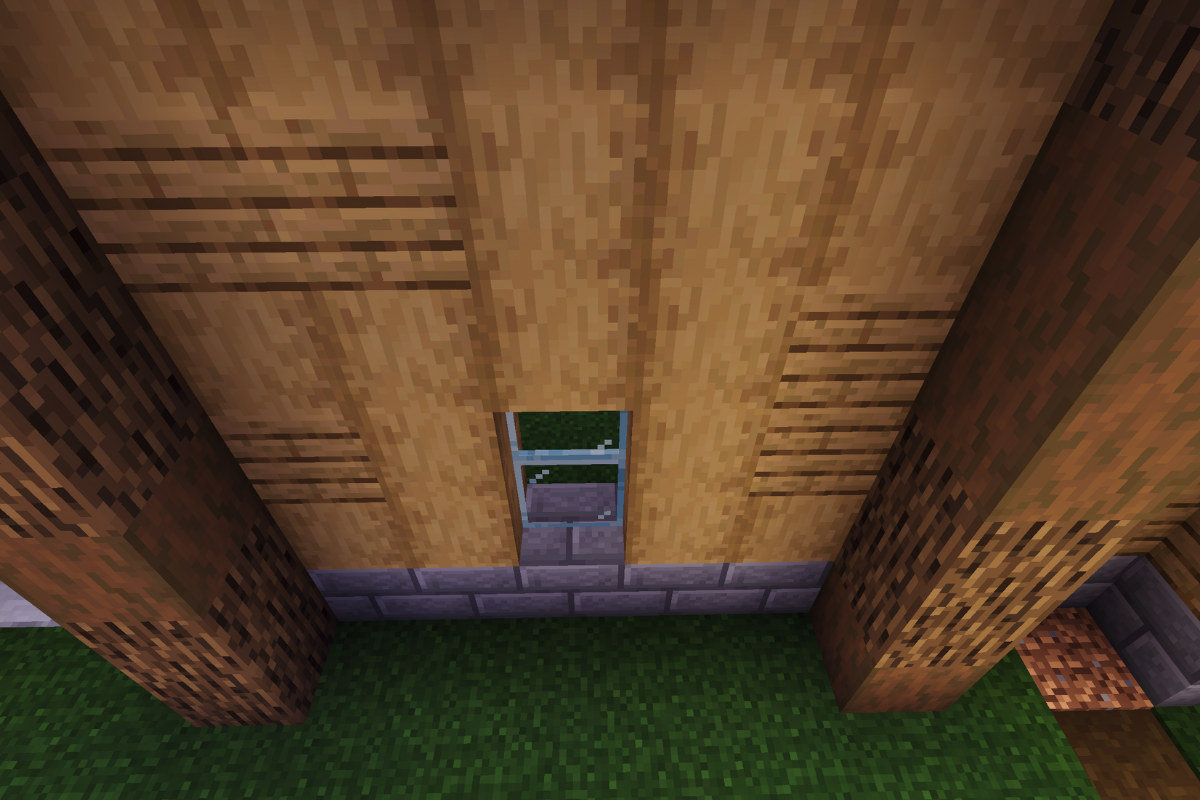
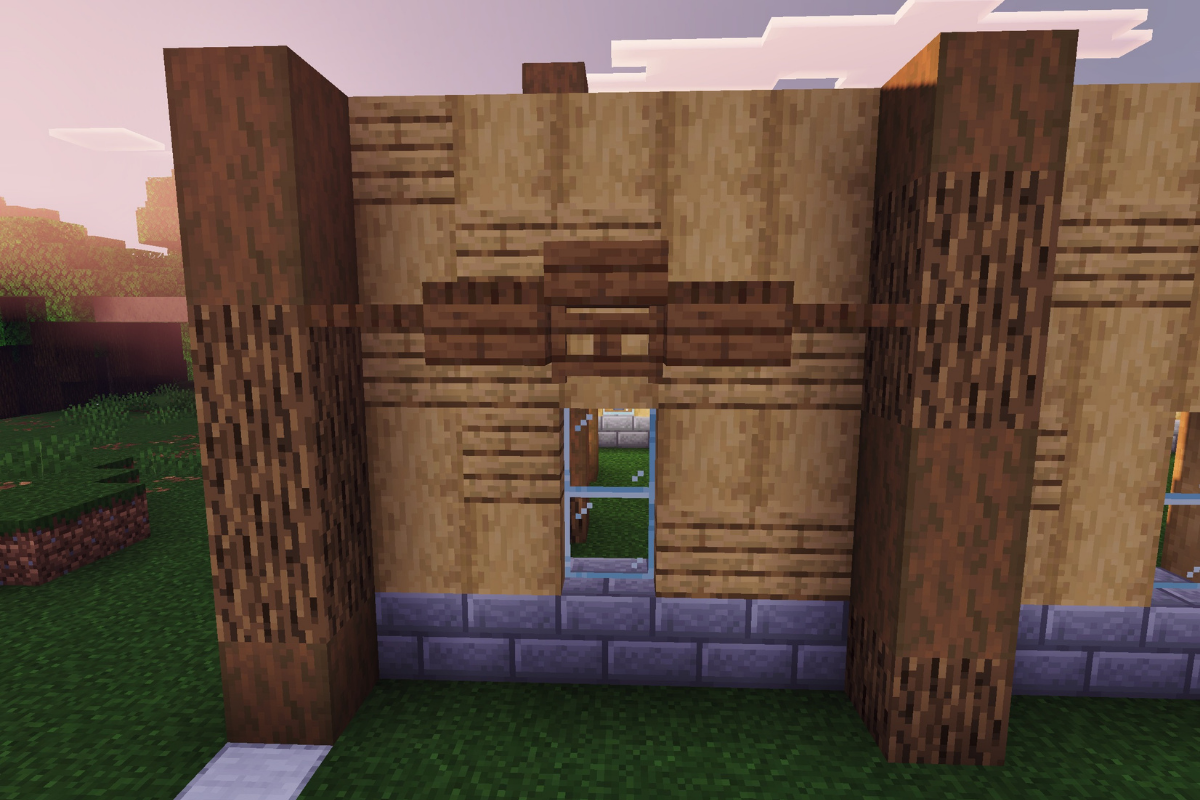
Fill in the wall between both posts, leaving a window two blocks tall in the middle.
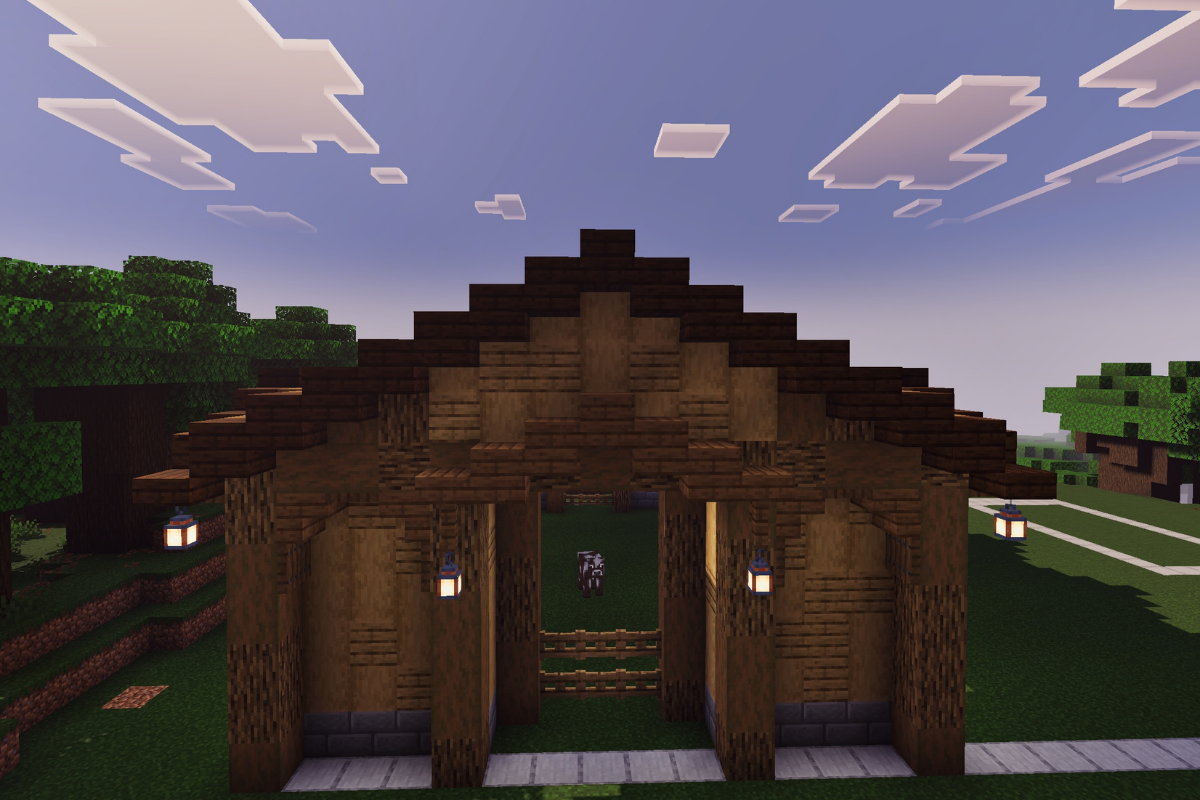
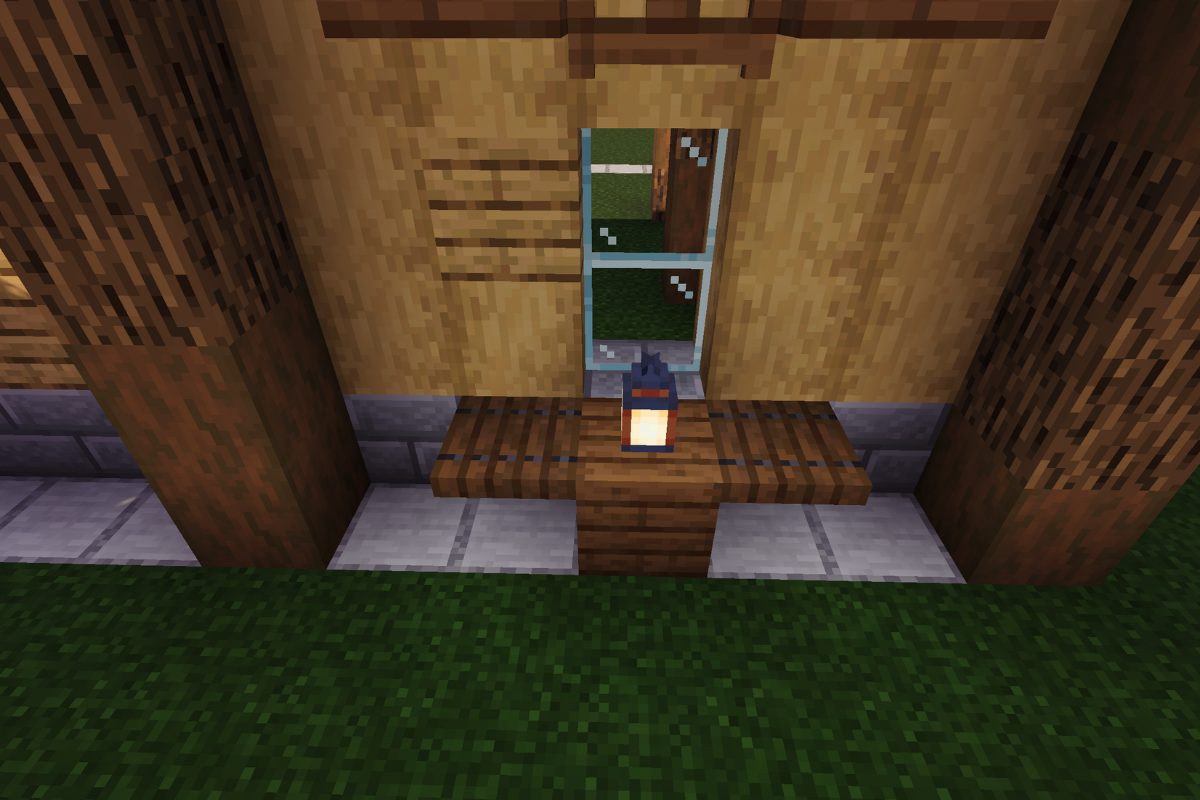
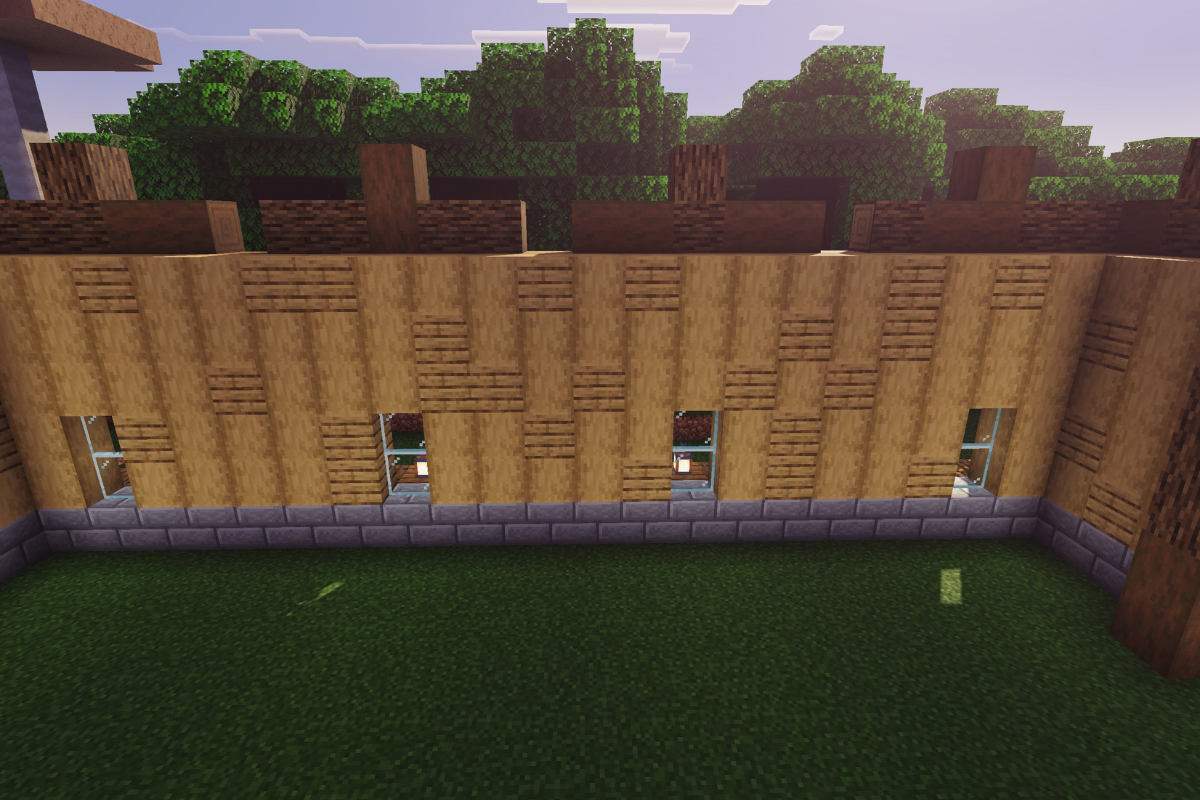
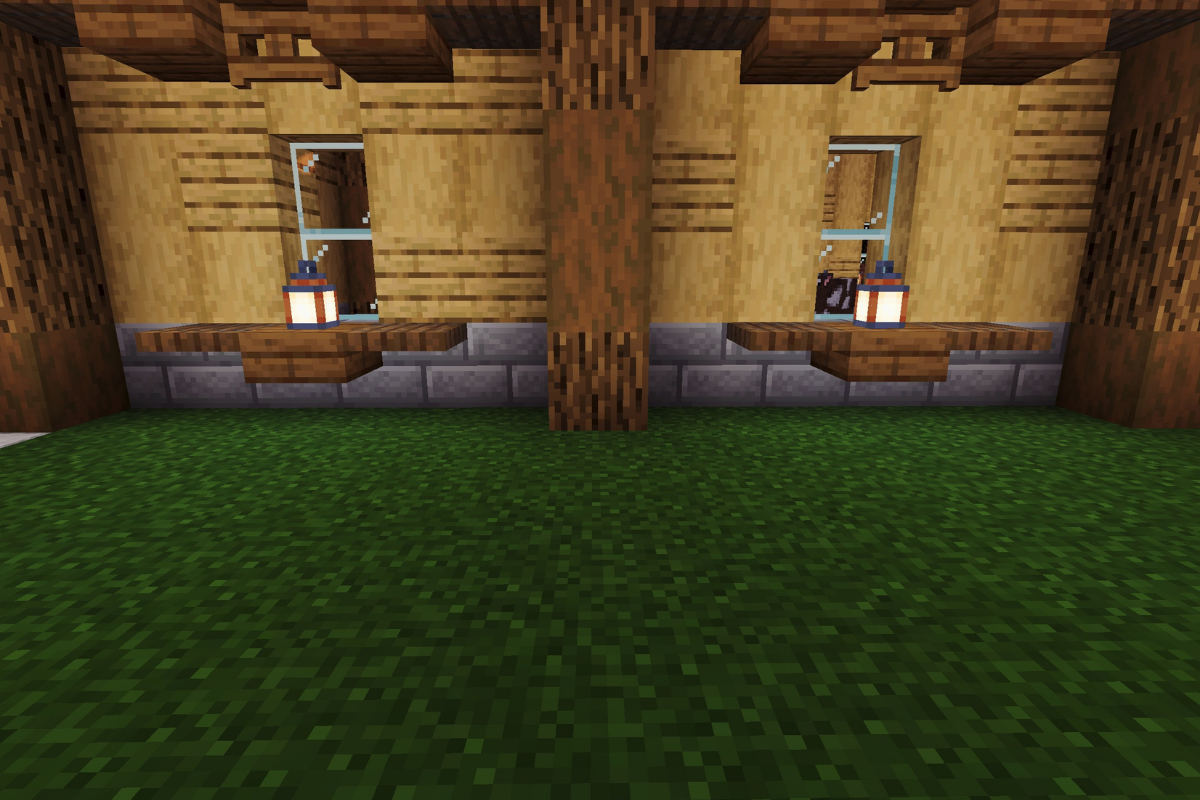
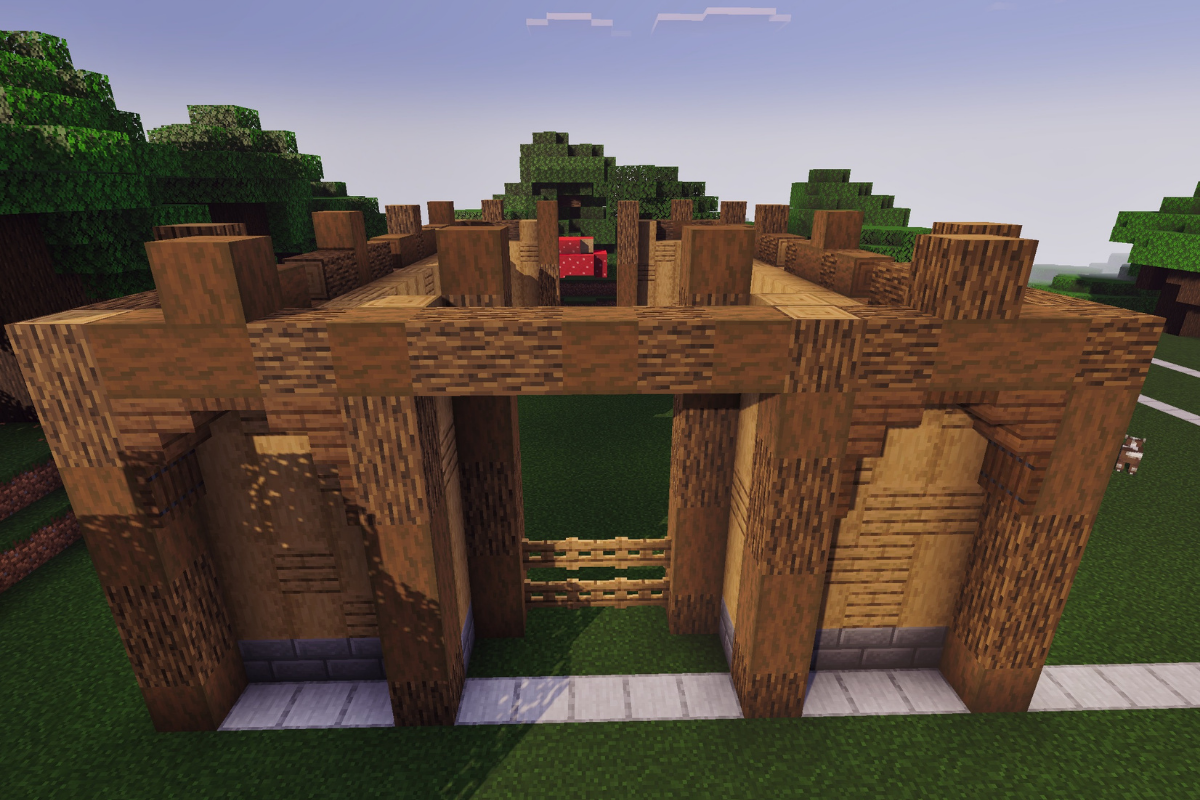
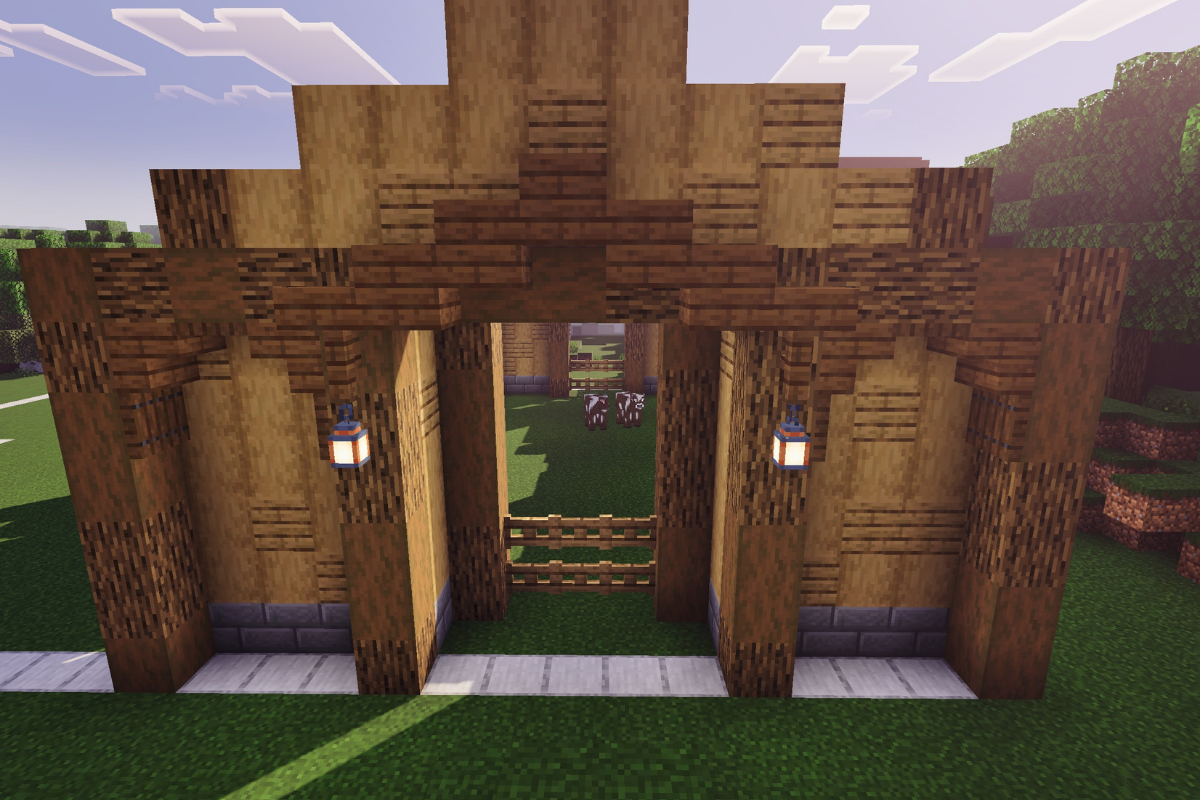
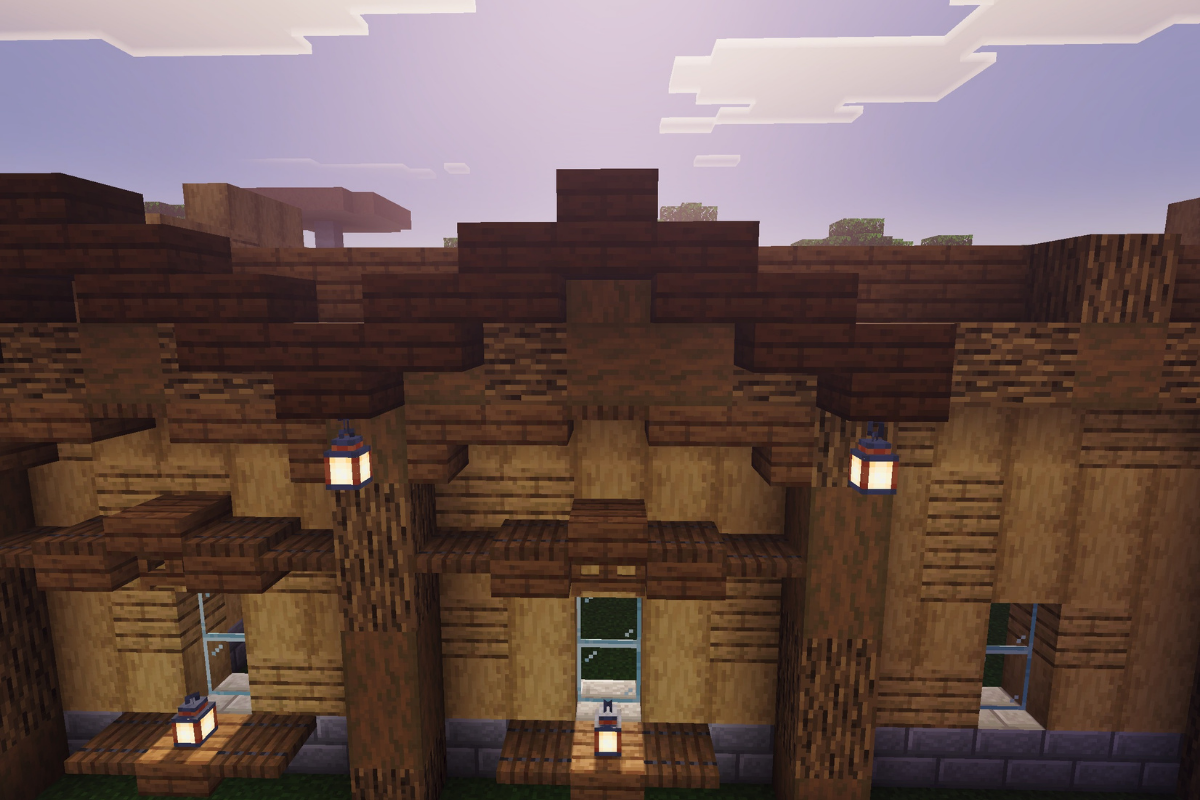
Replicate the lantern holder under the window of the other 3 windows.
STEP 21 / 235
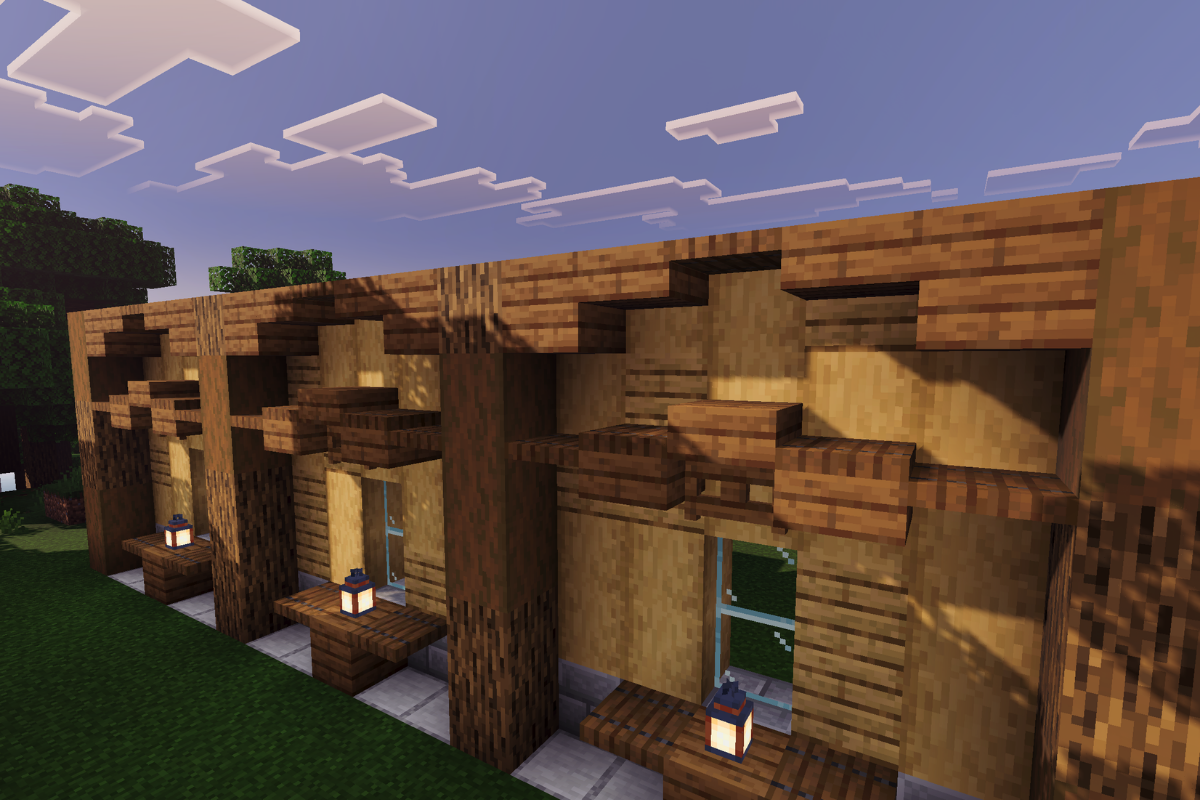
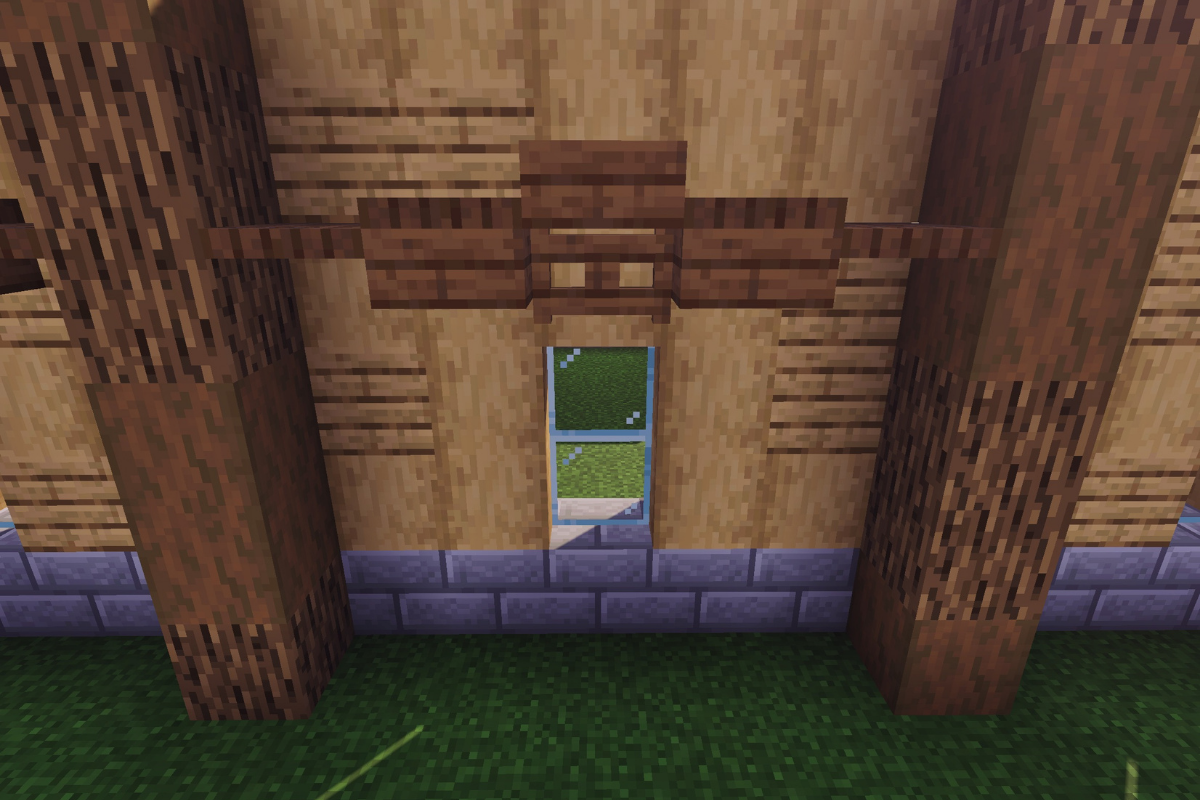
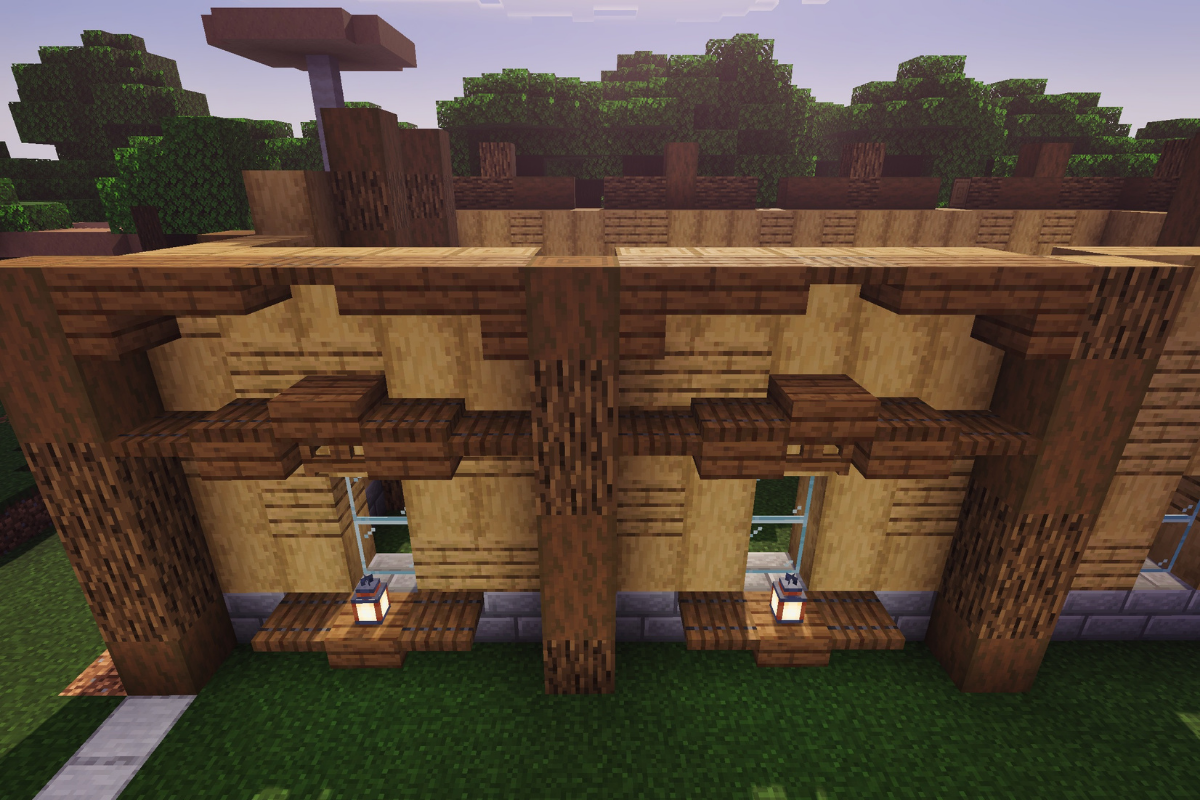
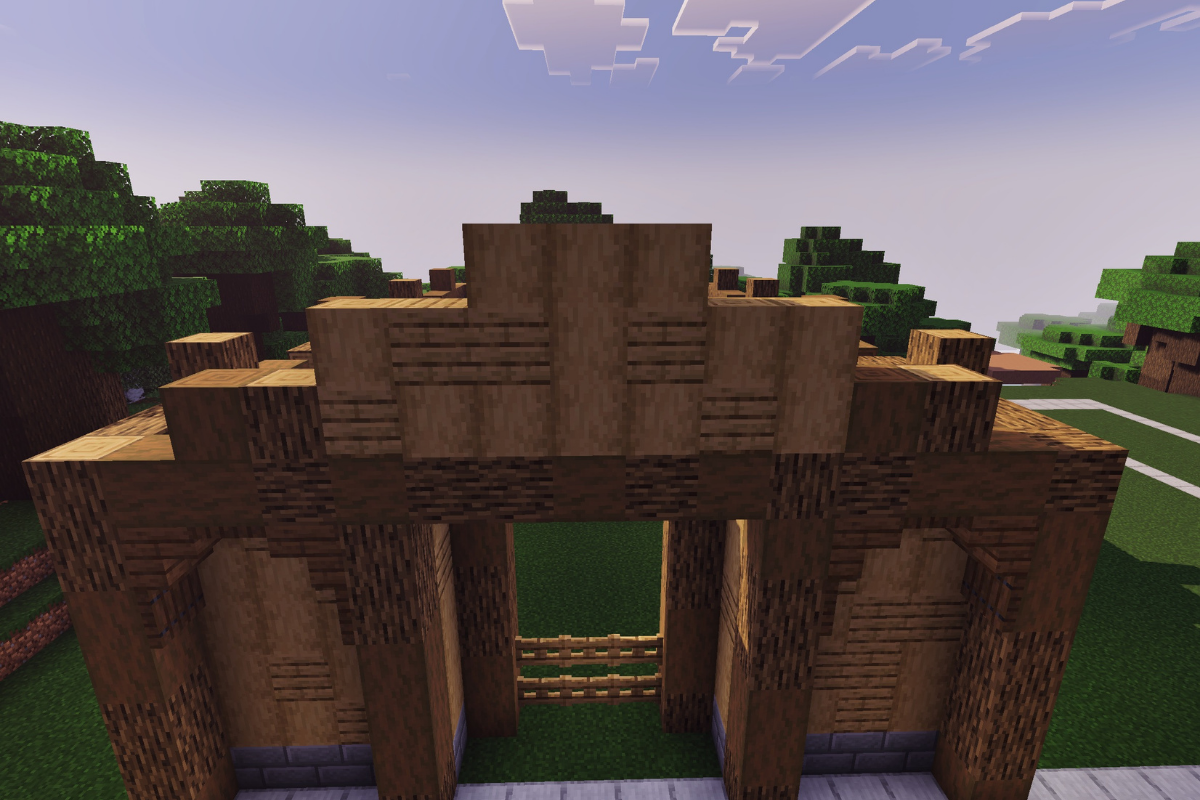
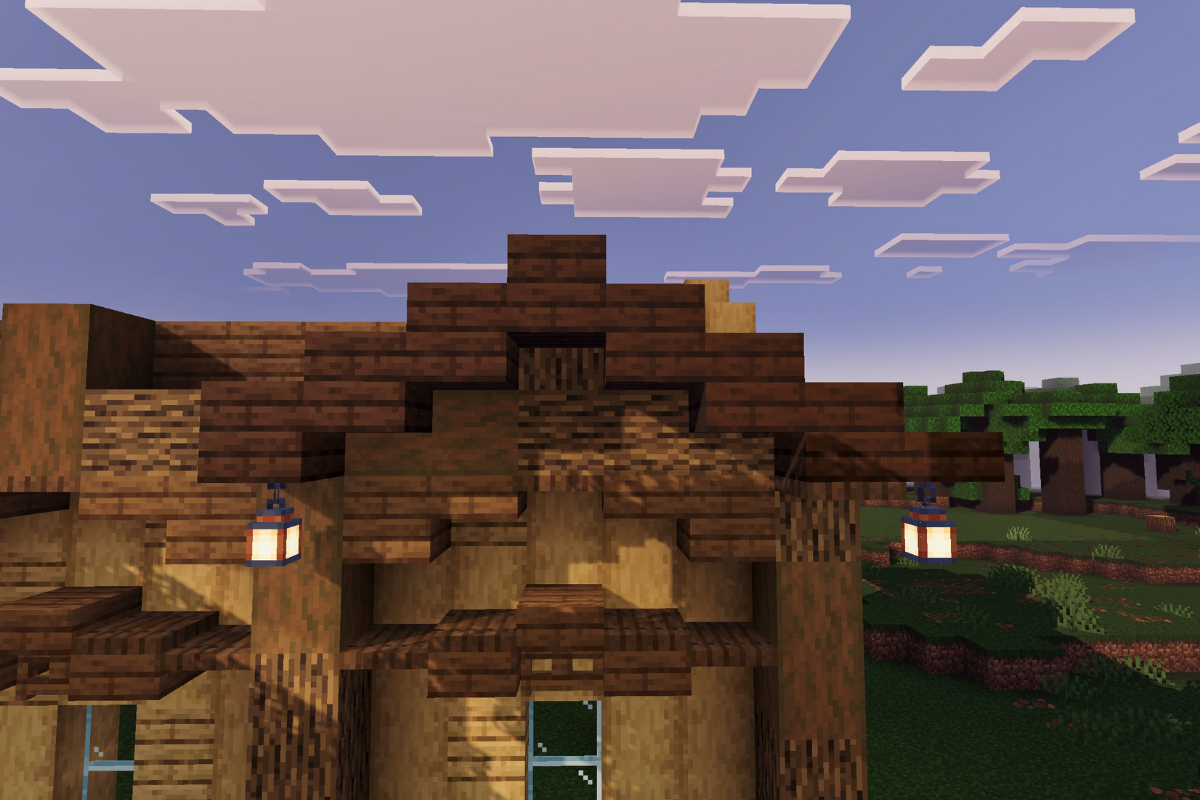
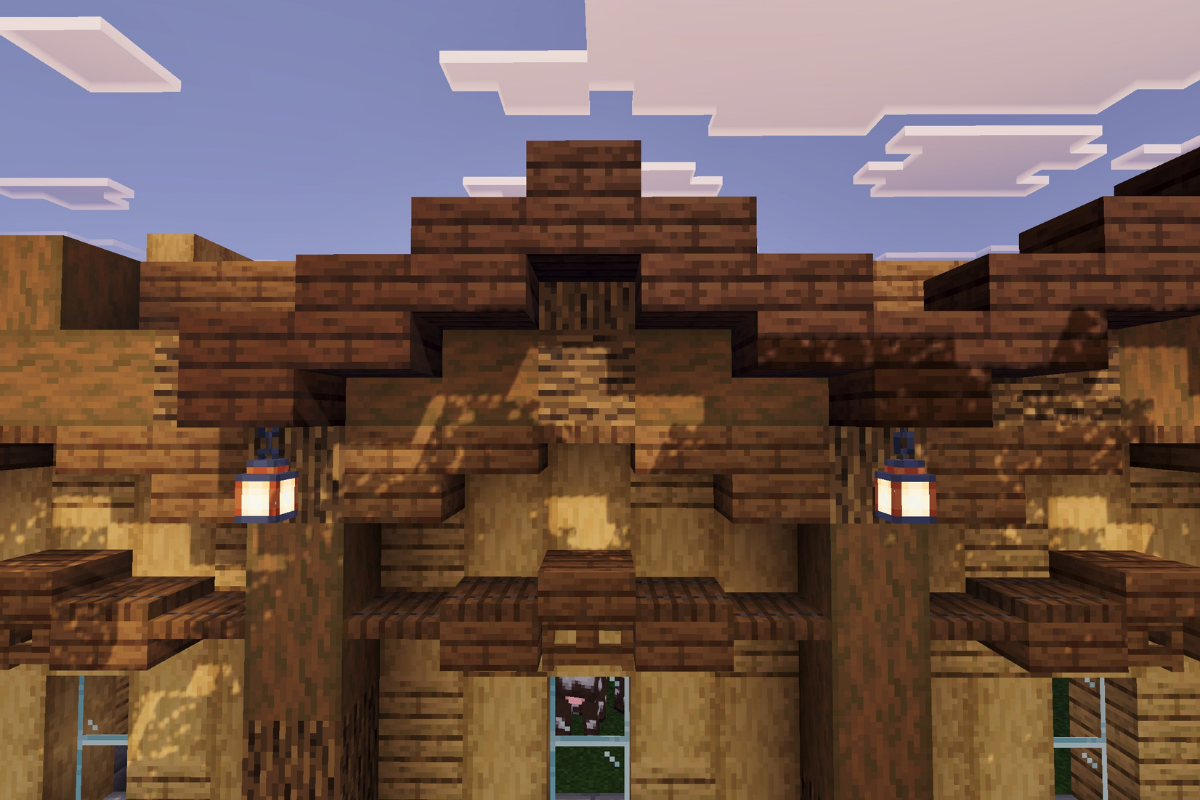
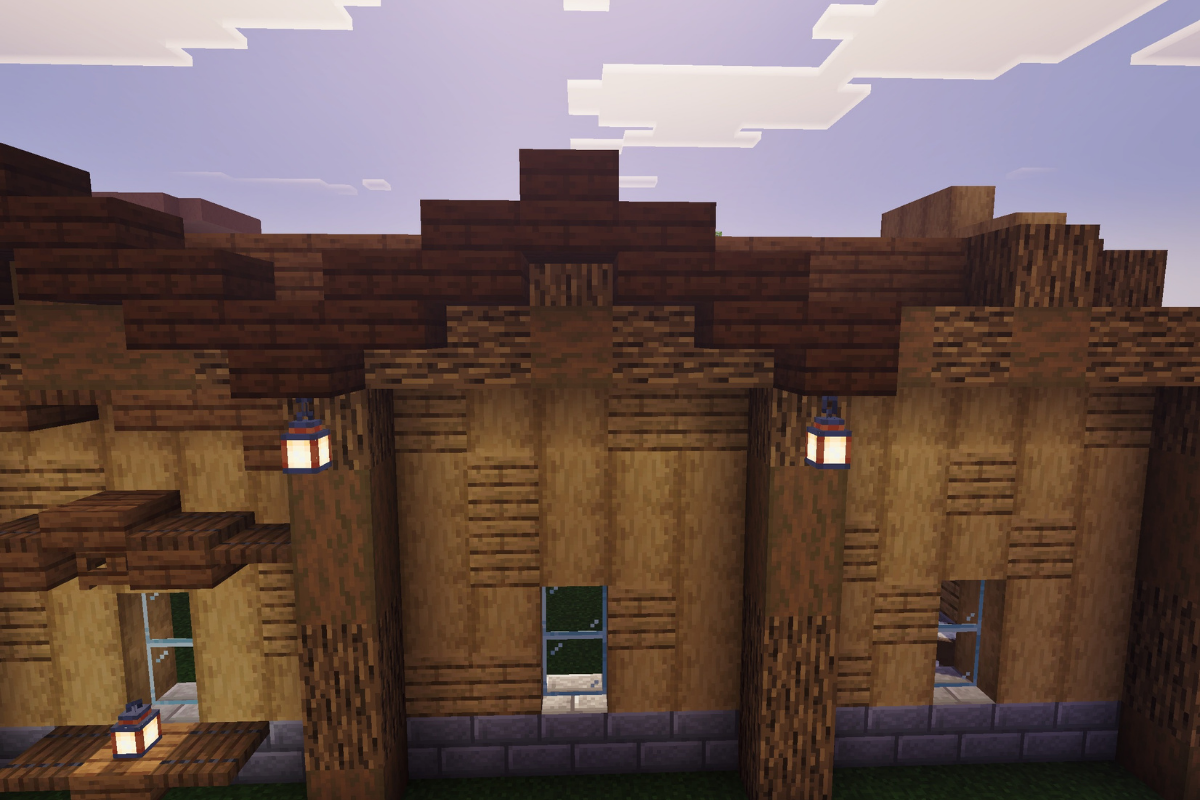
Recreate the roof trim with the other 3 windows.
STEP 22 / 235
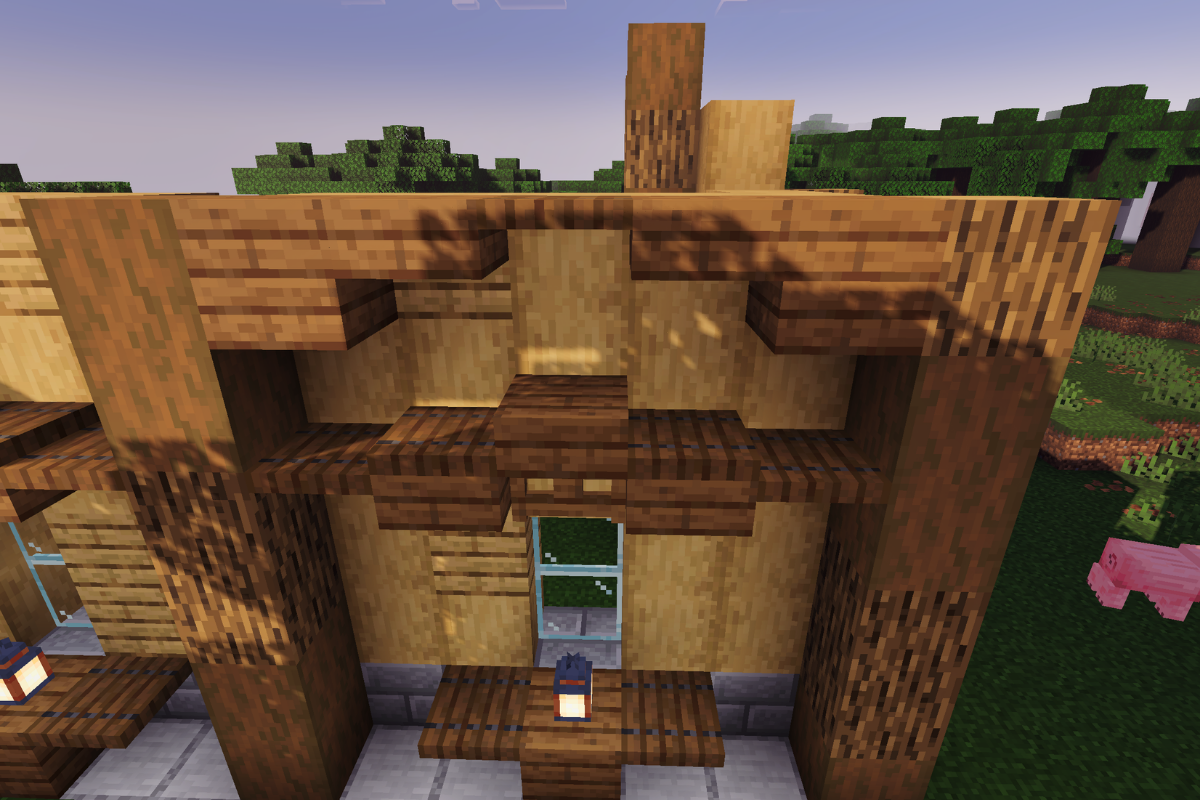
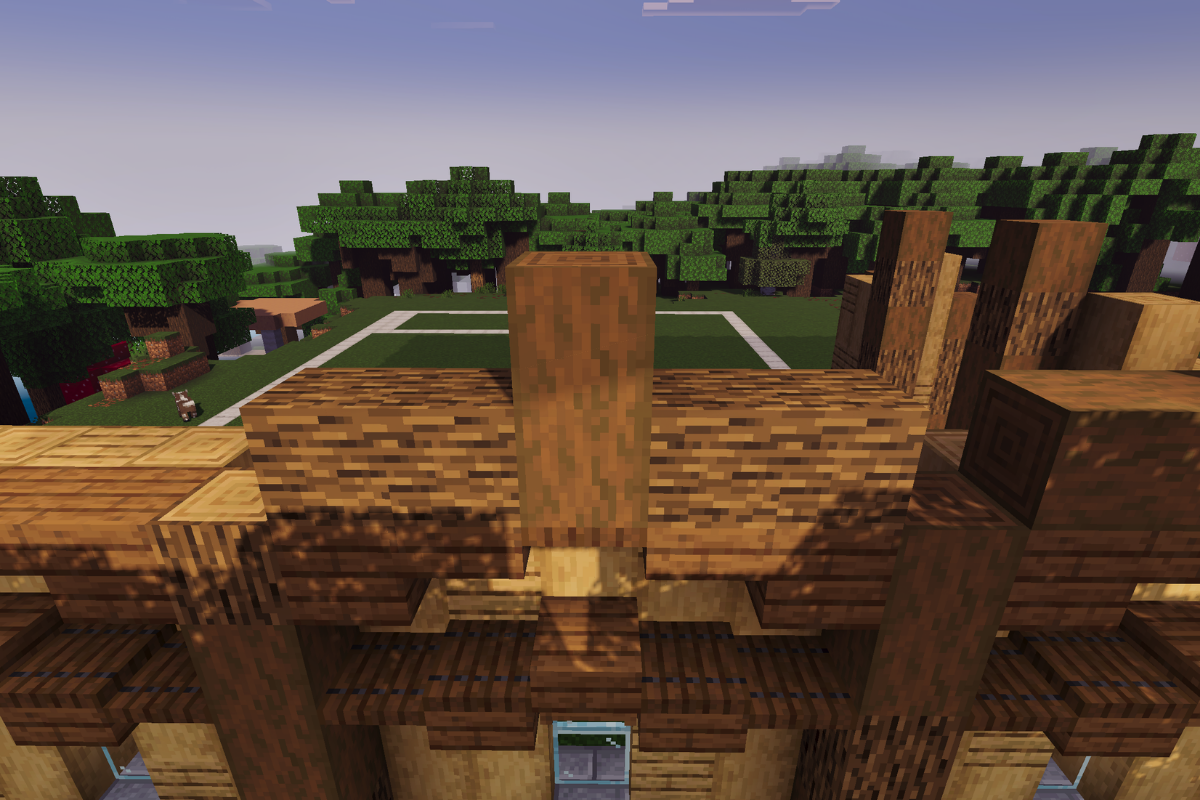
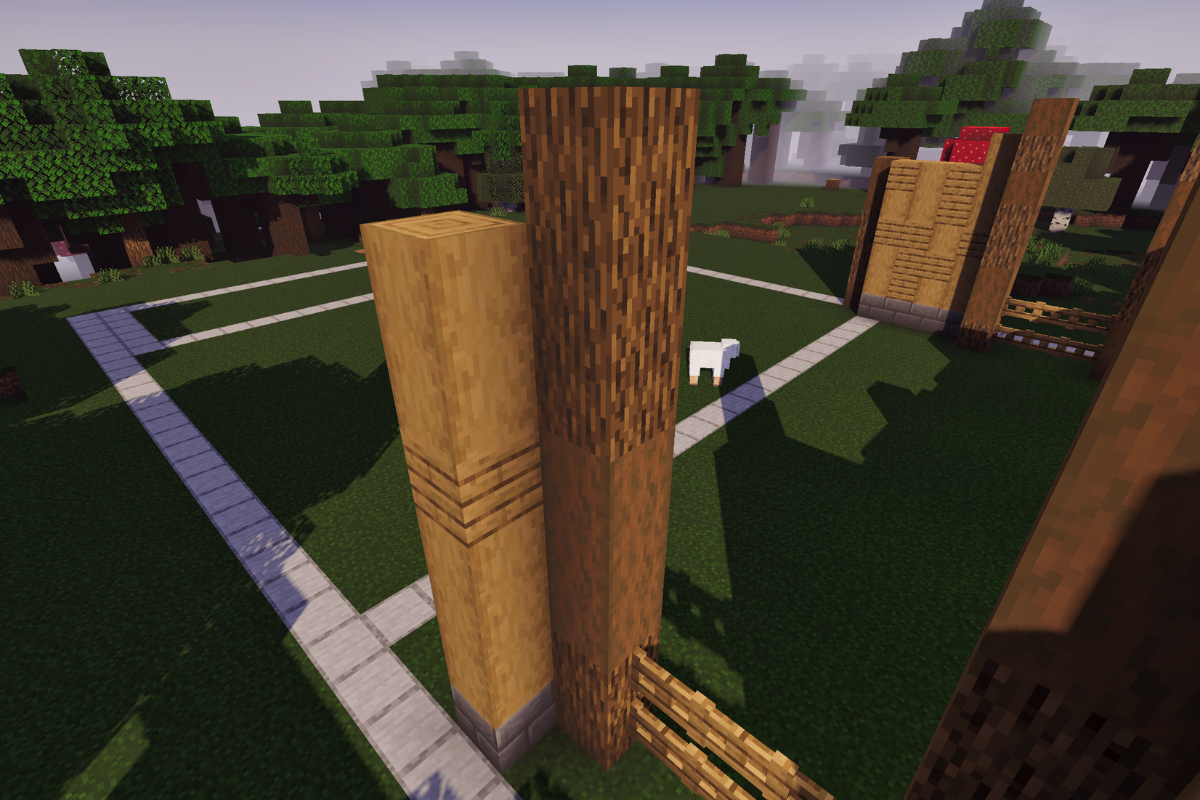
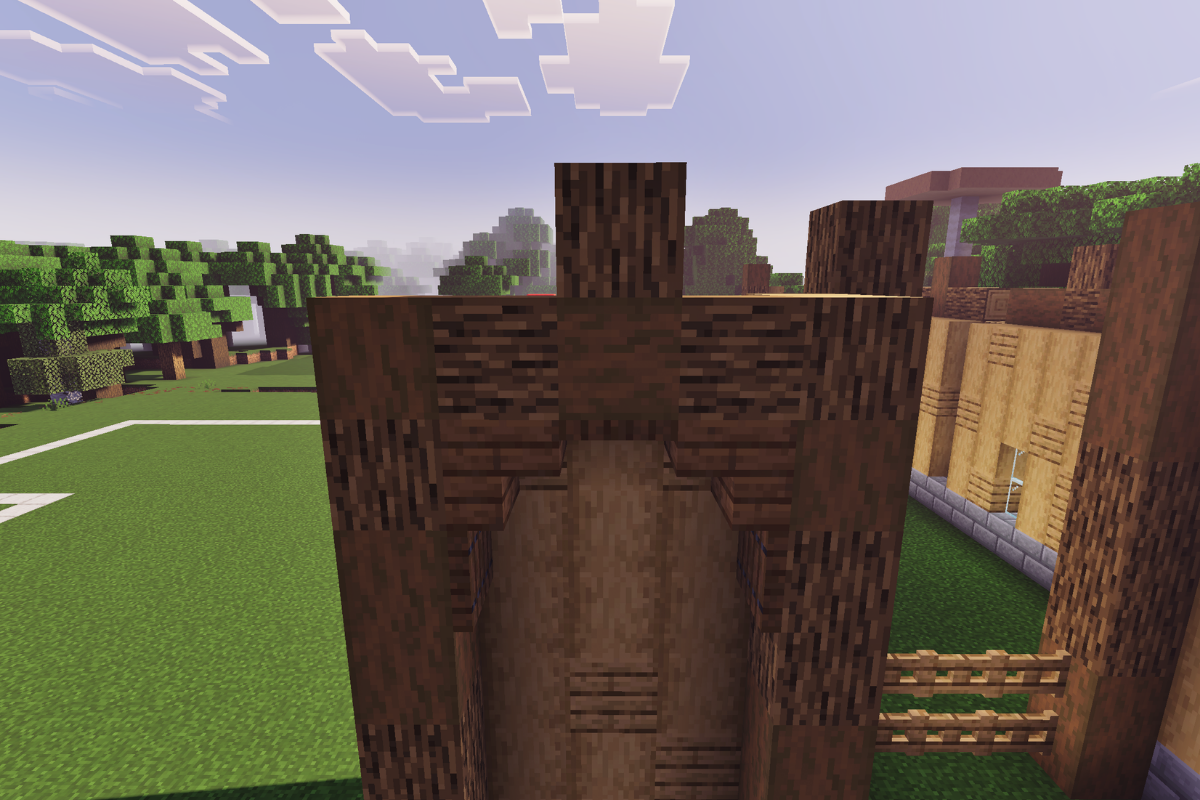
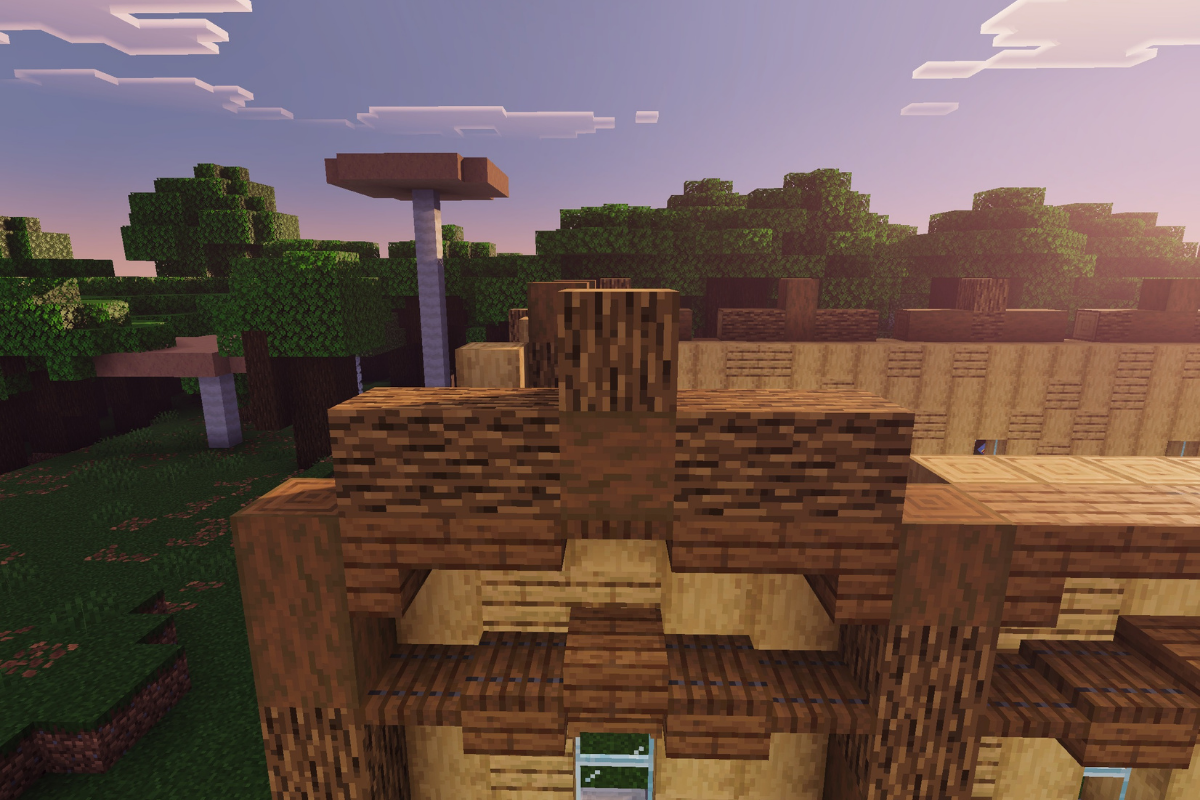
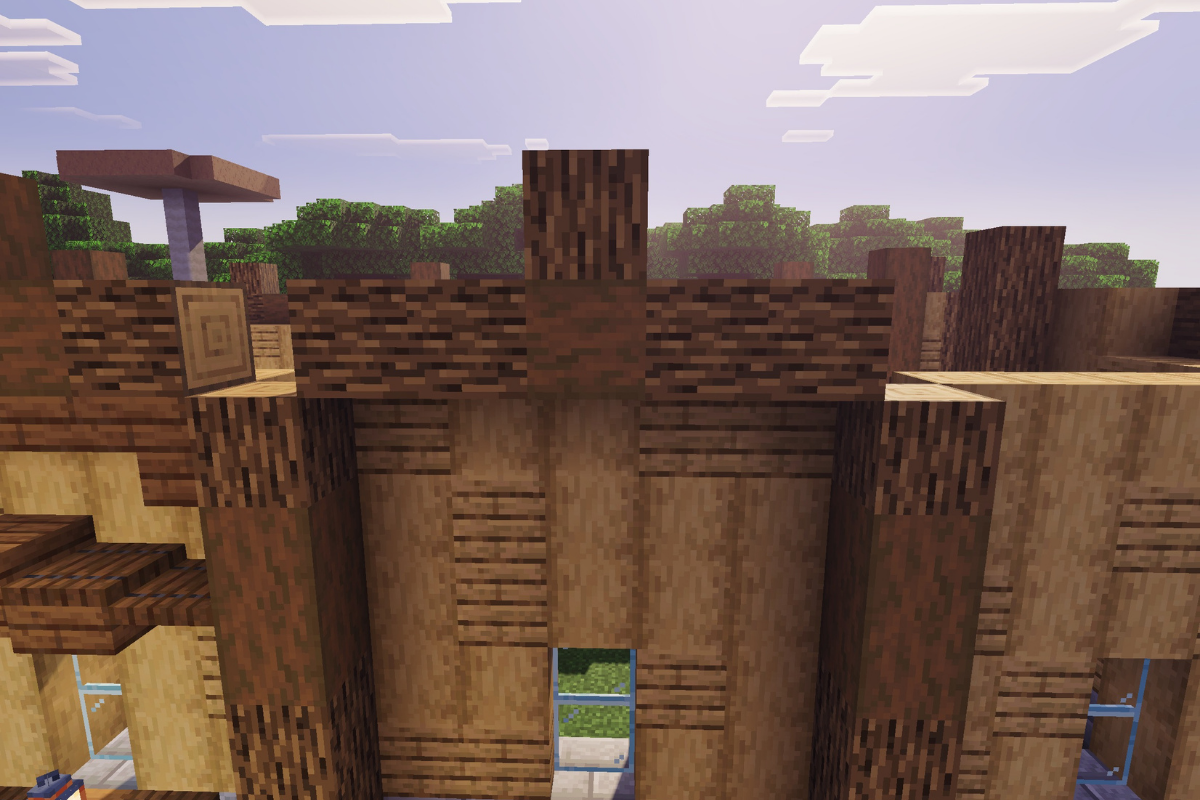
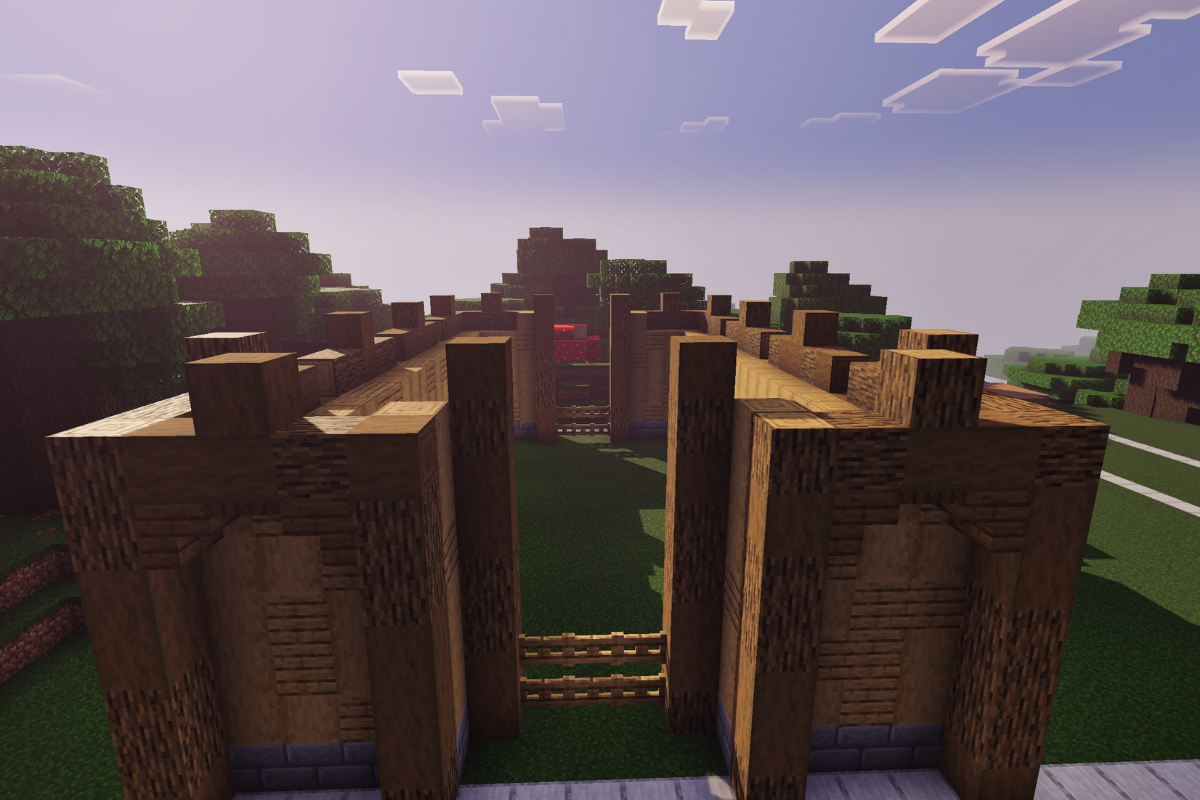
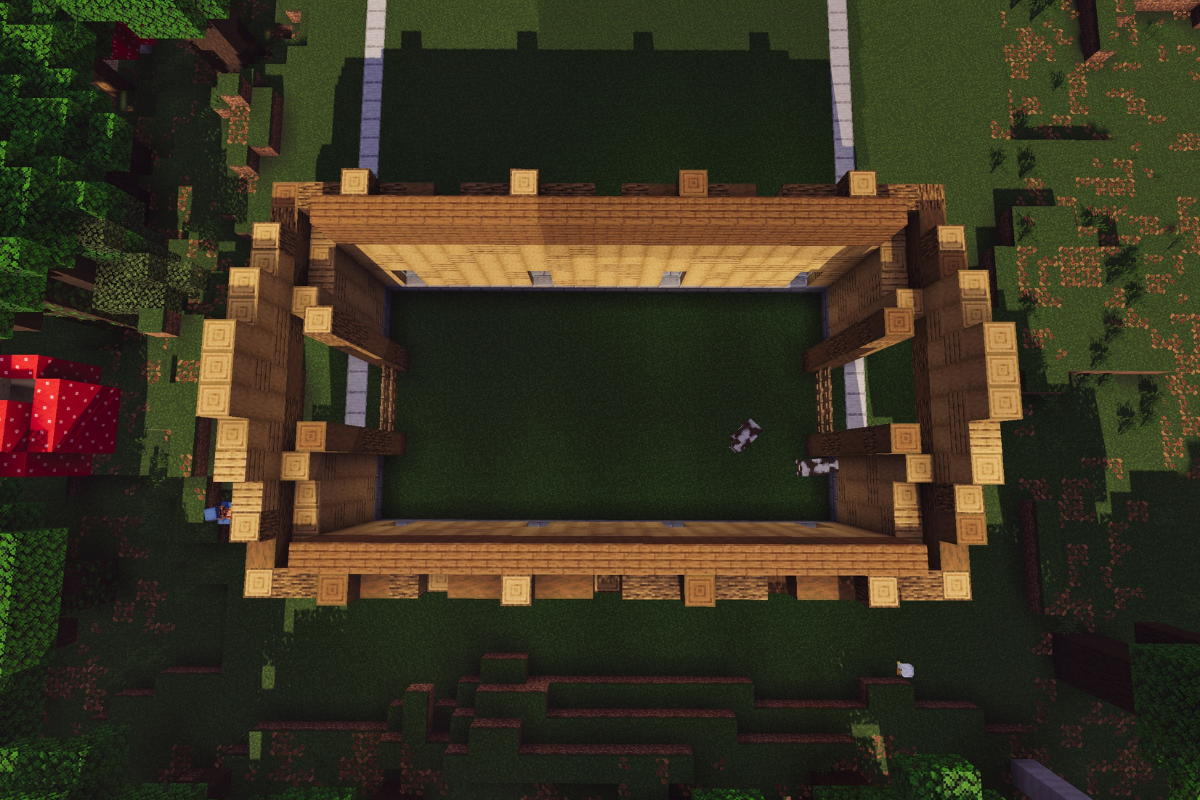
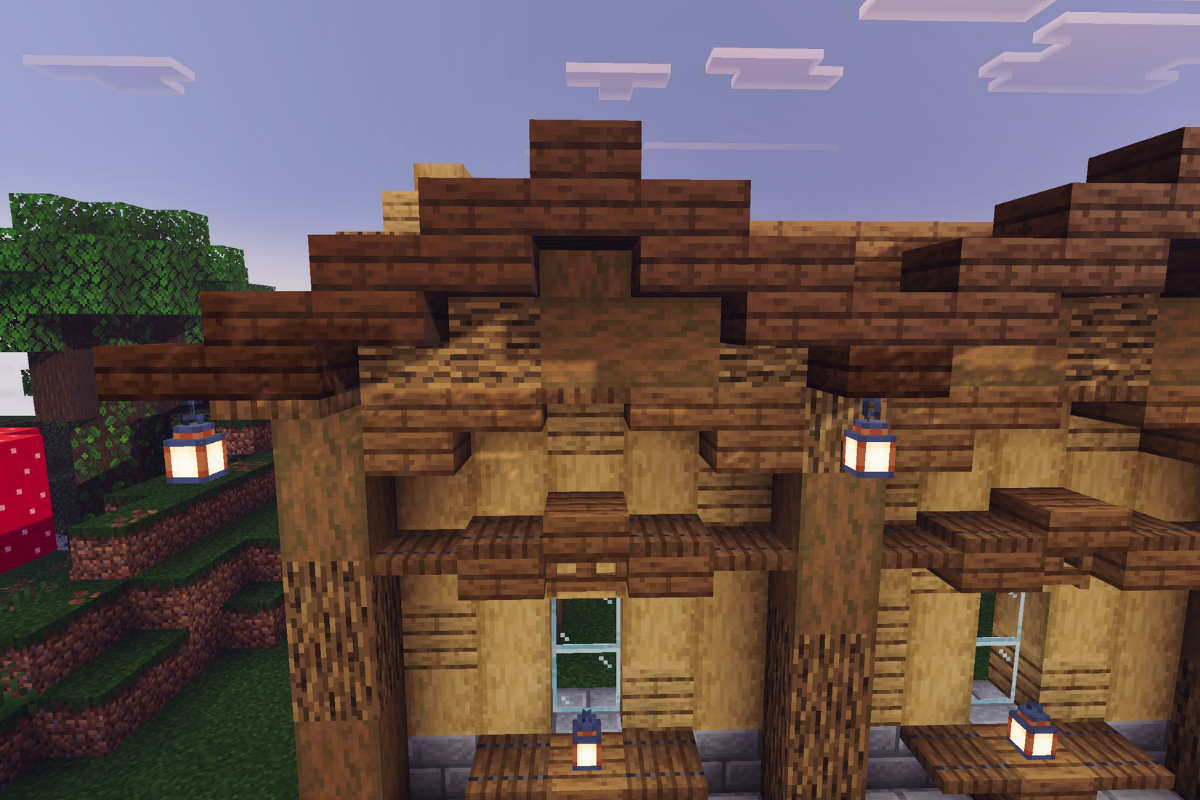
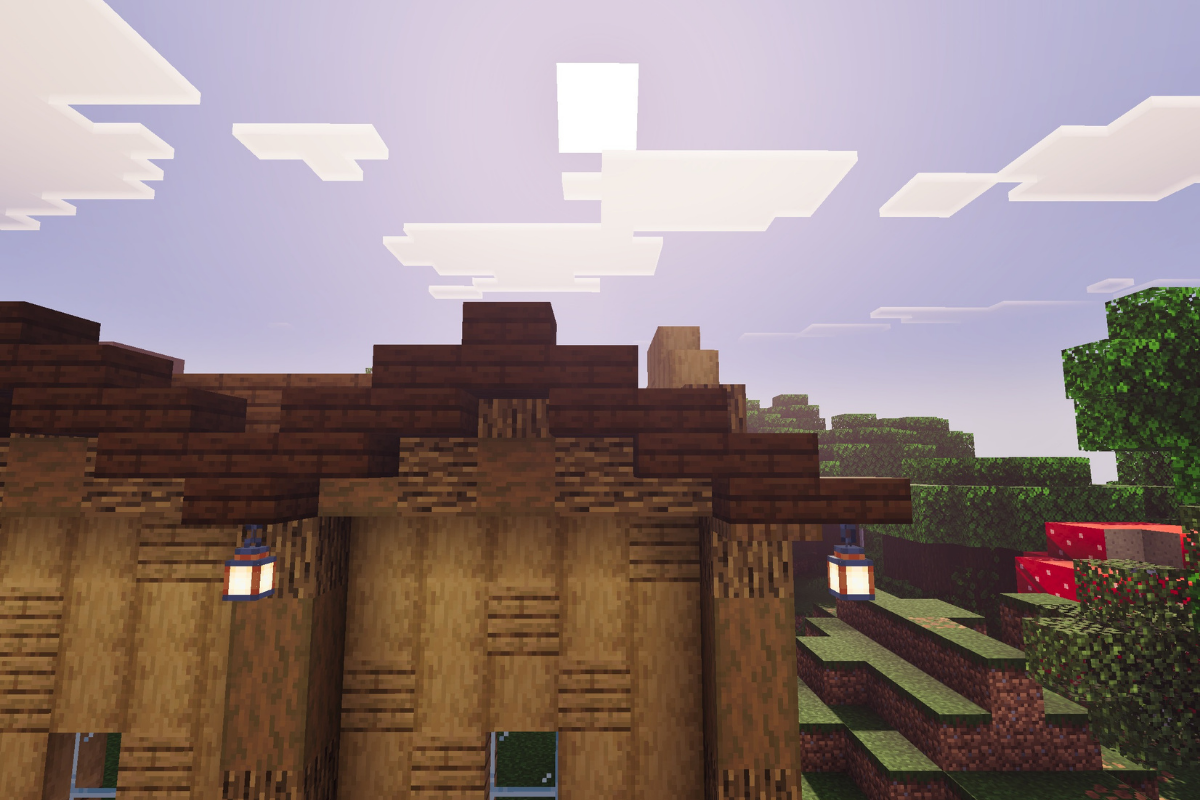
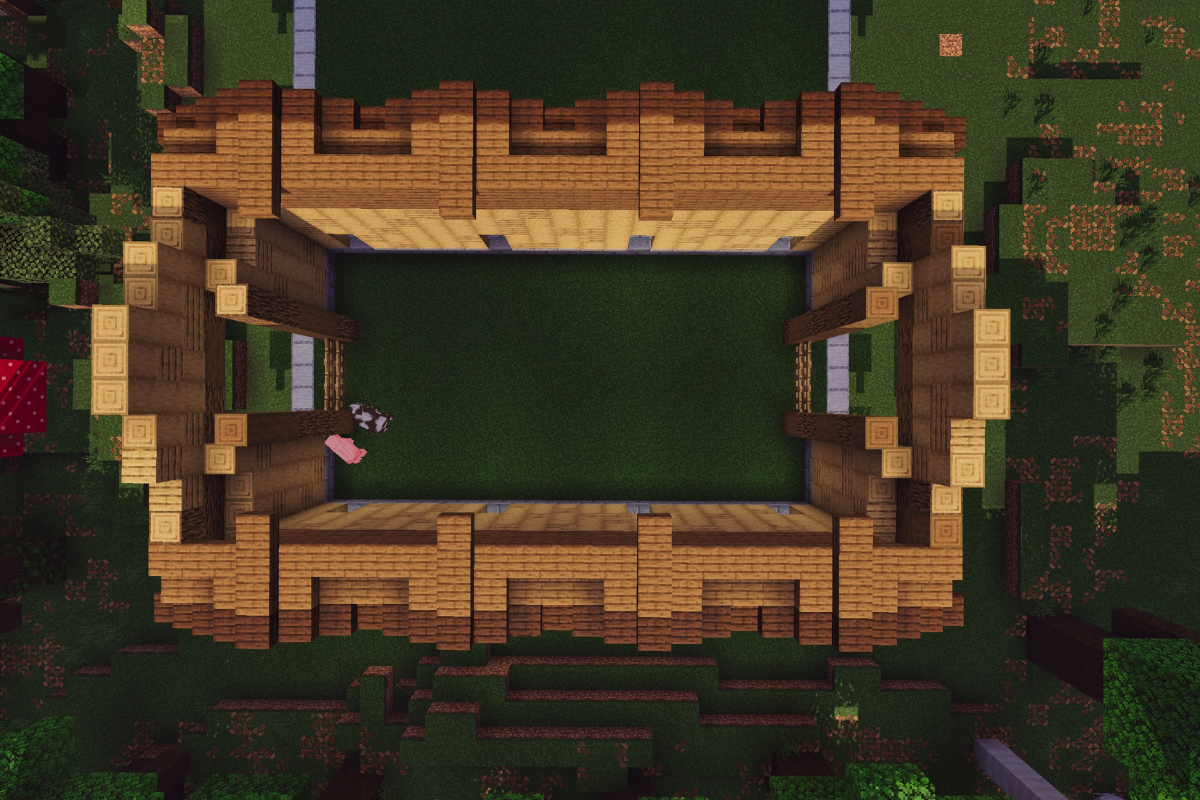
Add the first roof support, with oak and spruce logs.
STEP 23 / 235
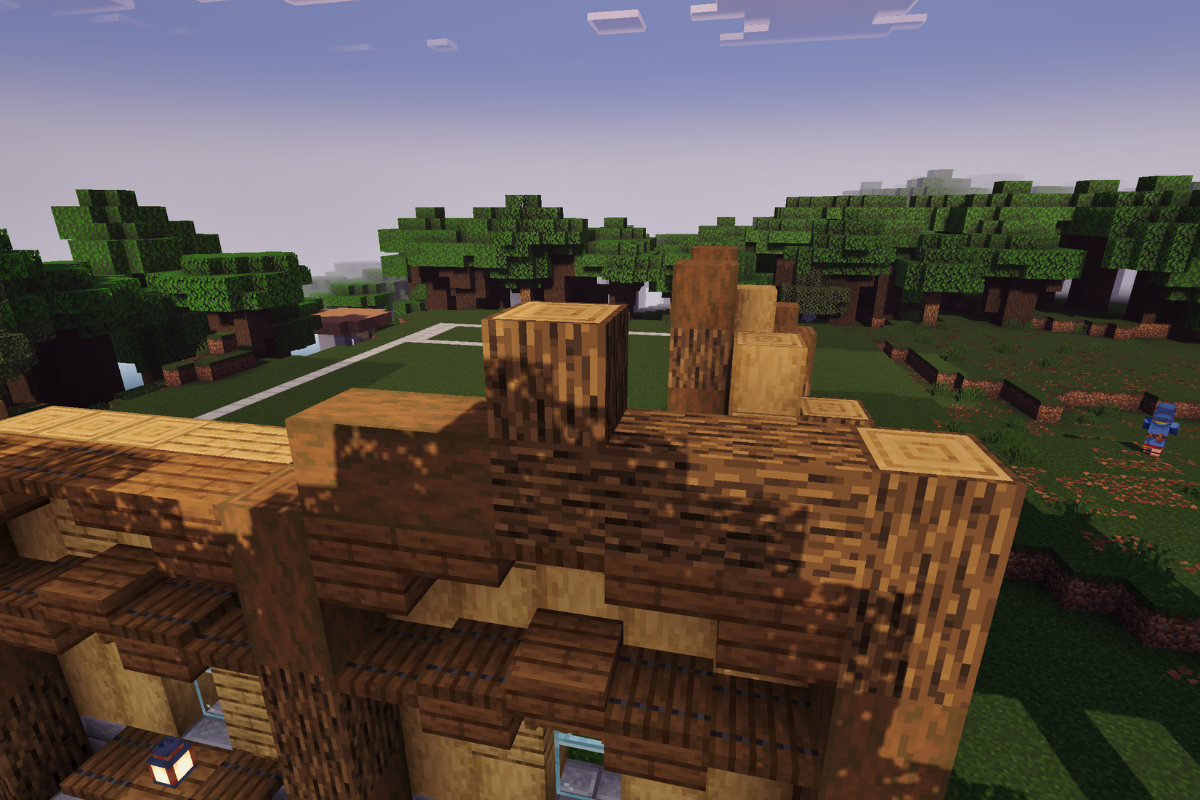
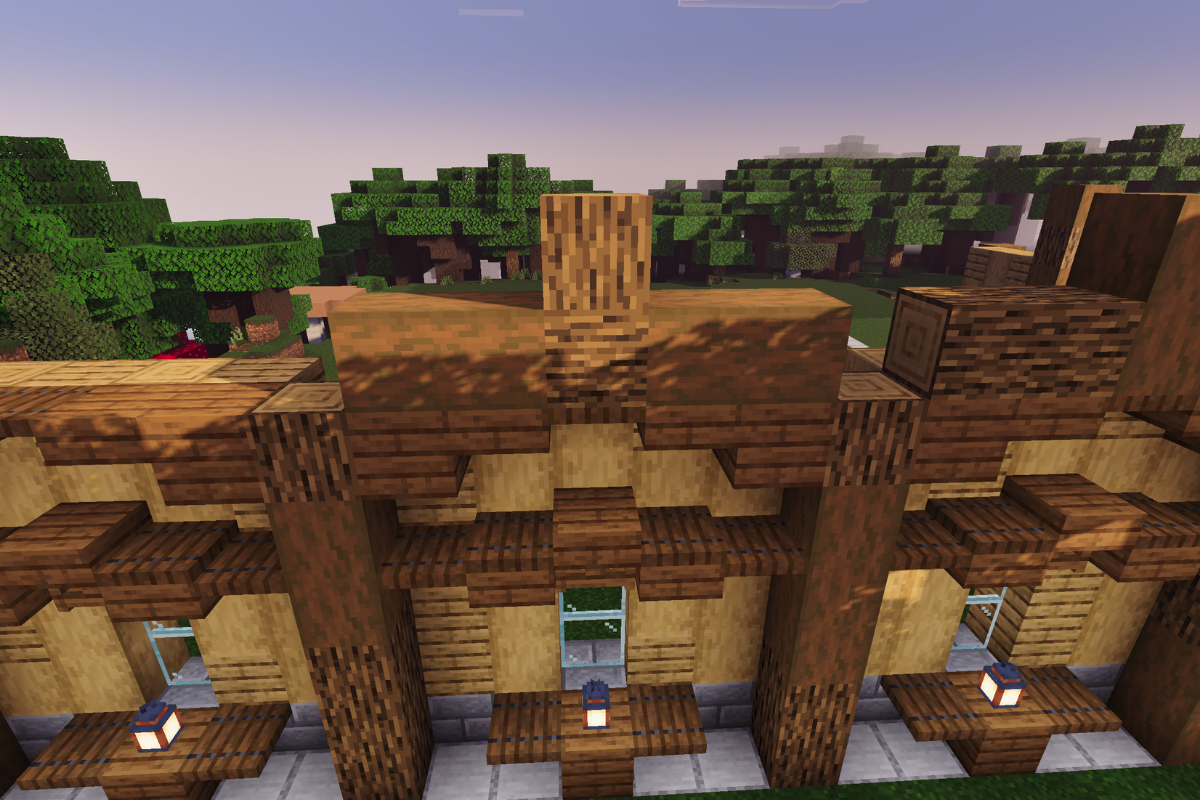
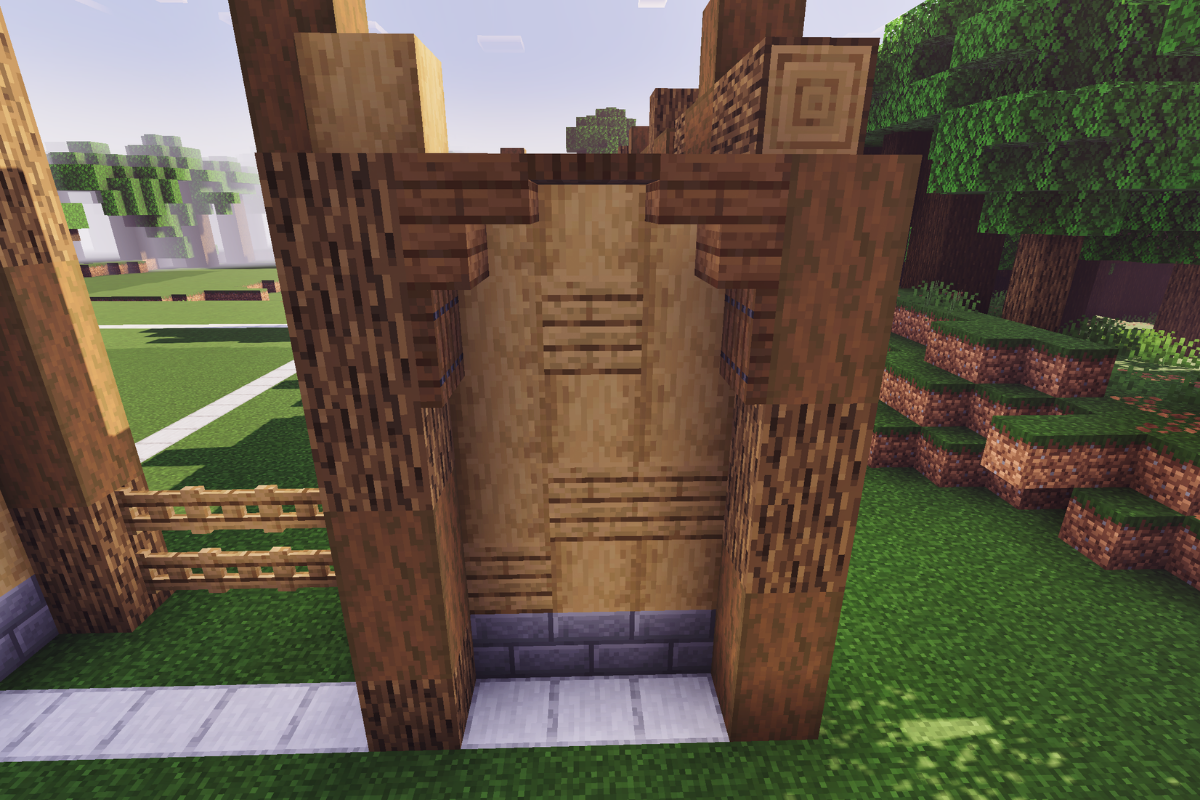
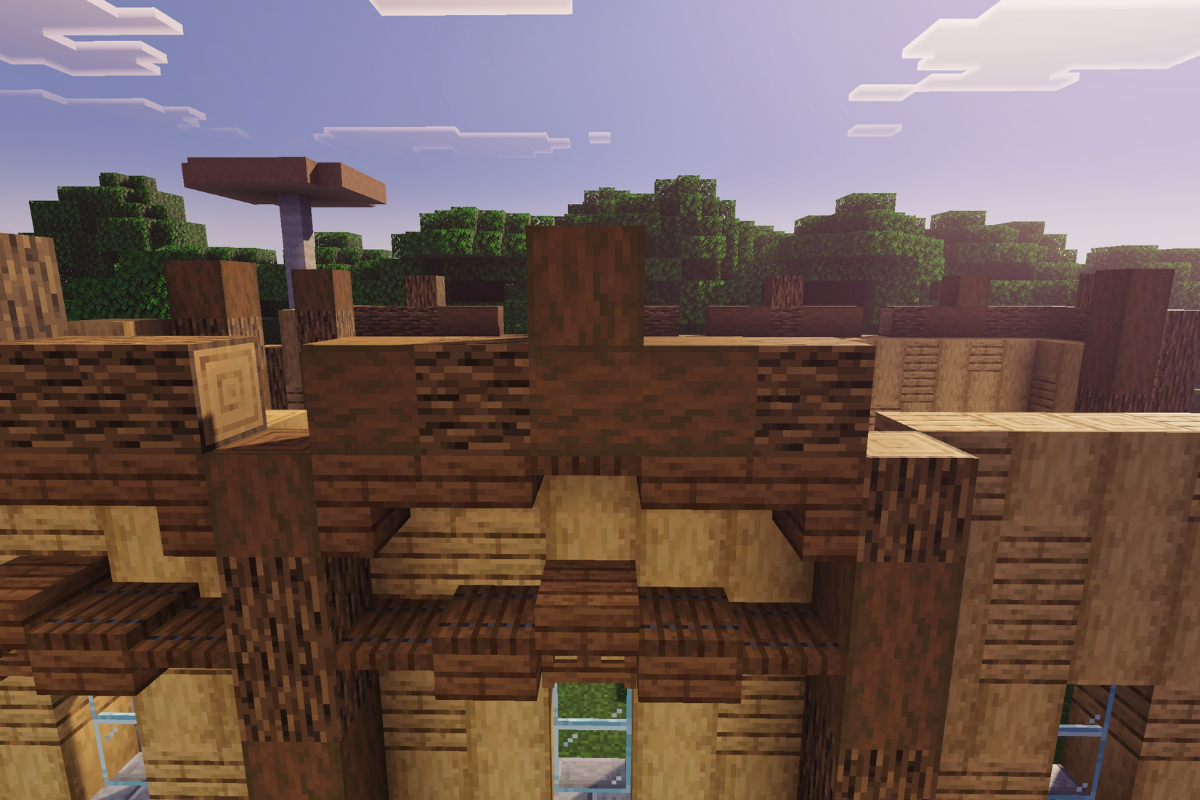
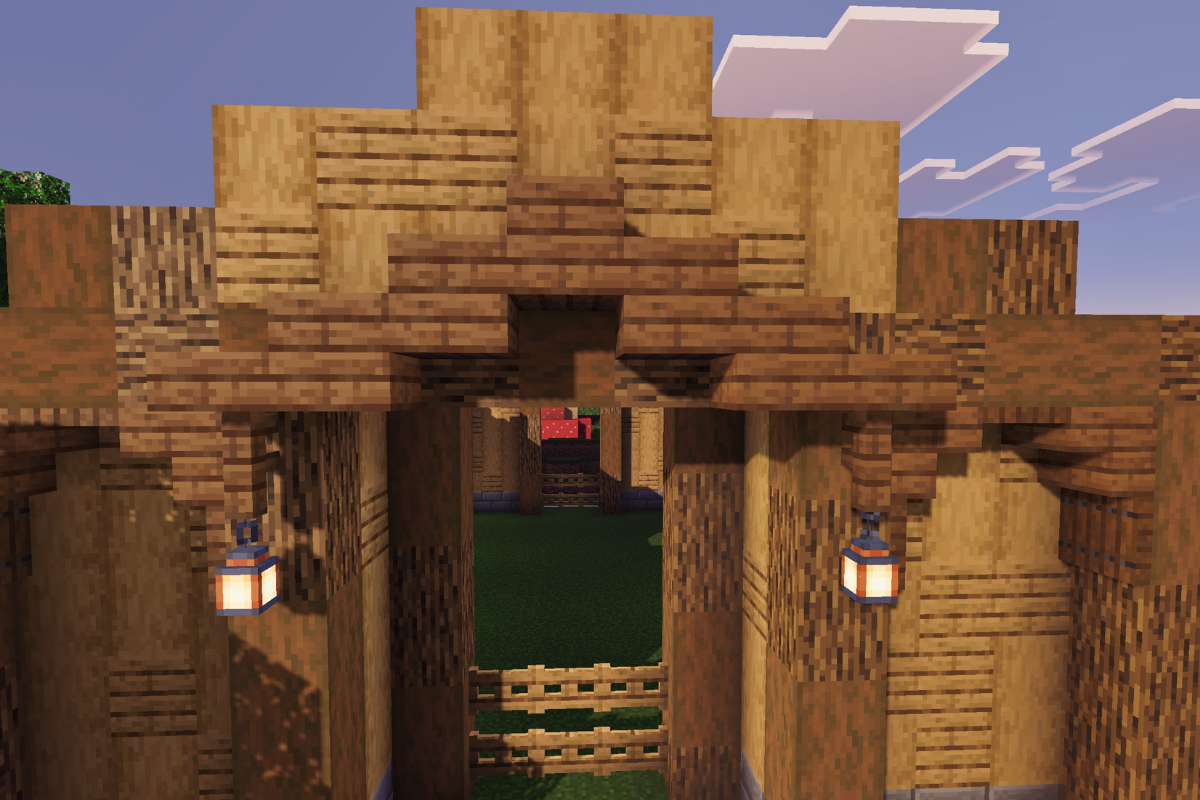
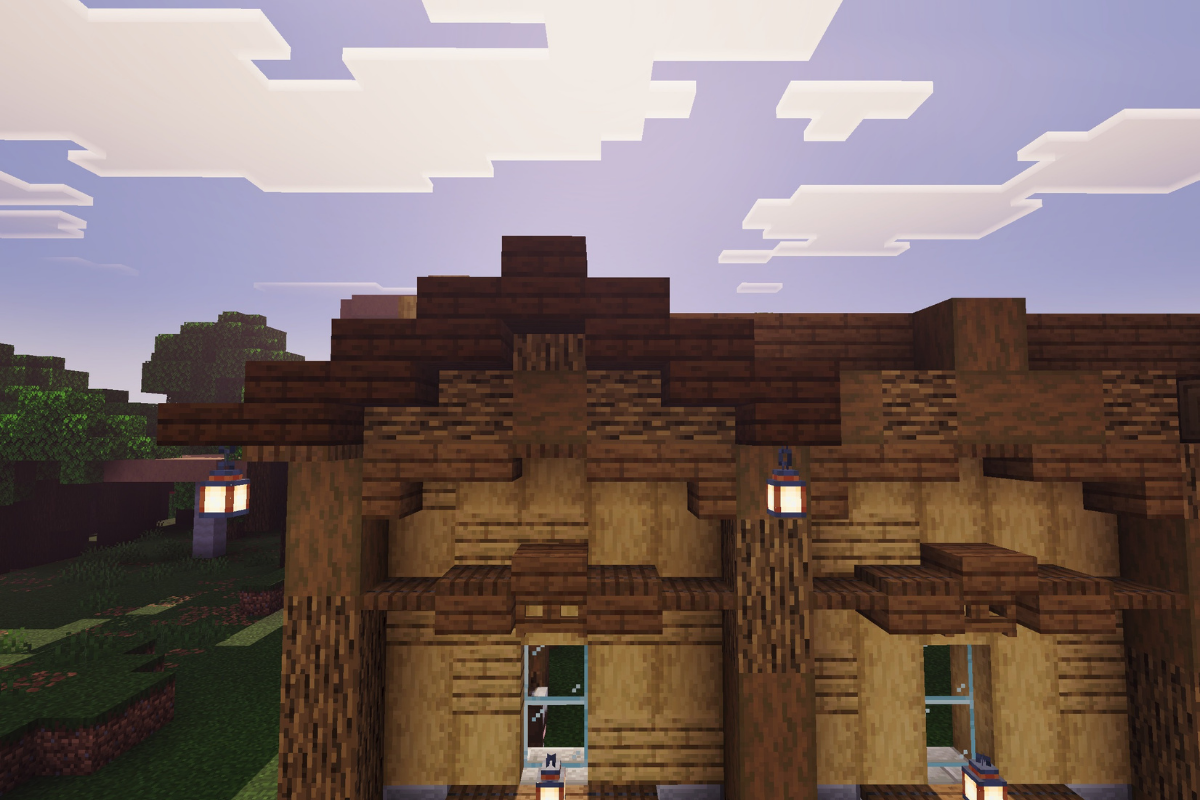
Add the second roof support, with oak and spruce logs.
STEP 24 / 235
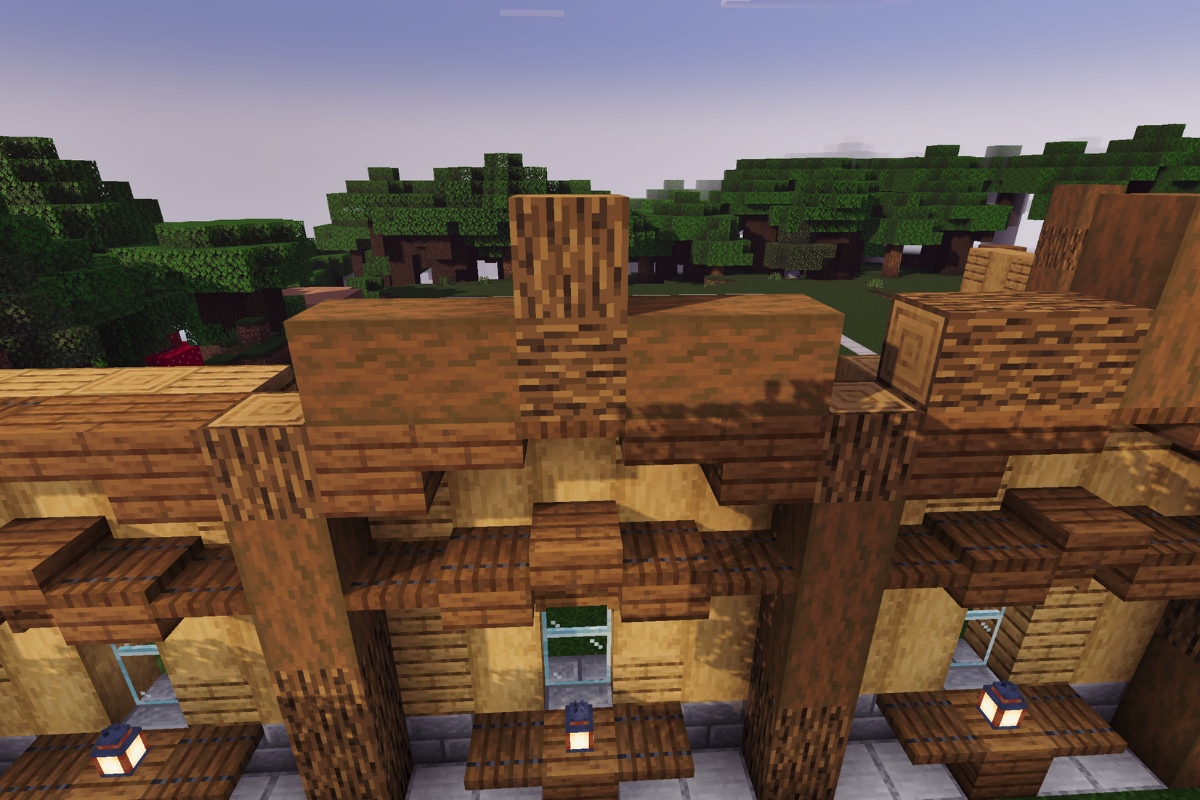
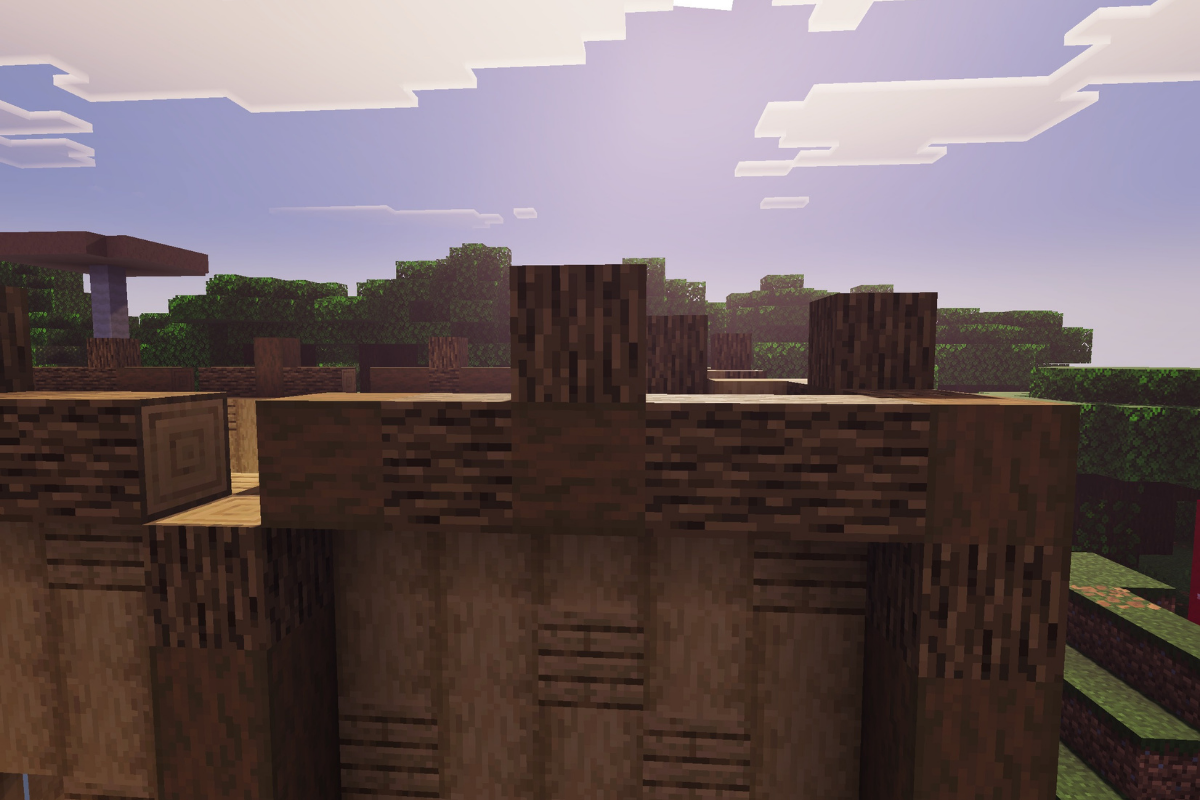
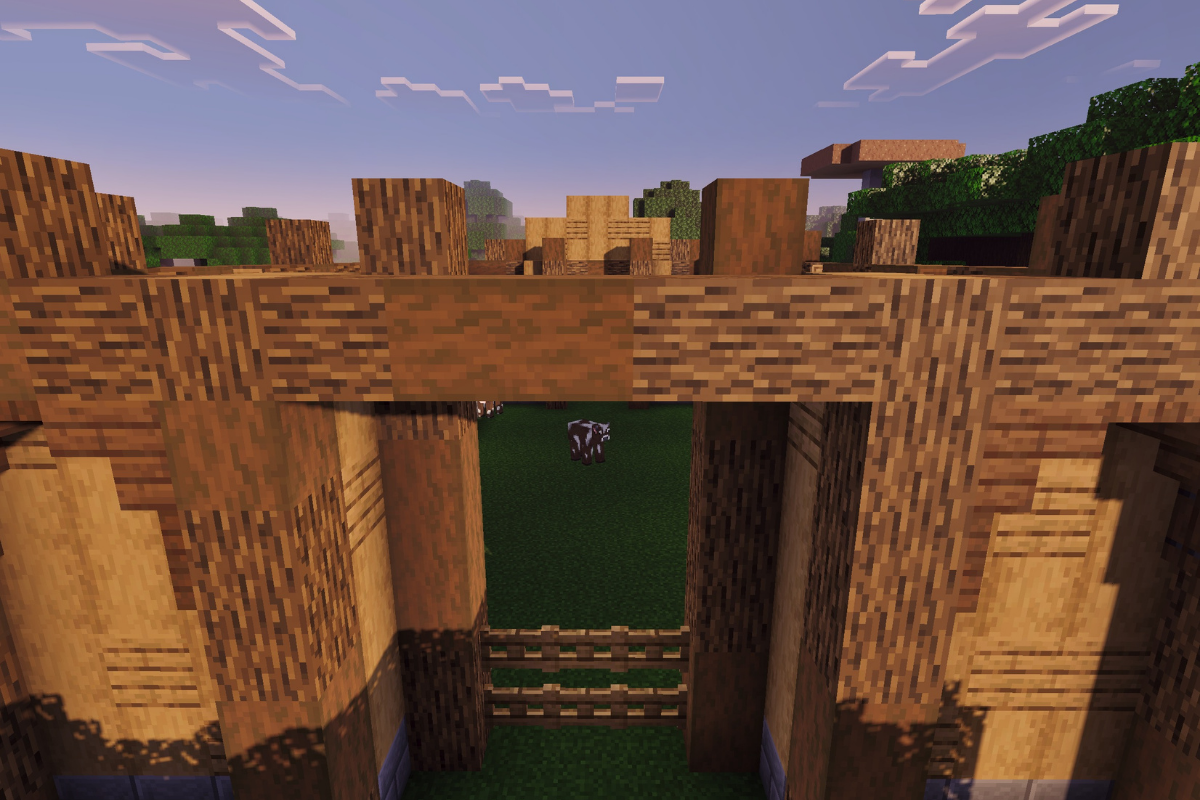
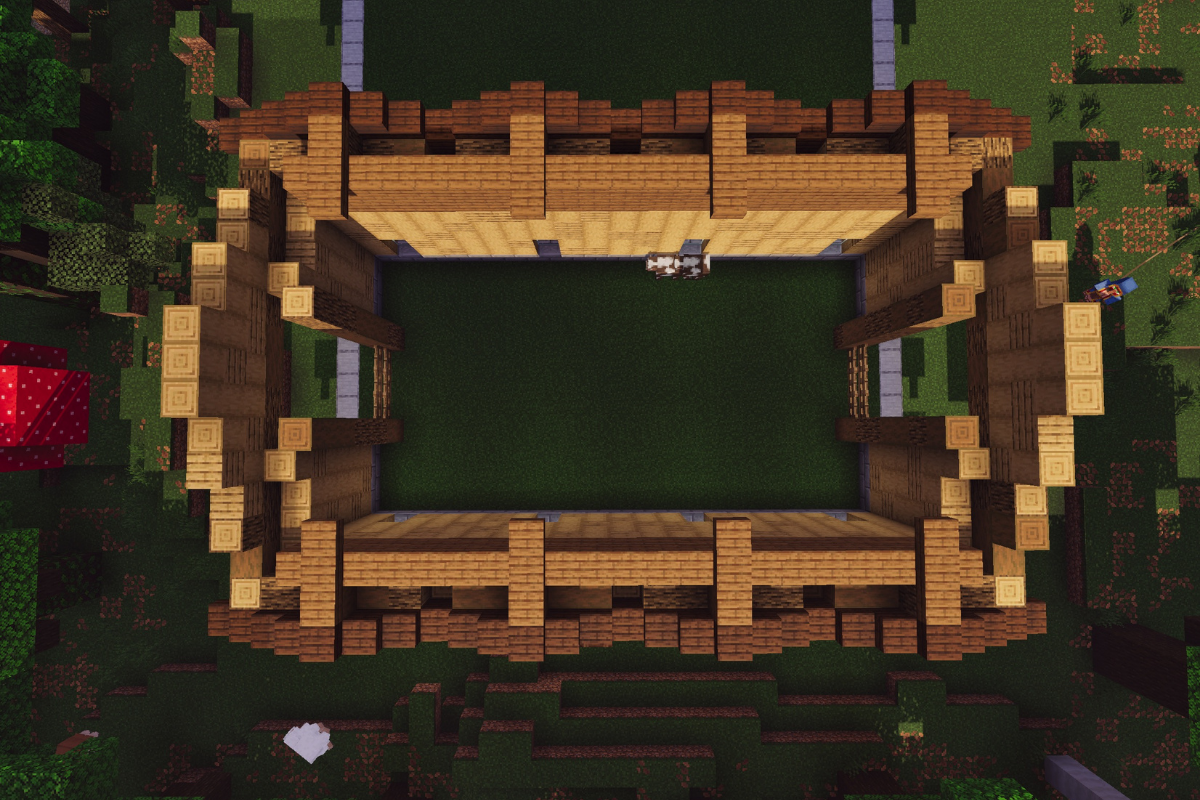
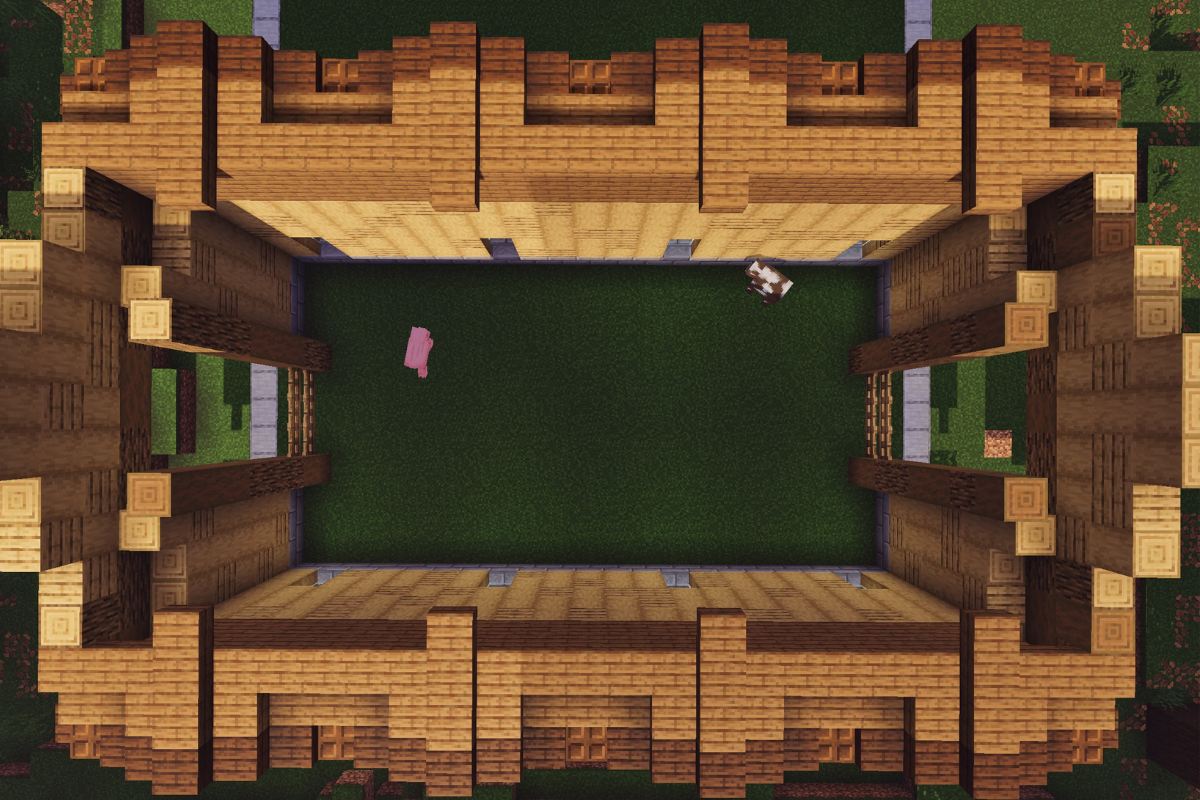
Add the third roof support, with oak and spruce logs.
STEP 25 / 235
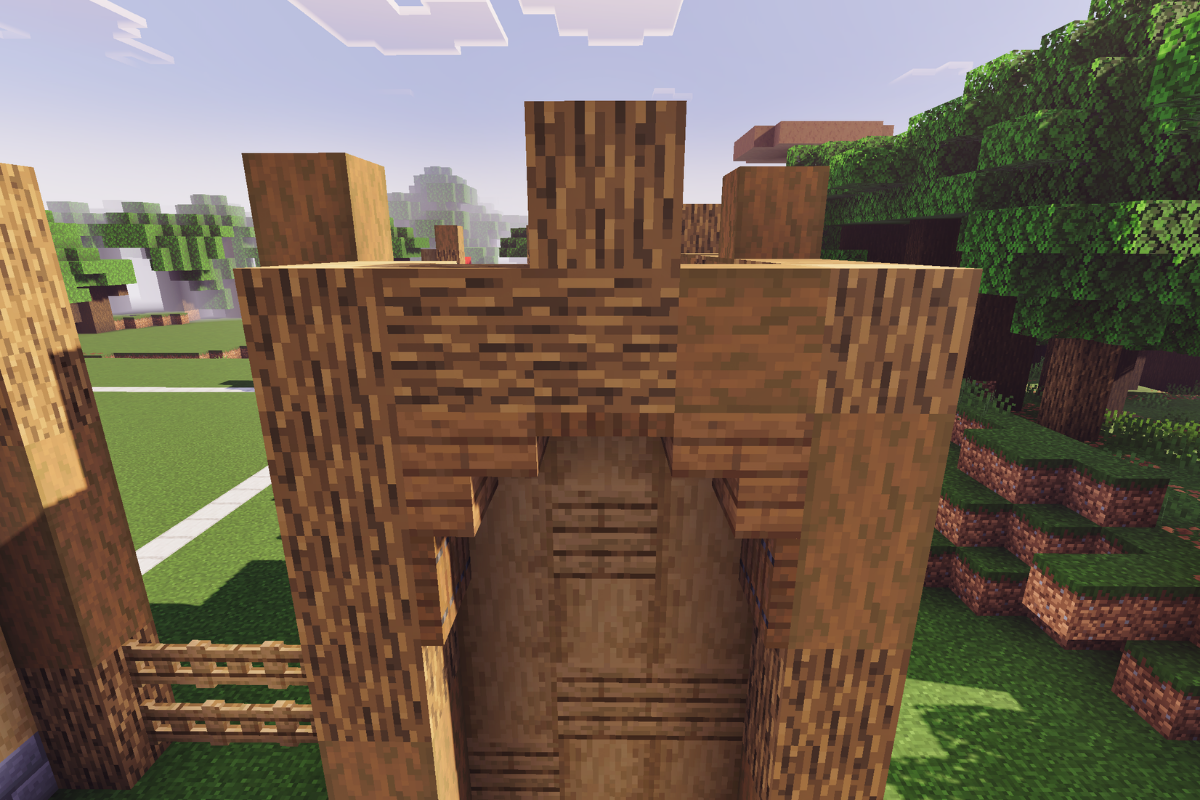
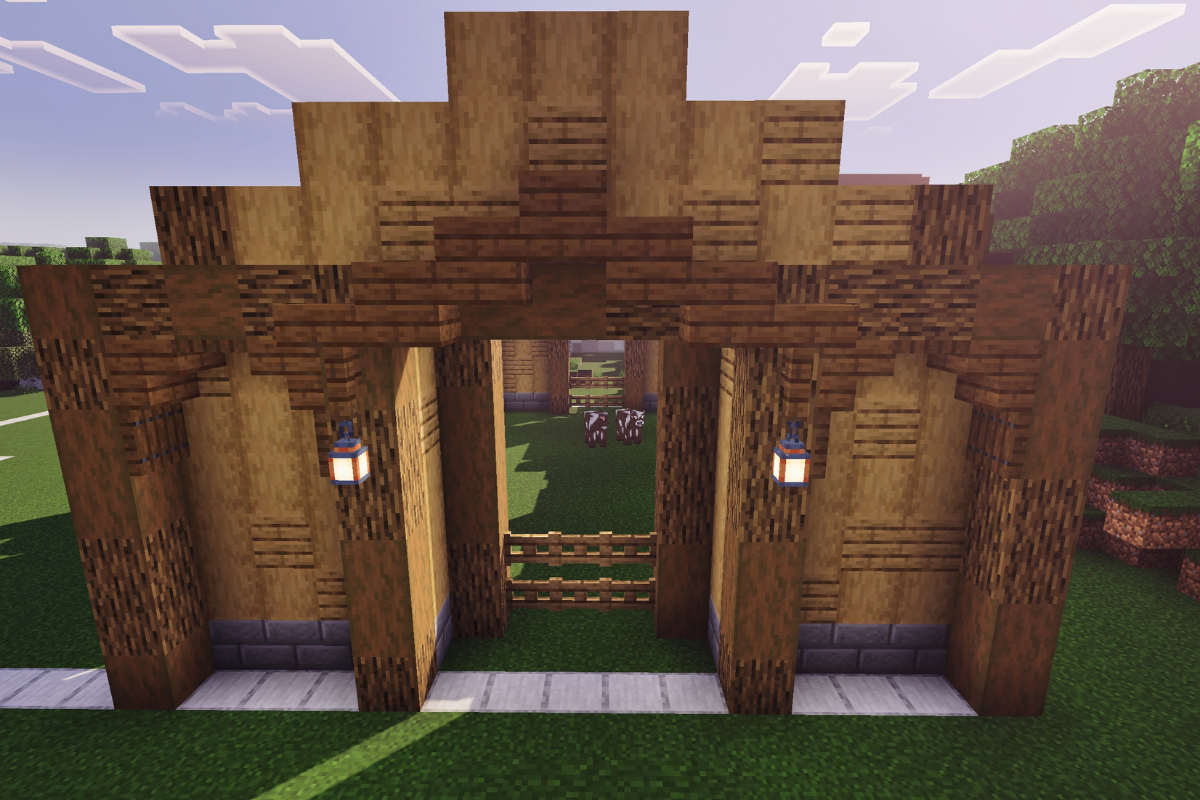
Add the Fourth roof support, with oak and spruce logs
STEP 26 / 235
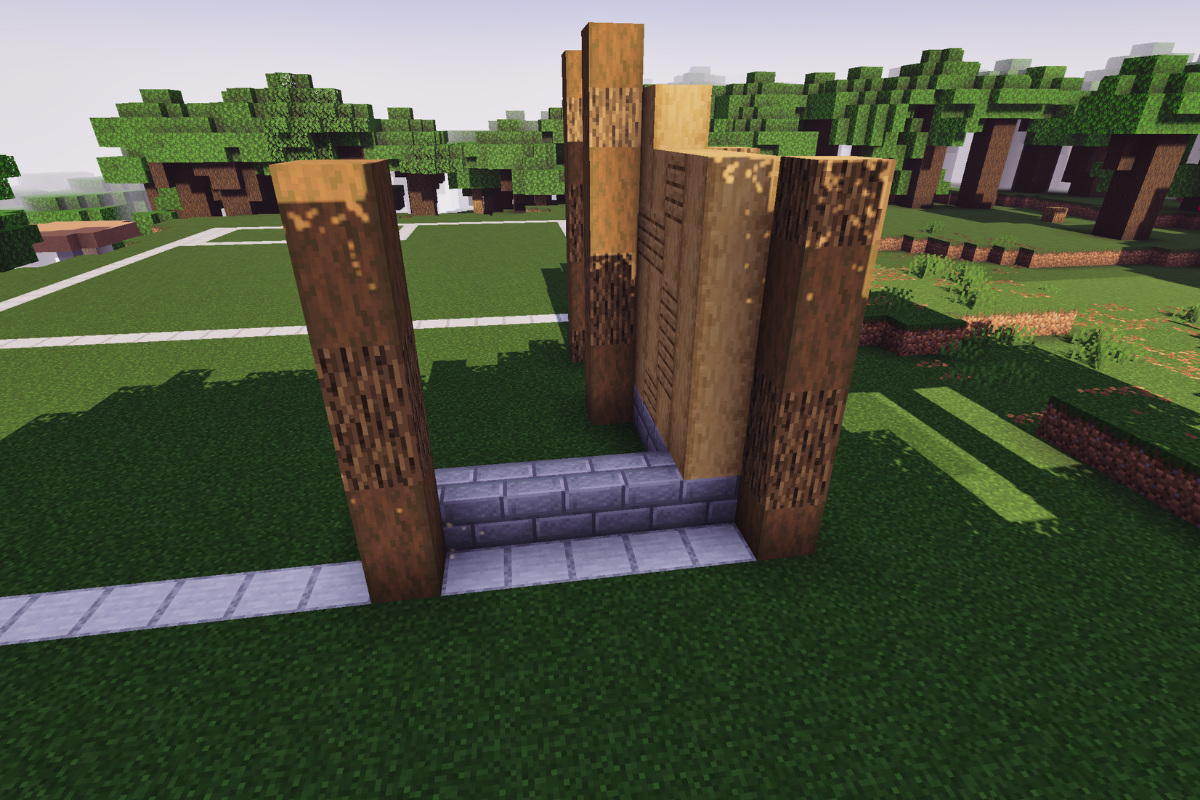
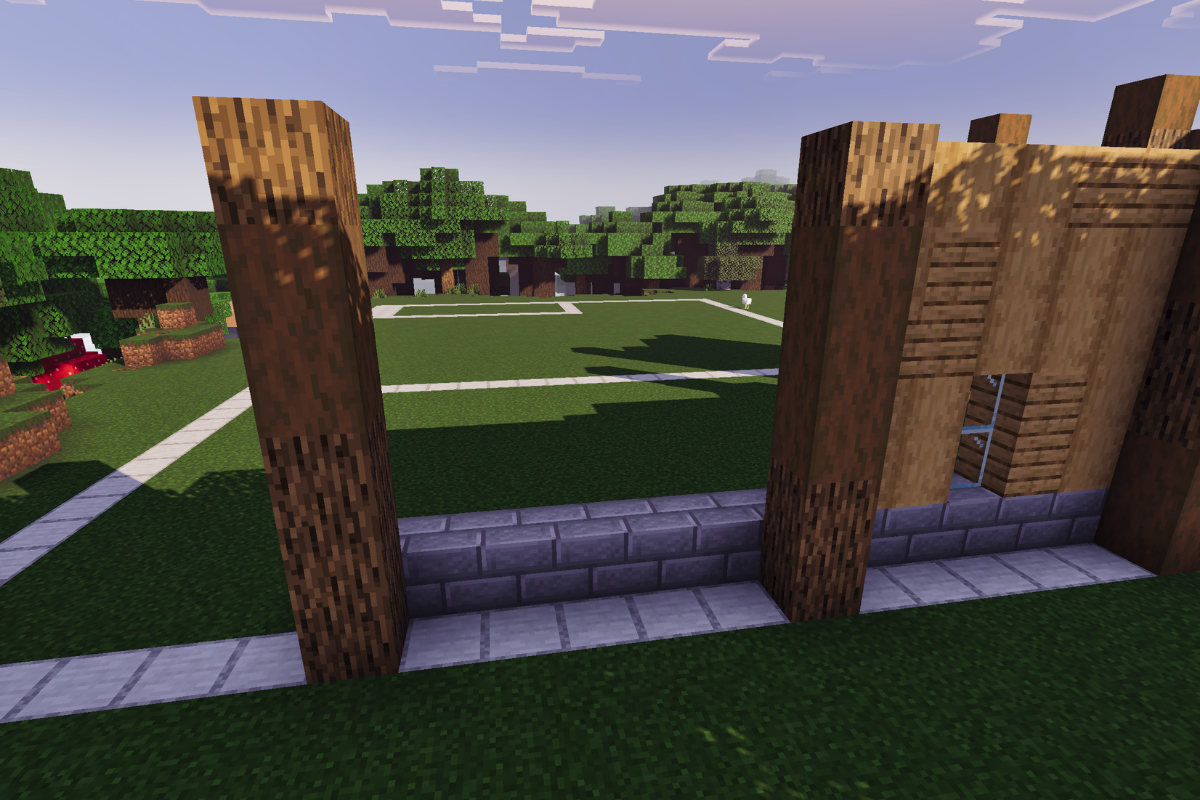
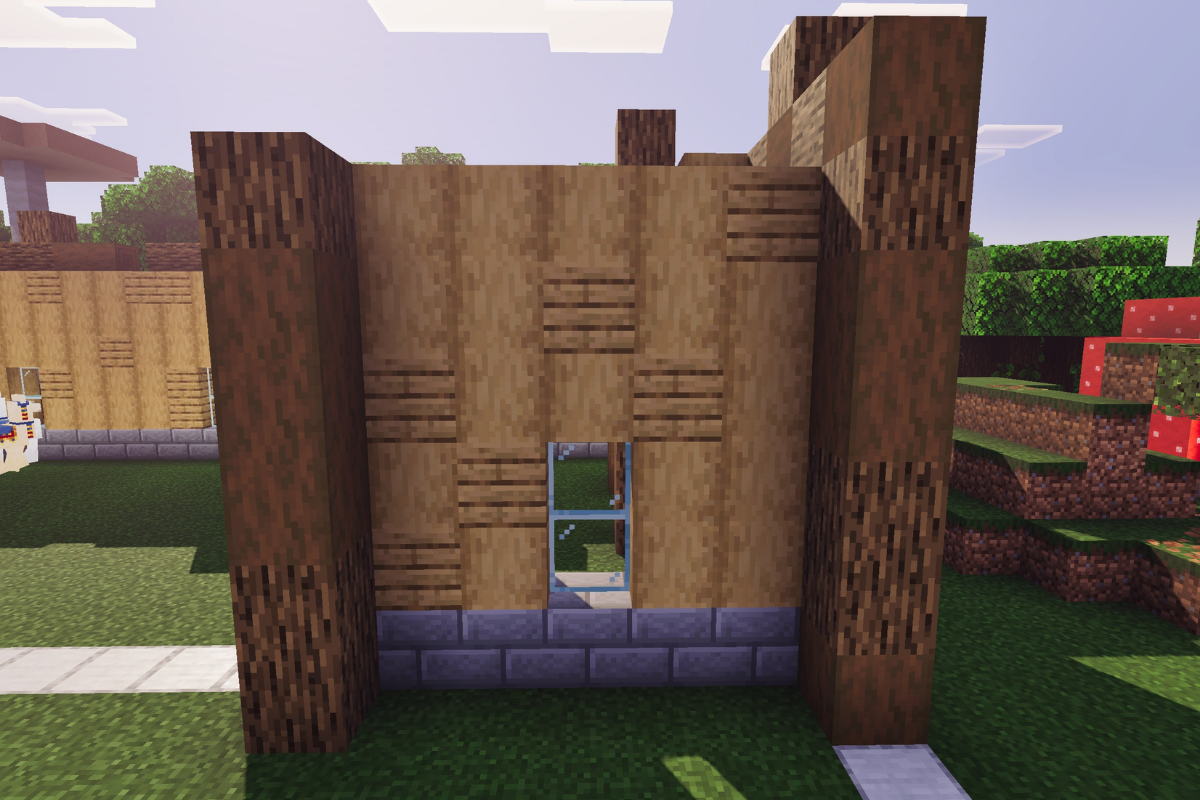
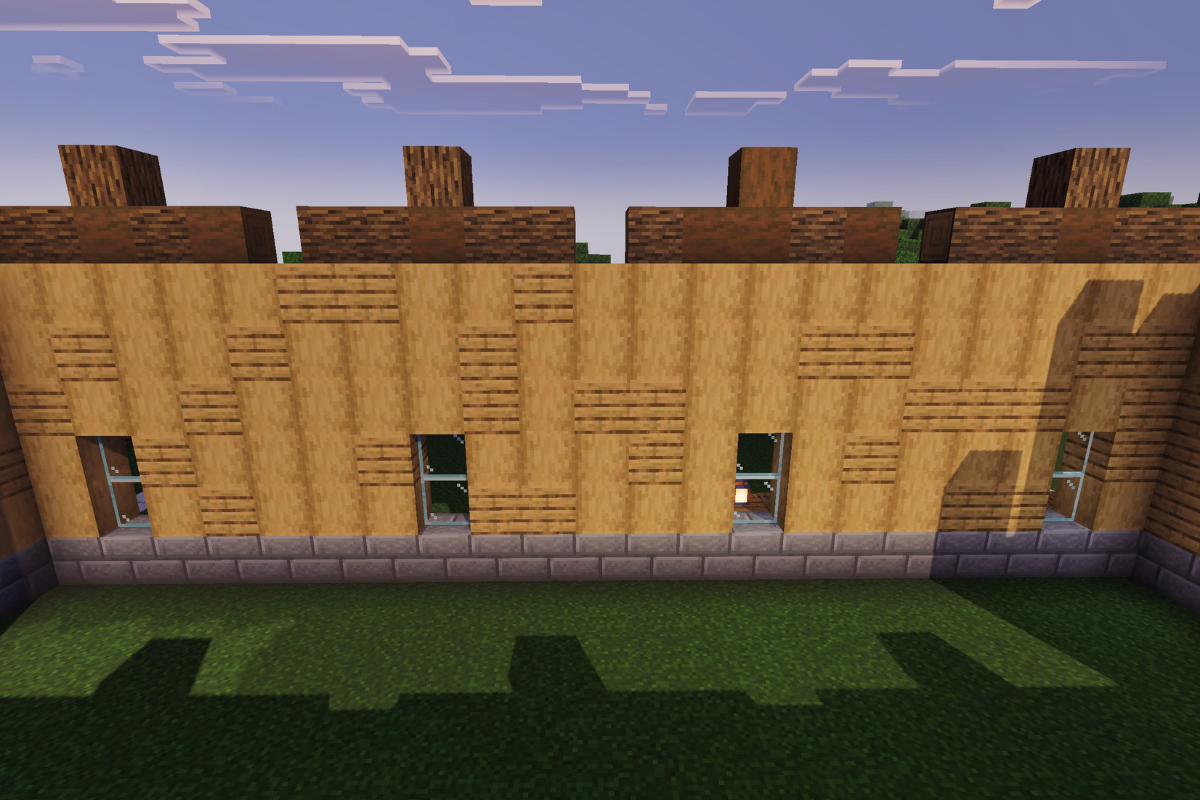
Add stone brick base and textured pillar six block high
STEP 27 / 235
Add the textured wall between both posts
STEP 28 / 235
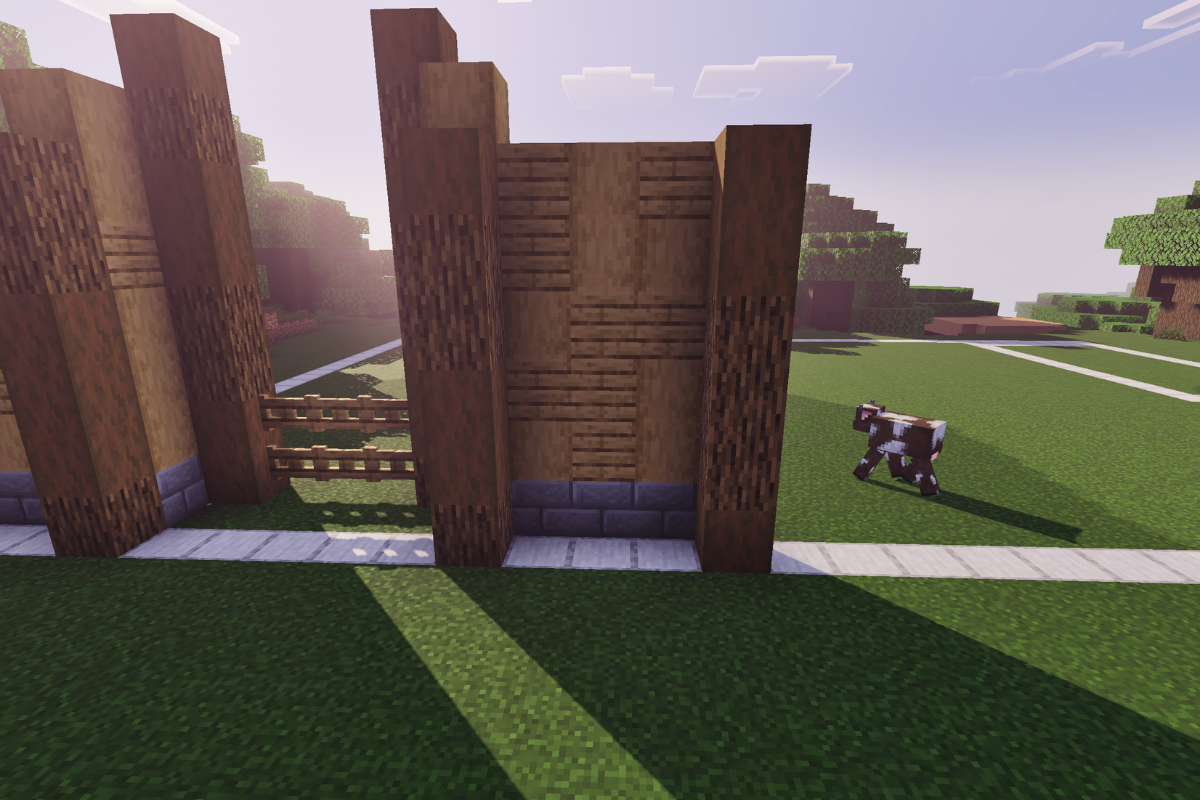
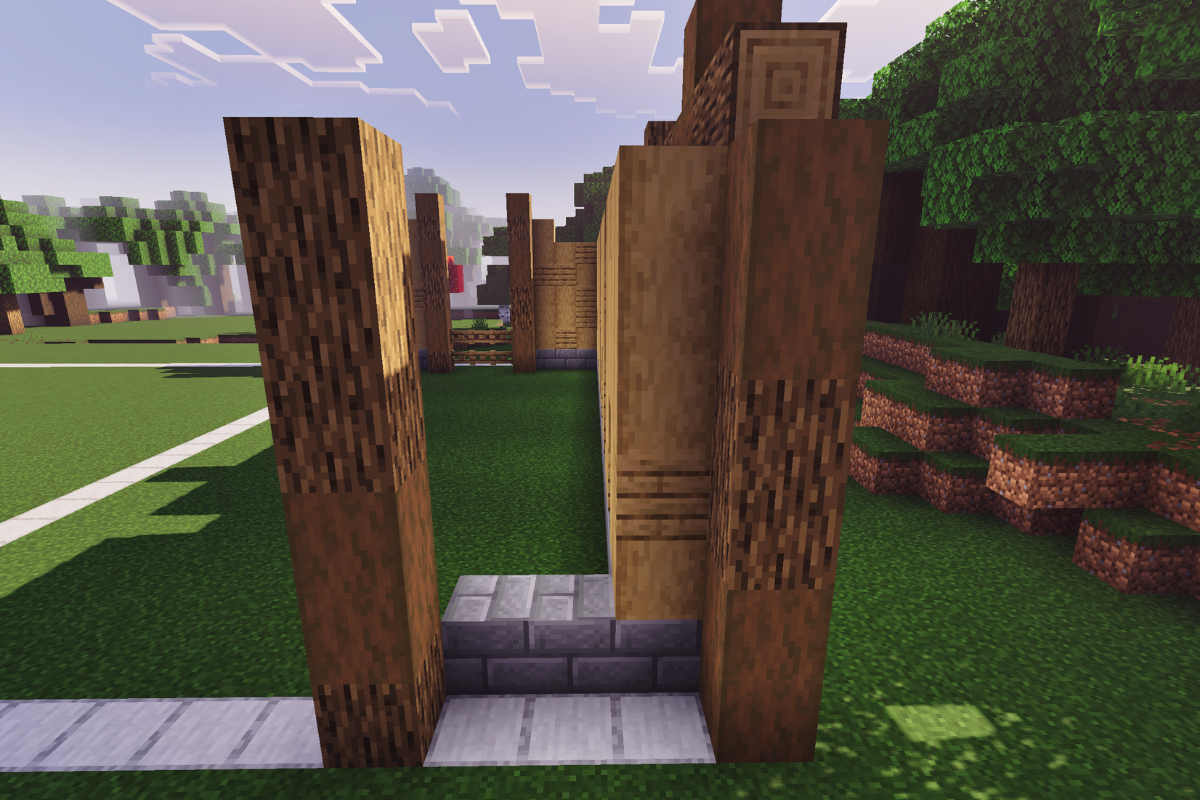
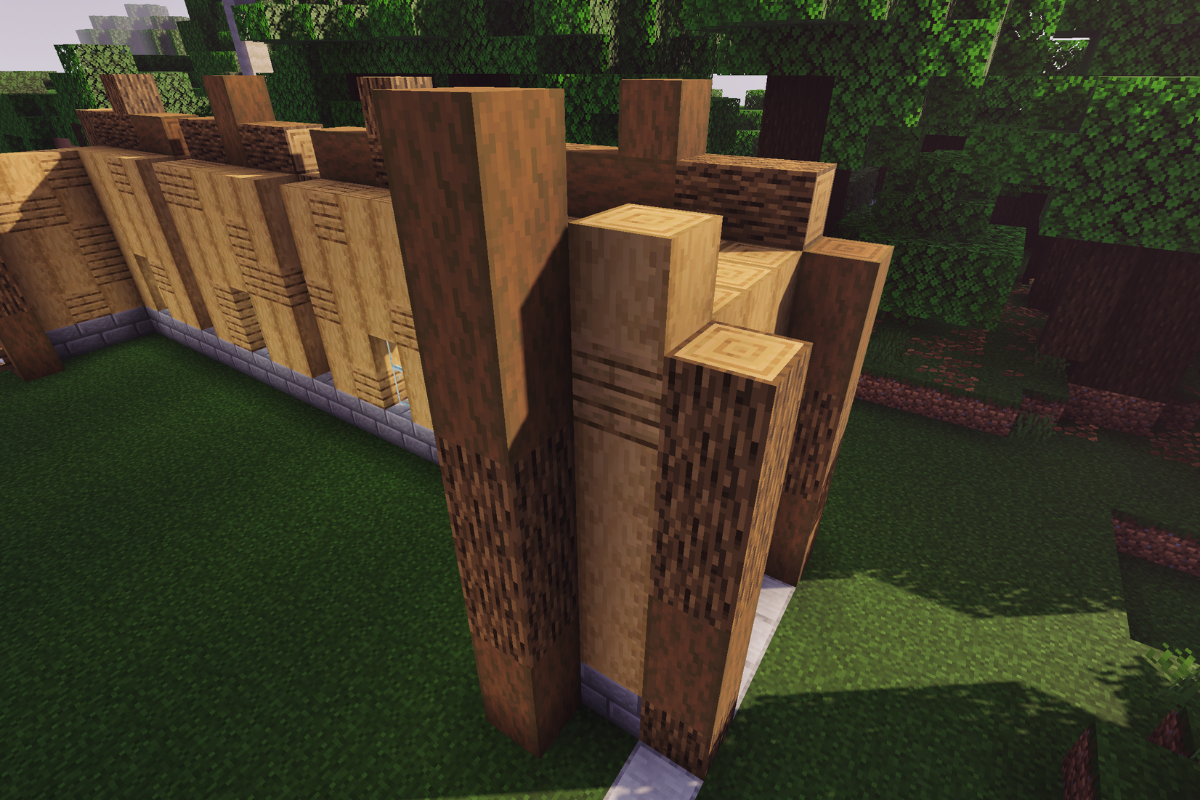
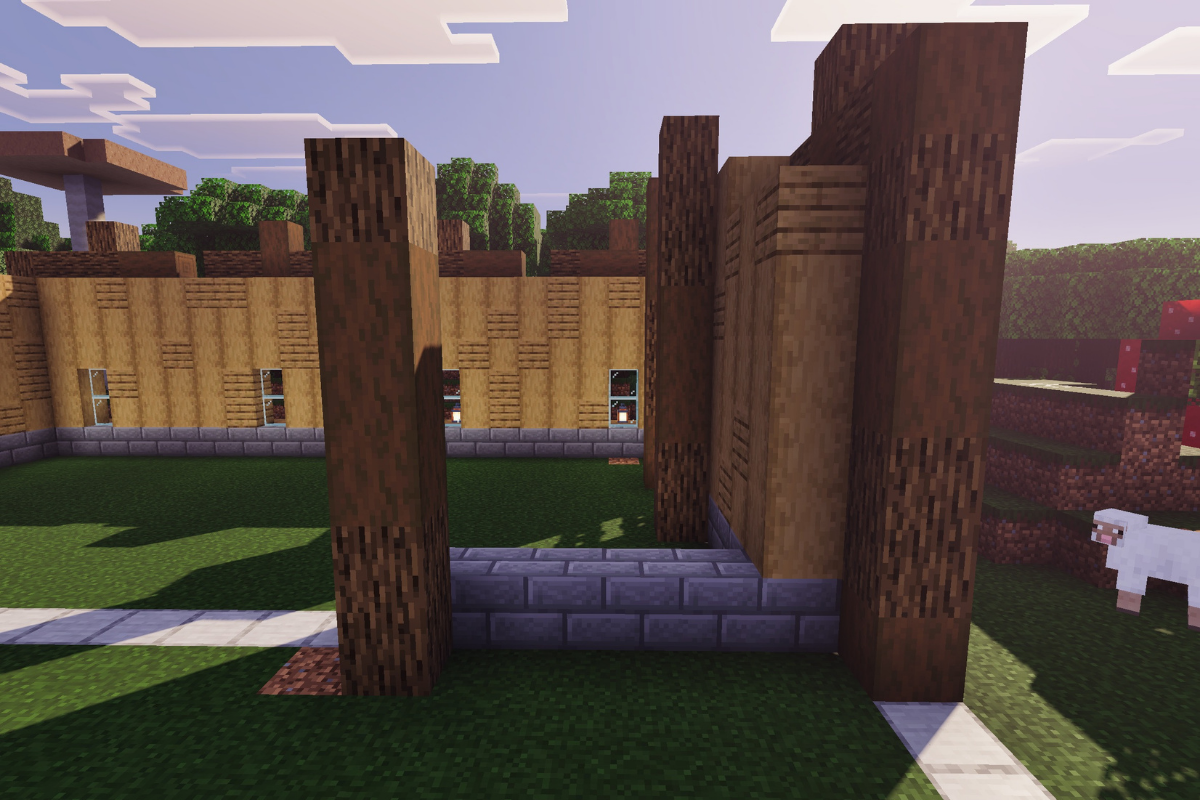
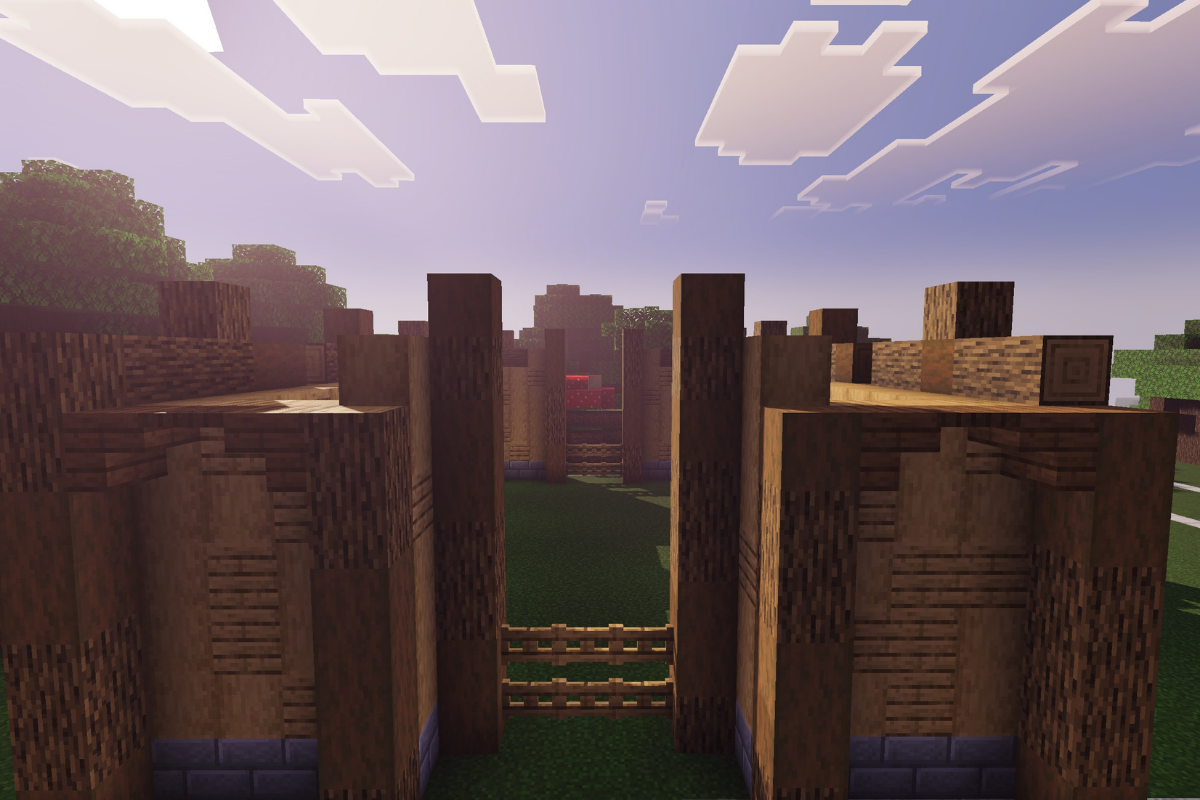
Add 2 textured pillars 8 and 7 blocks tall respectively
STEP 29 / 235
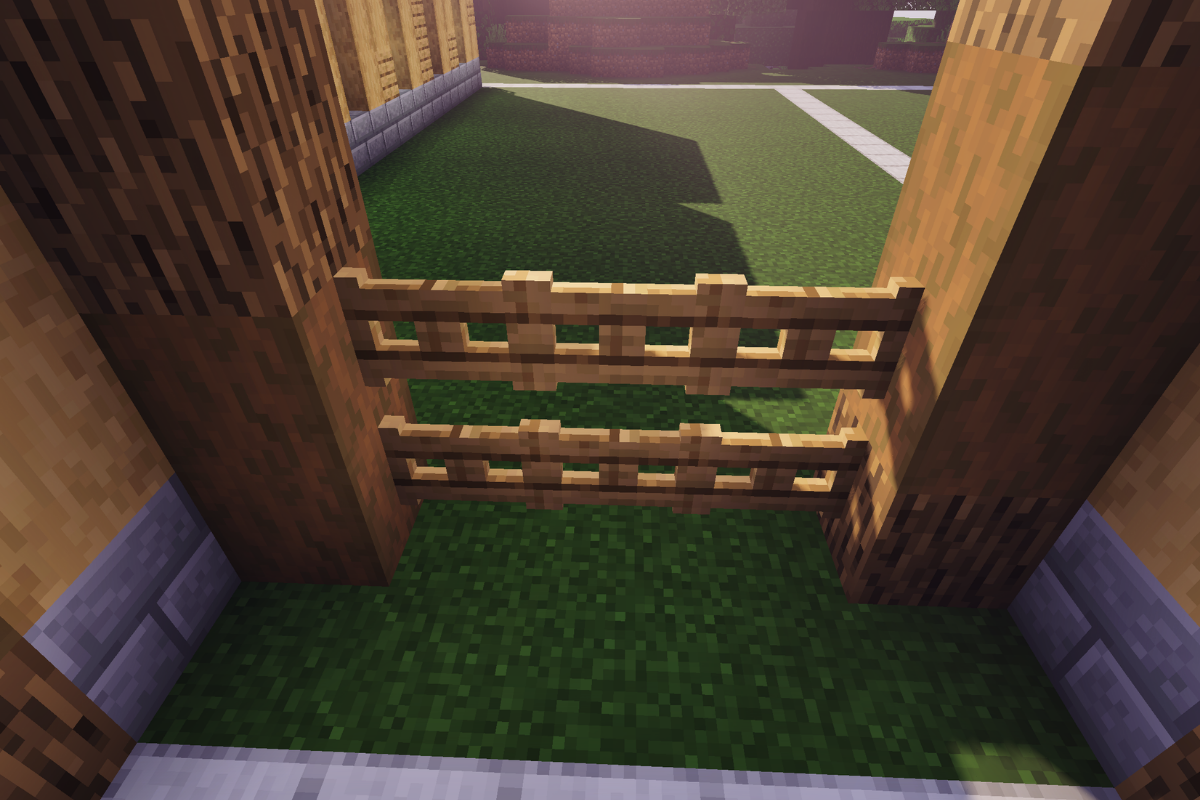
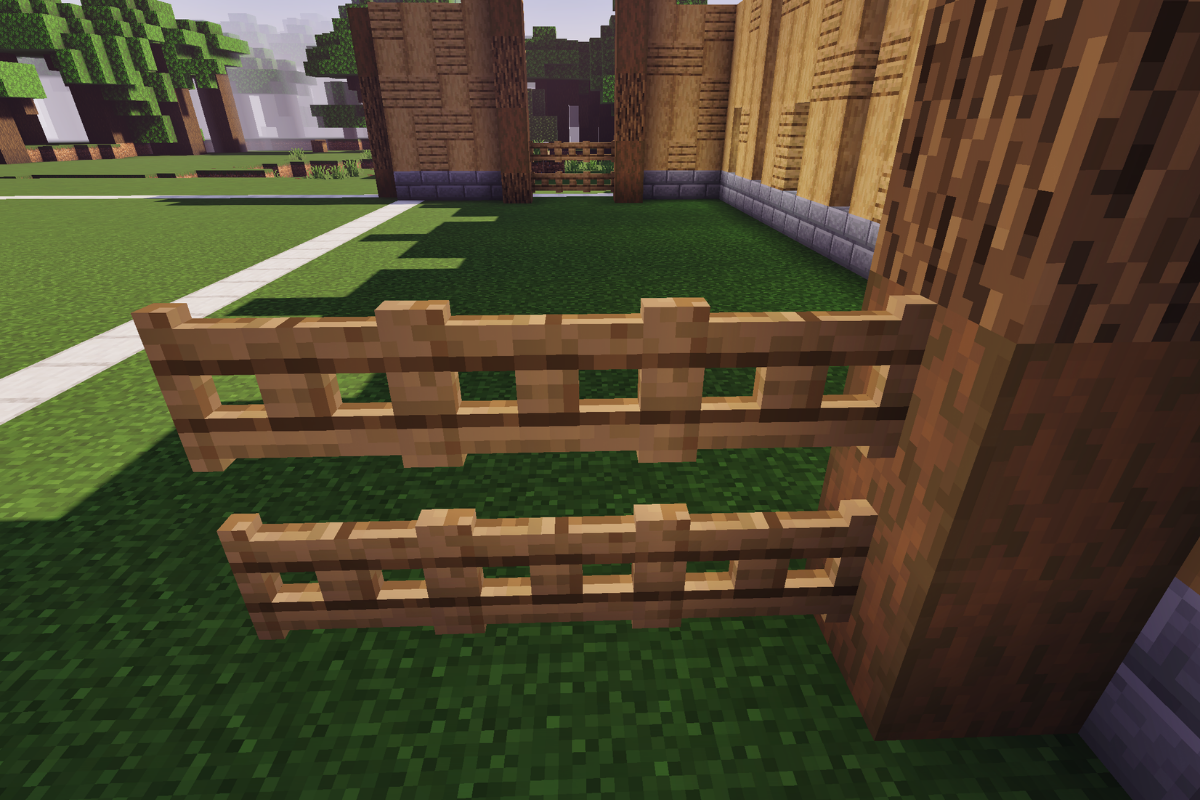
Add 6 oak gate 3 blocks wide and 3 blocks tall
STEP 30 / 235
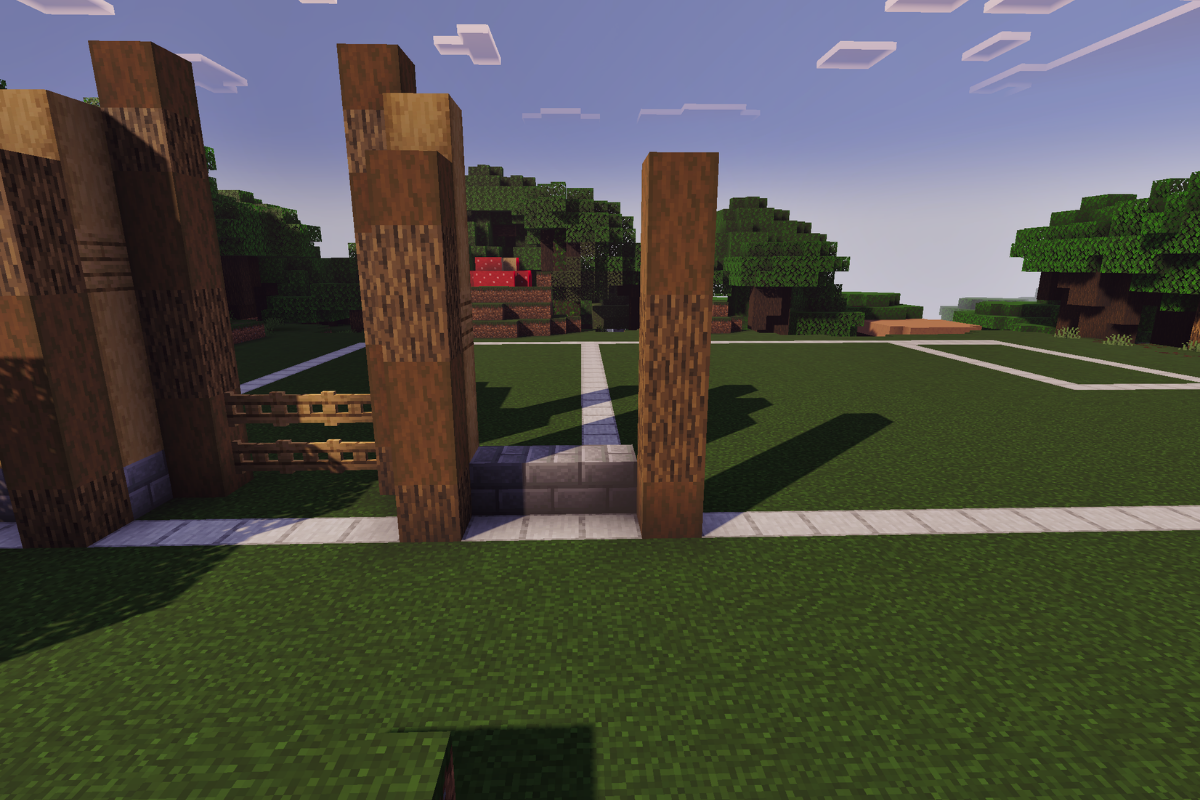
Add 2 textured pillars 7 and 8 blocks tall respectively


 x 3
x 3 x 6
x 6 x 6
x 6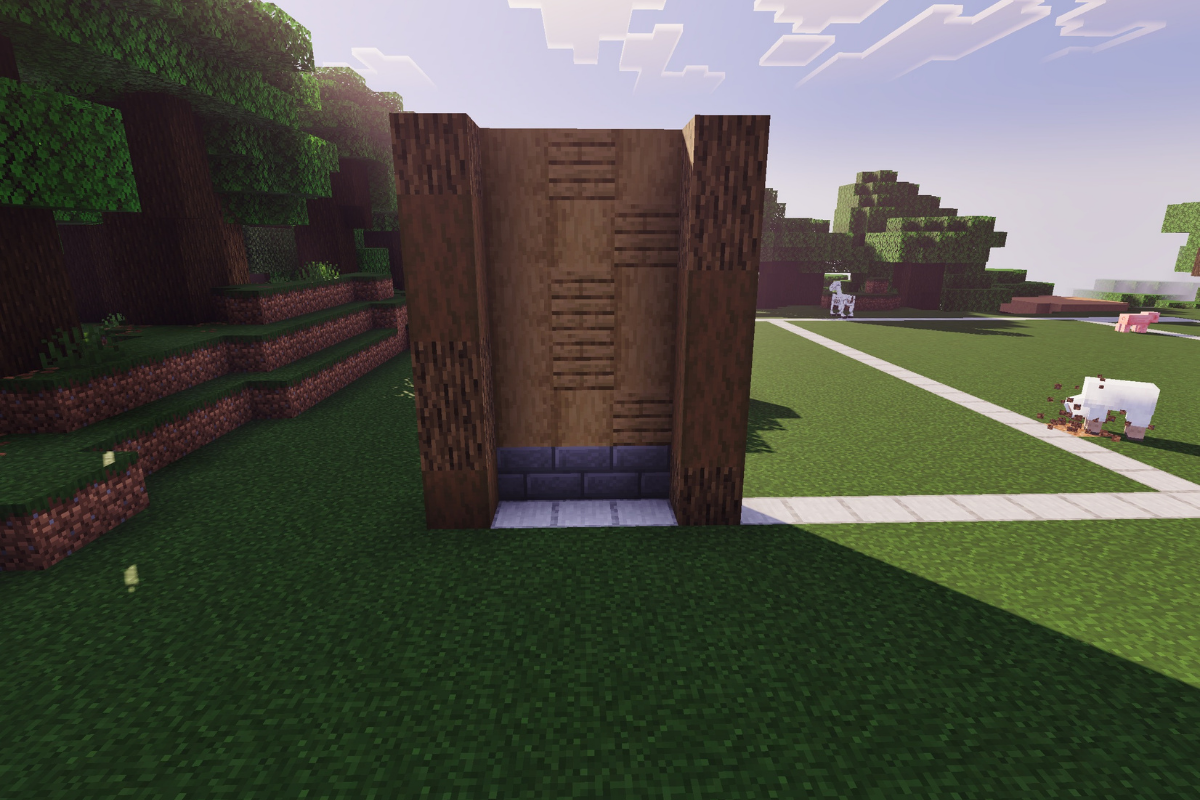
 x 10
x 10 x 5
x 5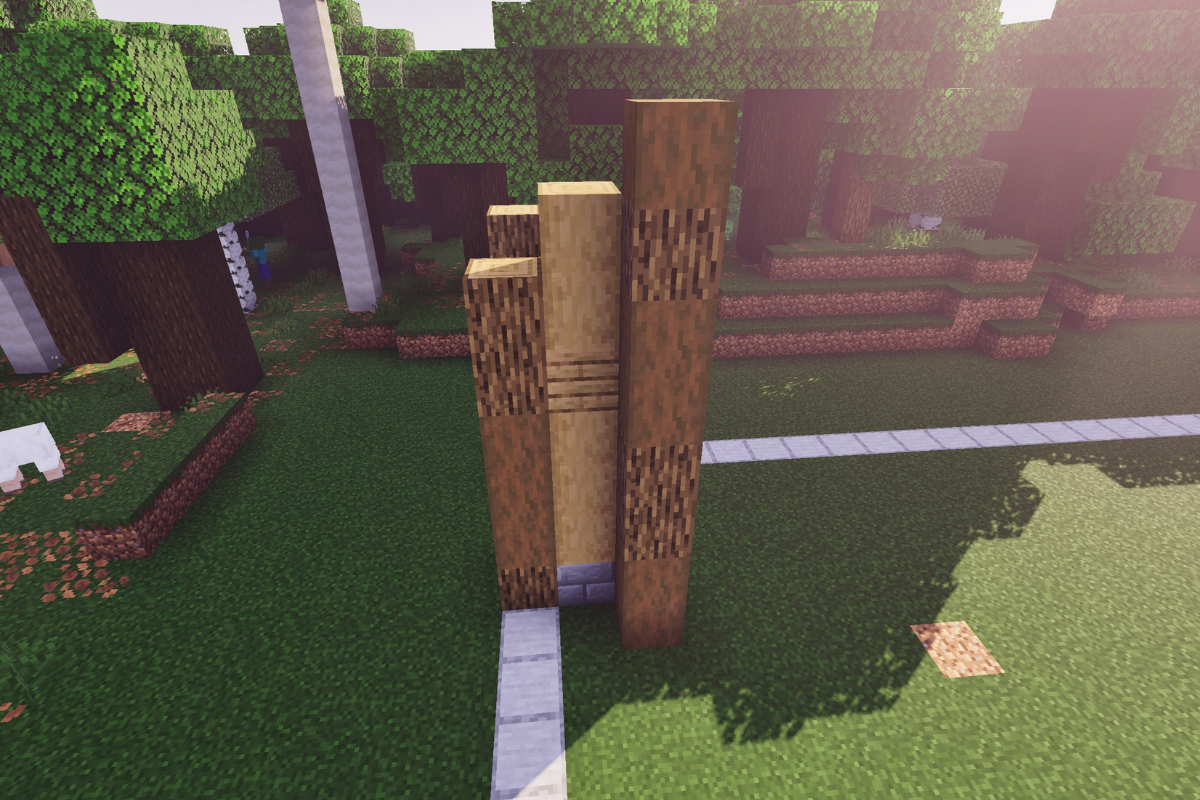
 x 6
x 6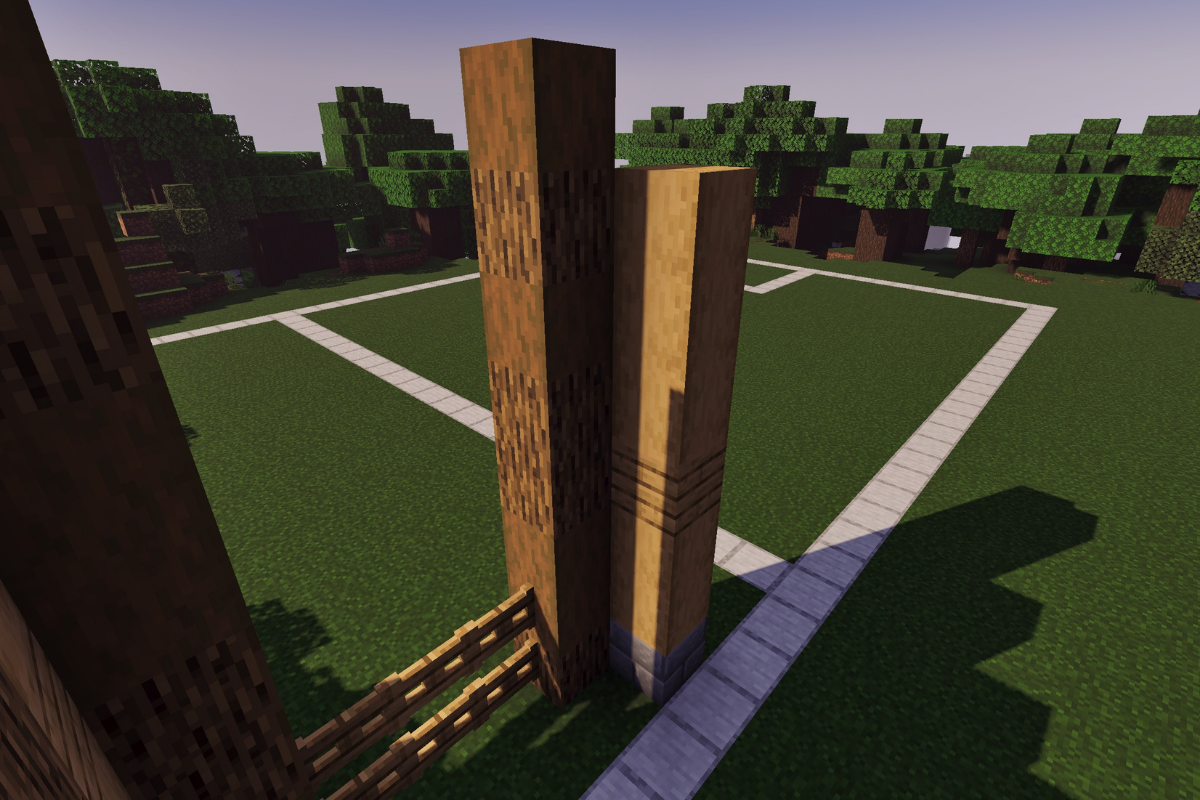
 x 2
x 2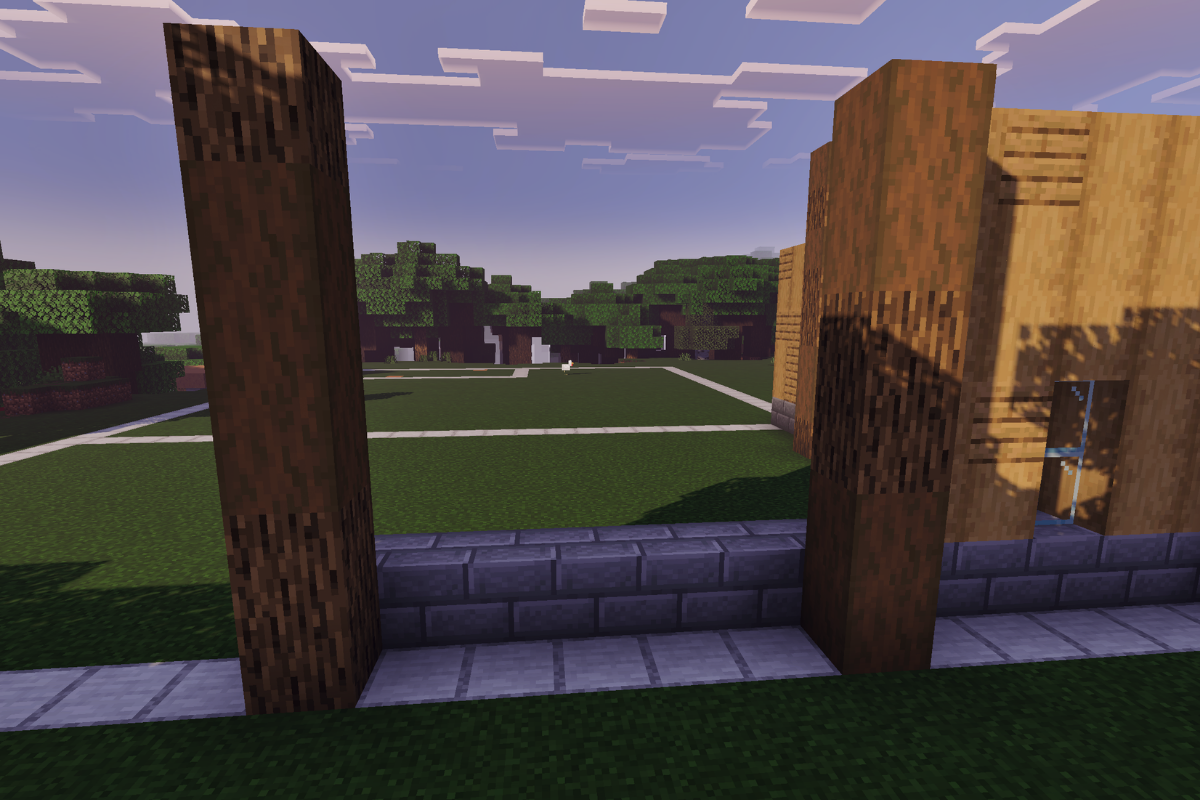

 x 4
x 4 x 3
x 3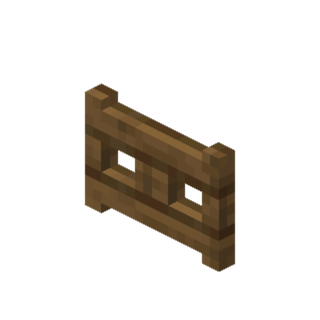 x 1
x 1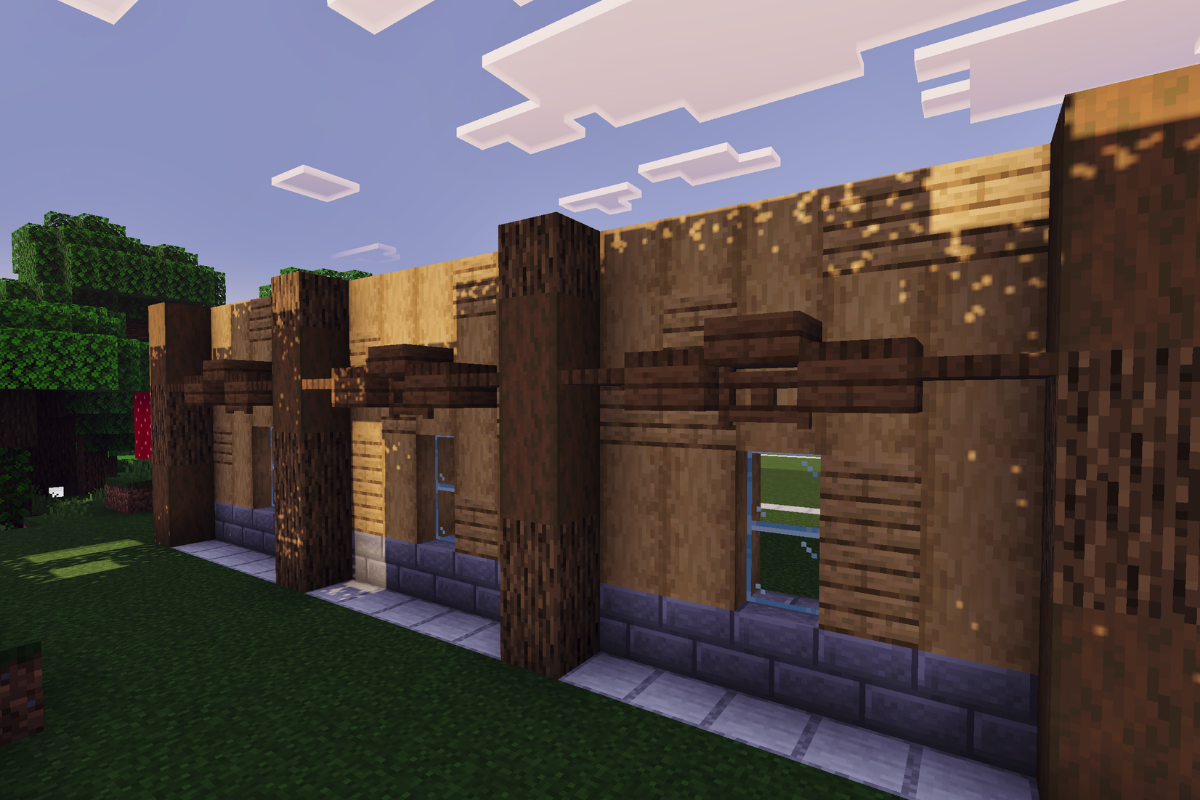
 x 1
x 1 x 1
x 1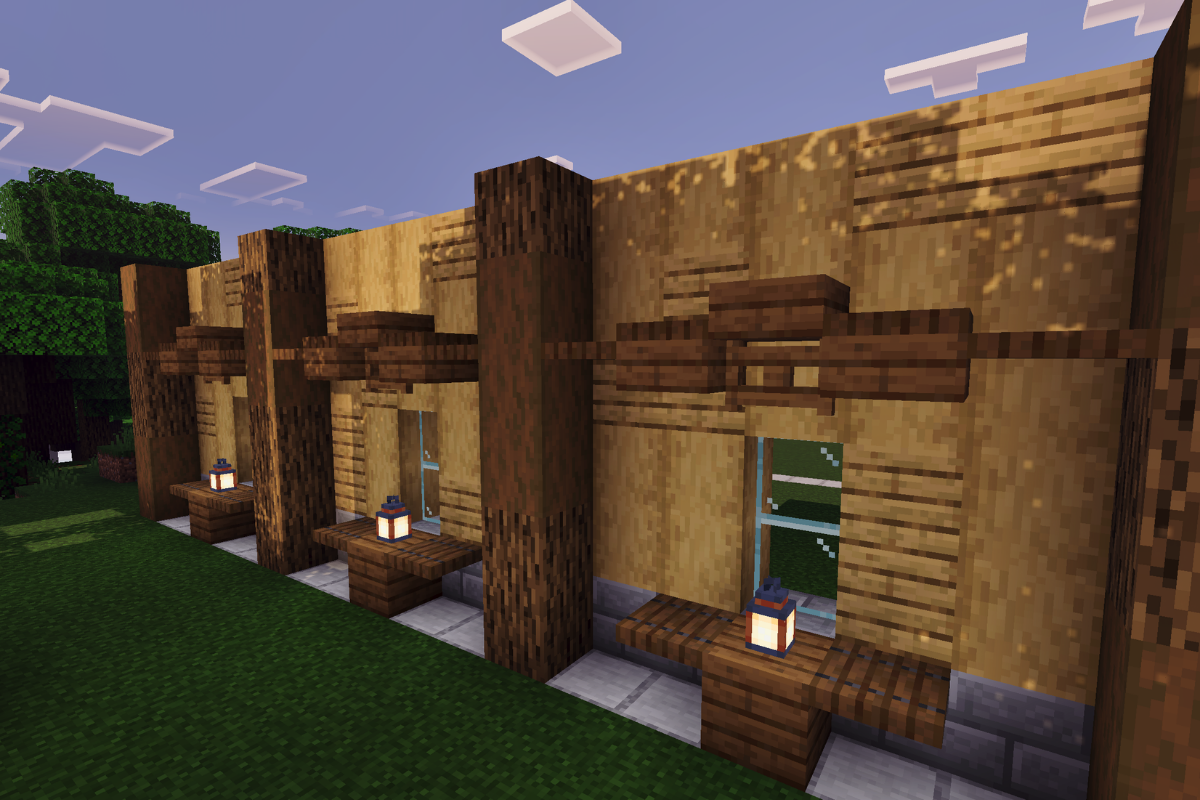
 x 2
x 2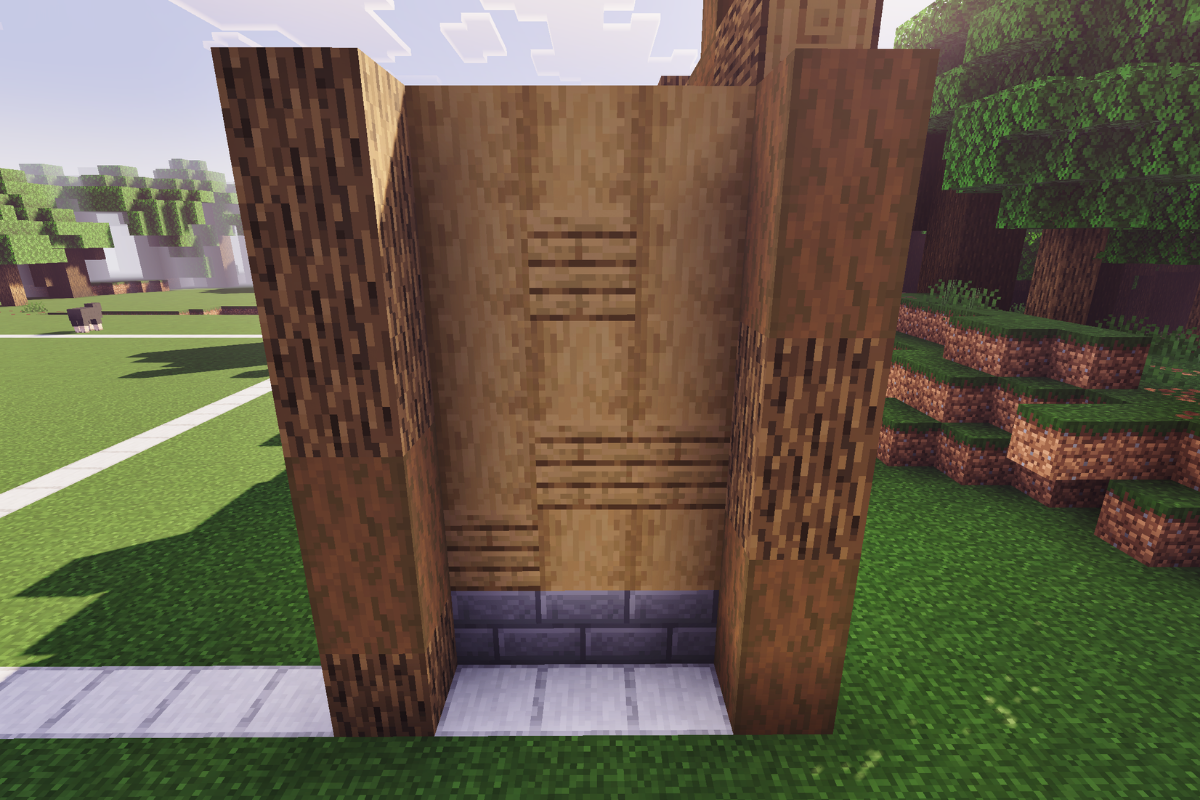


 x 2
x 2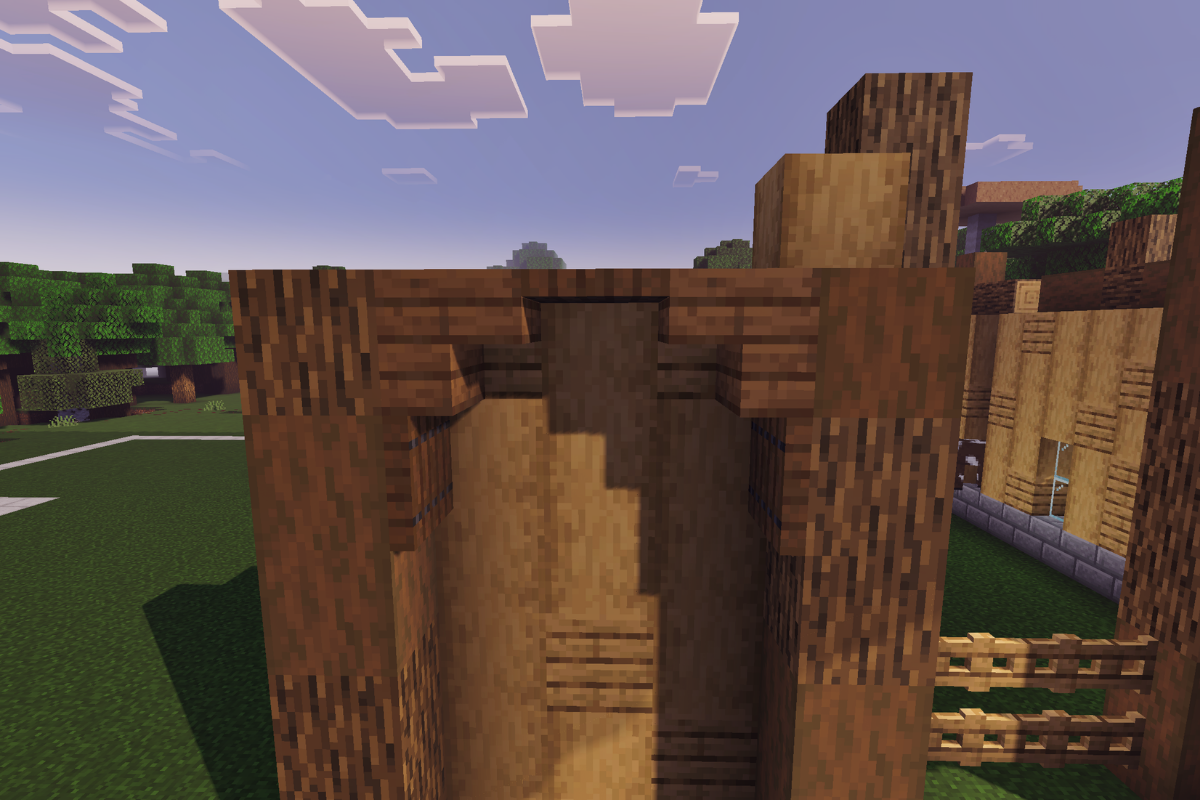
 x 15
x 15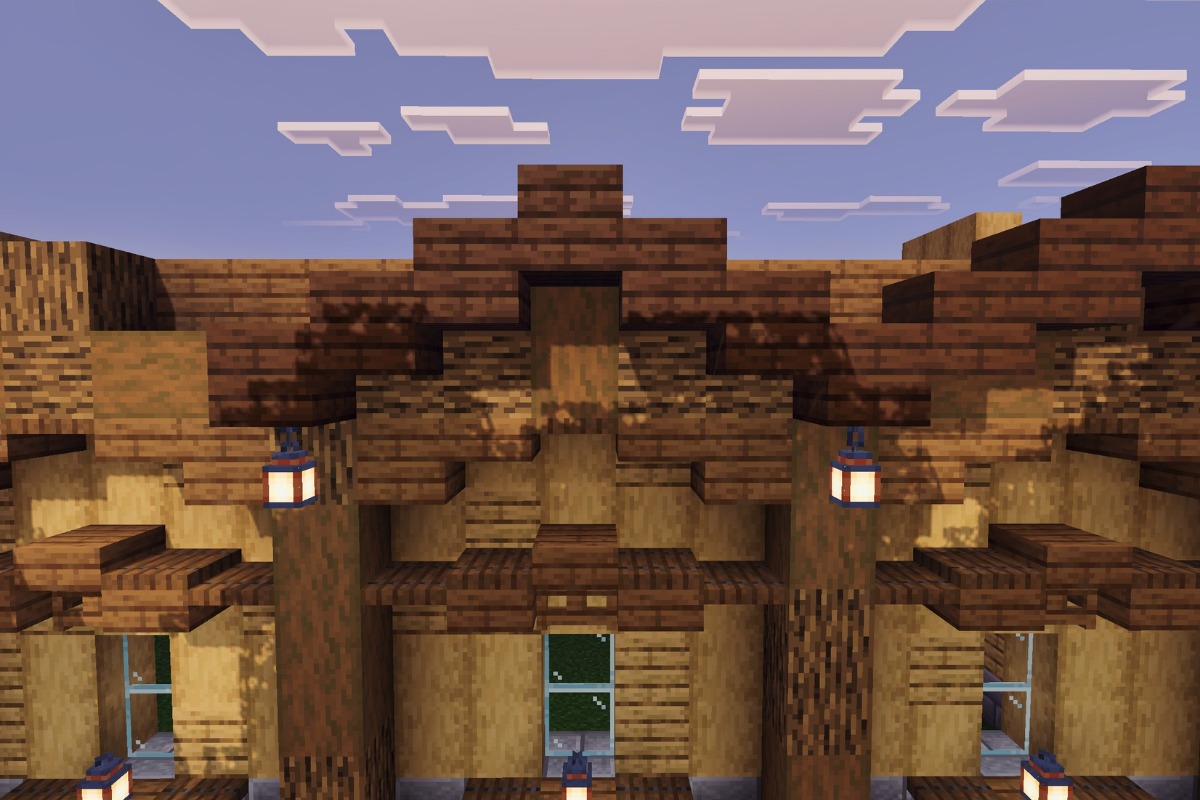
 x 10
x 10