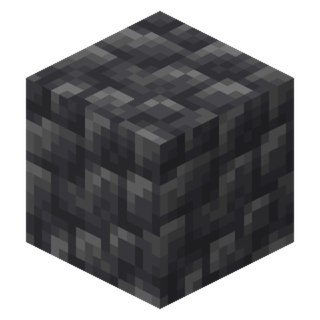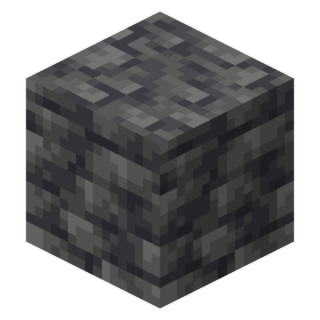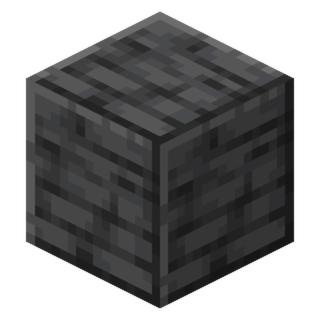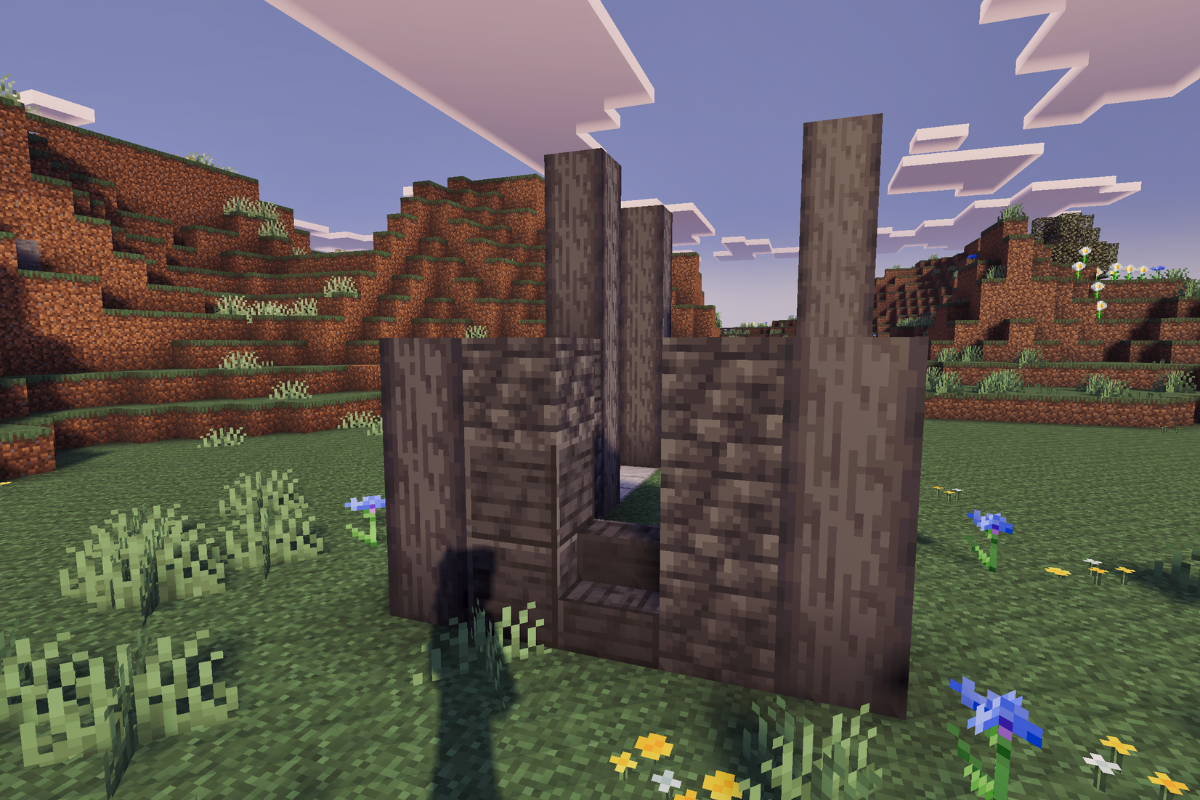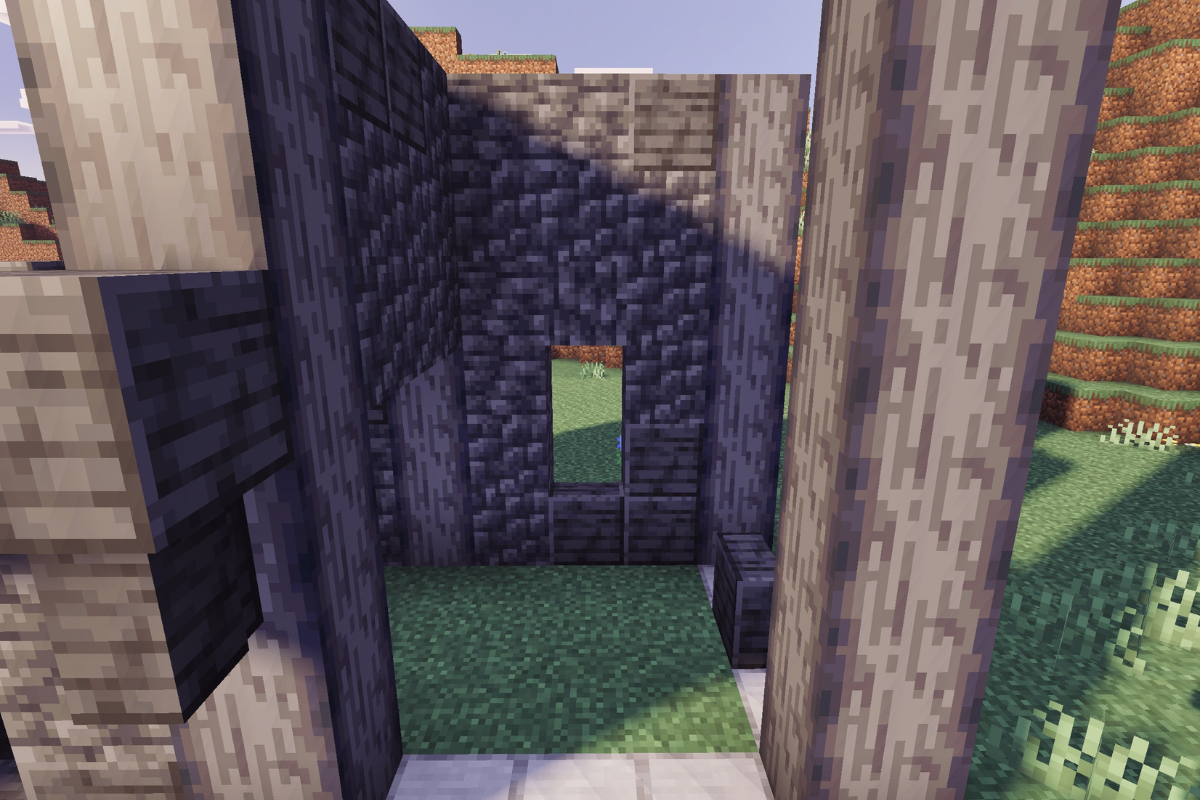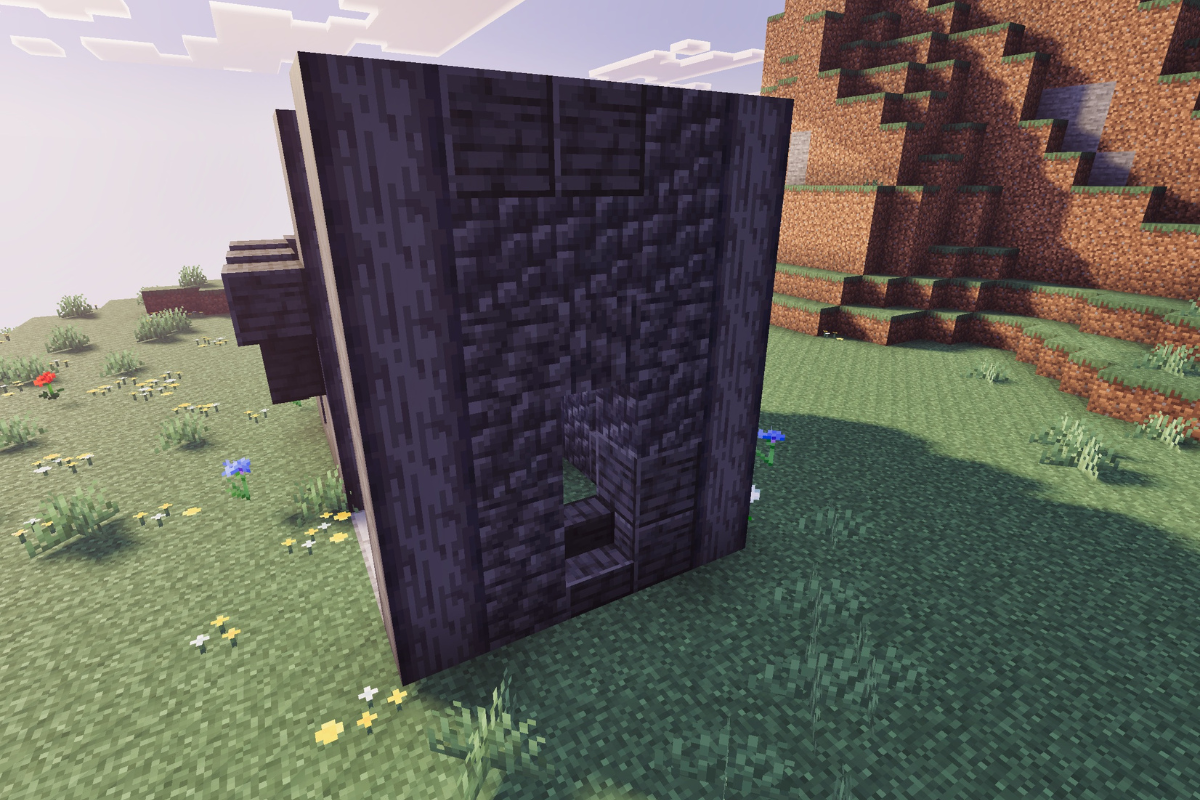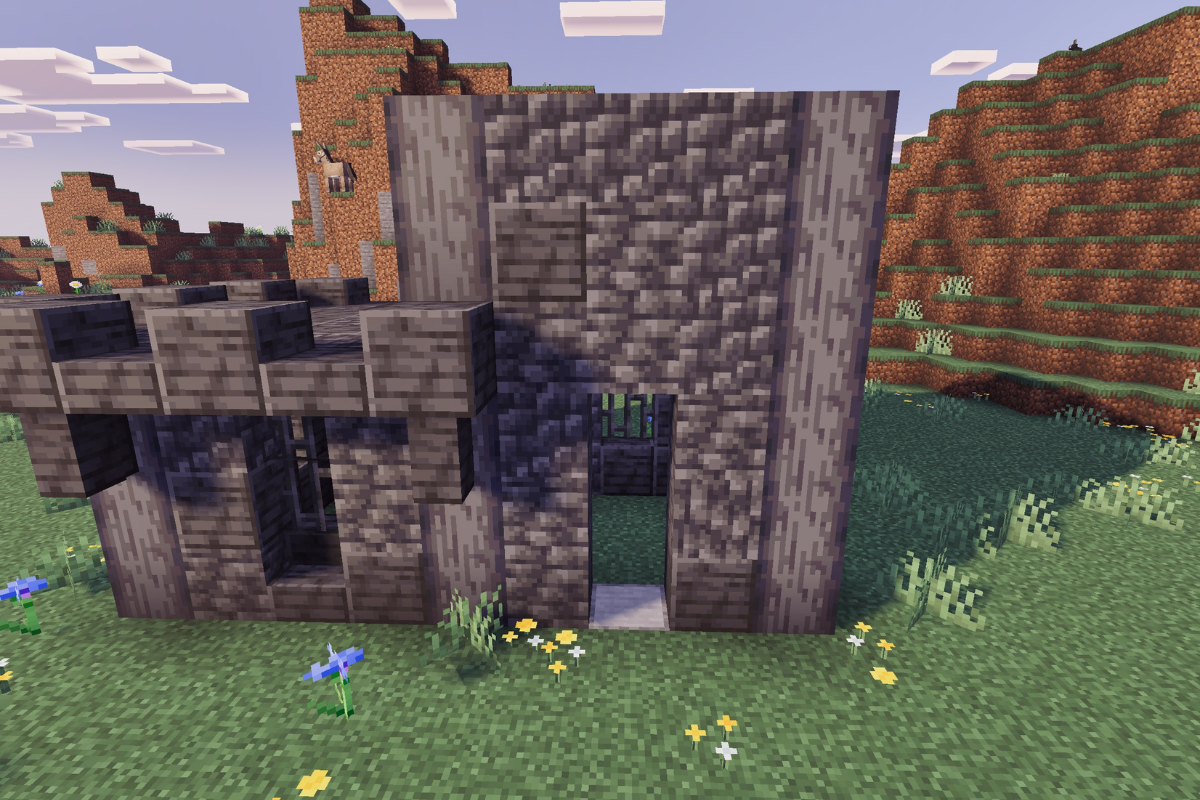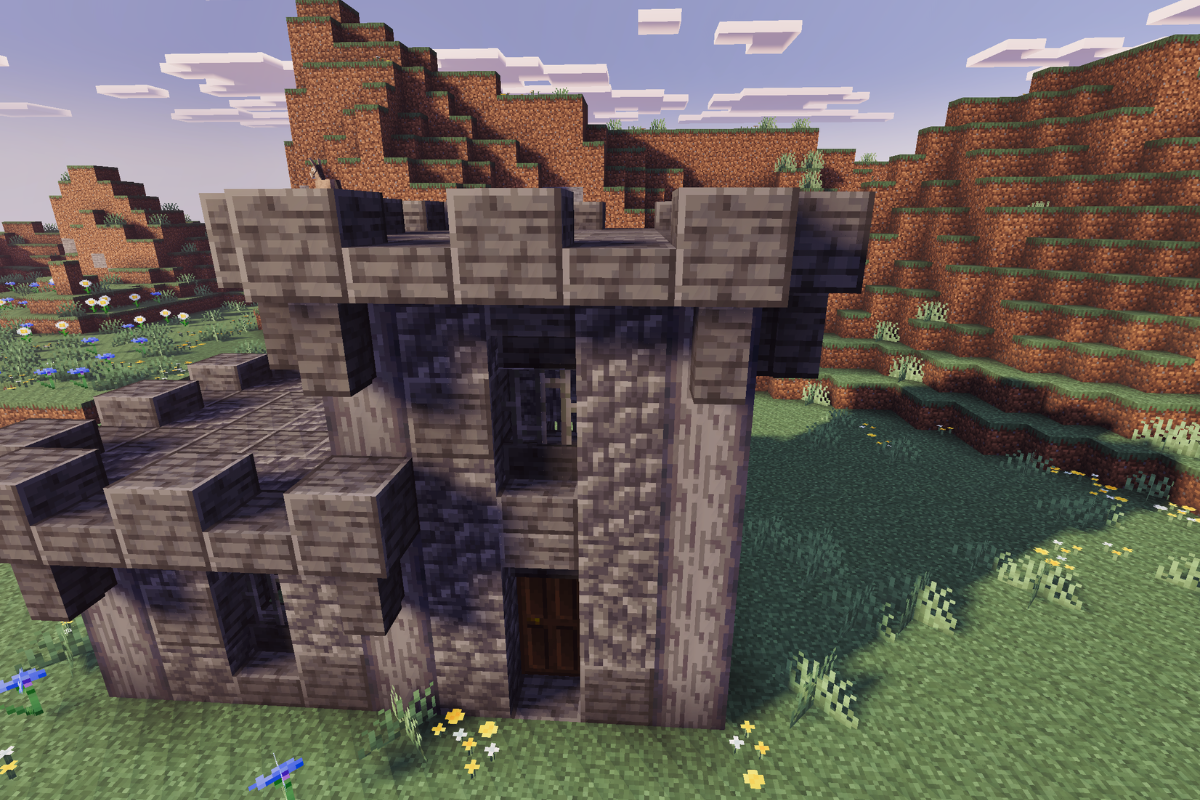
Looking for a small Minecraft castle that’s easy to build and doesn’t require tons of rare materials? This simple Minecraft castle build is perfect for survival worlds, using mostly deepslate blocks to create a sturdy medieval design with one tall tower and one shorter tower for extra character.
It’s affordable, beginner-friendly, and compact enough to fit into almost any world while still looking impressive. Follow the step-by-step tutorial below to learn how to build a small Minecraft castle that looks great without taking hours to complete.
STEP 1 / 34
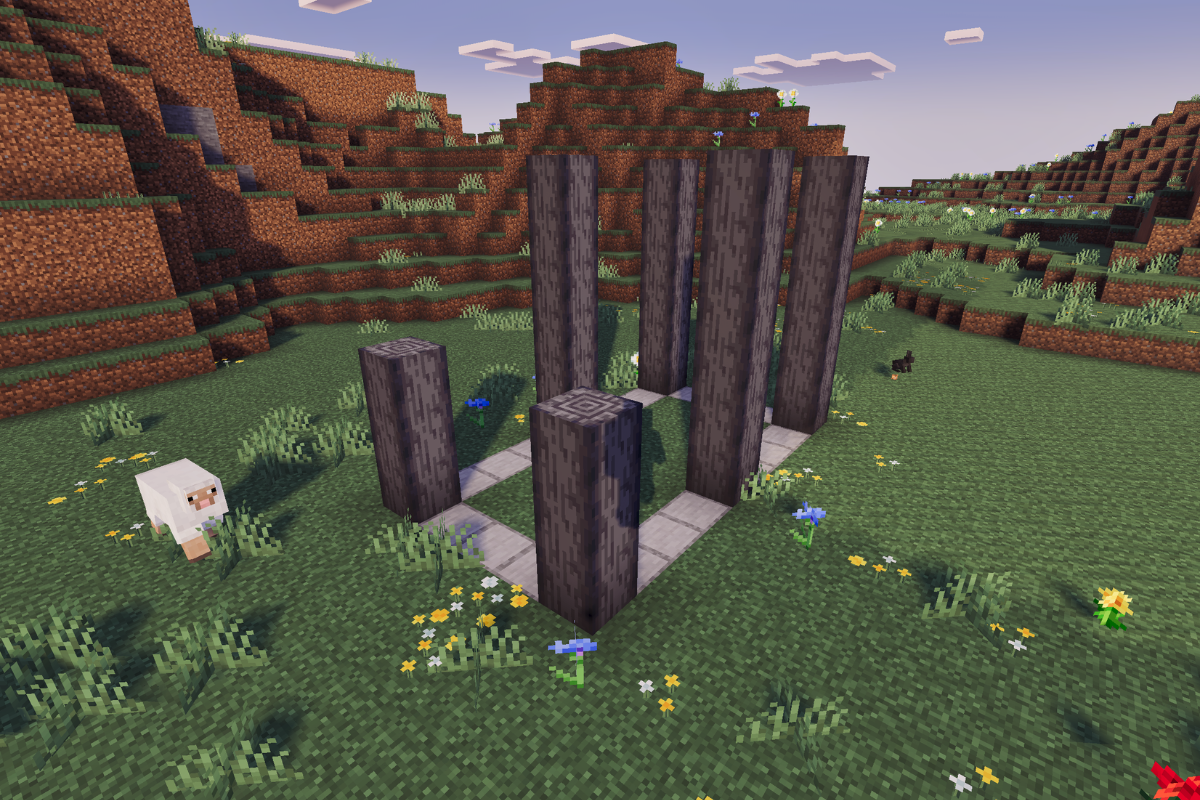
Start your small Minecraft castle by creating four pillars, each 6 blocks tall.
- x 24
STEP 2 / 34
On the left side of the castle, build two additional pillars, each 3 blocks tall.
- x 6
STEP 3 / 34
Place two polished deepslate stairs between the pillars.
- x 2
STEP 4 / 34
Build the back wall of your Minecraft castle using a mix of deepslate blocks.
- x 4
- x 1
- x 1
STEP 5 / 34
Place one polished deepslate stair.
- x 1
STEP 6 / 34
Build the left wall using a combination of deepslate blocks.
- x 2
- x 4
STEP 7 / 34
Complete the front wall of the castle build using various deepslate blocks.
- x 2
- x 3
- x 1
STEP 8 / 34
Fill the window openings with iron bars.
- x 6
STEP 9 / 34
Place deepslate blocks on every other block around the roof of the smaller tower.
- x 9
STEP 10 / 34
Fill the gaps with deepslate slabs.
- x 6
STEP 11 / 34
Complete the roof using polished deepslate and cobbled deepslate slabs.
- x 10
- x 10
STEP 12 / 34
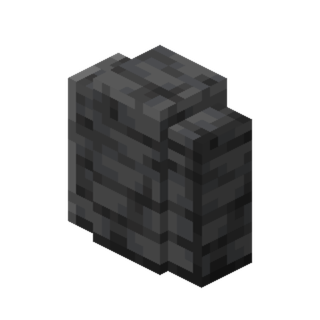
Add two polished deepslate walls underneath each of the three sides of the smaller tower.
- x 6
STEP 13 / 34
Build the center wall using a mix of deepslate blocks.
- x 2
- x 7
STEP 14 / 34
Place two polished deepslate stairs.
- x 2
STEP 15 / 34
Build the back wall of the larger section of the small Minecraft castle.
- x 4
- x 7
- x 3
STEP 16 / 34
Build the right wall using various deepslate blocks.
- x 4
- x 6
- x 4
STEP 17 / 34
Fill the window openings with iron bars.
- x 4
STEP 18 / 34
Finish the front wall using assorted deepslate blocks.
- x 2
- x 7
- x 5
STEP 19 / 34
Place an upside-down polished deepslate stair above the entrance.
- x 1
STEP 20 / 34
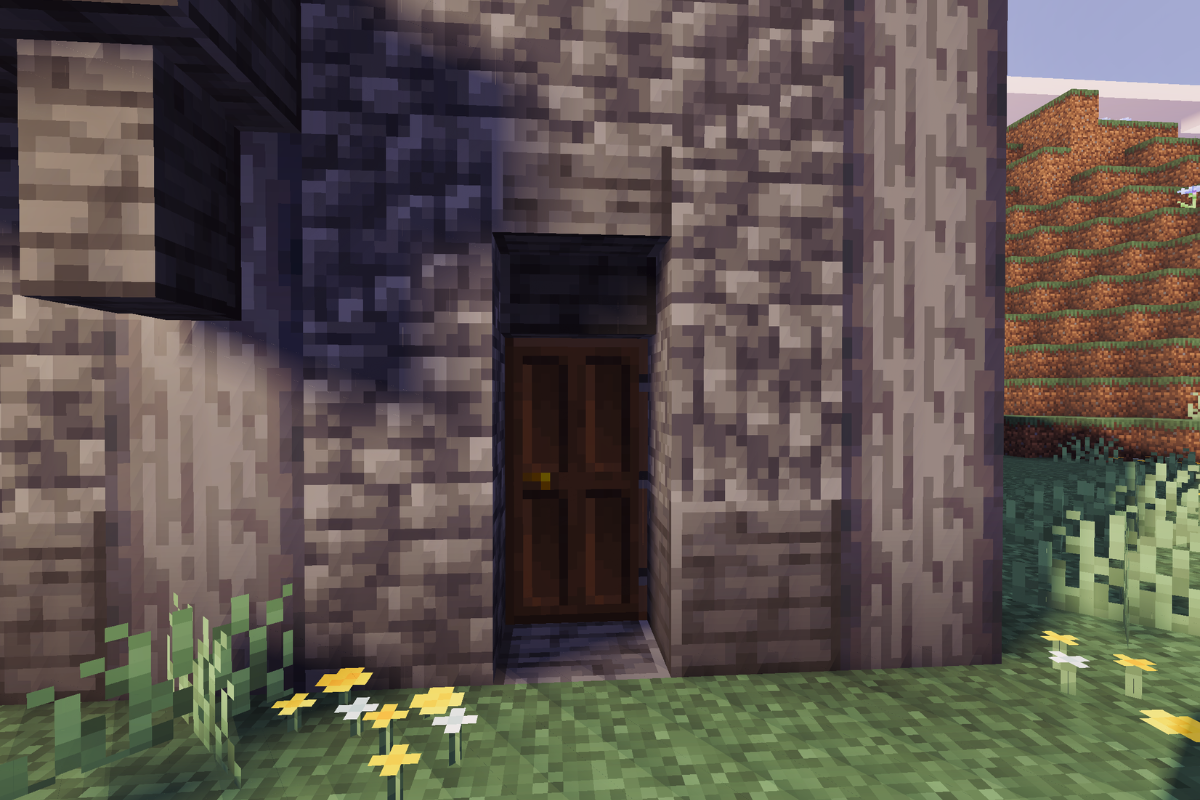
Install a dark oak door.
- x 1
STEP 21 / 34
Remove the three blocks directly above the entrance.
STEP 22 / 34
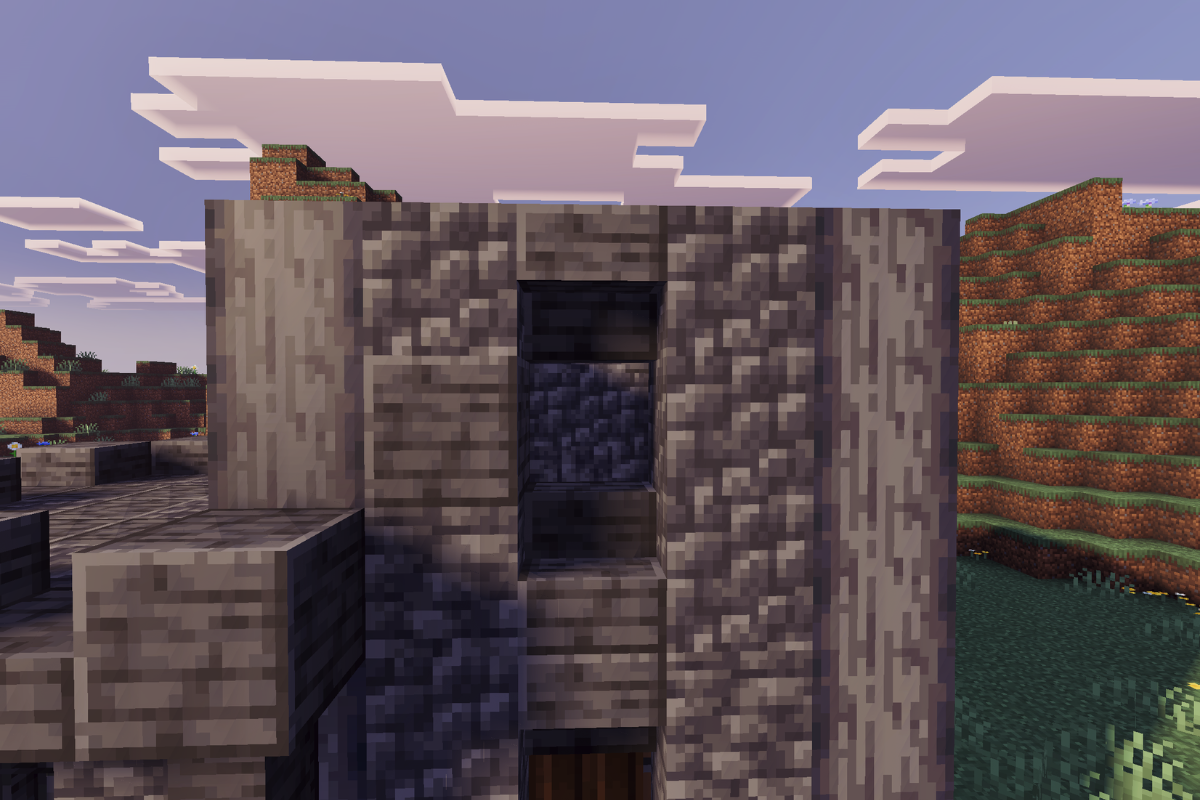
Add two polished deepslate stairs above the doorway.
- x 2
STEP 23 / 34
Place one iron bar in the opening above the door.
- x 1
STEP 24 / 34
Add deepslate blocks on every other block around the roof of the larger tower.
- x 12
STEP 25 / 34
Fill the gaps with deepslate slabs.
- x 8
STEP 26 / 34
Complete the larger roof using polished deepslate and cobbled deepslate slabs.
- x 16
- x 9
STEP 27 / 34
Add two polished deepslate walls underneath each of the three sides of the larger tower.
- x 8
STEP 28 / 34
Hang four lanterns around the roof of the larger tower.
- x 4
STEP 29 / 34
Hang three lanterns around the roof of the smaller tower.
- x 3
STEP 30 / 34
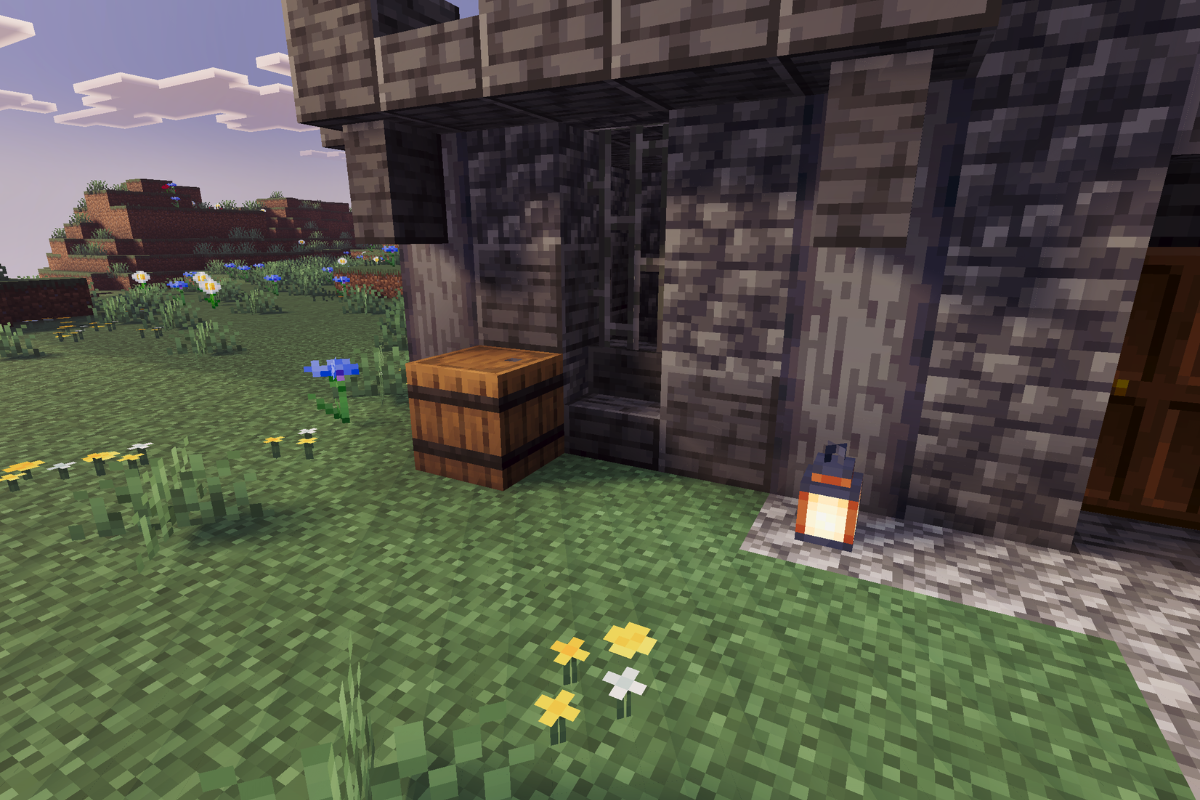
Create a stone path leading to the entrance using cobblestone and place a lantern beside the door.
- x 15
- x 1
STEP 31 / 34
Place a barrel beneath one of the windows.
- x 1
STEP 32 / 34
Add an azalea tree beside the barrel.
- x 1
STEP 33 / 34
Place another azalea tree beside the entrance.
- x 1
STEP 34 / 34
Finish your small Minecraft castle by decorating the walkway with moss for a more natural medieval look.
- x 1
- x 21
Conclusion
Congratulations, you’ve finished building your small Minecraft castle! With its mostly deepslate design, two unique towers, and budget-friendly material list, this build is a great addition to any Minecraft survival or creative world. If you’d like to make it even more unique, try decorating the interior, adding a surrounding wall, or expanding the castle with extra towers and a courtyard.
Be sure to check out more Minecraft castle builds and tutorials for your next project.