STEP 171 / 235
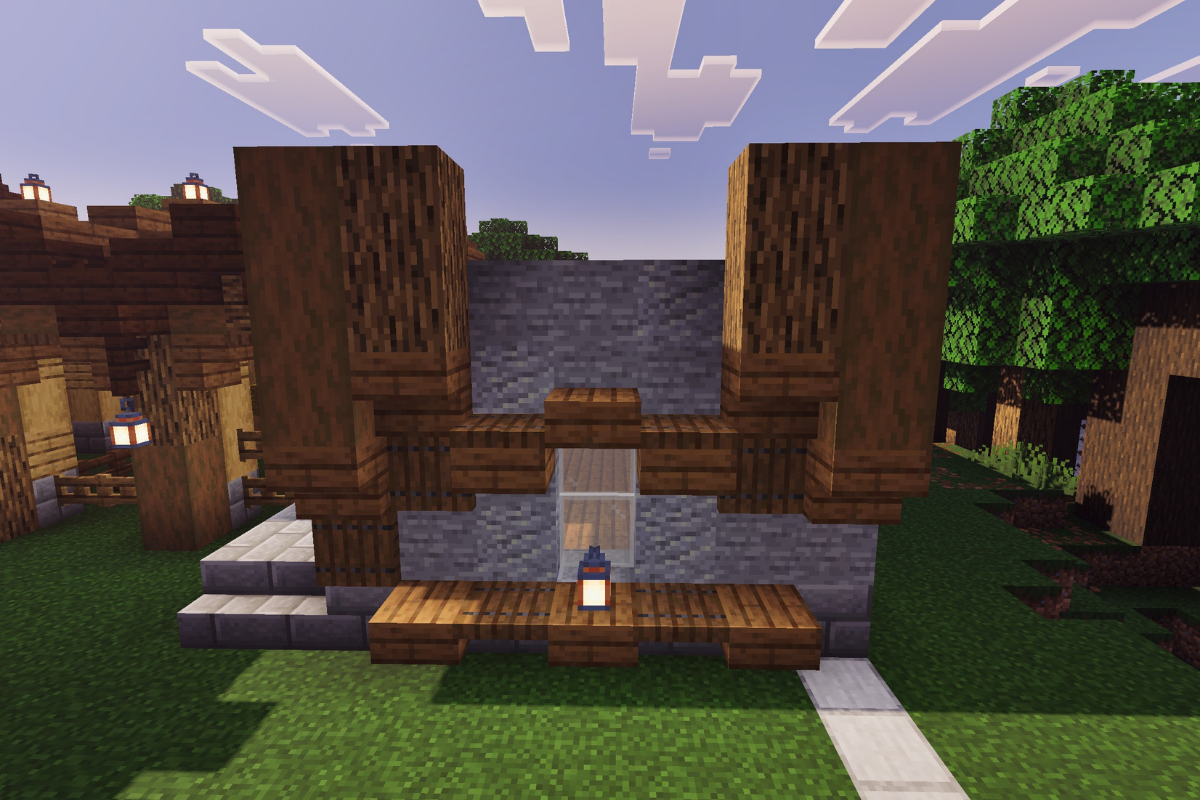
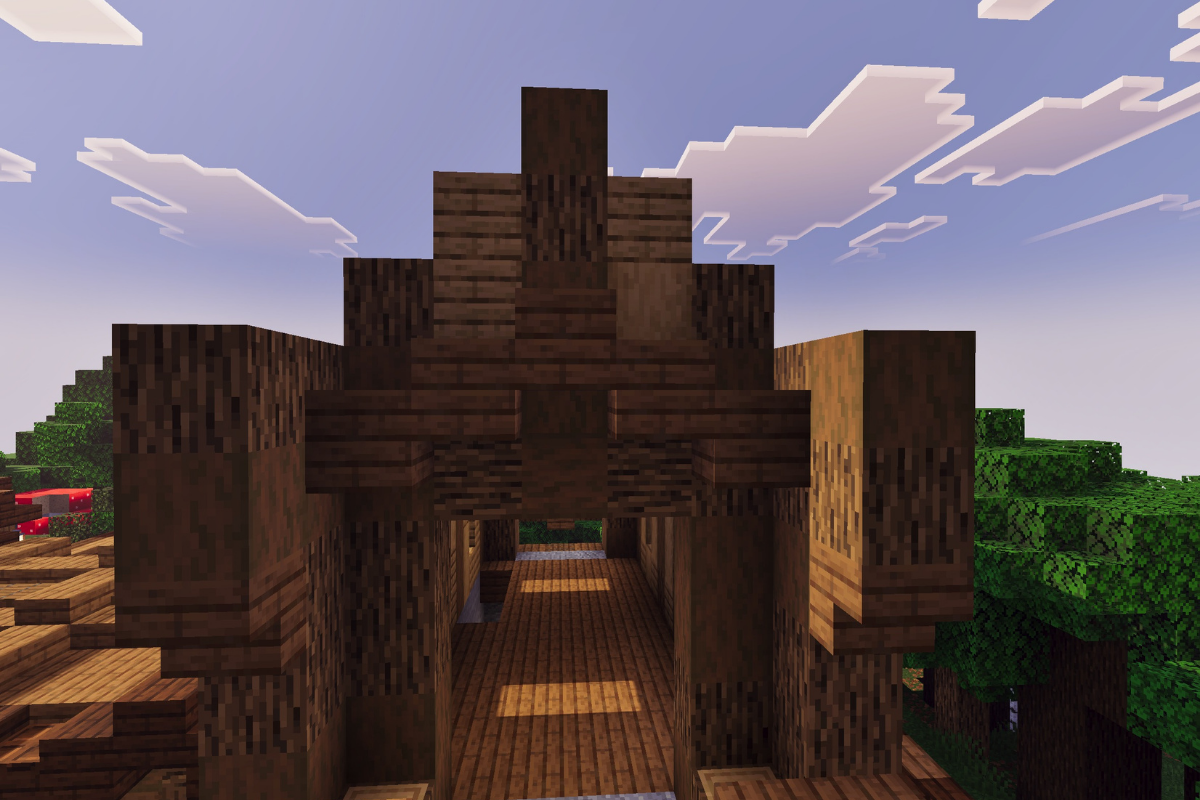
Create 2 support beams on both sides.
STEP 172 / 235
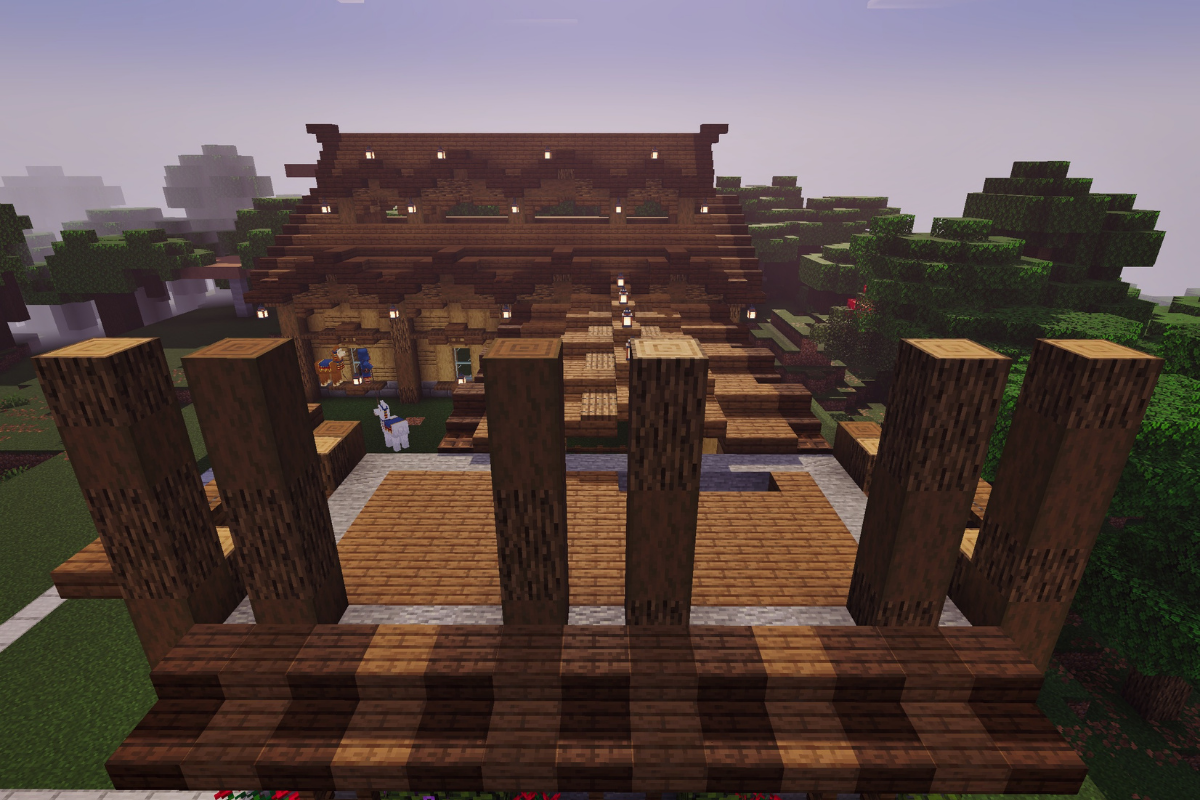
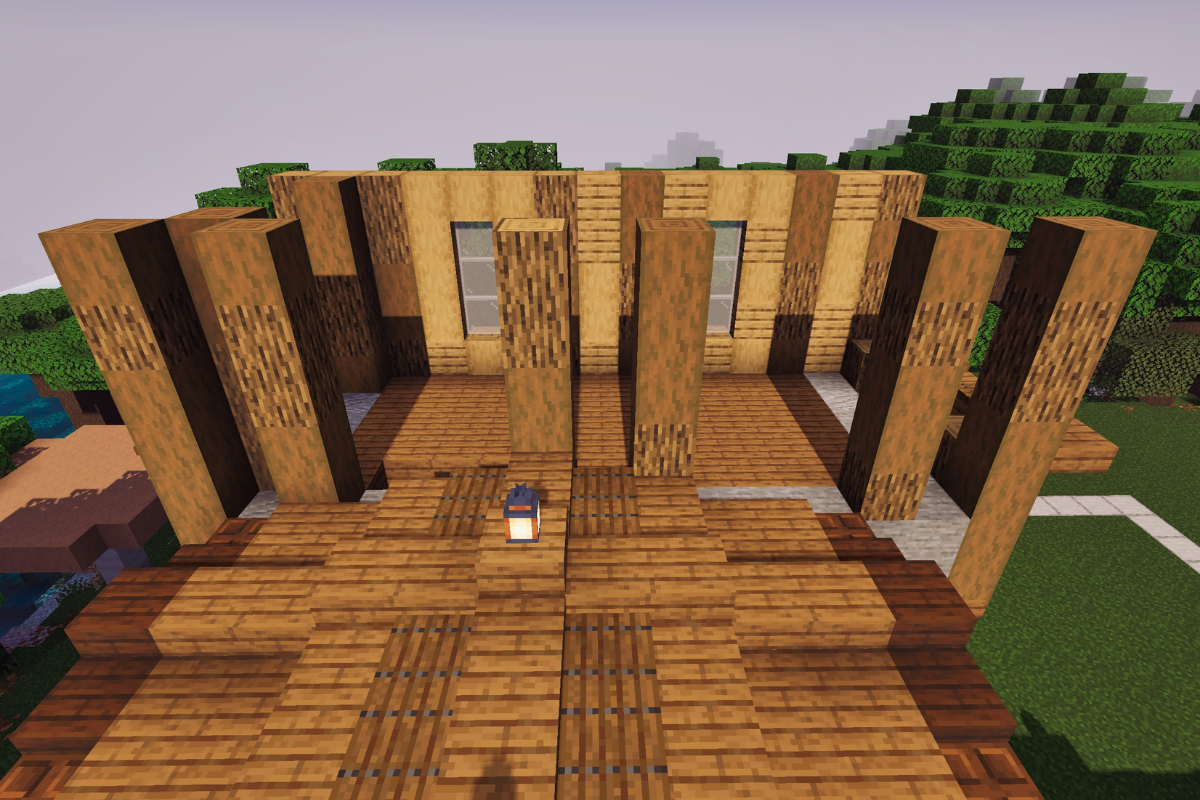
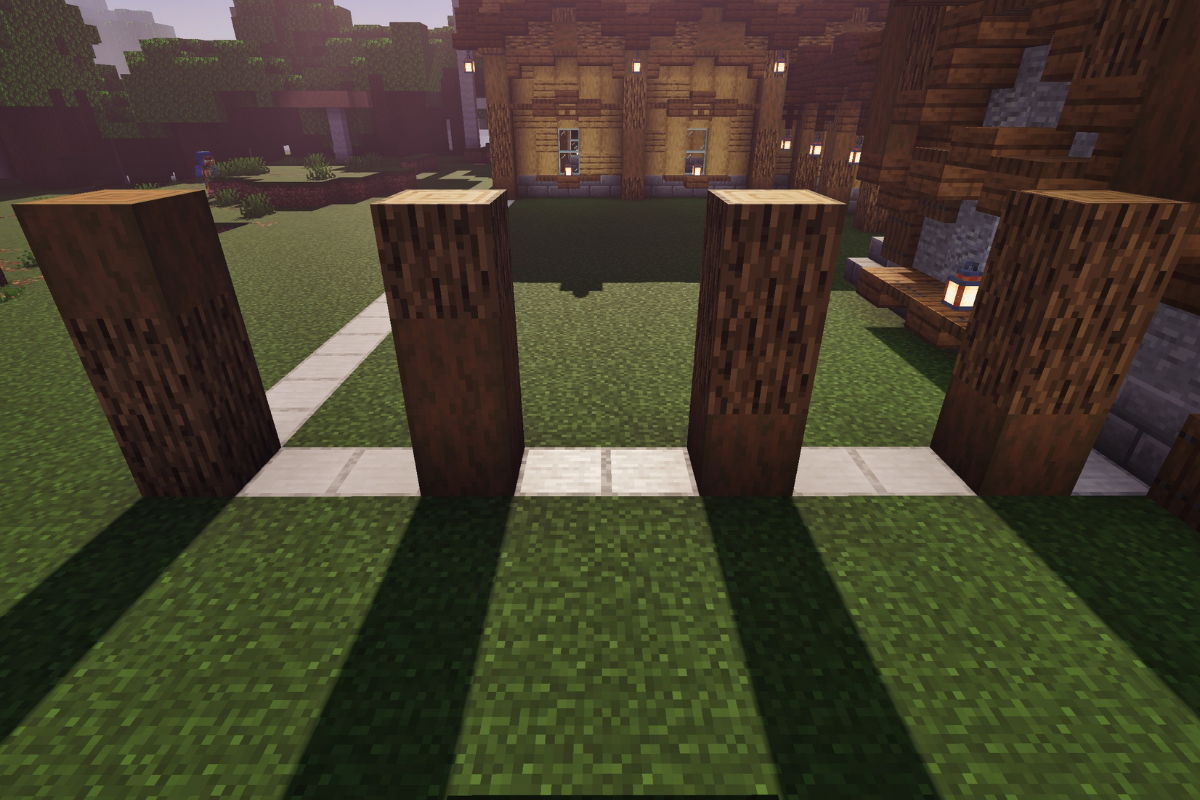
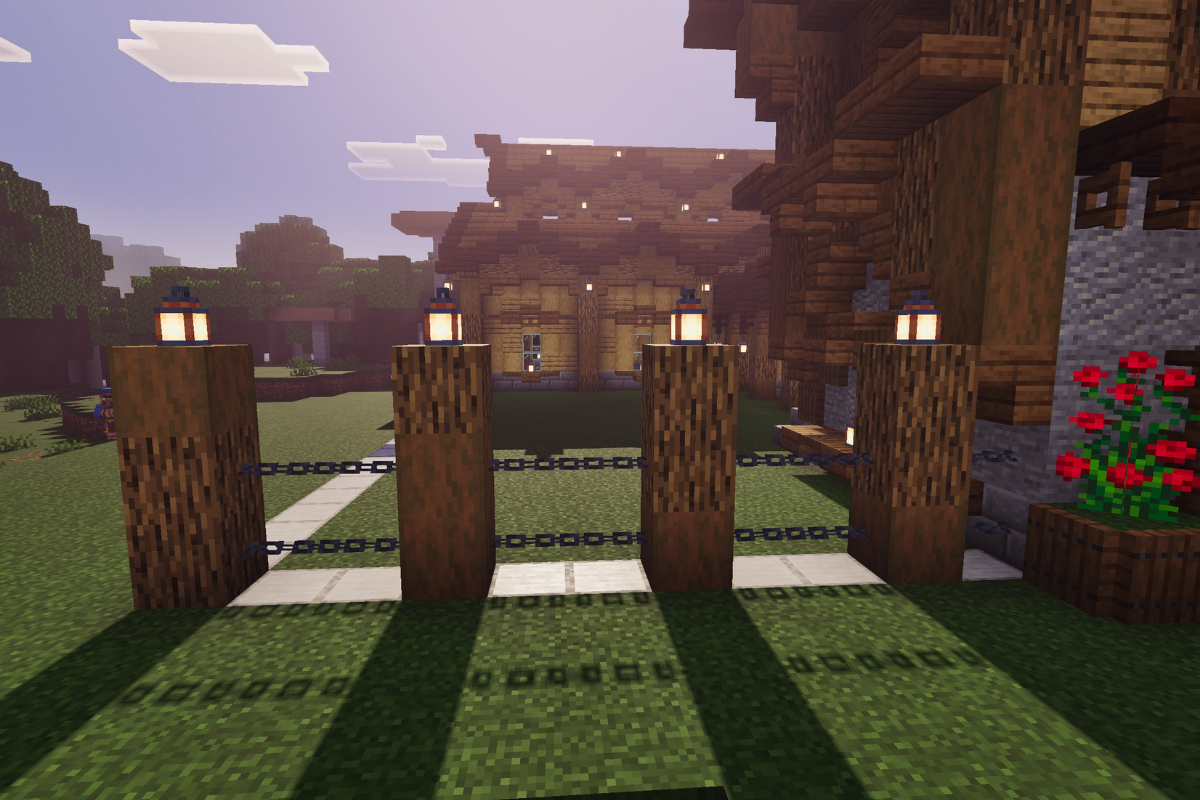
STEP 173 / 235
Create 6 textured pillars.
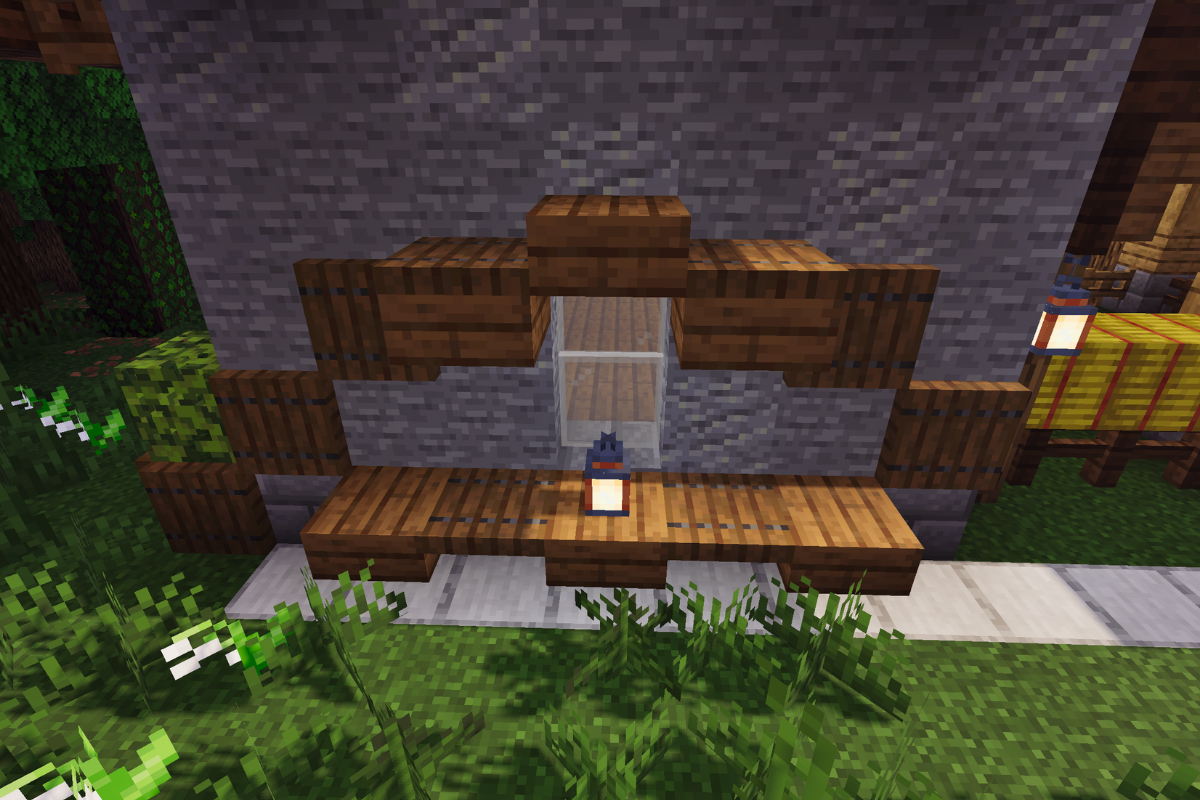
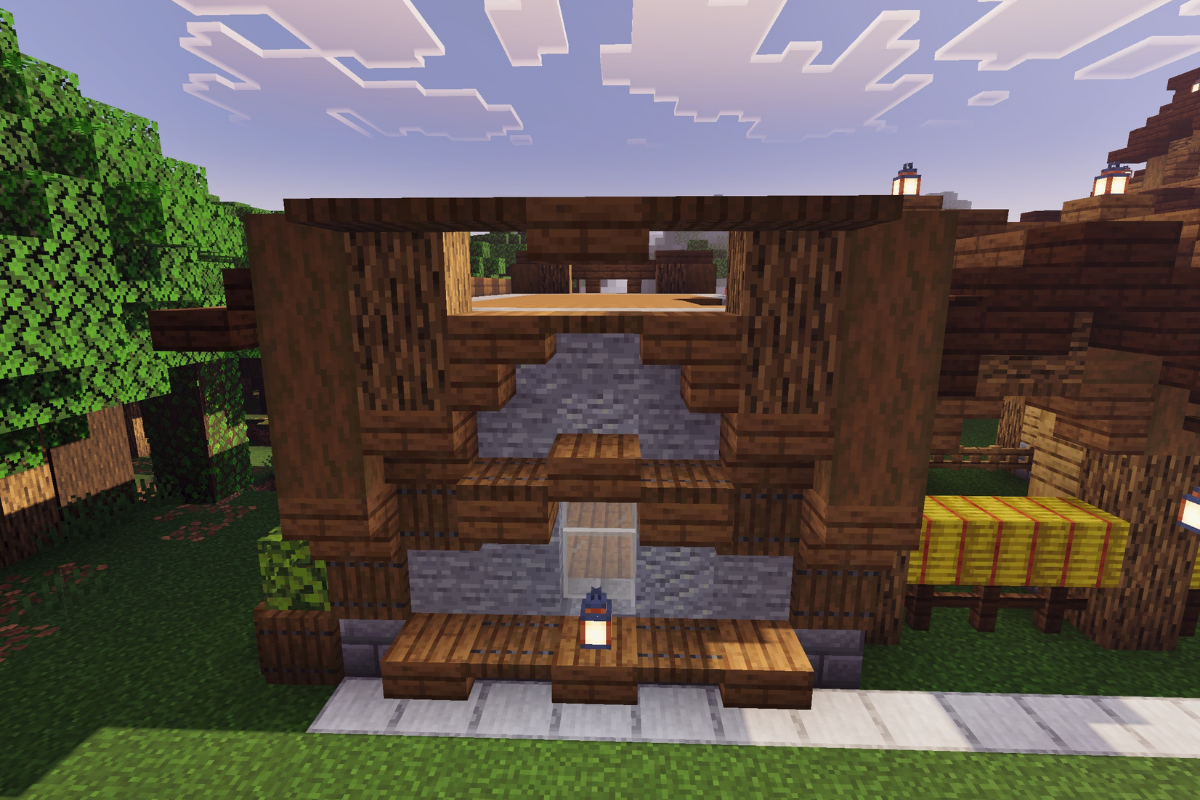
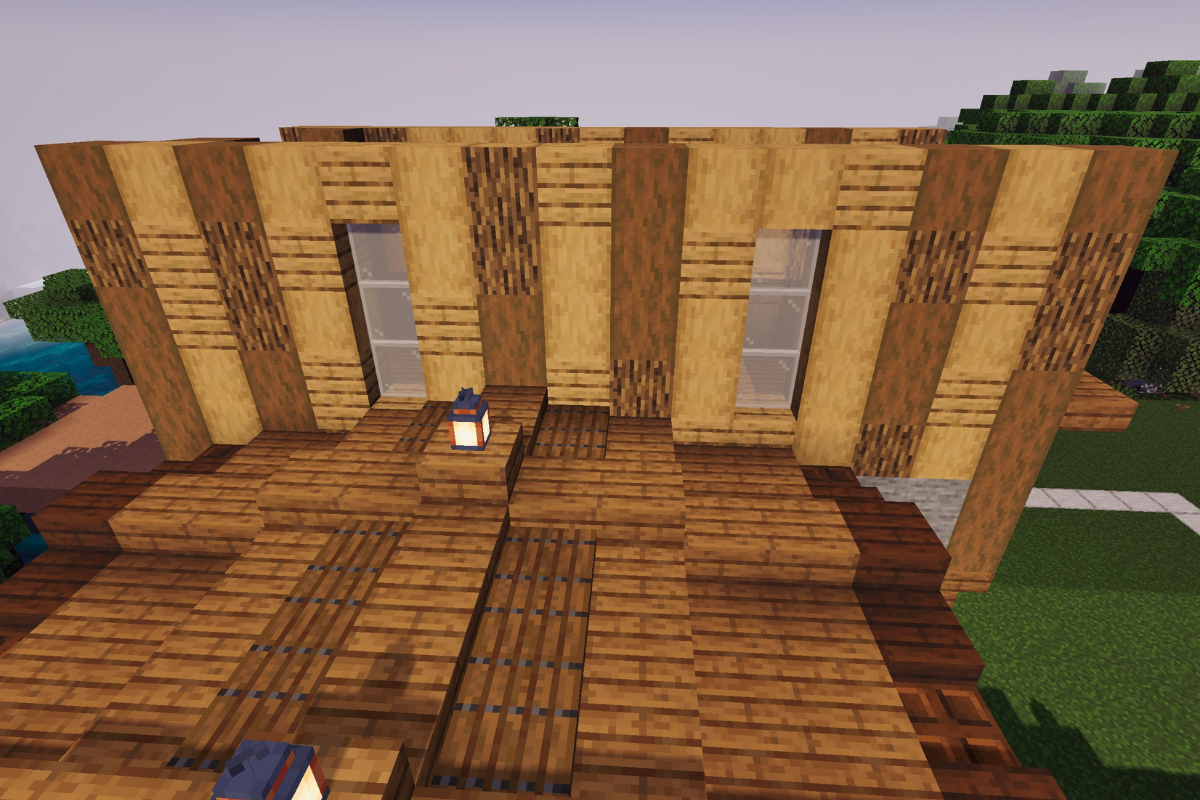
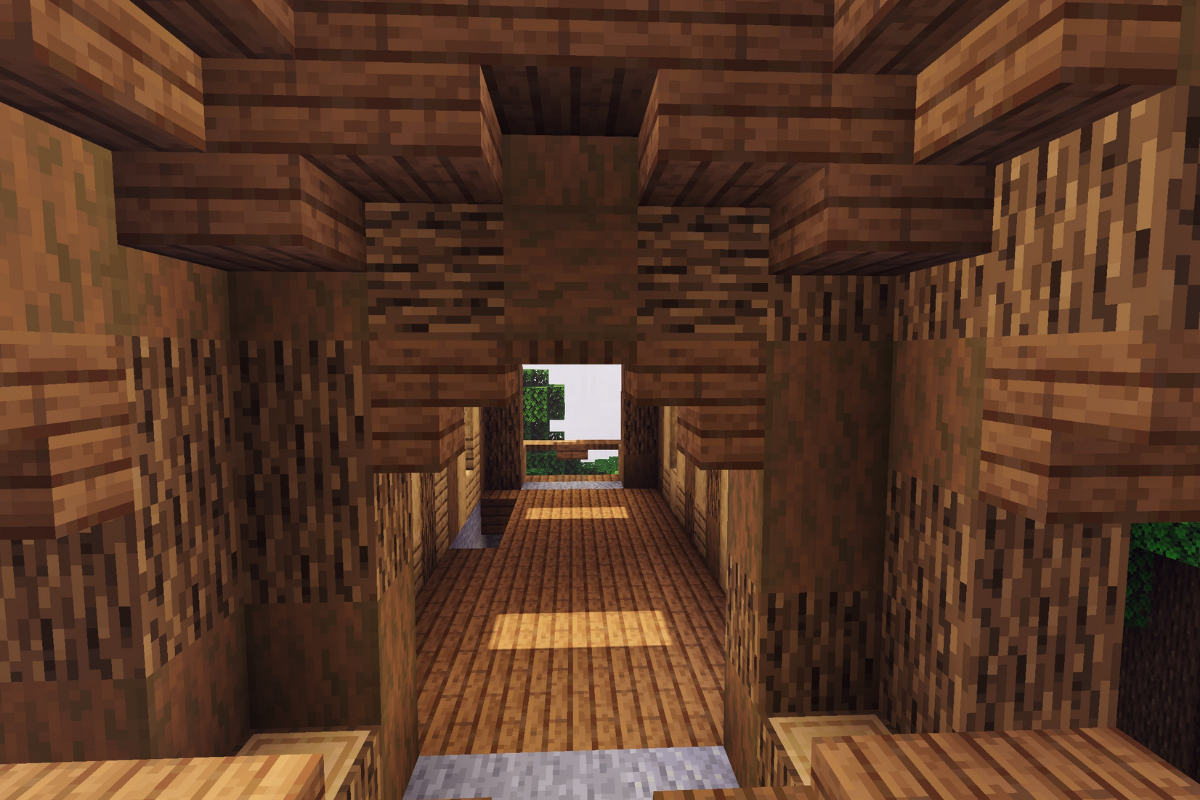
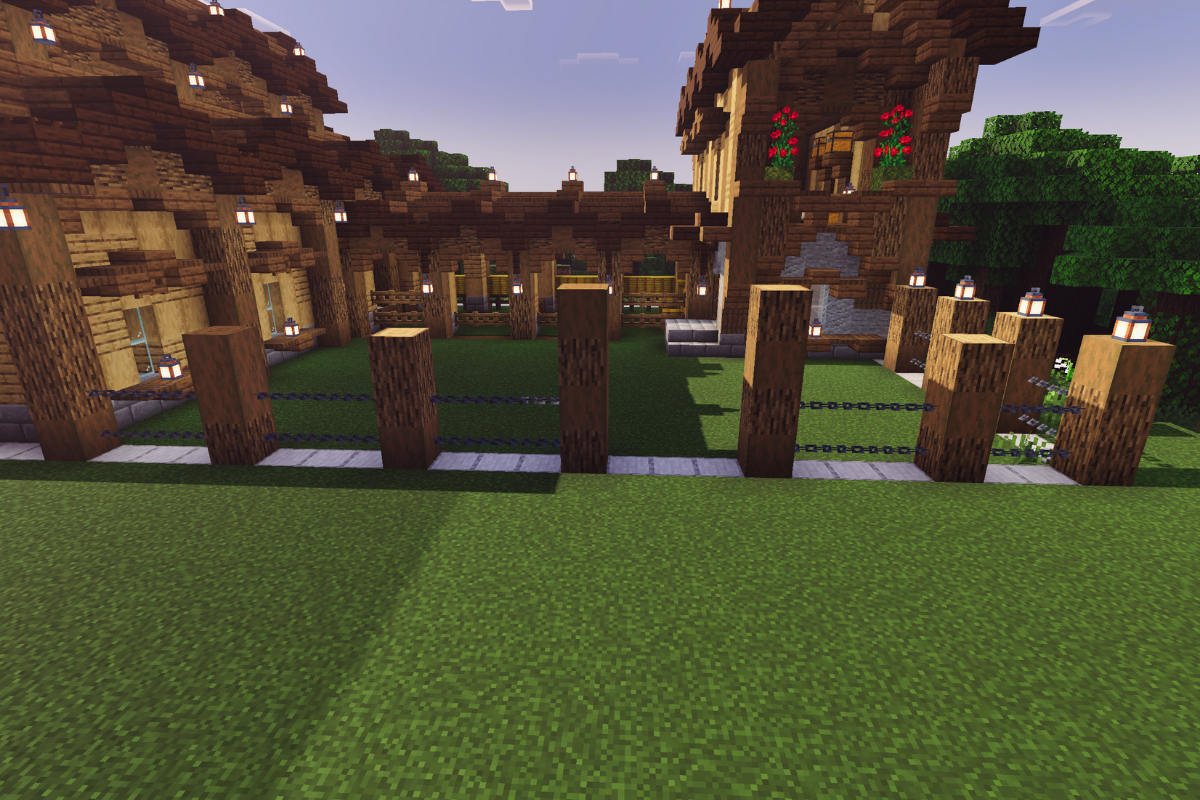
STEP 174 / 235
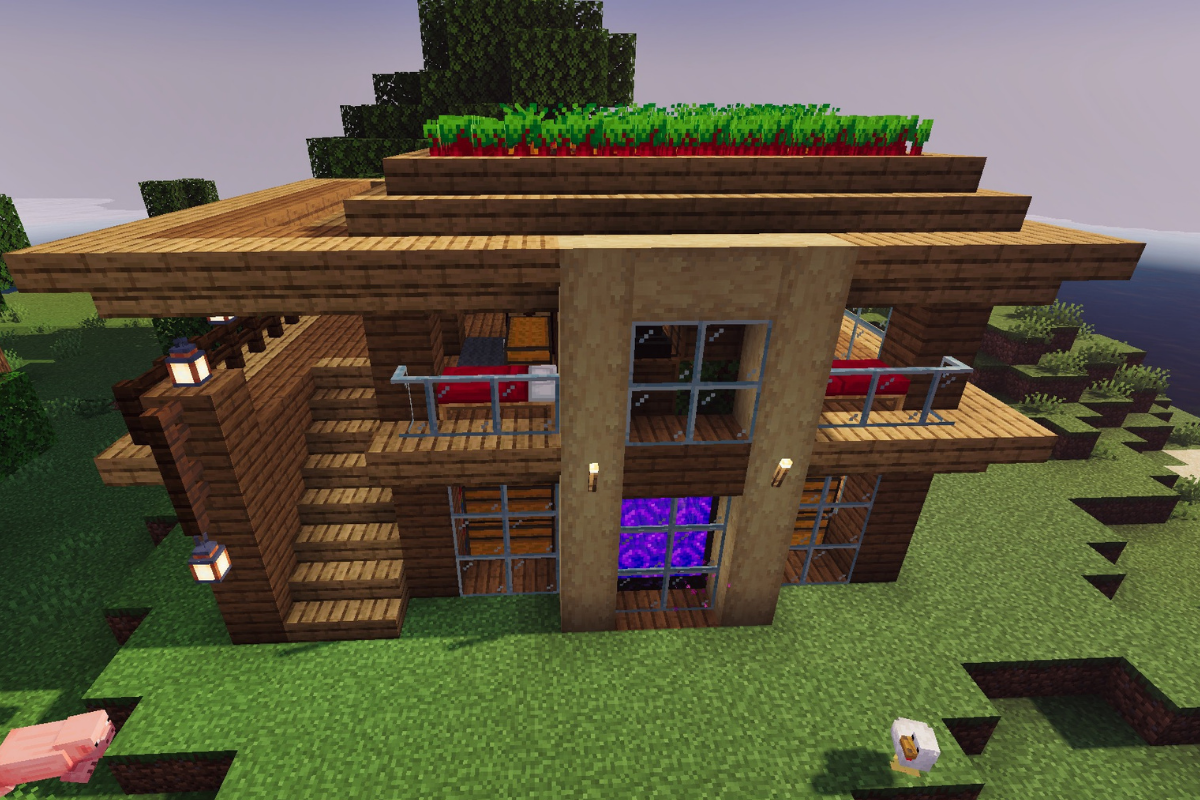
Fill in the walls with oak planks and oak logs.
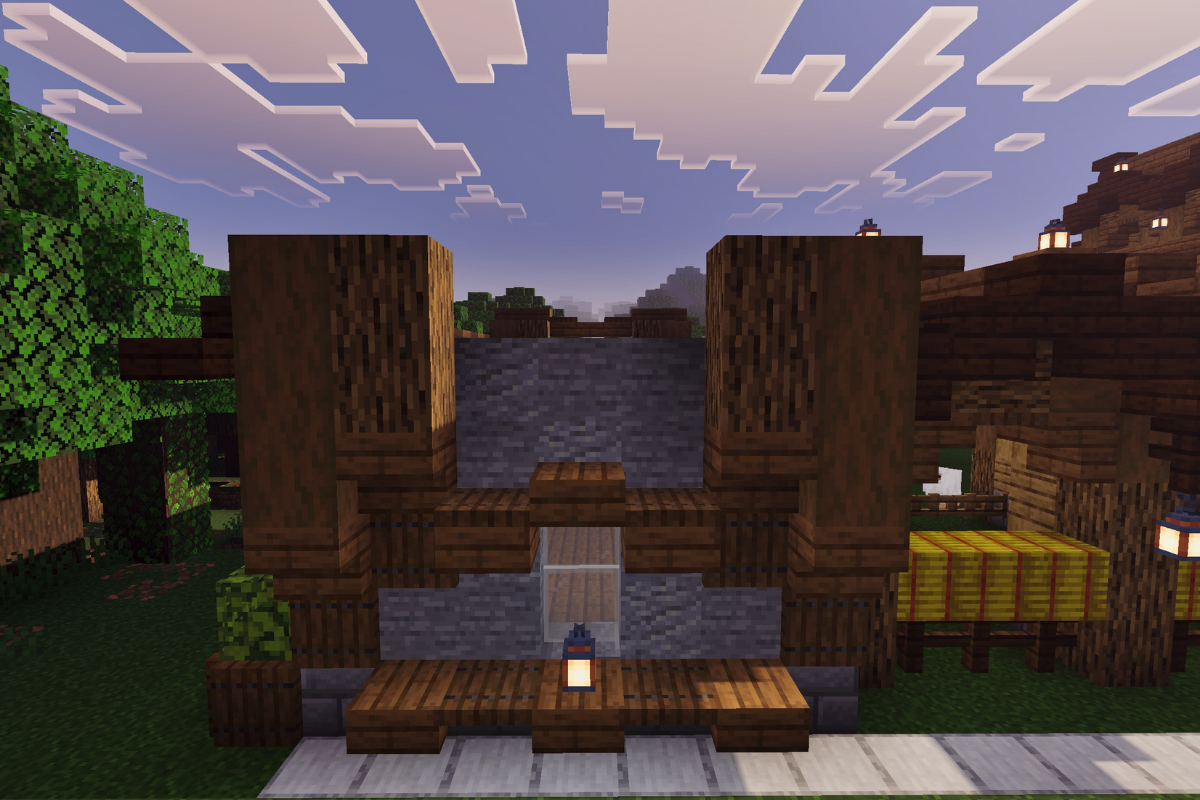
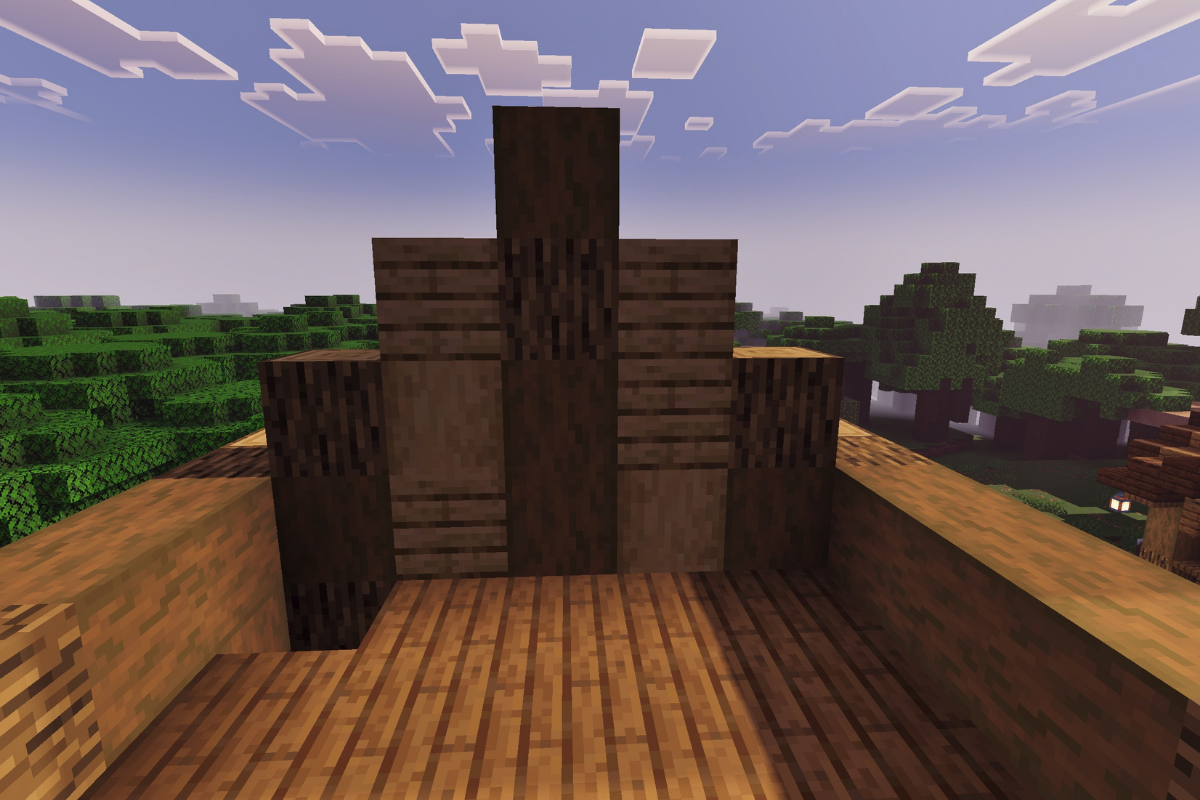
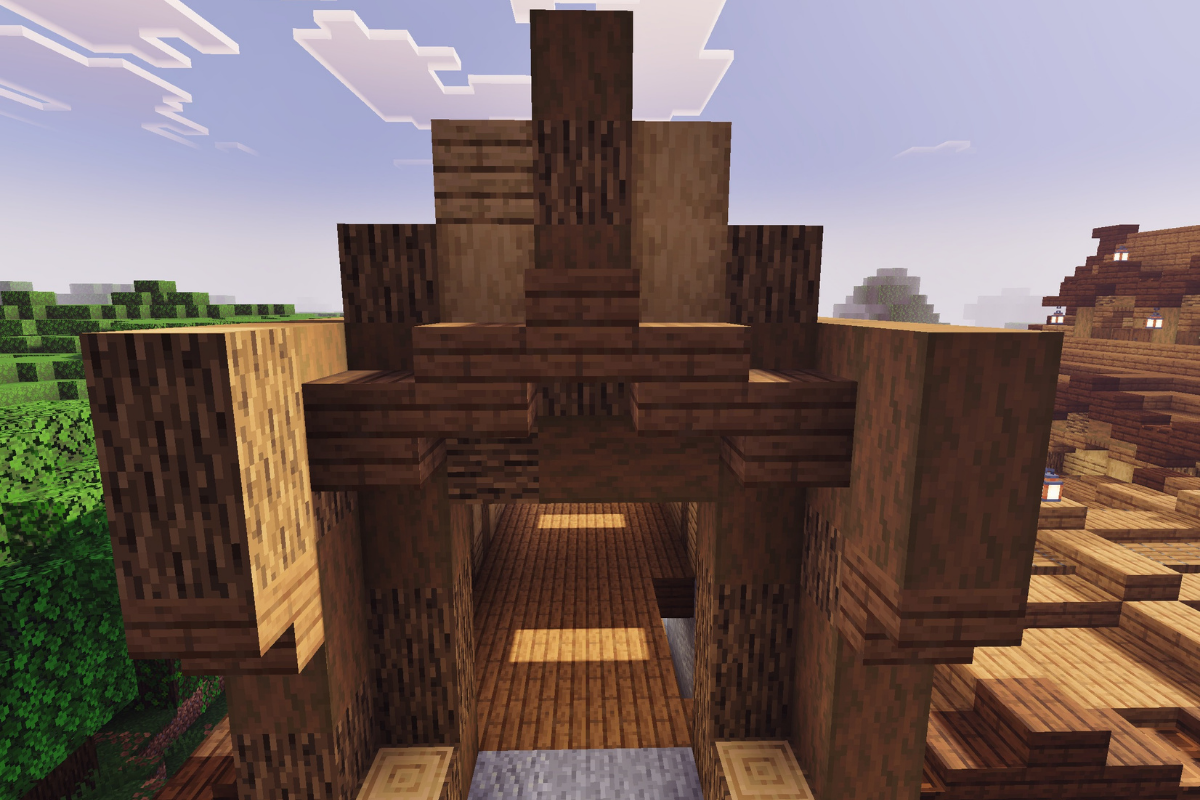
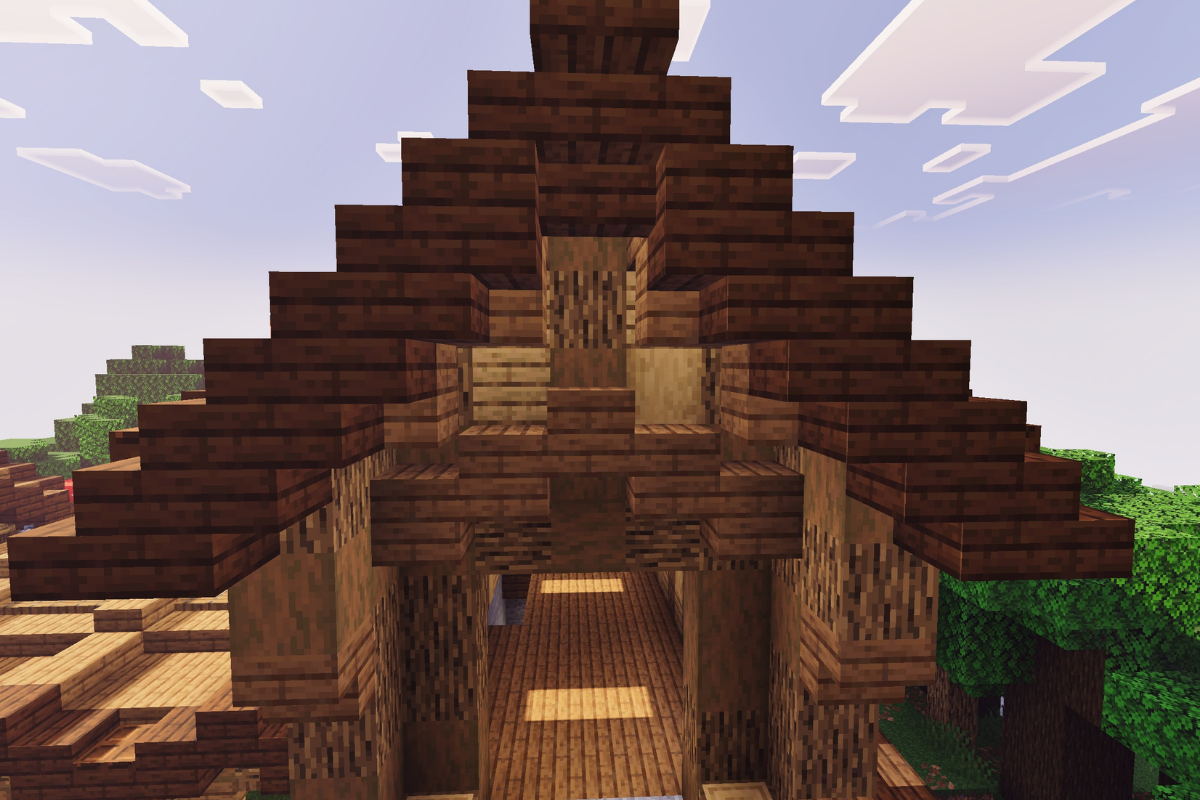
STEP 175 / 235
Create 2 textured pillars at the back of the house.
STEP 176 / 235
Create 6 textured pillars.
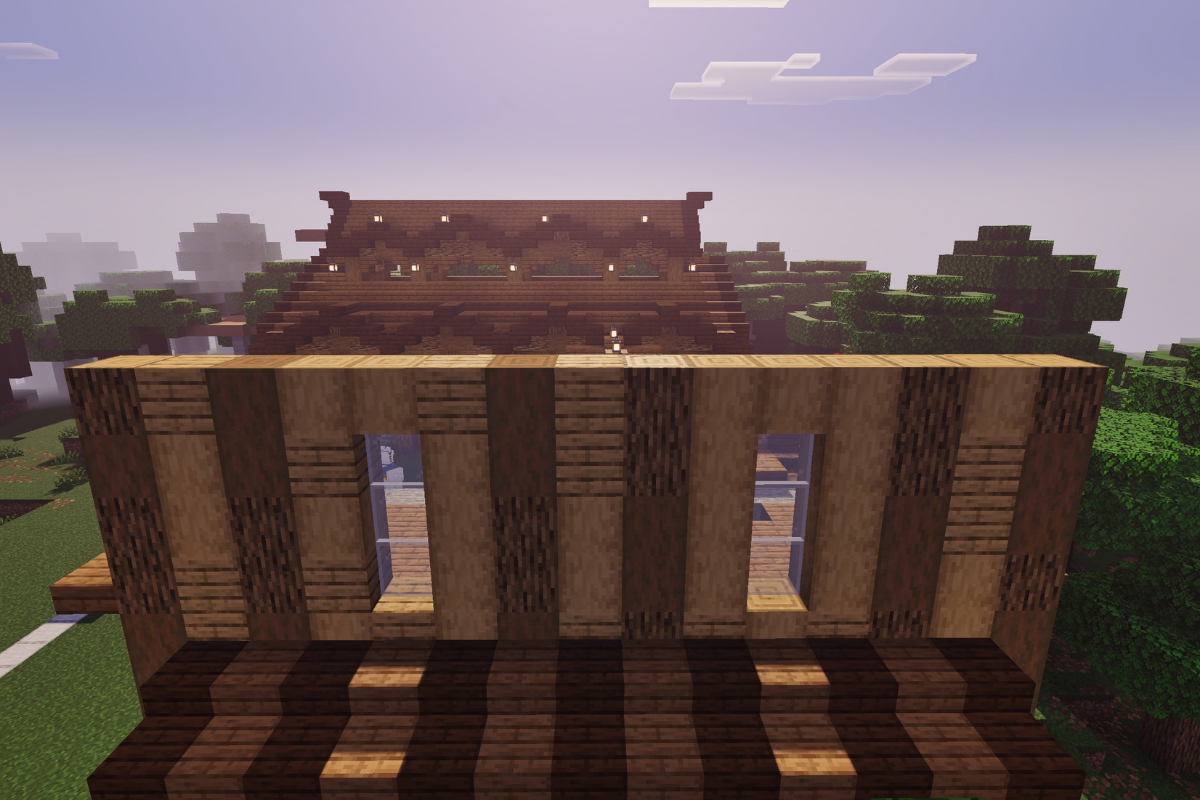
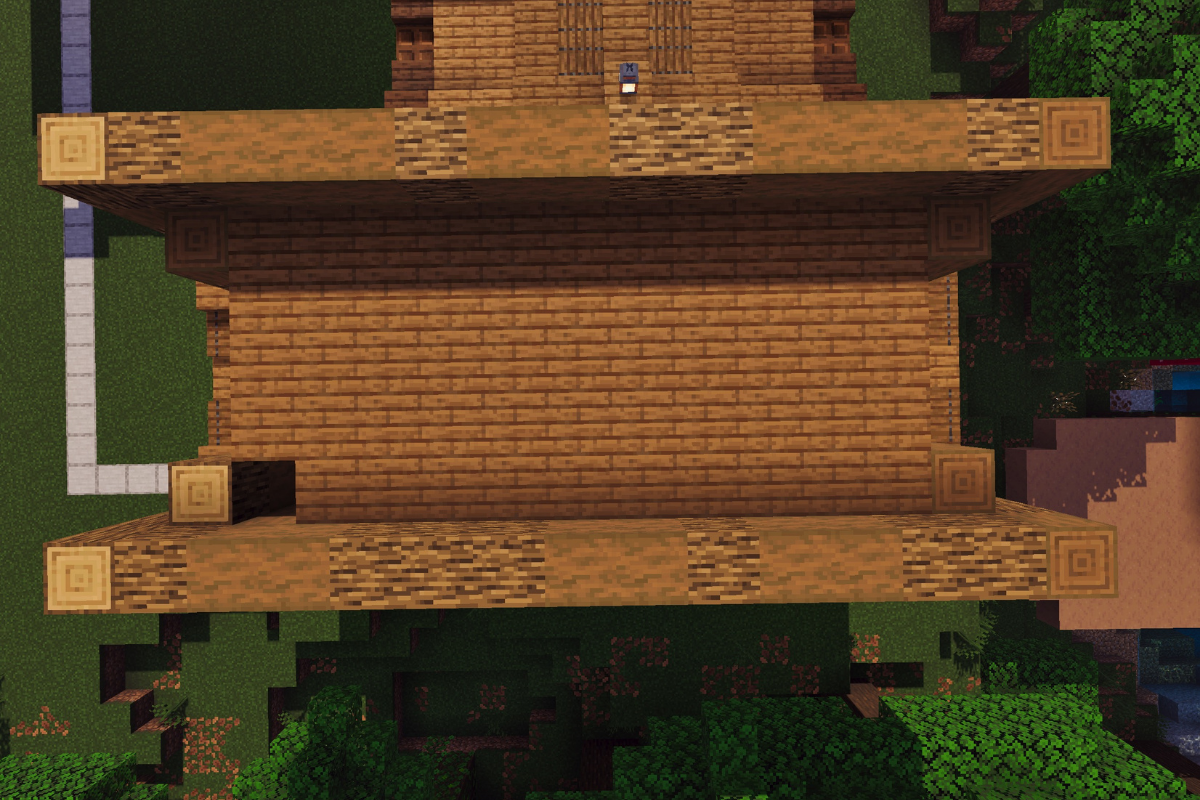
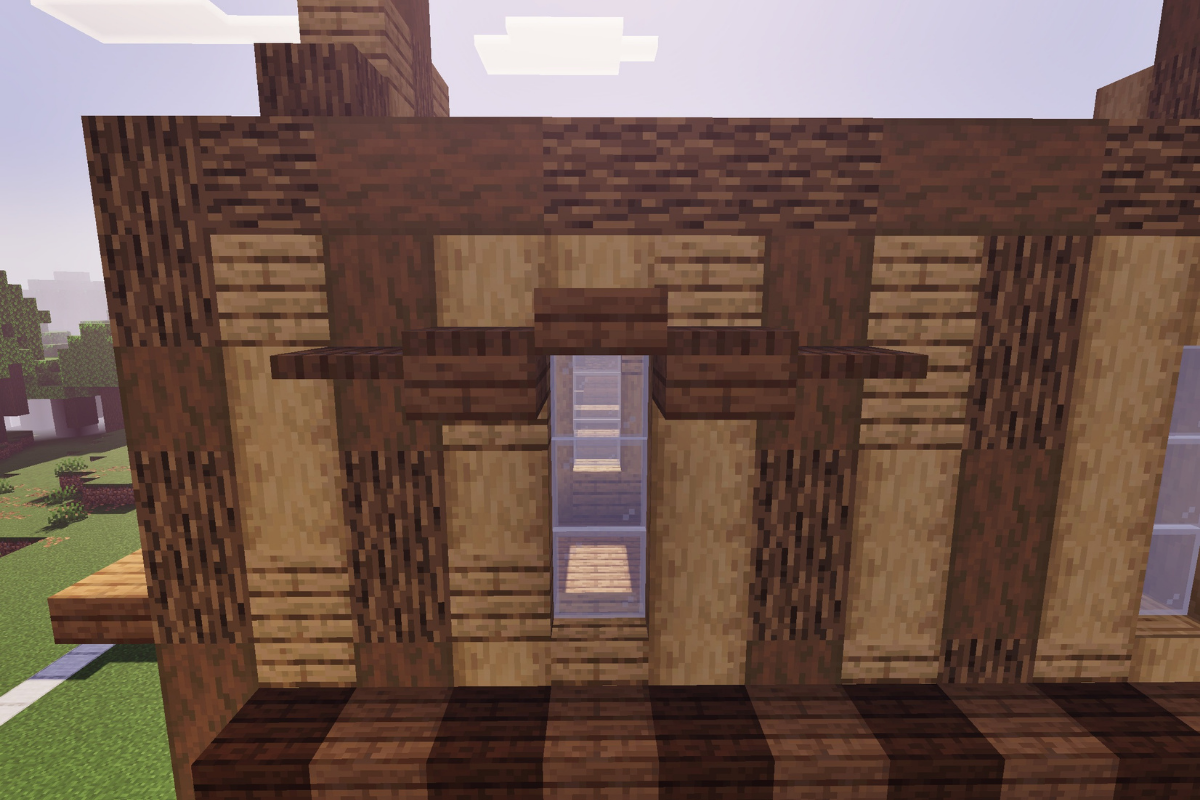
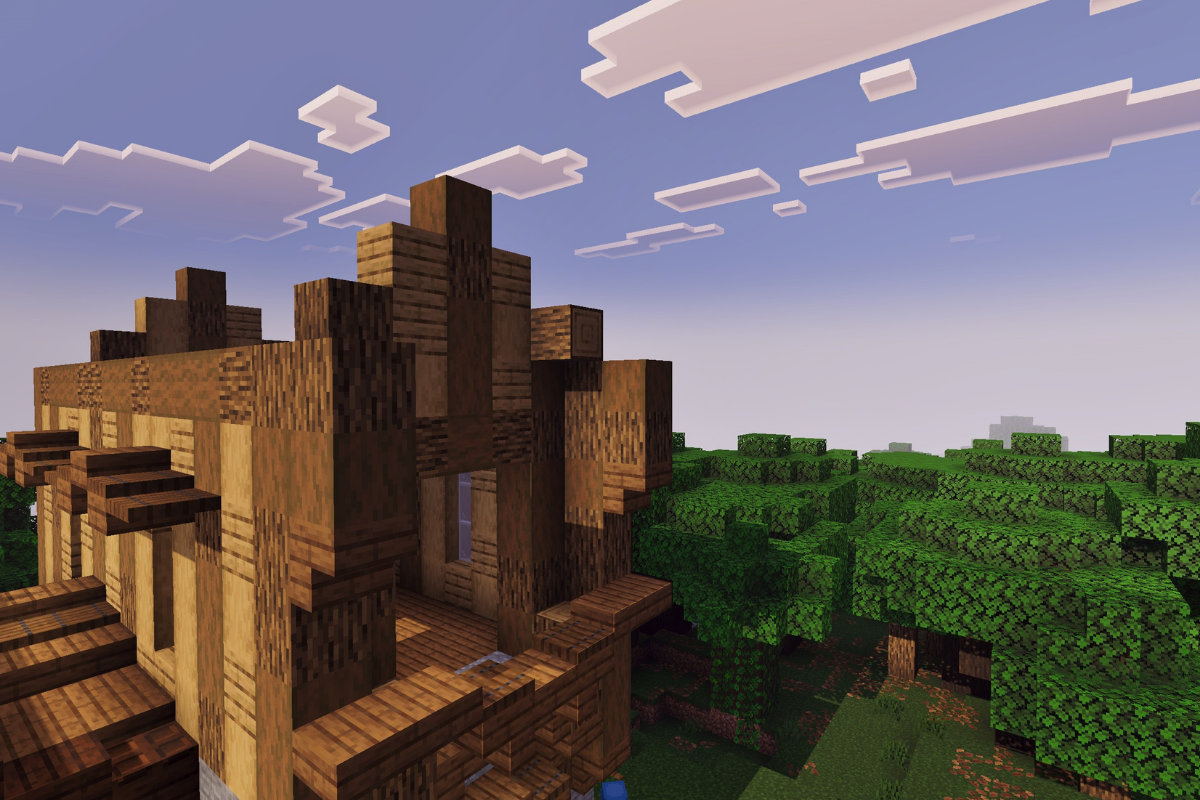
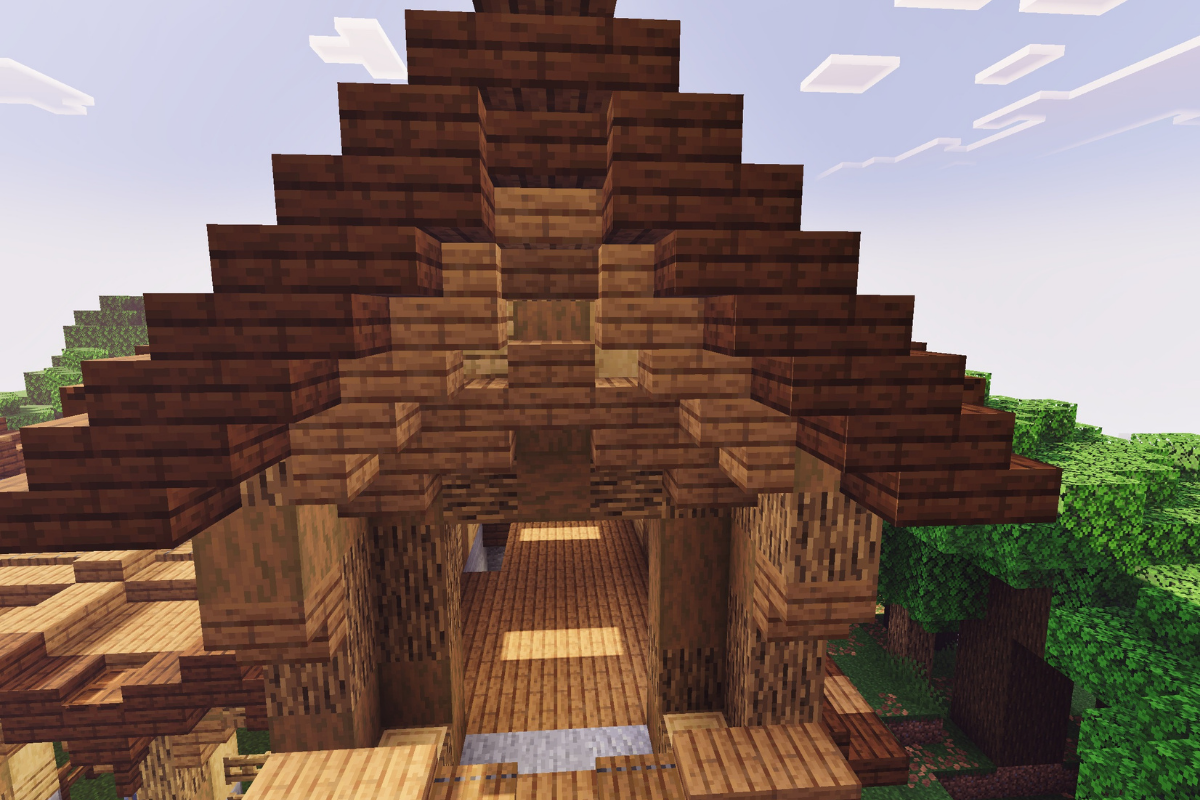
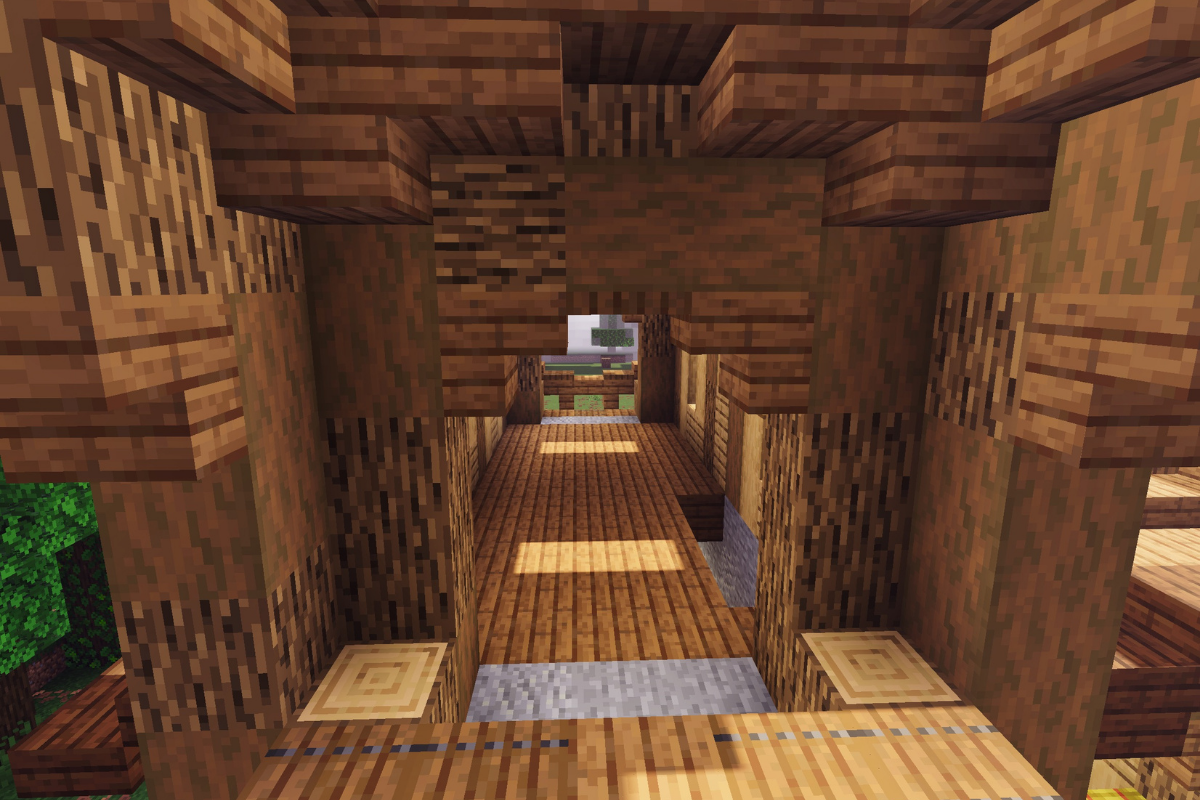
STEP 177 / 235
Fill in the walls with oak planks and oak logs.
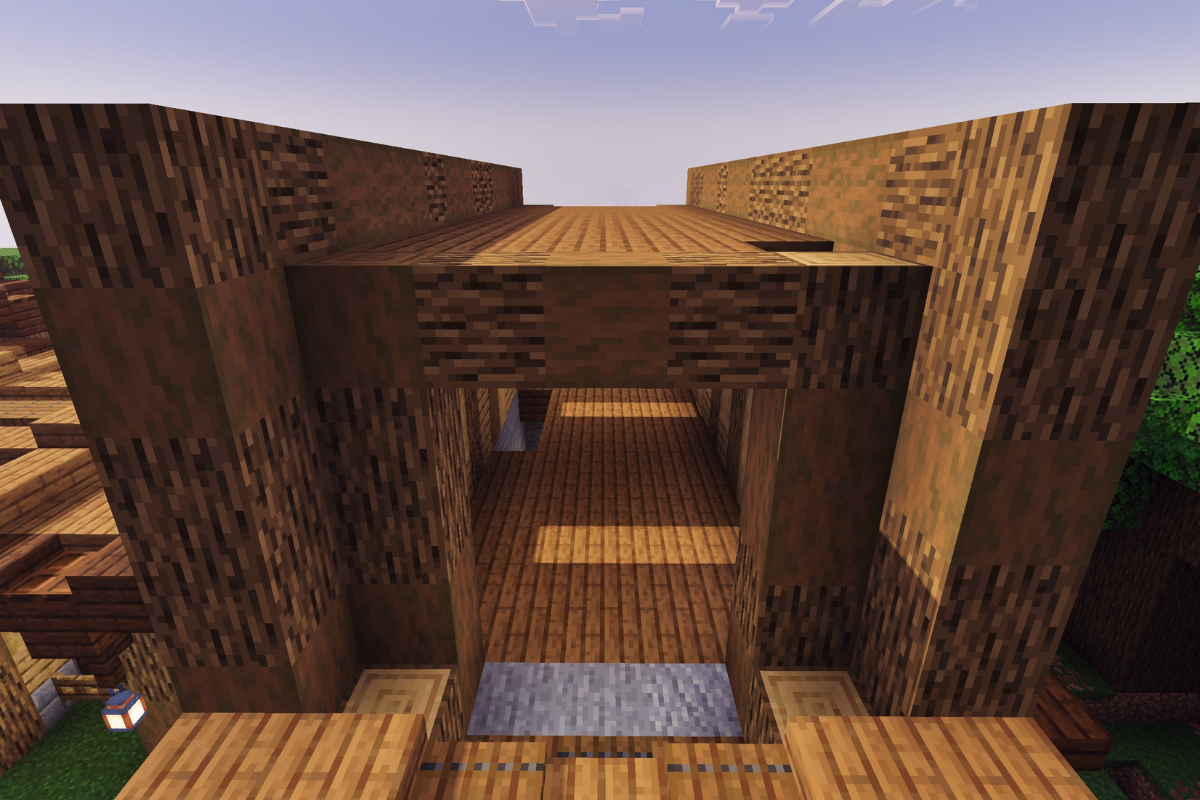
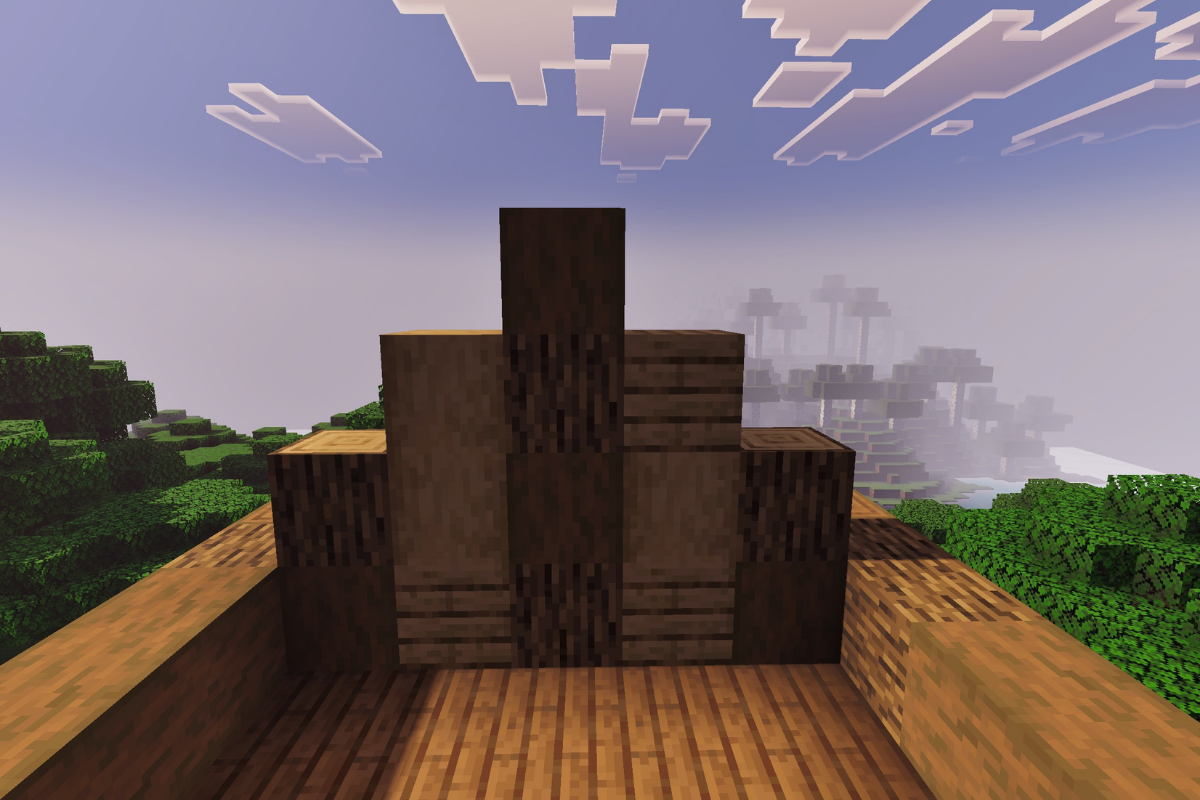
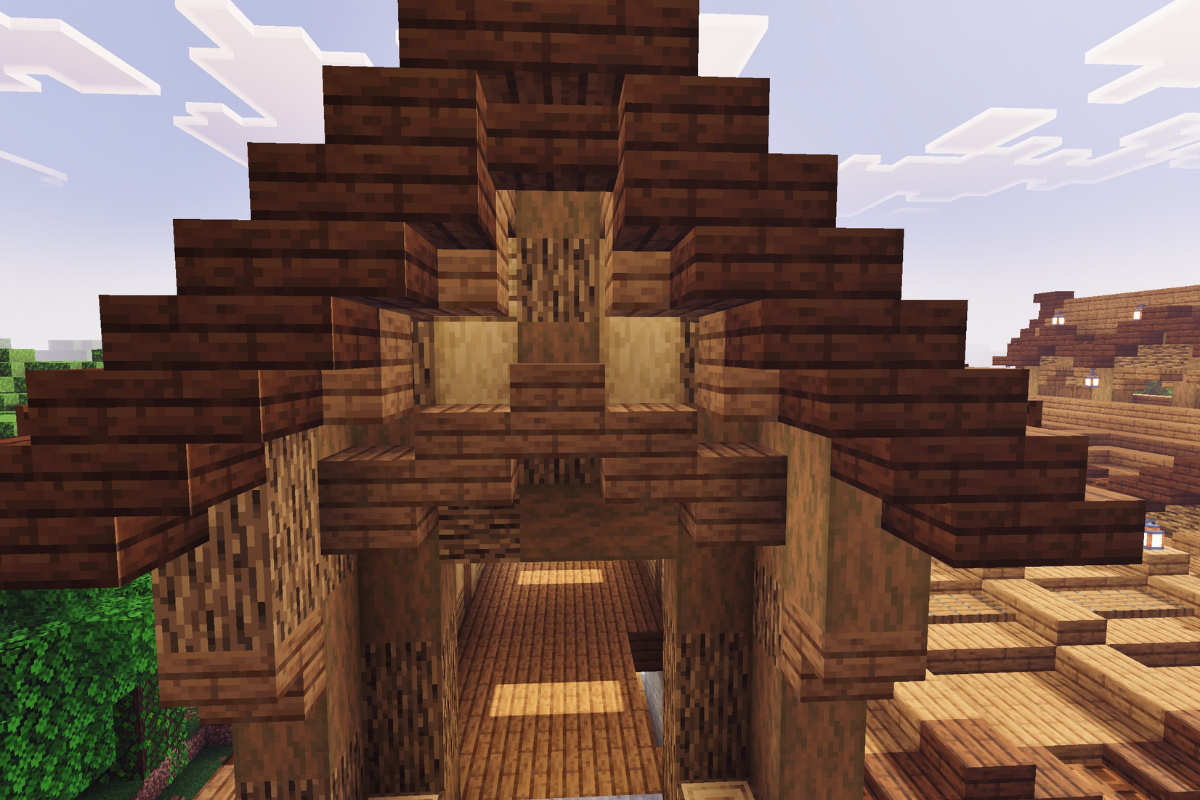
STEP 178 / 235
Create 2 textured pillars at the front of the house.
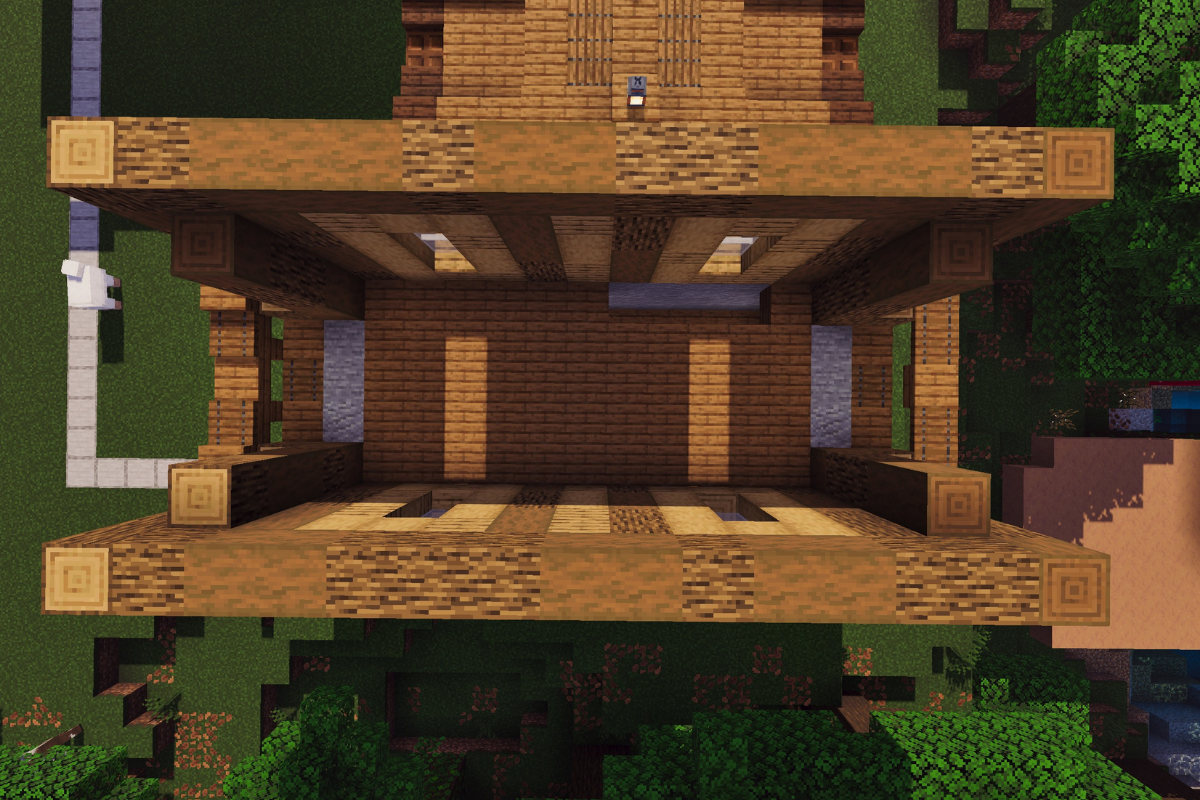
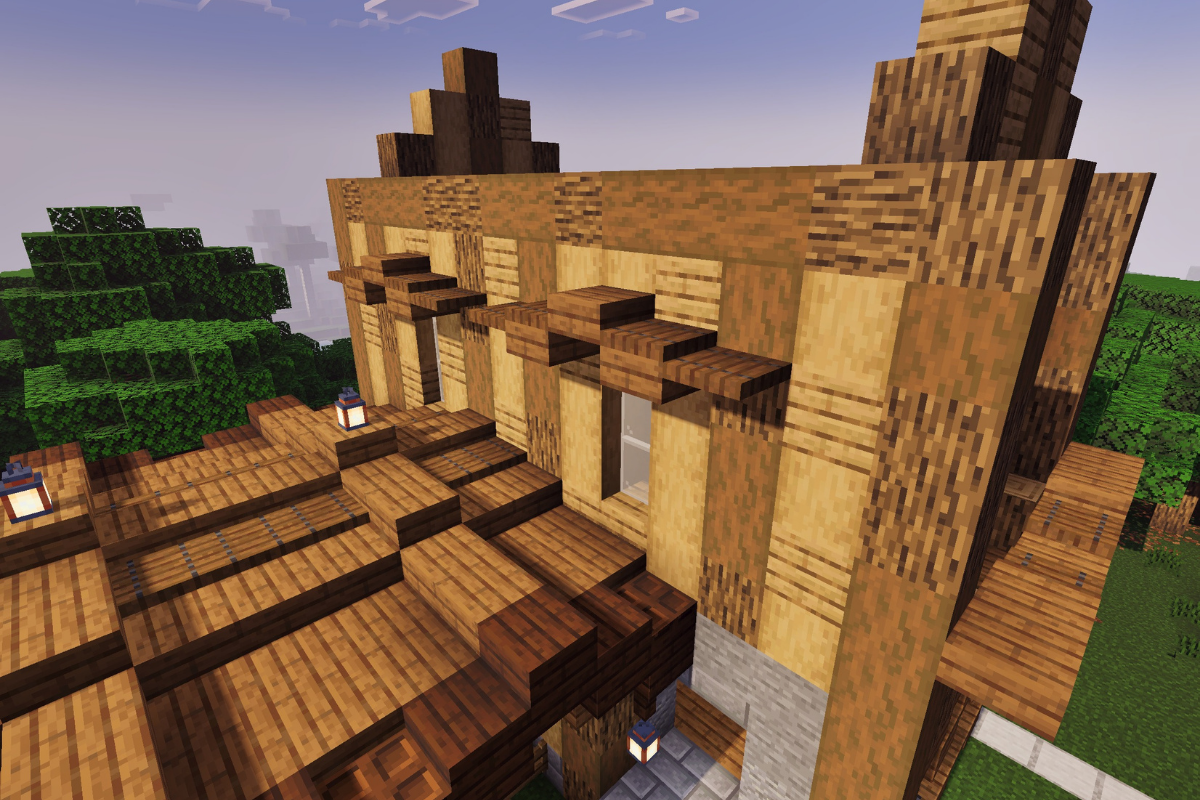
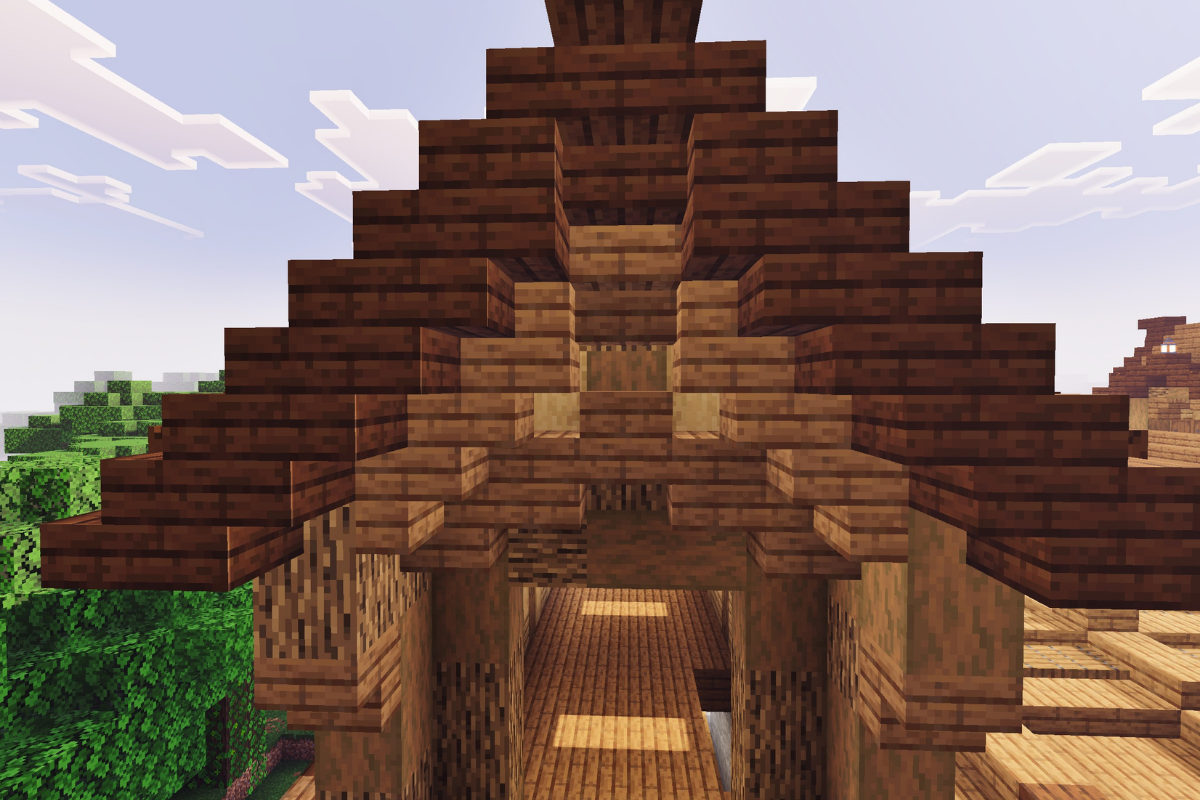
STEP 179 / 235
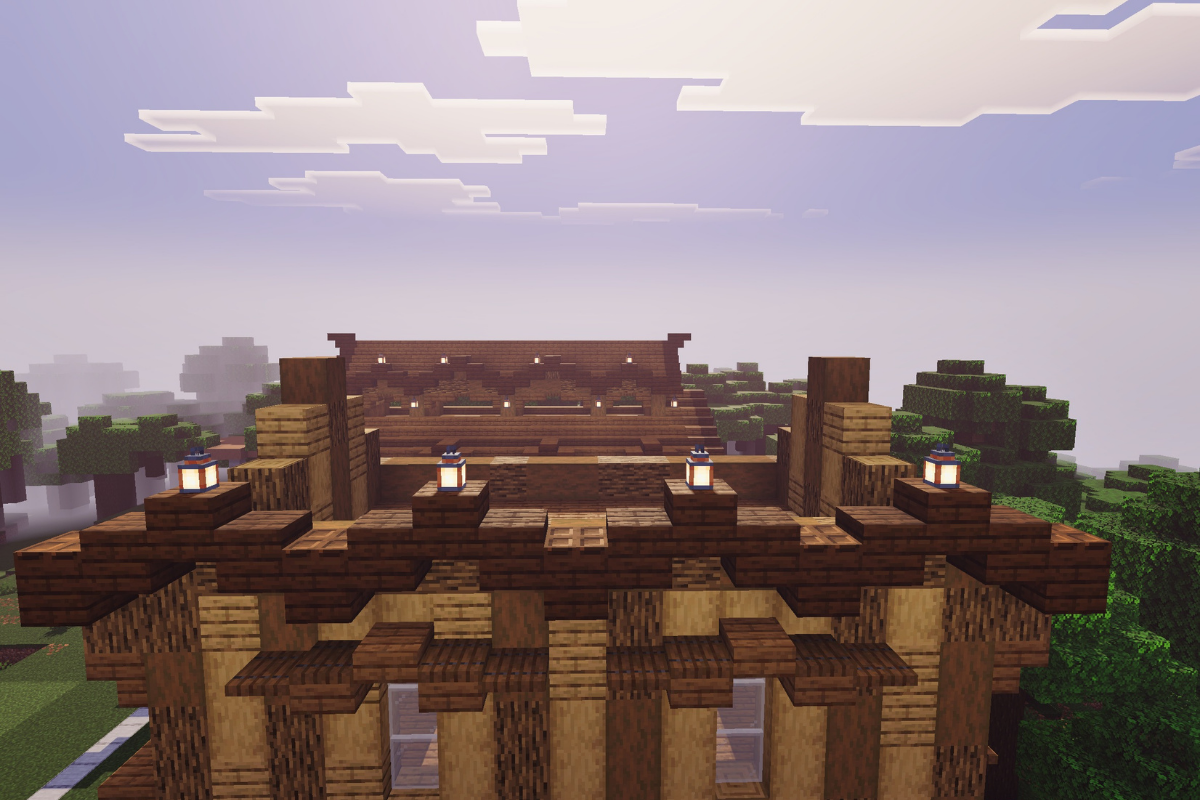
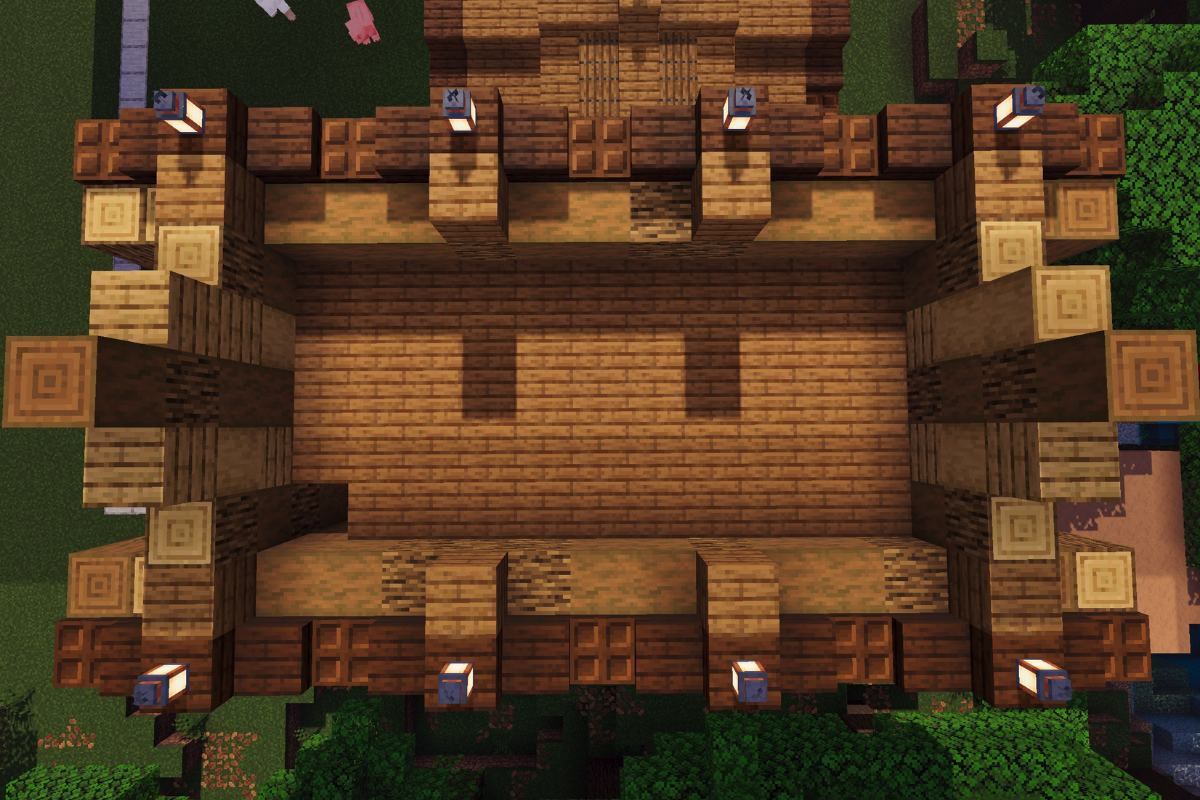
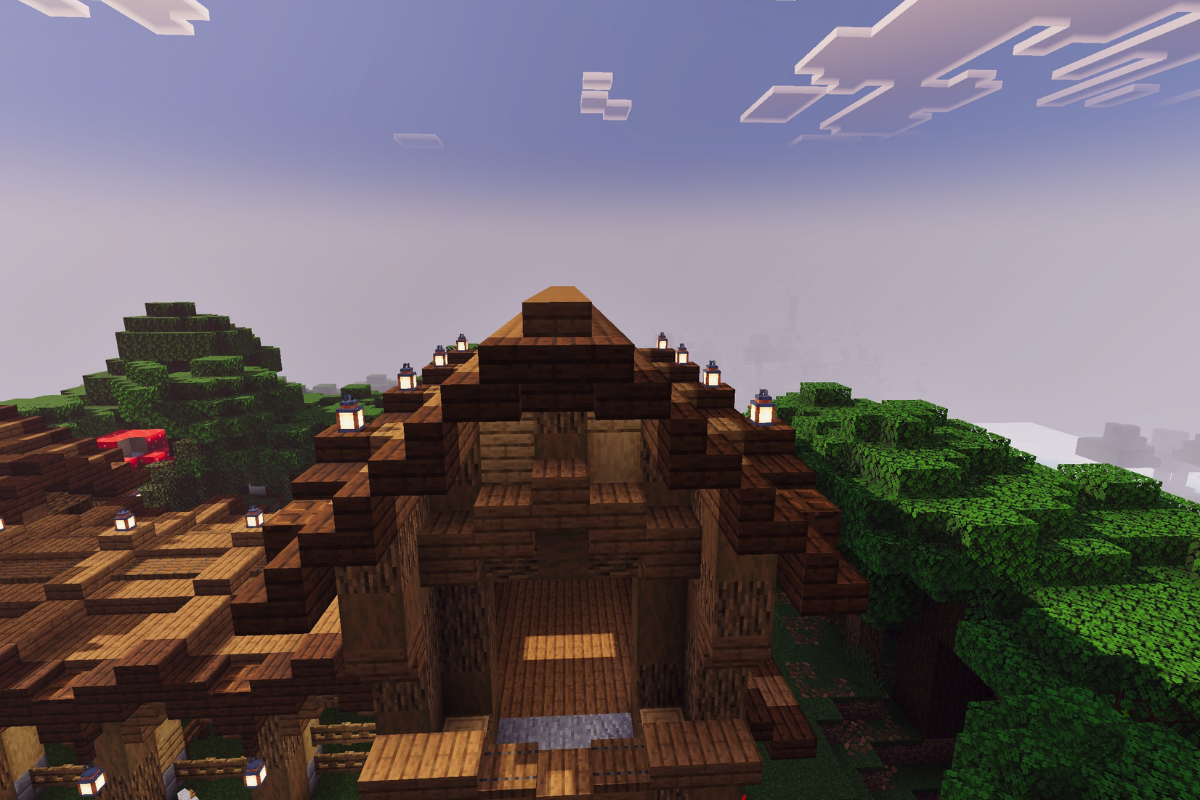
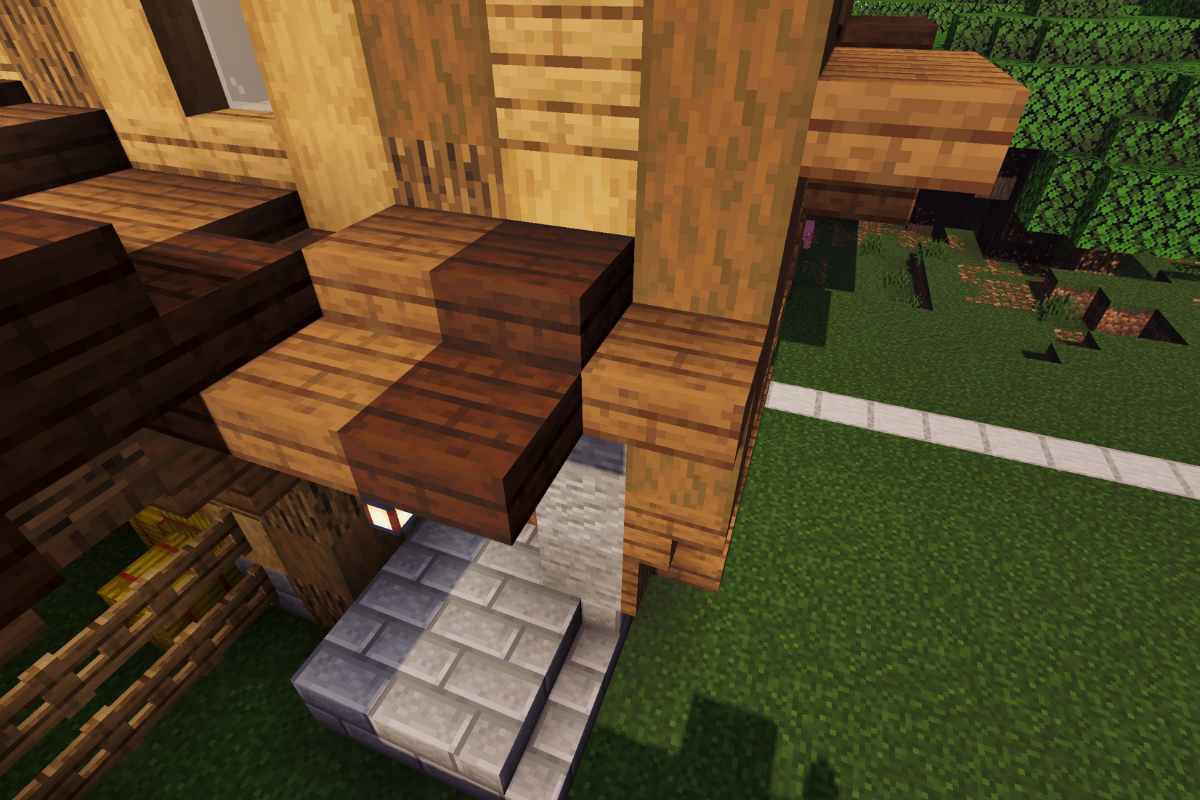
Create to supporting beams on the roof of the house.
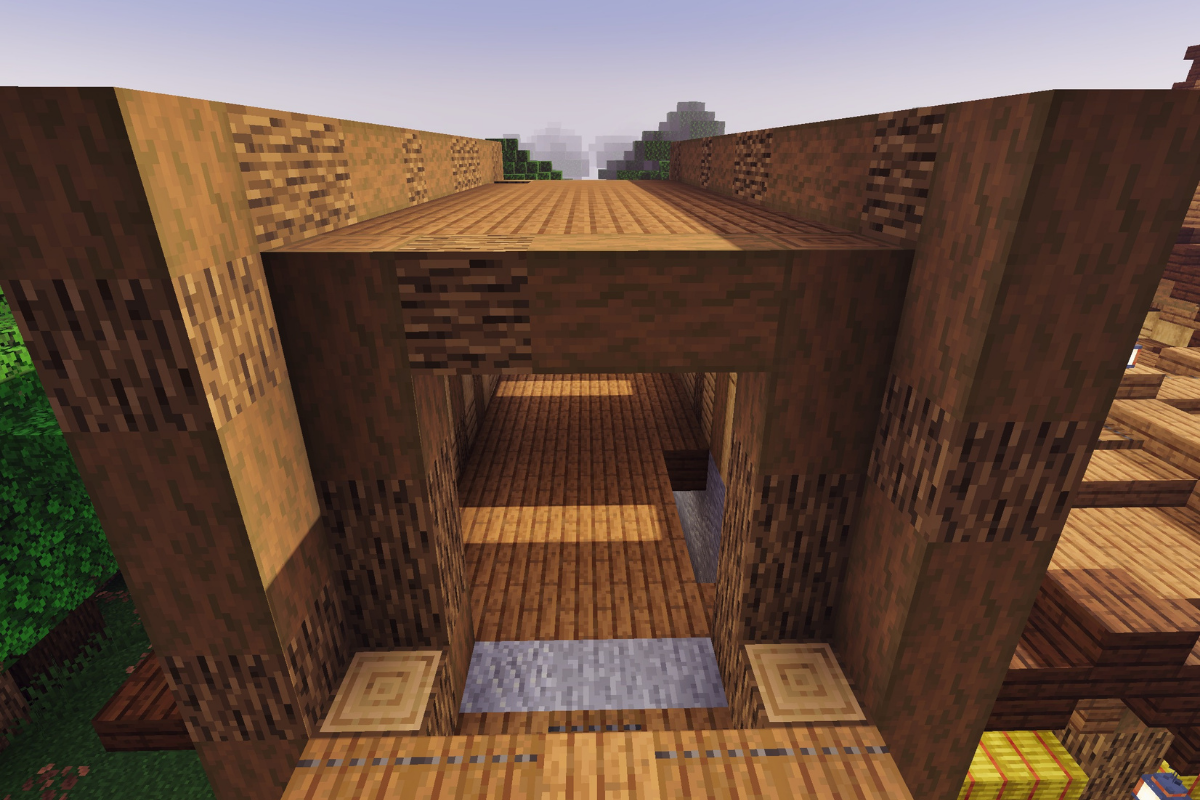
STEP 180 / 235
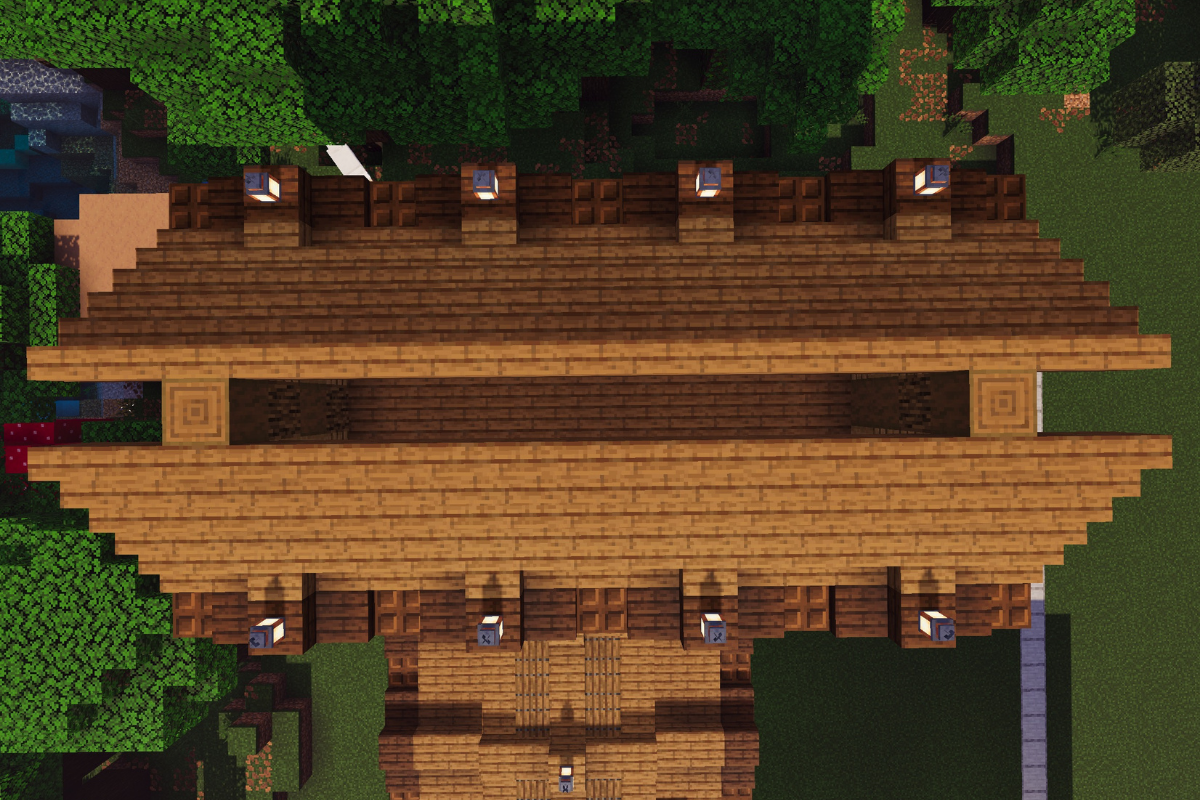
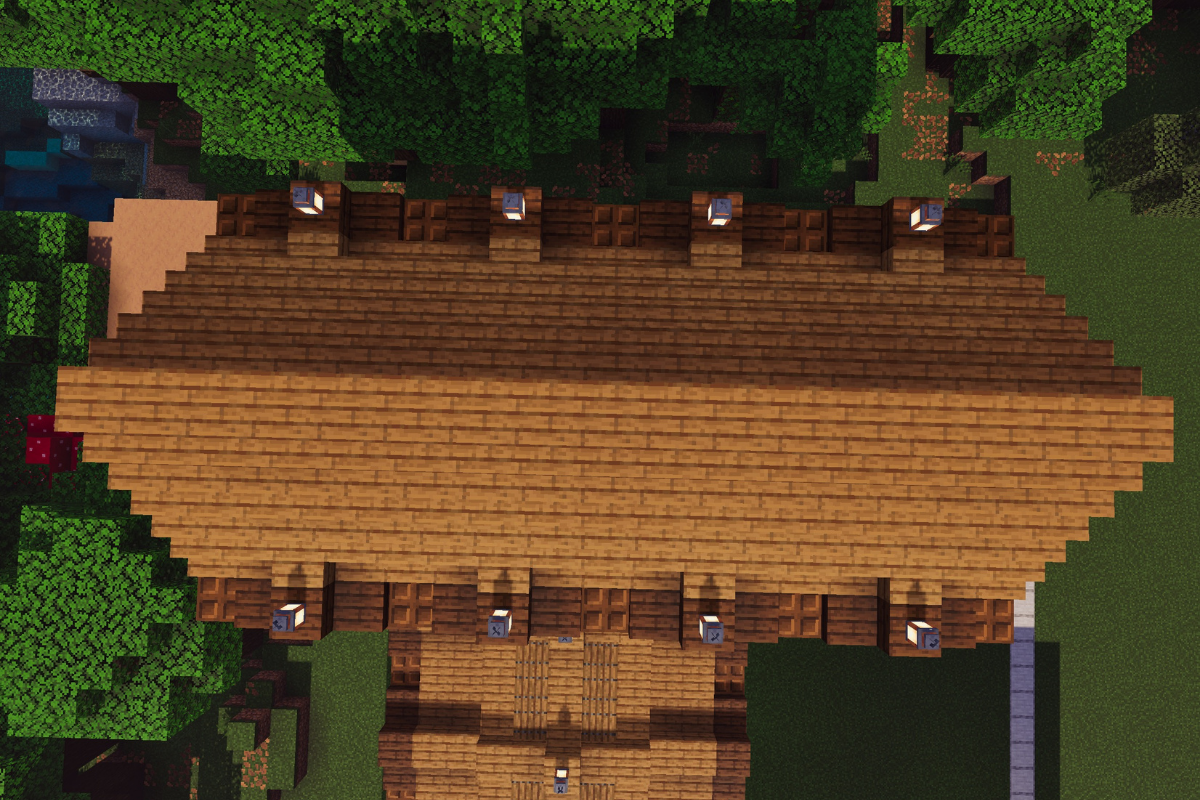
Fill in the attic floor with spruce slabs leaving one block empty for entry.
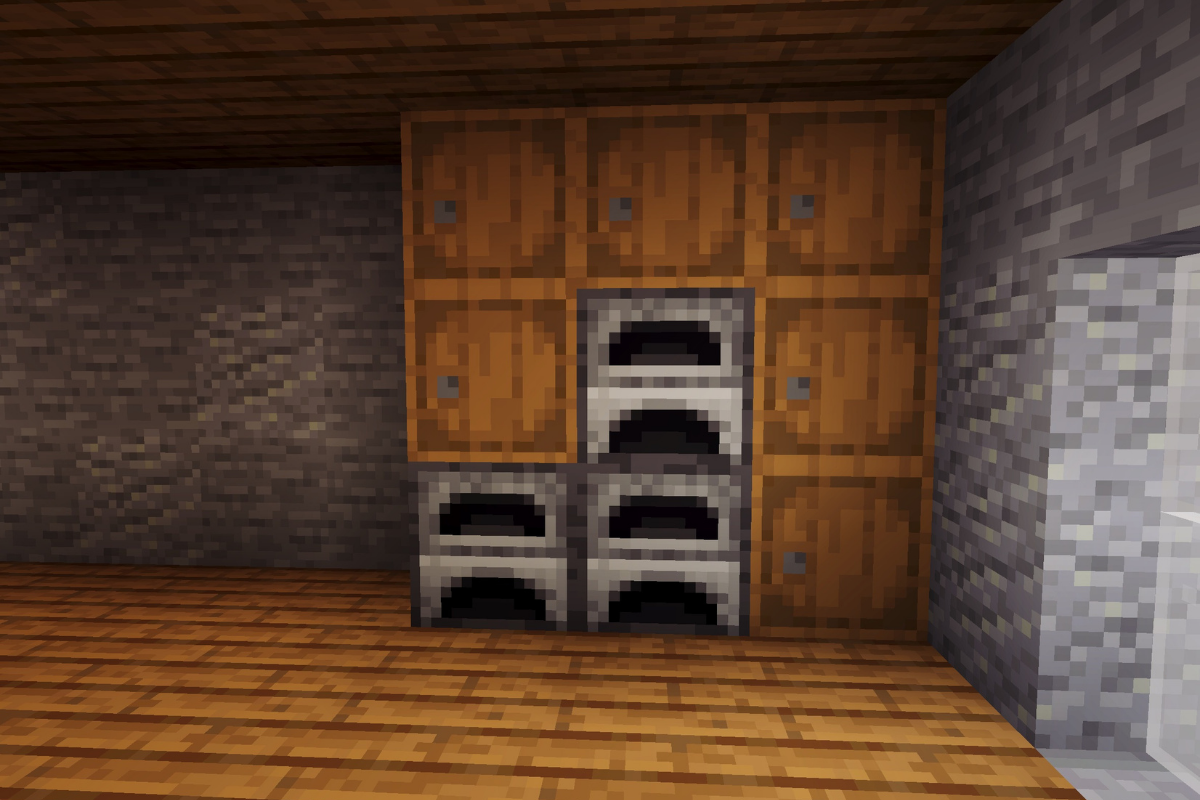
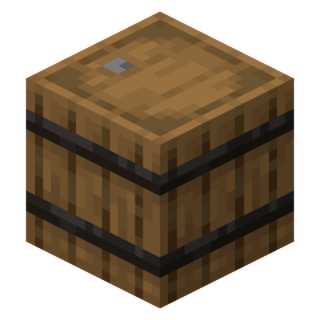
STEP 221 / 235
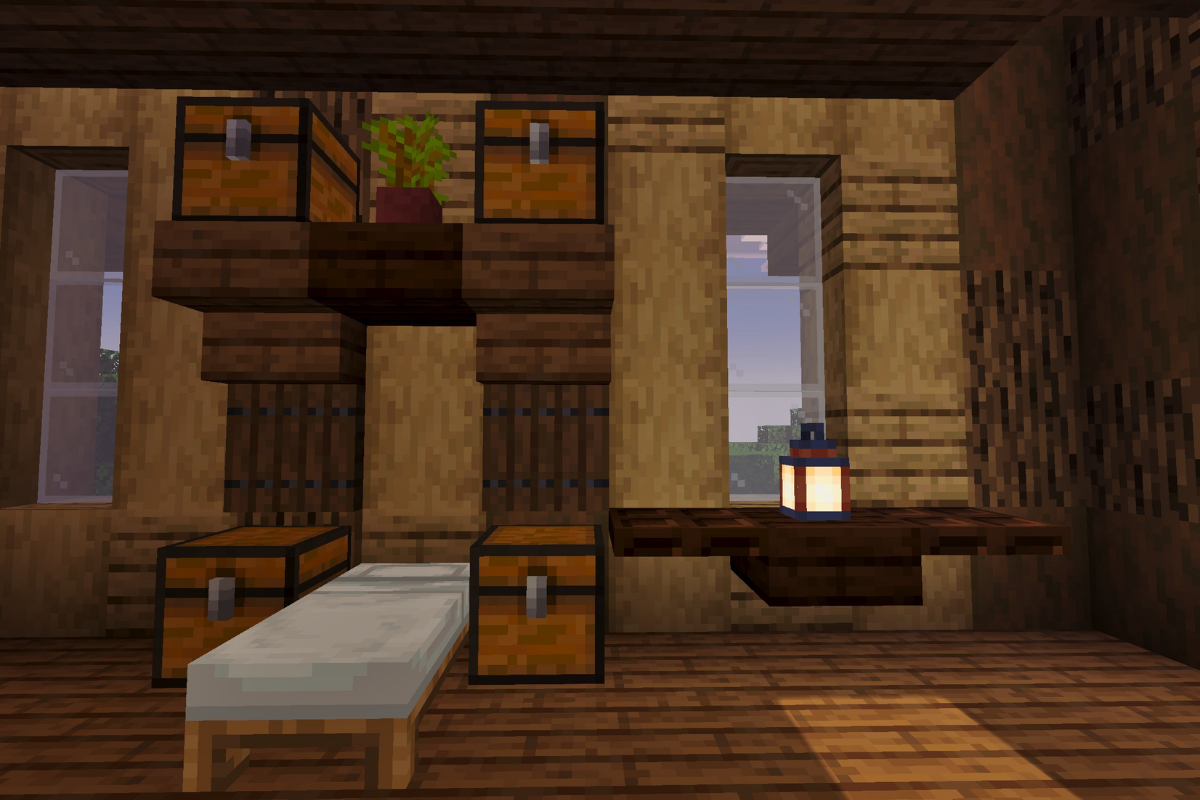
Place 6 barrels and 3 furnaces.
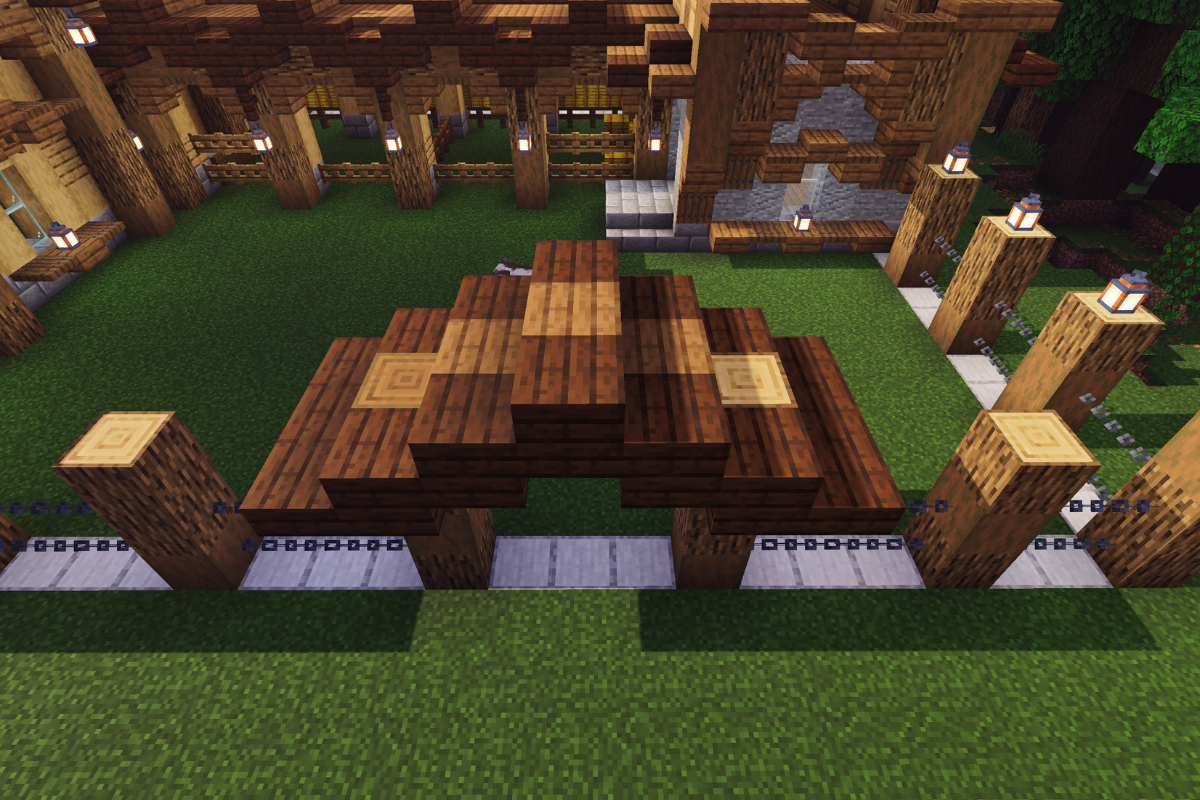
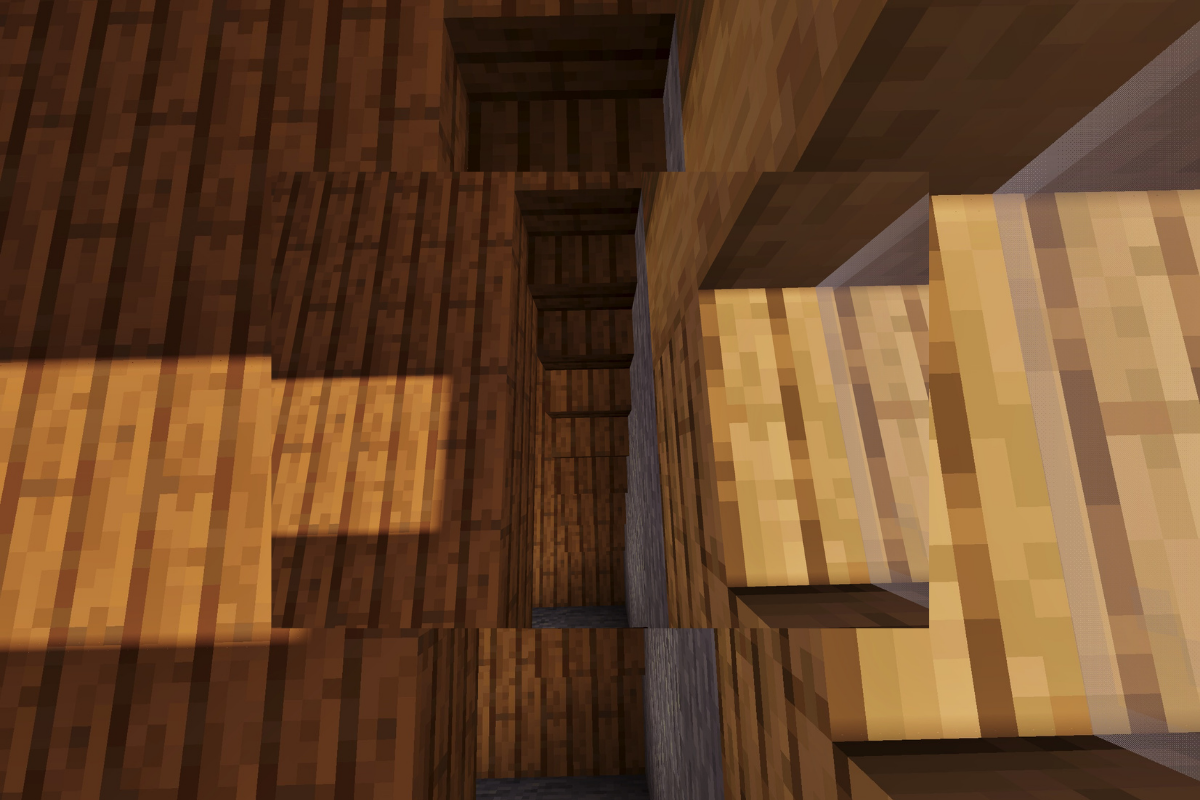
STEP 222 / 235
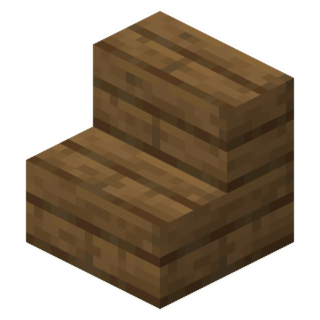
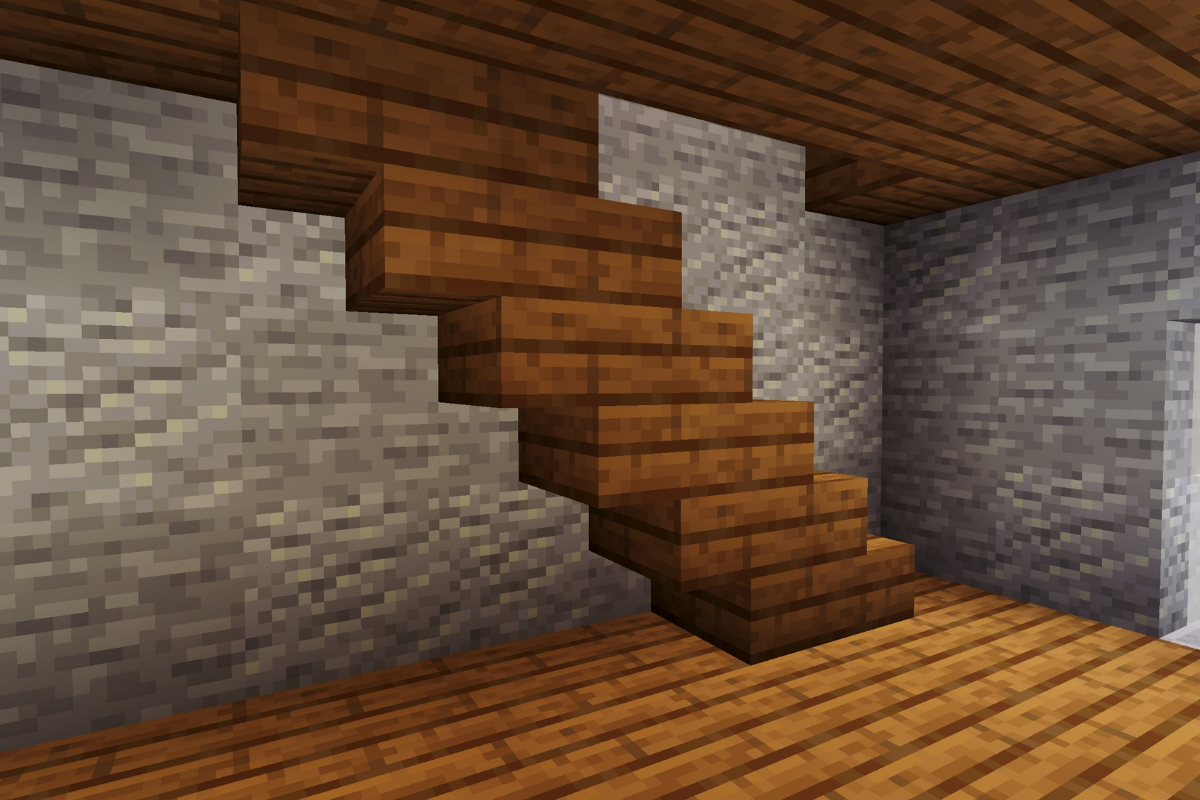
Use 4 spruce stairs to build staircase.
STEP 223 / 235
Add 3 upside downstairs under the staircase.
STEP 224 / 235
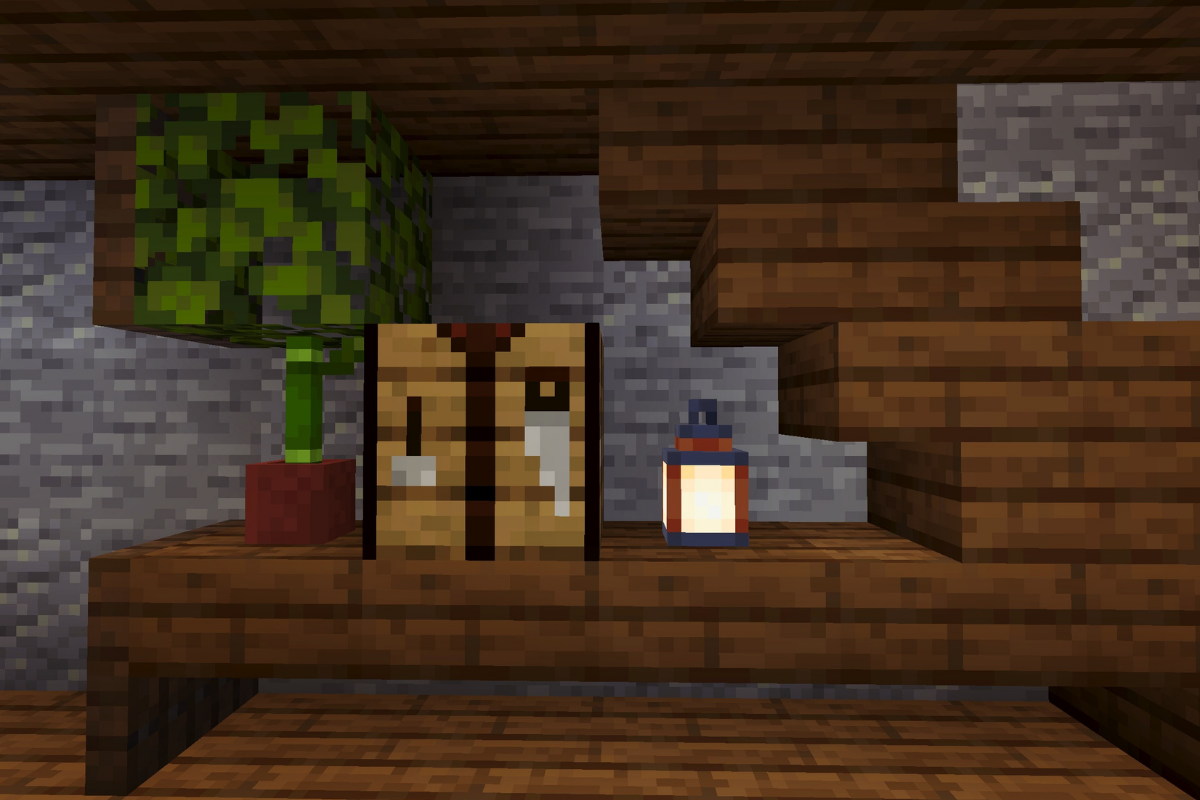
Create a table below stairs.
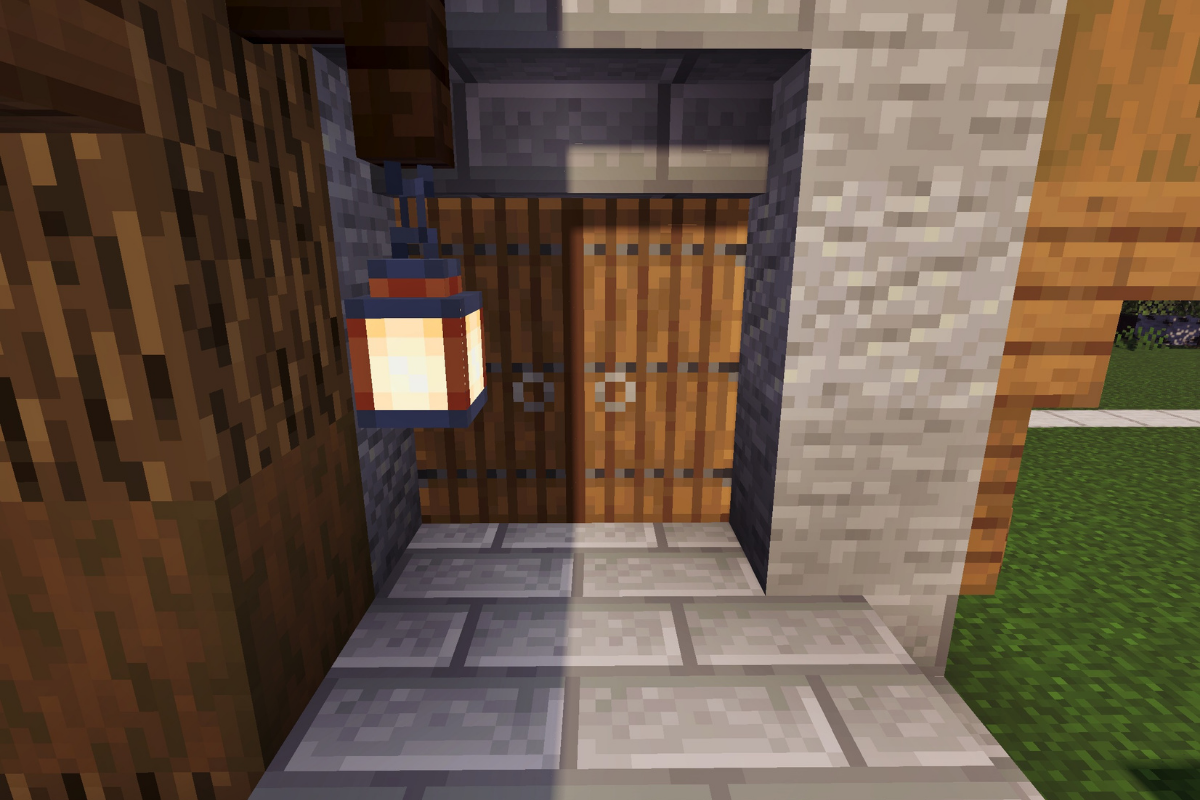
STEP 225 / 235
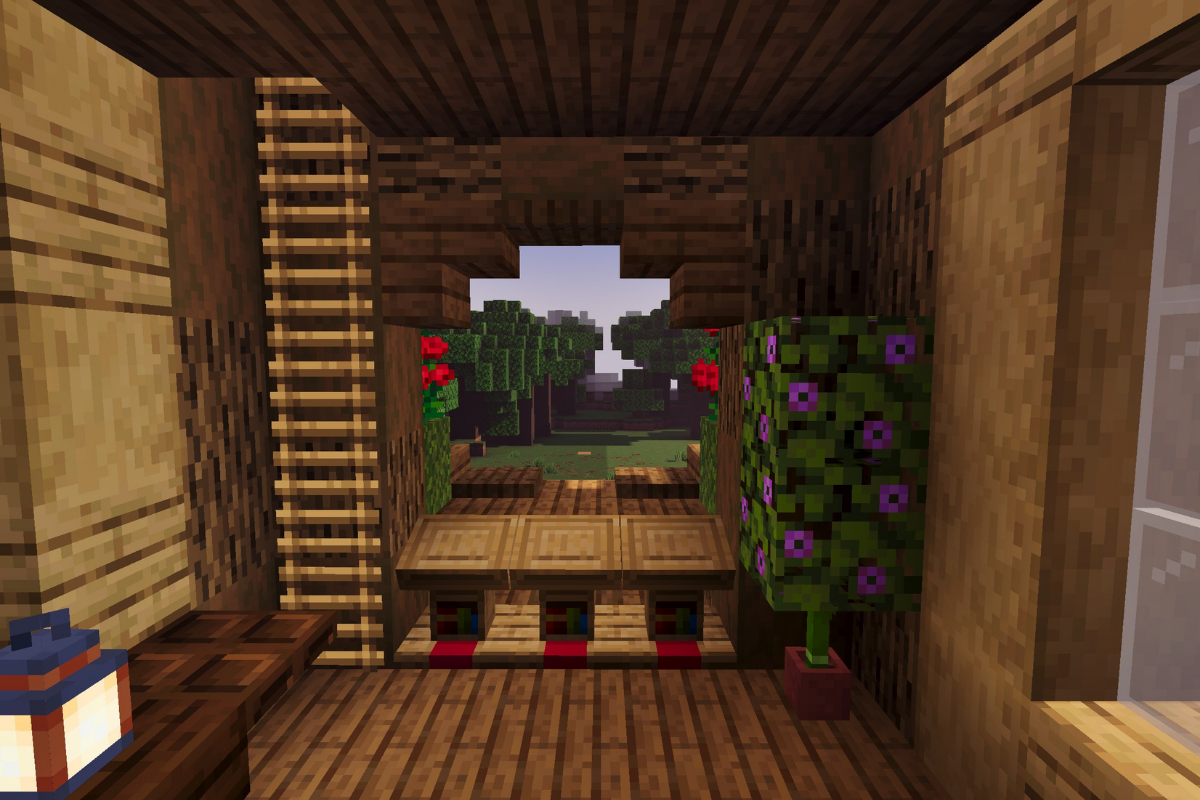
Add foliage at the front of the house.
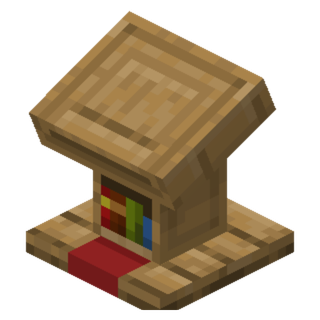
STEP 226 / 235
Add 3 spruce slabs and place 3 lecterns.
STEP 227 / 235
Add foliage at the back of the house.
STEP 228 / 235
Add 3 spruce slabs and place 3 lecterns.
STEP 229 / 235
STEP 230 / 235


 x 4
x 4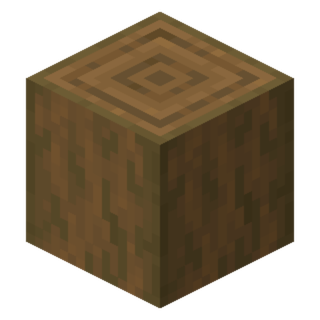 x 6
x 6 x 4
x 4
 x 2
x 2 x 1
x 1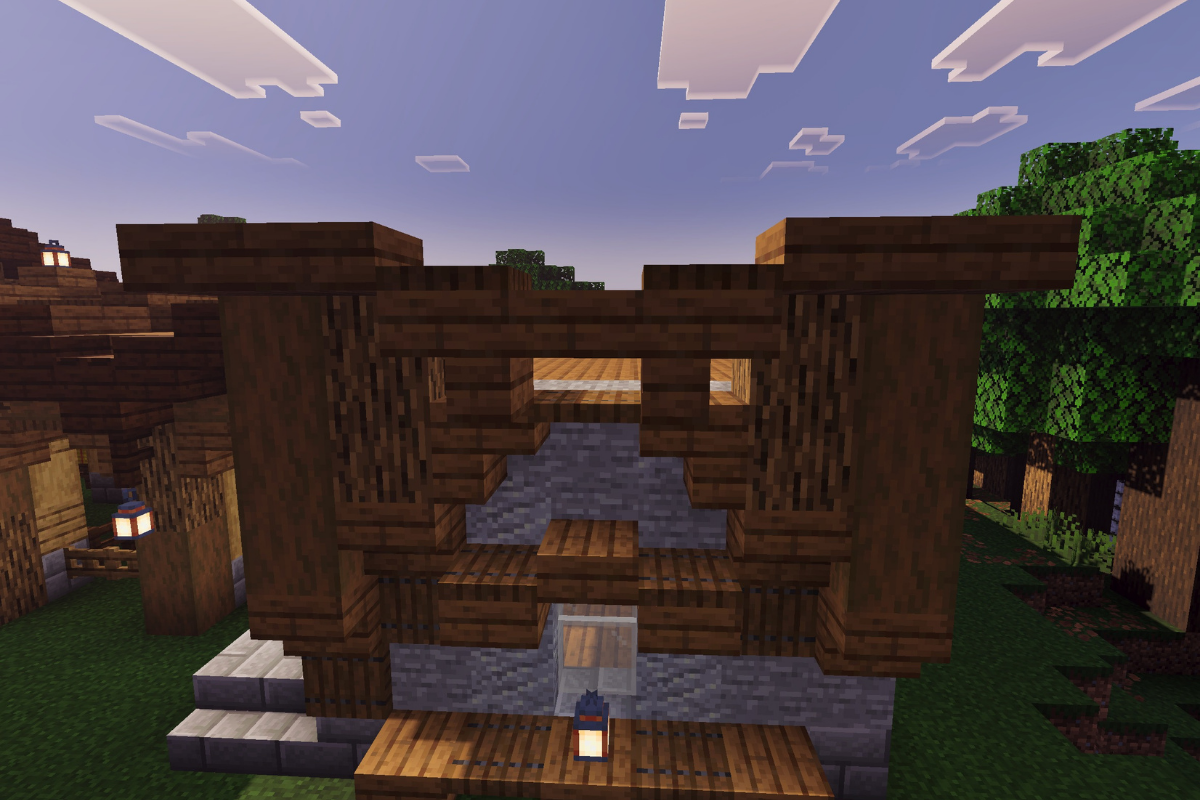
 x 5
x 5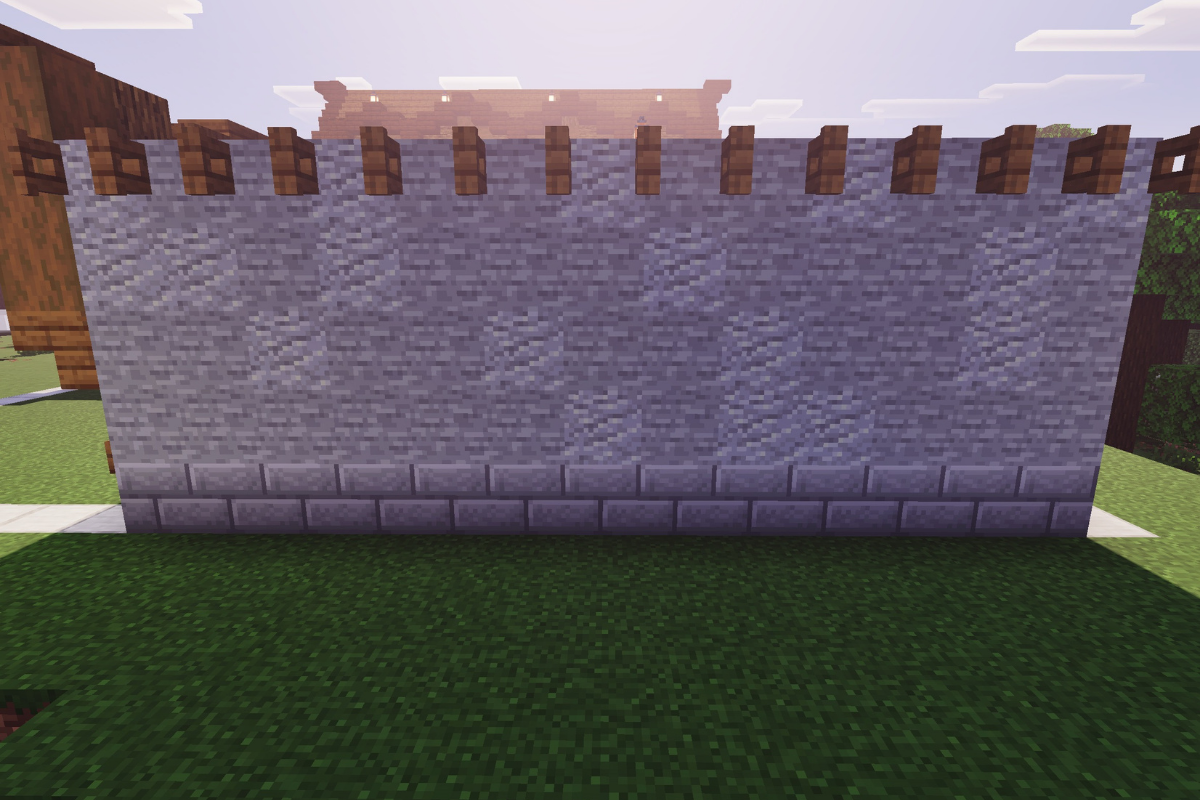
 x 14
x 14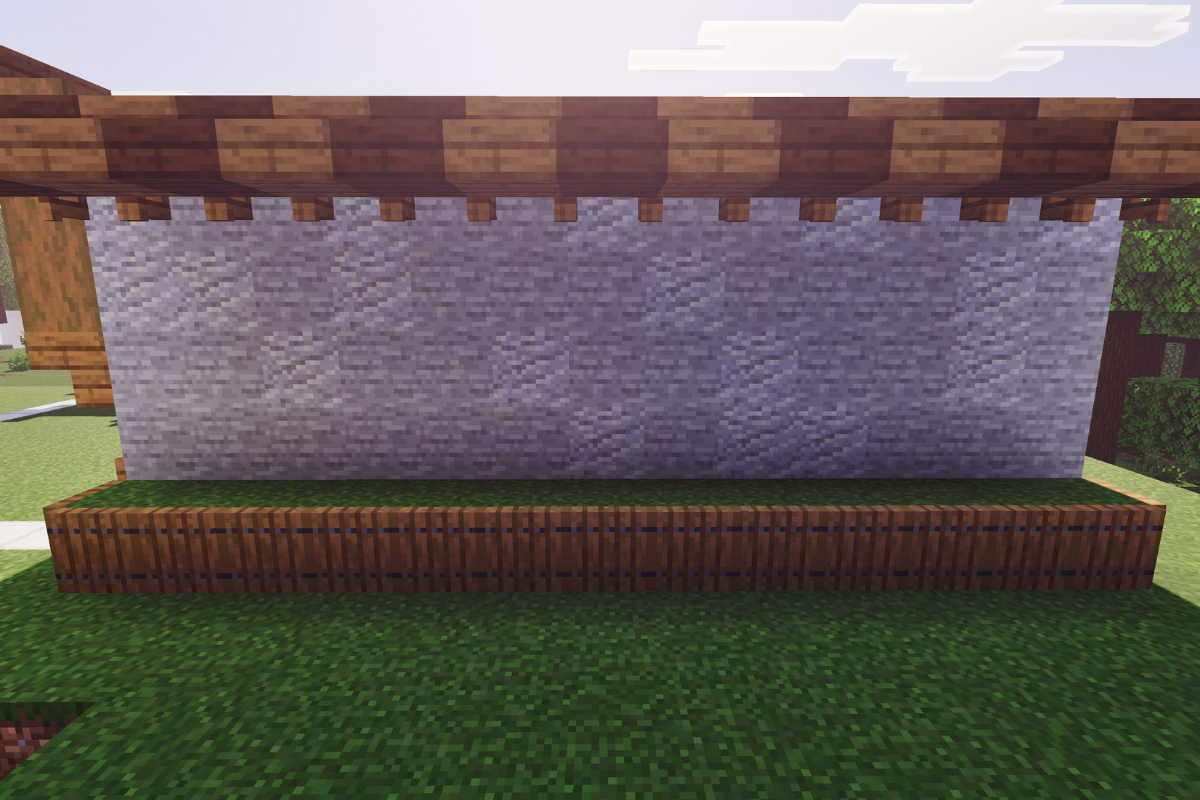
 x 13
x 13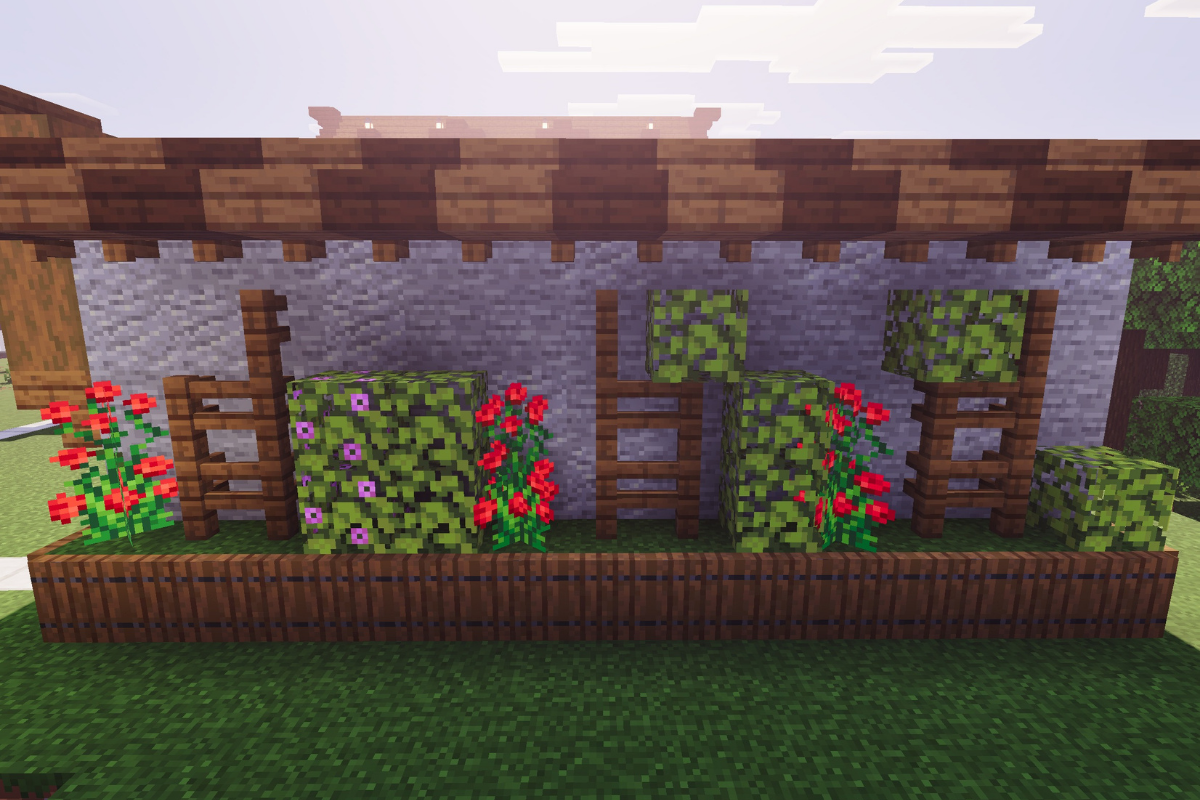
 x 3
x 3 x 14
x 14 x 7
x 7 x 2
x 2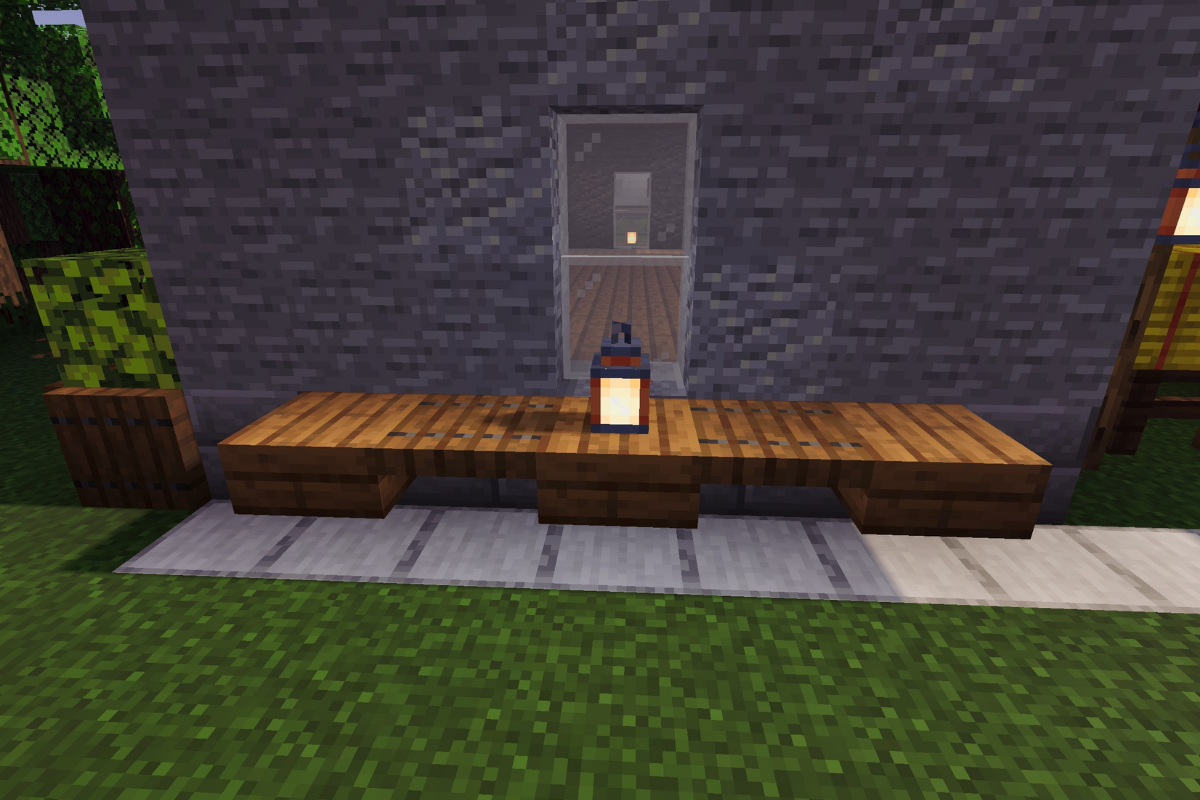
 x 1
x 1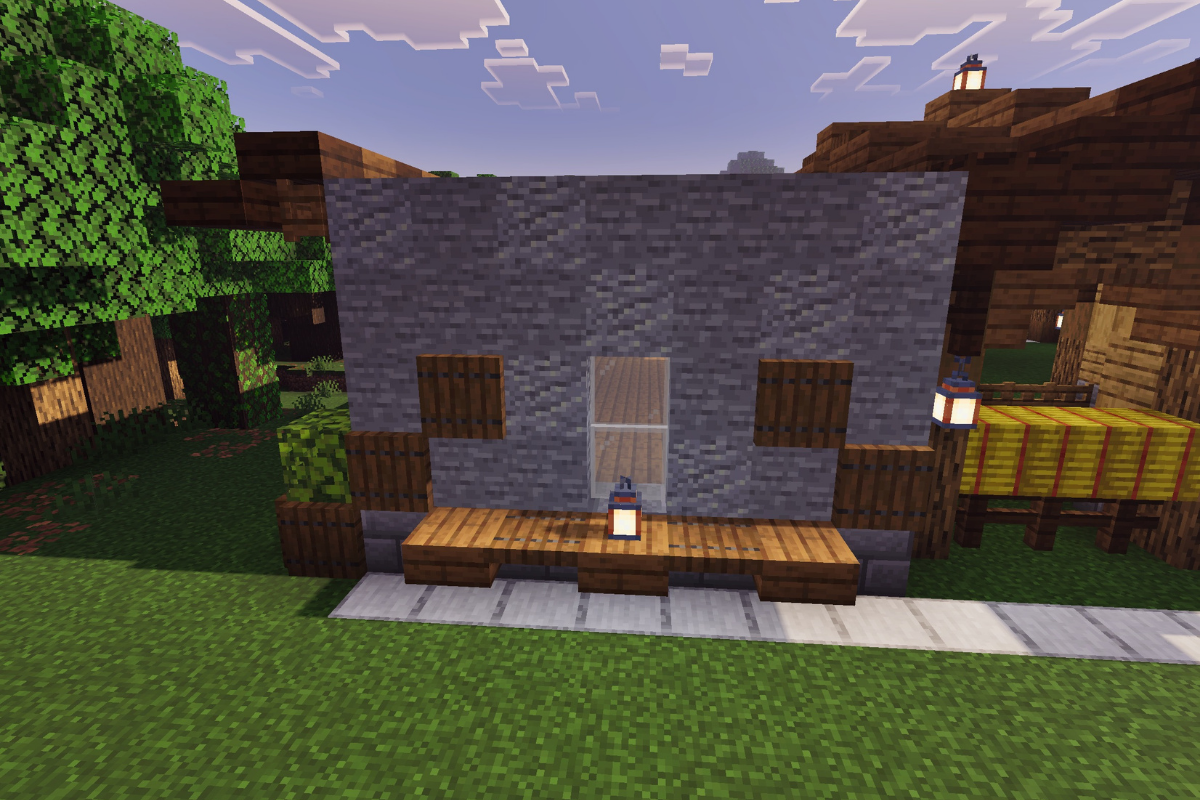
 x 24
x 24 x 6
x 6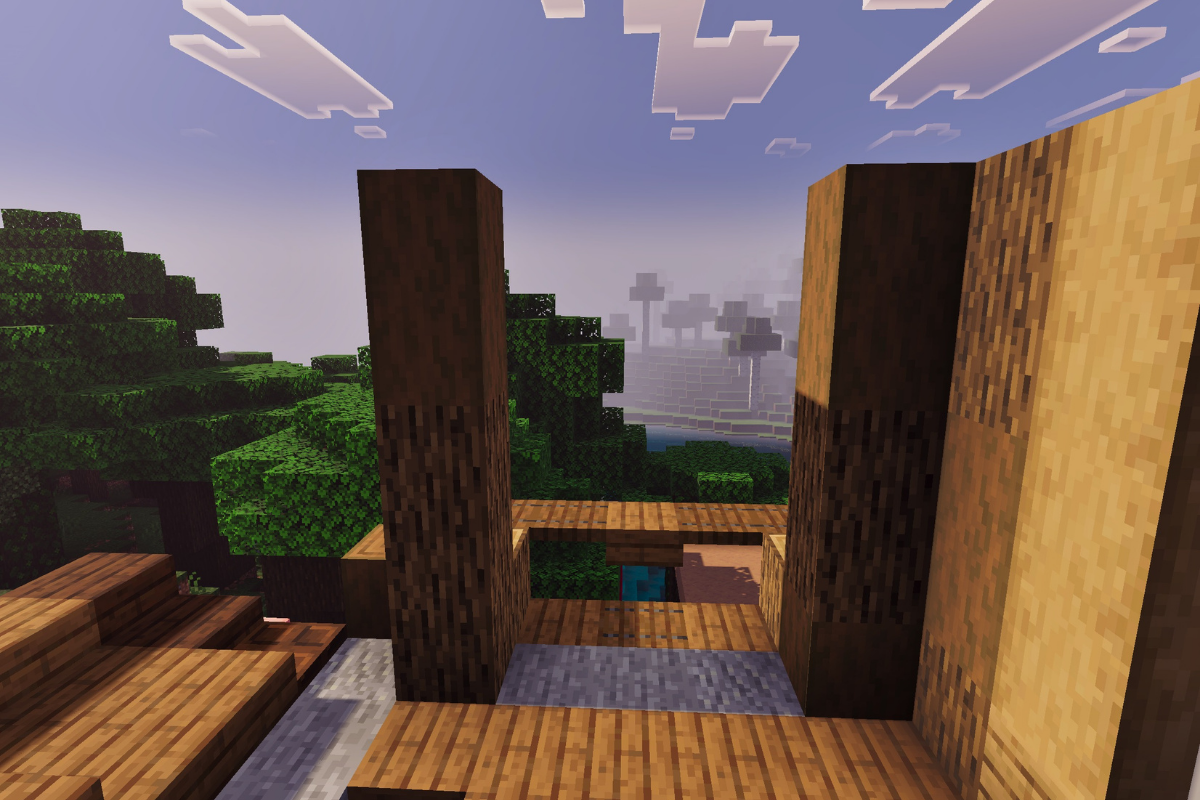
 x 17
x 17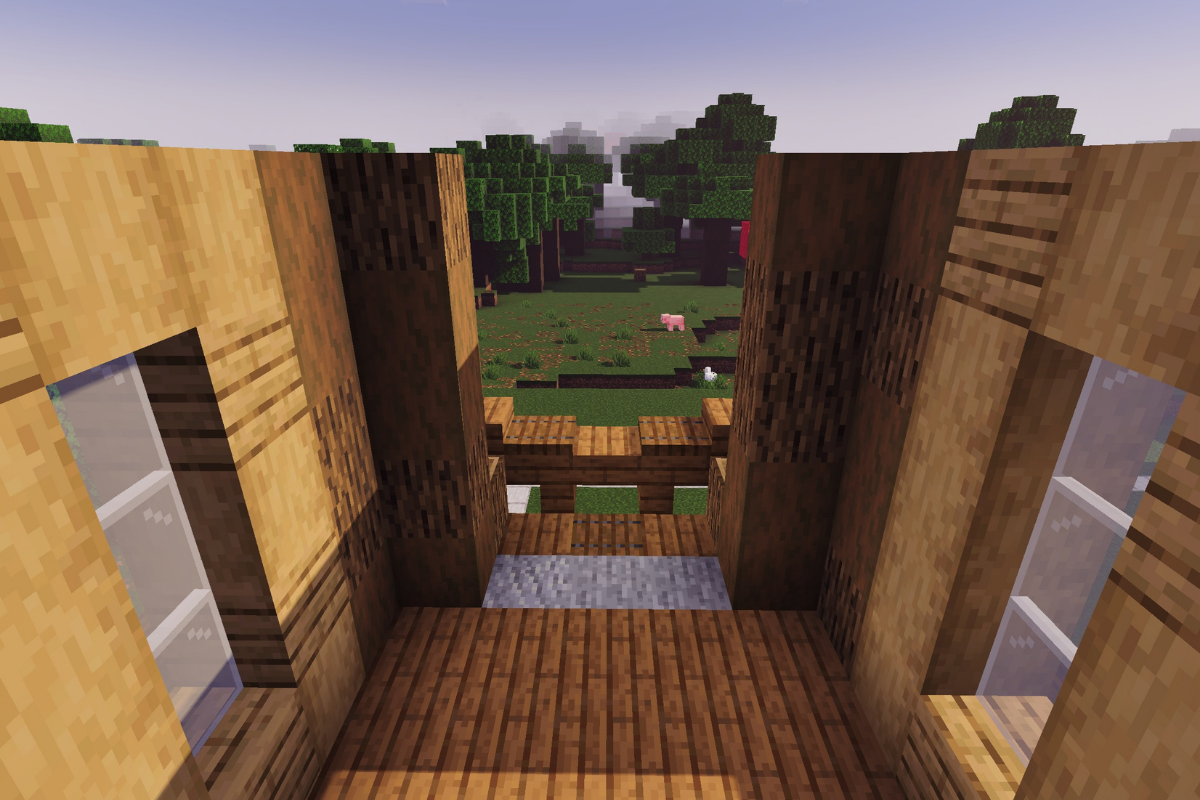

 x 5
x 5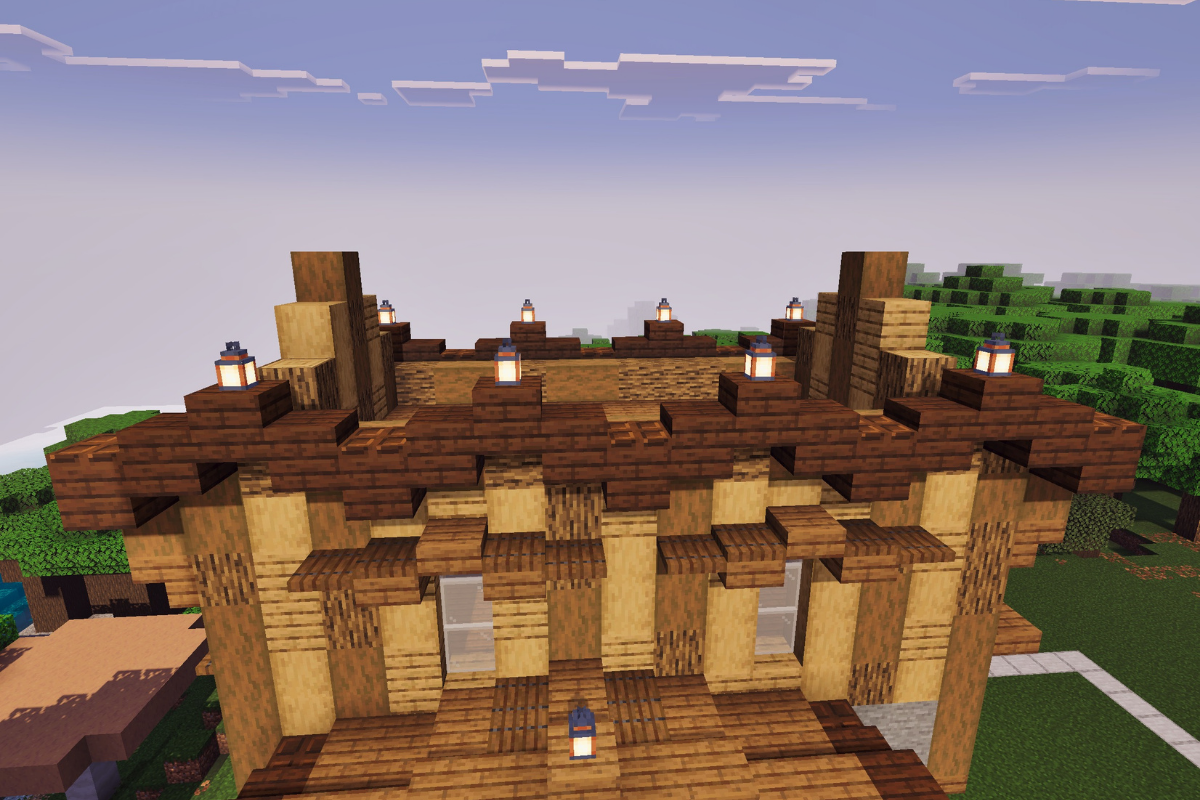
 x 8
x 8
 x 9
x 9

 x 2
x 2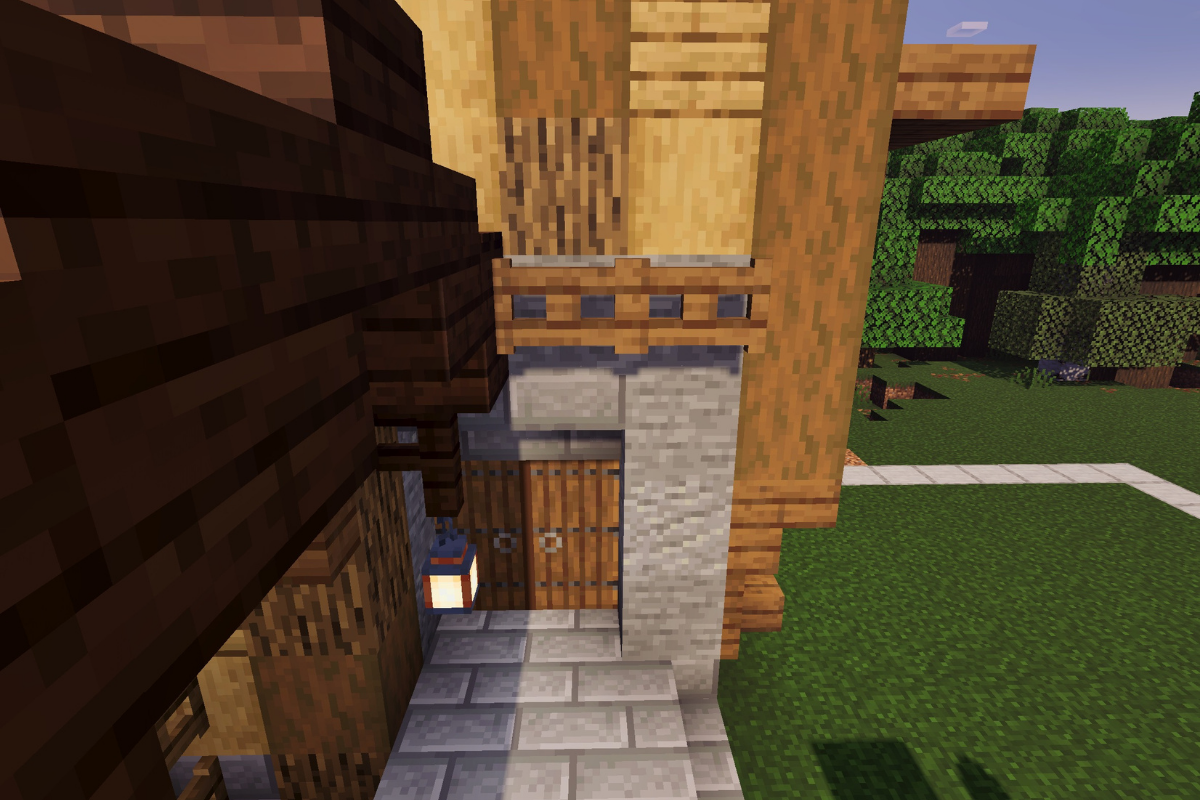
 x 14
x 14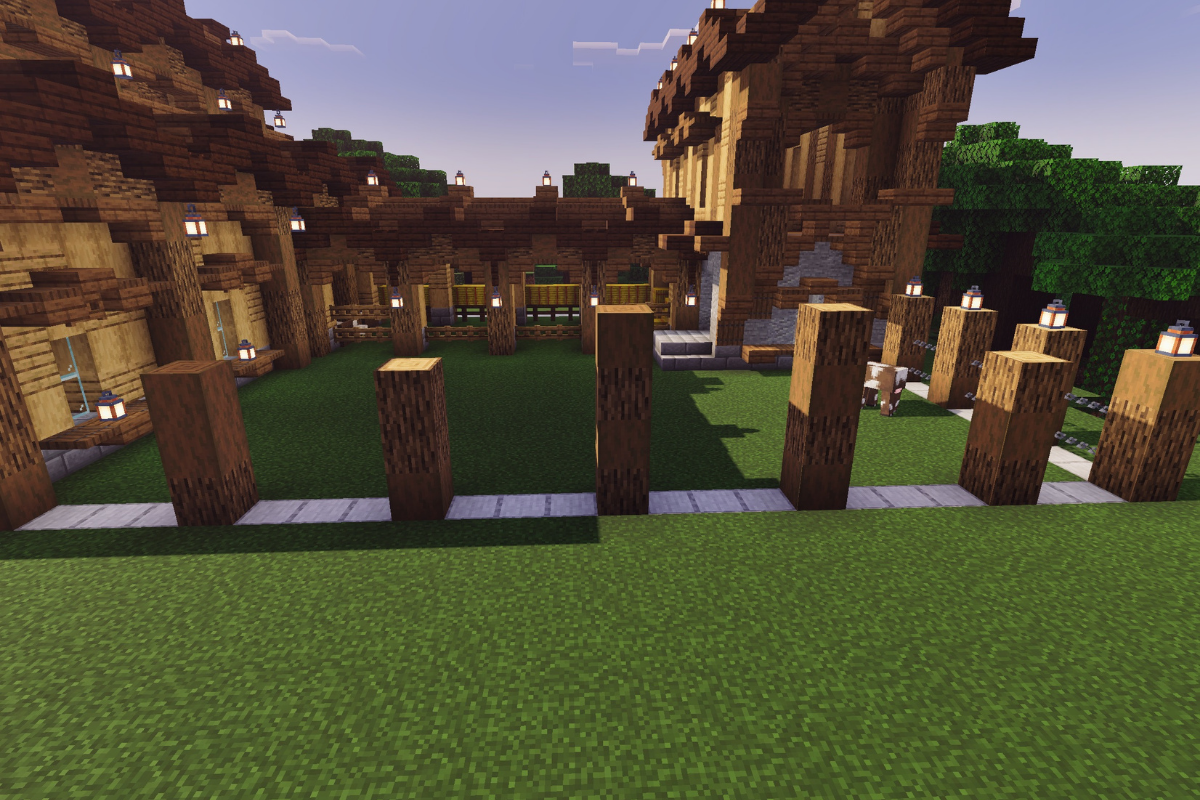
 x 6
x 6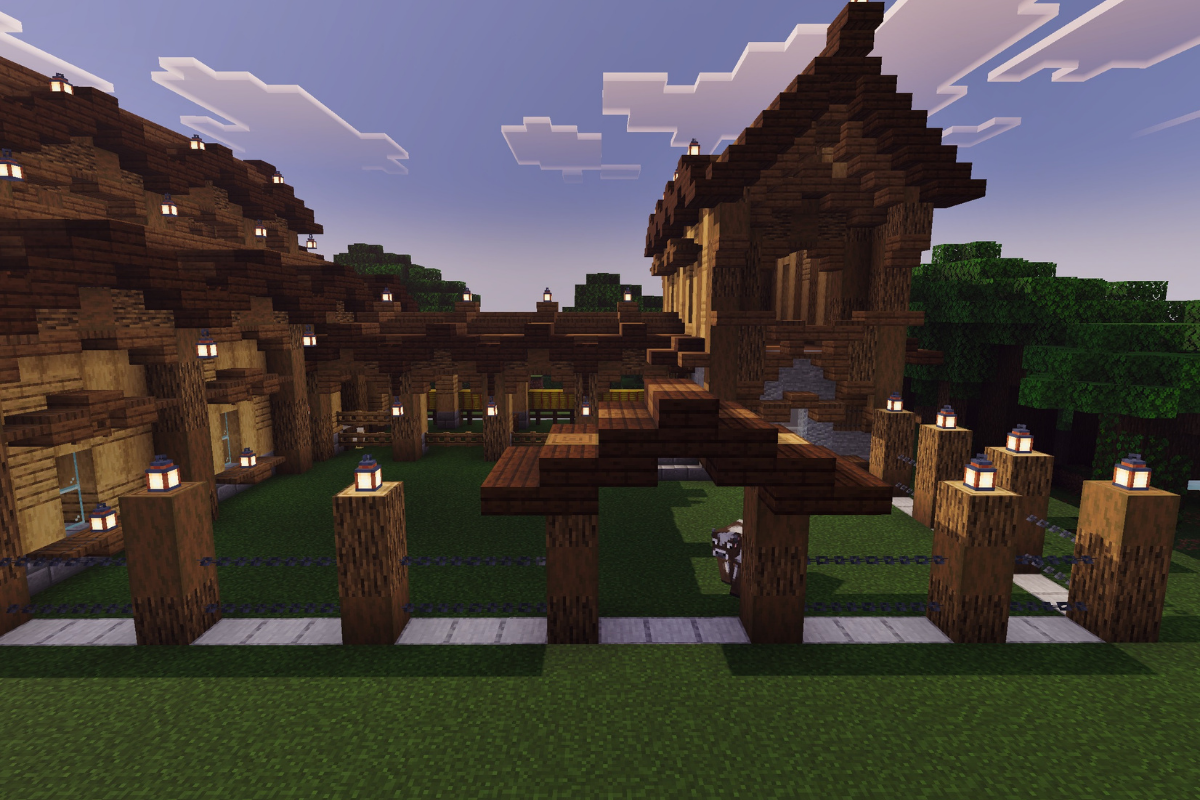

 x 6
x 6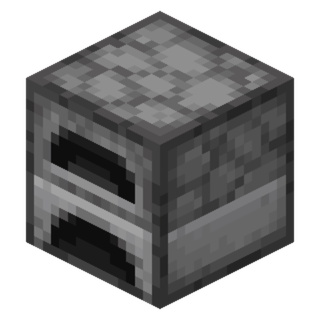 x 3
x 3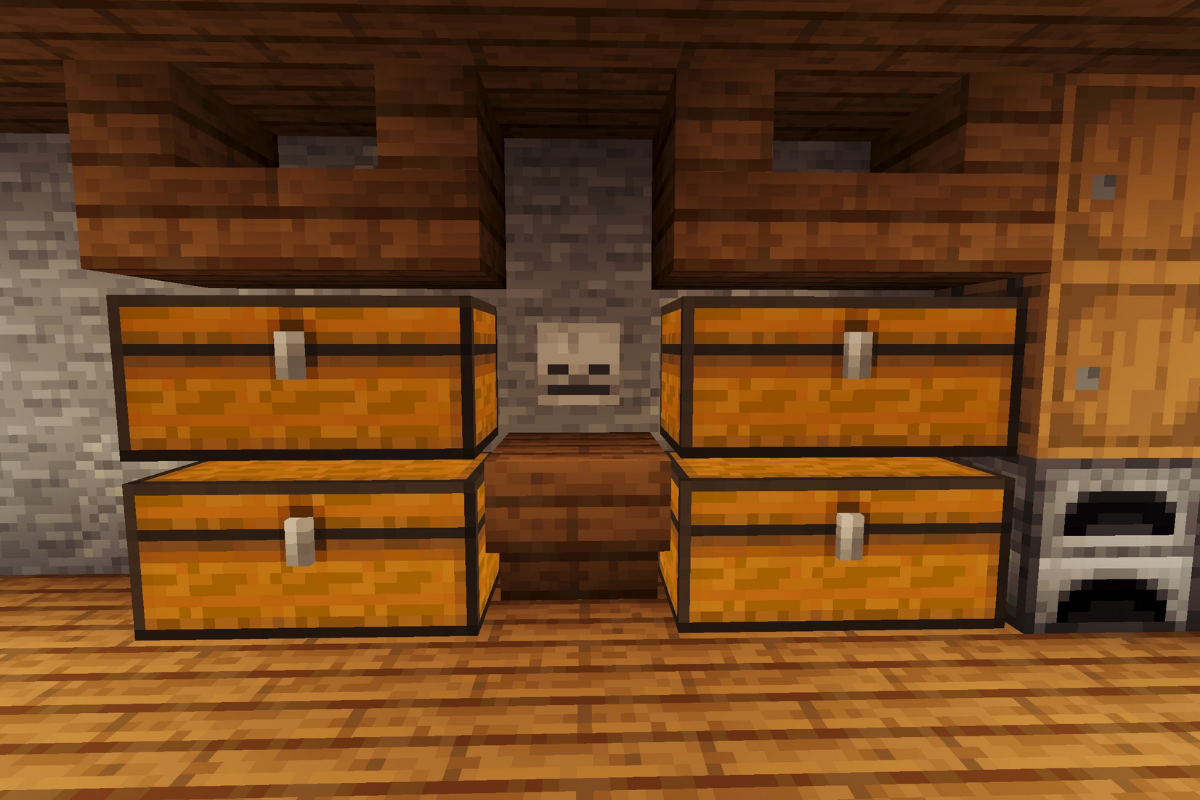
 x 8
x 8 x 1
x 1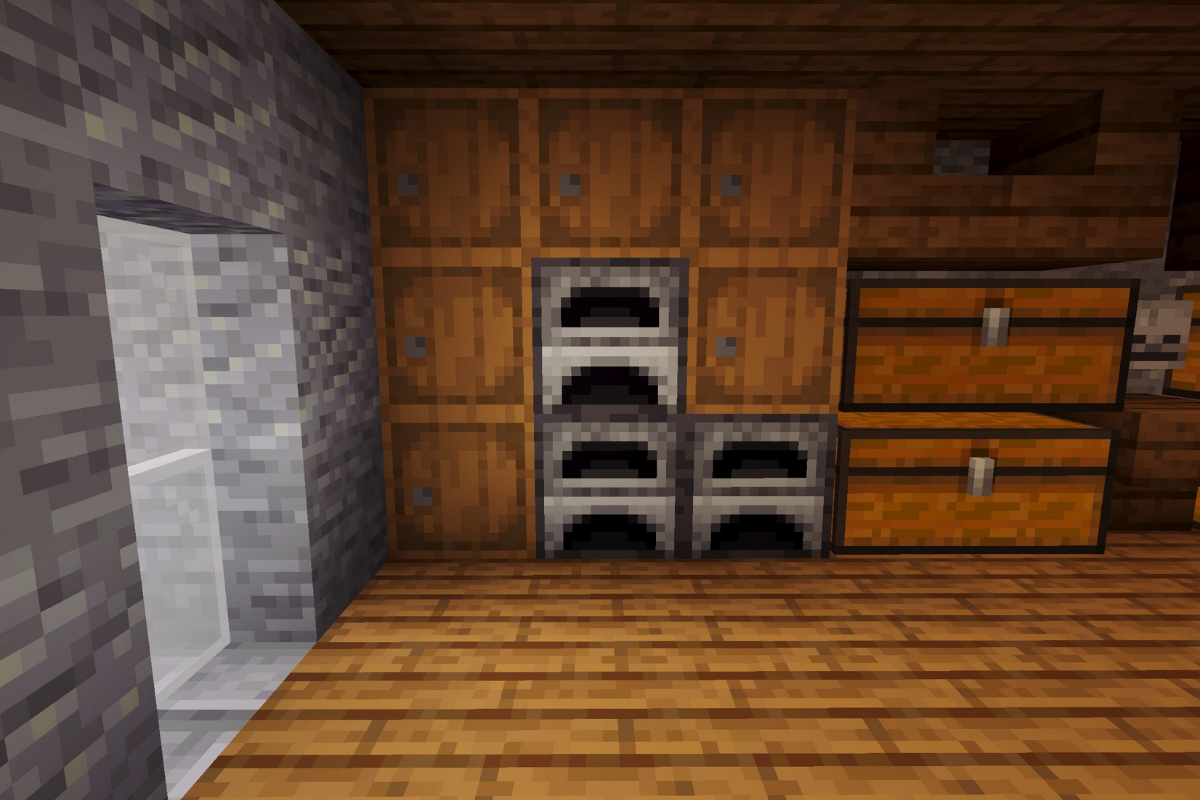
 x 1
x 1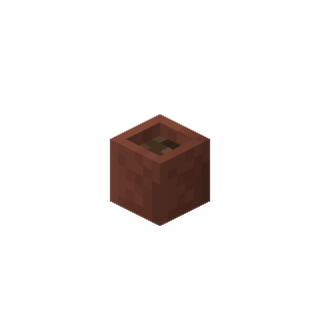 x 1
x 1 x 1
x 1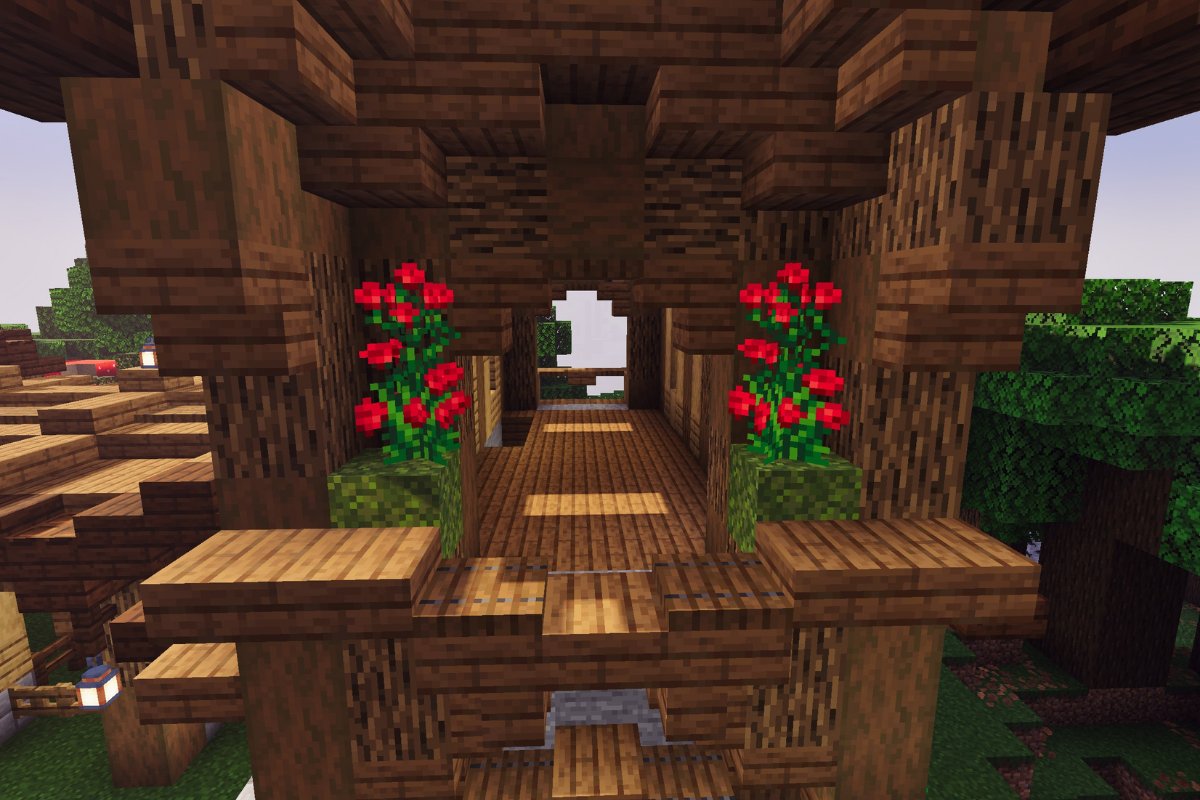
 x 2
x 2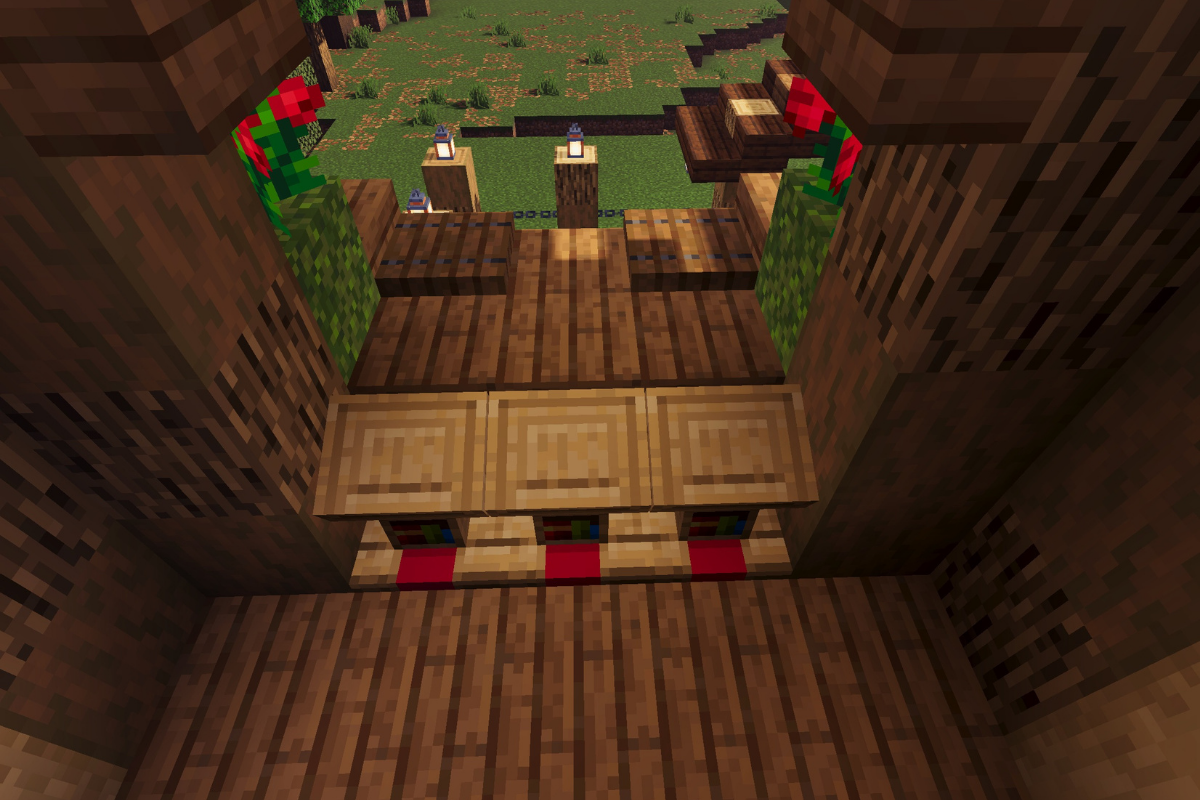
 x 3
x 3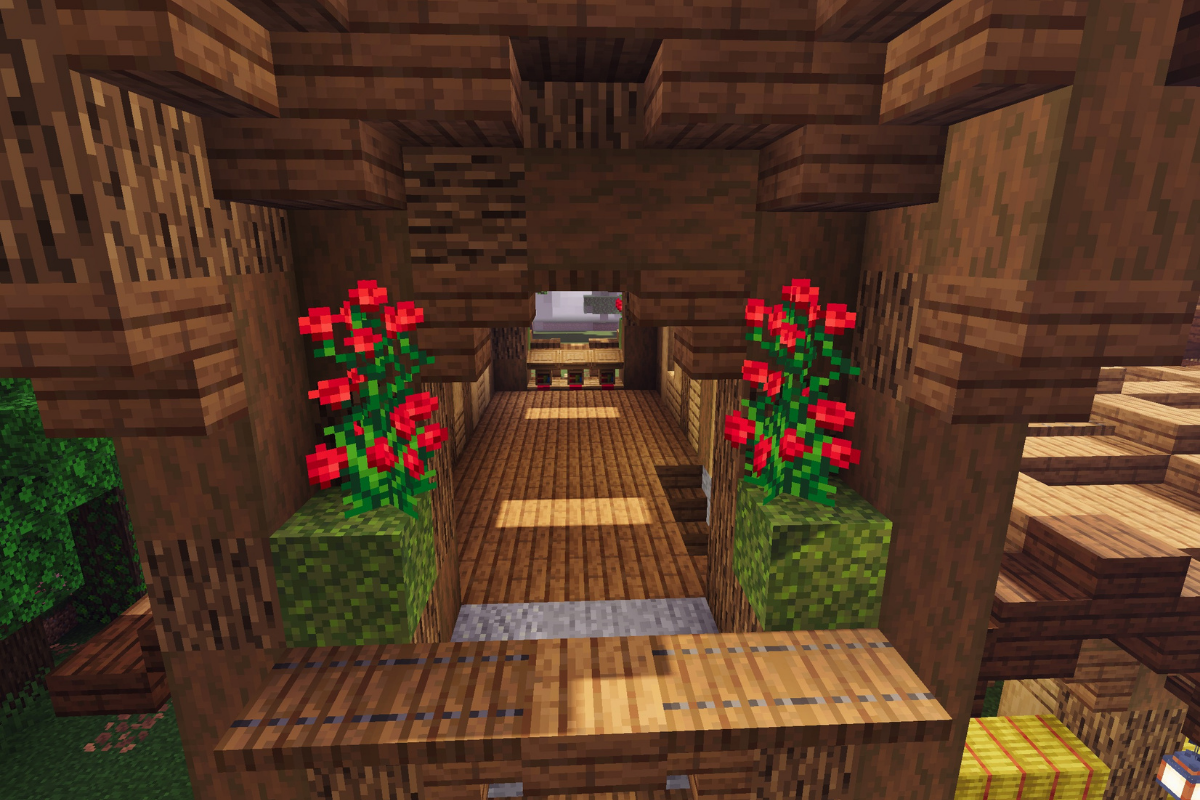

 x 1
x 1 x 1
x 1 x 1
x 1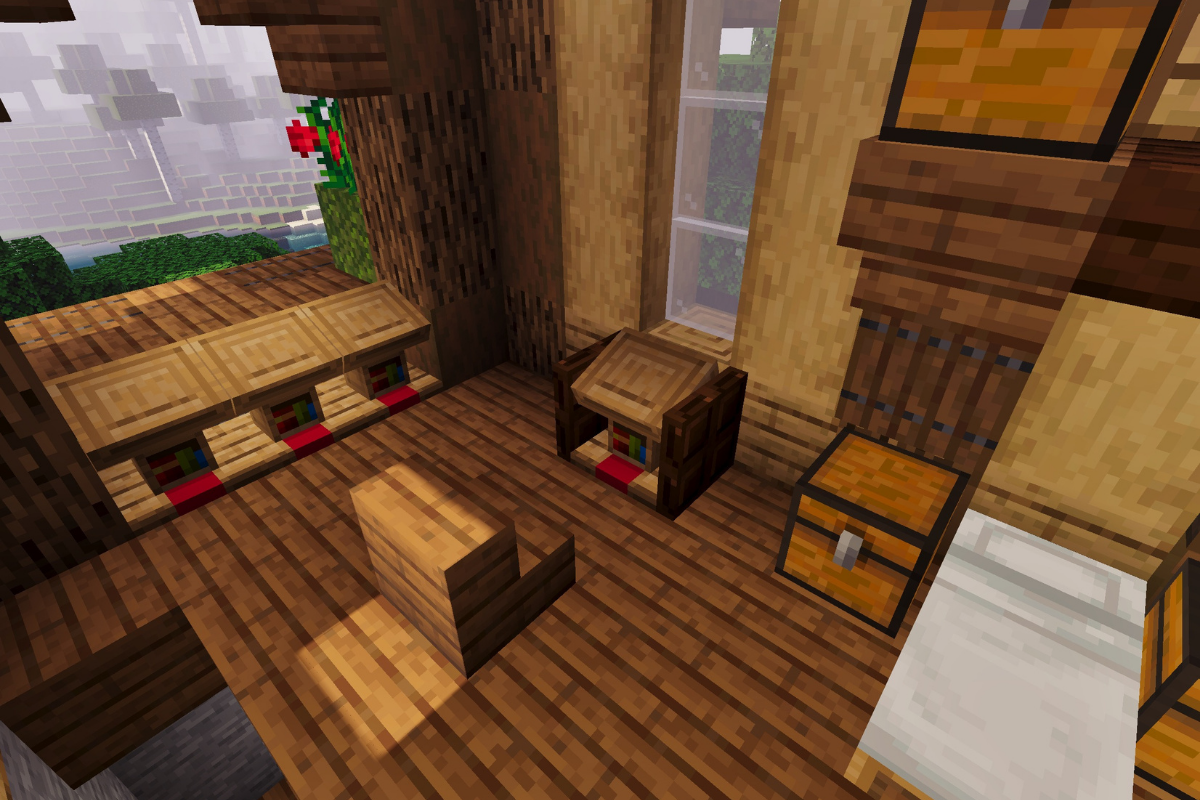
 x 5
x 5
 x 1
x 1 x 1
x 1
 x 5
x 5 x 5
x 5 x 3
x 3
 x 5
x 5 x 20
x 20 x 30
x 30 x 1
x 1